1. Product Overview
The PATIKIL FJS40101CH is a single-digit, 7-segment LED display module designed for various electronic applications. This common cathode display features a 4-inch digit height and operates at 7.2V. It is suitable for integration into control panels, advertising signs, and other display systems requiring clear numerical output.

Image 1.1: Overview of the PATIKIL FJS40101CH LED Display Digital Tube, showing its dimensions (90mm x 122mm x 15mm) and indicating it is a 1-bit, red light display.
This module is characterized by its durability, lightweight design, and good impact resistance, making it reusable and less prone to breakage. It is designed to provide clear data display under appropriate voltage and current conditions.
2. Specifications
- Model: FJS40101CH
- Light Color: Red
- Package Type: Plug-in
- Common Pin: 1 & 8
- Voltage: 7.2 V
- Pin Count: 10
- Number of Characters: 1 Bit
- Common Type: Common Cathode
- Character Height: 4 inch
- Size (L*W*H): 90 x 122 x 15 mm / 3.5 x 4.8 x 0.6 inch
- Material: Plastic
- Item Weight: 140 g

Image 2.1: Technical drawing detailing the dimensions, pin configuration, and internal schematic of the 7-segment LED display.
3. Setup
The PATIKIL FJS40101CH LED display module is designed for plug-and-play integration. No complex wiring processes are required for basic setup.
- Identify Pins: Locate the 10 pins at the bottom of the module. Pins 1 and 8 are the common cathode pins. Refer to Image 2.1 for the pinout diagram.
- Connect to Driver Board: Insert the module's pins into a compatible electronic driver board or breadboard. Ensure correct orientation and secure connection.
- Power Supply: Connect a 7.2V power supply to the appropriate pins on your driver board, ensuring the common cathode pins (1 and 8) are connected to the ground (GND) of your circuit.
- Data Input: Connect the data lines from your microcontroller or control circuit to the segment pins (A, B, C, D, E, F, G, DP) as per the pinout diagram (Image 2.1).

Image 3.1: Rear view of the LED display module, highlighting the 10 pins for connection to a circuit board.

Image 3.2: The LED display module integrated into a breadboard with various wires connected, demonstrating a typical setup for testing or prototyping.
4. Operating Instructions
To operate the PATIKIL FJS40101CH LED display, you will need a compatible driver circuit (e.g., a microcontroller with appropriate segment drivers) to control the individual segments.
- Power On: Once the module is correctly connected to your driver board and power supply, apply the specified 7.2V.
- Segment Control: As a common cathode display, individual segments (A through G, and DP for decimal point) are illuminated by applying a positive voltage (HIGH signal) to their respective pins, while the common pins (1 and 8) are connected to ground.
- Displaying Numbers: To display a specific digit, activate the combination of segments that form that digit. For example, to display '0', segments A, B, C, D, E, F would be activated.
- Brightness Control: Brightness can typically be adjusted by controlling the current flowing through the segments, often achieved using current-limiting resistors or Pulse Width Modulation (PWM) from your driver circuit.
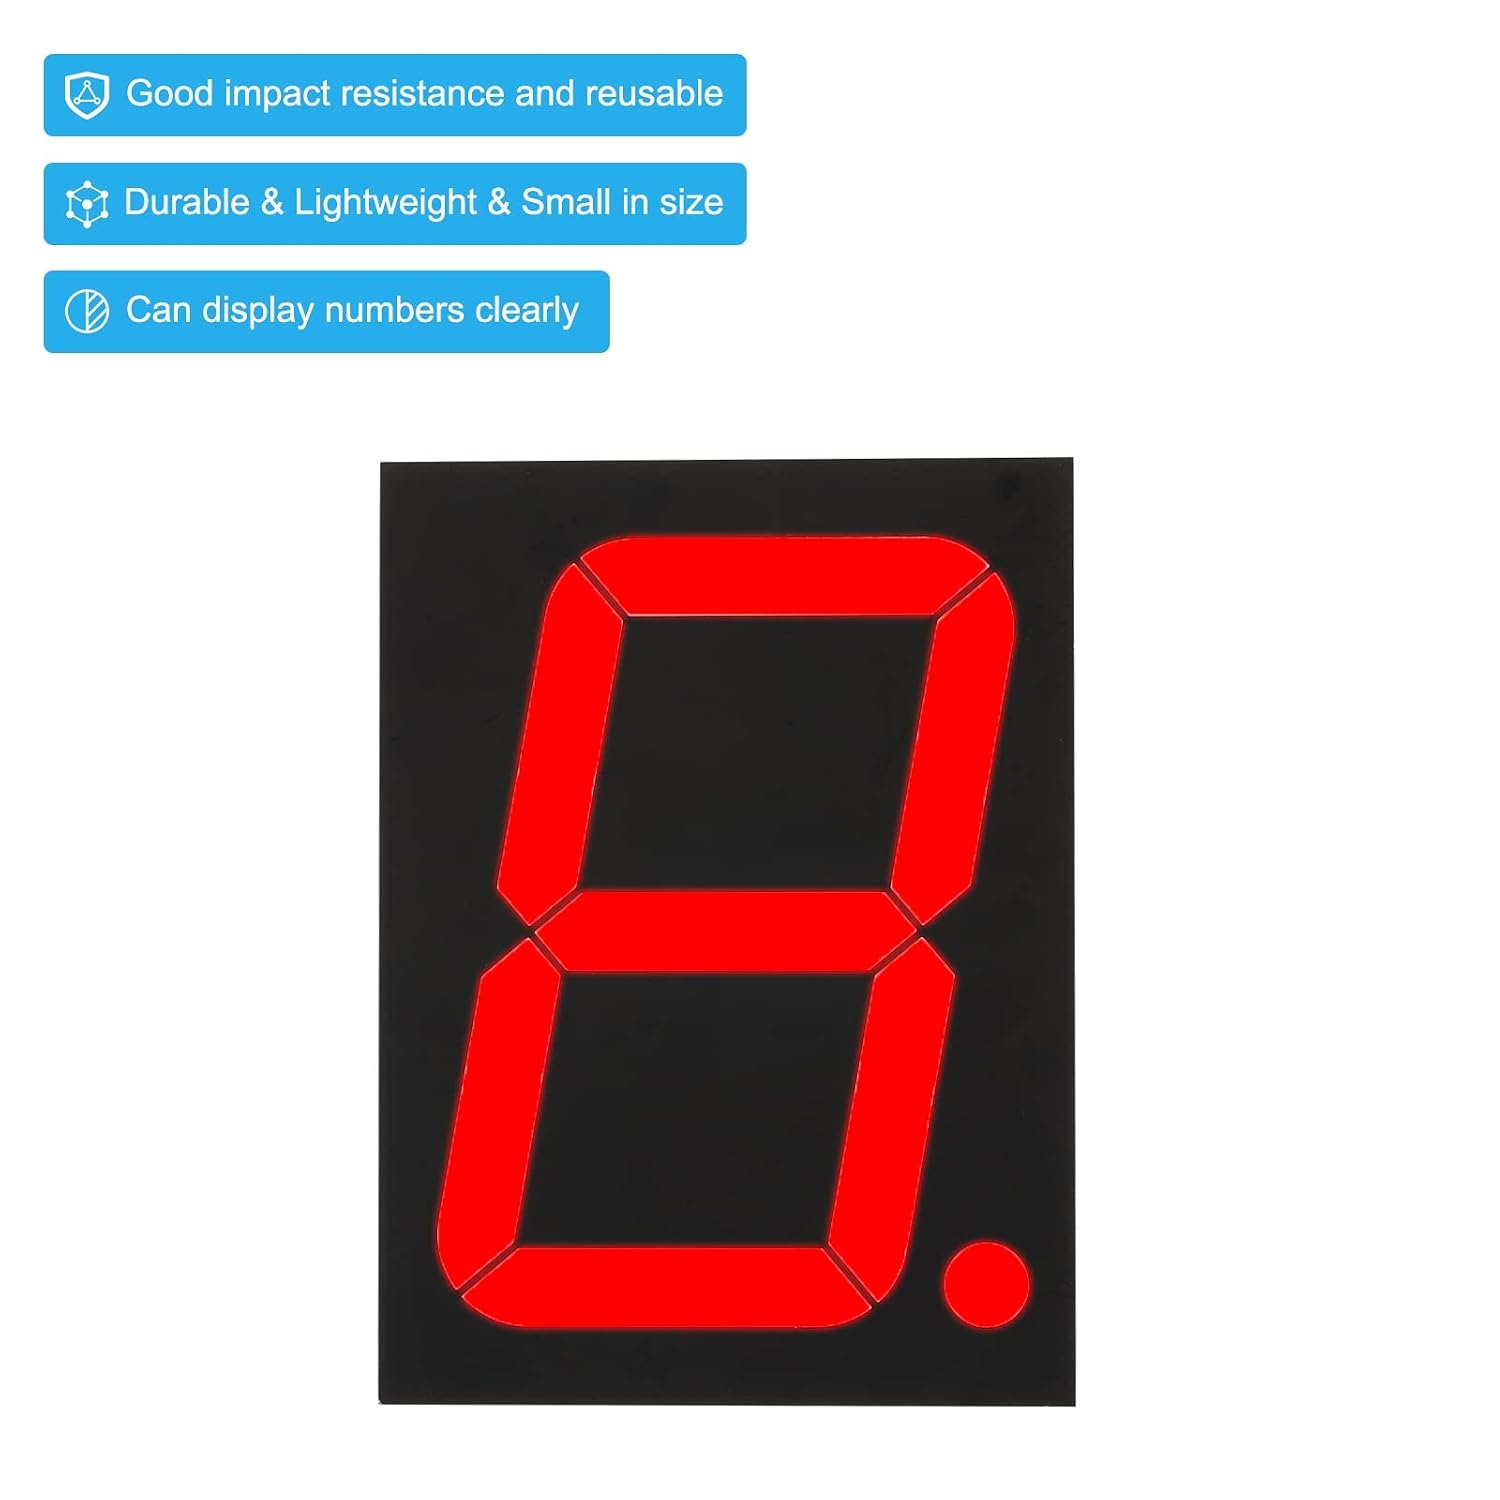
Image 4.1: The LED display module illuminated in red, showing the digit '8', demonstrating its operational state.
5. Applications
The PATIKIL FJS40101CH LED Display Digital Tube is versatile and can be integrated into a wide range of electronic projects and equipment, including but not limited to:
- Advertising signs and backgrounds
- Control panels for industrial or consumer electronics
- LED matrix displays
- Digital clocks and timers
- Scoreboards
- DIY electronic projects requiring numerical readouts
6. Maintenance
This LED display module requires minimal maintenance. Follow these guidelines to ensure longevity and optimal performance:
- Cleaning: If dust accumulates on the display surface, gently wipe it with a soft, dry, lint-free cloth. Avoid using abrasive cleaners or solvents, which can damage the plastic.
- Handling: Handle the module by its edges to avoid touching the display surface or bending the pins. Bent pins can be difficult to straighten and may break.
- Storage: Store the module in a dry, cool environment, away from direct sunlight and extreme temperatures. Keep it in anti-static packaging if possible.
- Power Management: Always operate the display within its specified voltage (7.2V) and current limits to prevent damage to the LEDs.
7. Troubleshooting
If you encounter issues with your PATIKIL FJS40101CH LED display, consider the following troubleshooting steps:
- Display Not Lighting Up:
- Verify that the power supply is connected correctly and providing the specified 7.2V.
- Ensure the common cathode pins (1 and 8) are properly connected to ground.
- Check all segment connections to the driver board for continuity and proper signal.
- Confirm that the driver circuit is sending the correct HIGH signals to the segment pins.
- Incorrect Segments Lighting Up:
- Review your wiring against the pinout diagram (Image 2.1) to ensure segment pins are connected to the correct driver outputs.
- Check your code or logic for the driver circuit to ensure the correct segment combinations are being sent for each digit.
- Dim or Uneven Brightness:
- Ensure the power supply can provide sufficient current for all illuminated segments.
- Check current-limiting resistors (if used) to ensure they are correctly sized.
- Physical Damage:
- Inspect pins for bends or breaks.
- Check the display surface for cracks or damage.
8. Important Notes
- Model Selection: Always ensure you have chosen the correct model (Common Cathode) according to your specific project requirements. Incorrect common type selection will prevent the display from functioning correctly.
- Voltage Compatibility: Adhere strictly to the specified 7.2V operating voltage. Exceeding this voltage can damage the LED segments.
- ESD Precautions: As with all electronic components, take appropriate electrostatic discharge (ESD) precautions when handling the module to prevent damage.
9. Warranty and Support
For warranty information or technical support regarding your PATIKIL FJS40101CH LED Display Digital Tube, please refer to the documentation provided at the point of purchase or contact PATIKIL customer service directly. Ensure you have your purchase details and product model number (FJS40101CH) available when seeking support.