Introduction
This manual provides detailed instructions for the installation, operation, and maintenance of your new CARBBIA Carburetor, Model 10520. This carburetor is designed as a replacement part for specific John Deere lawn mower models. Please read this manual thoroughly before attempting any installation or maintenance to ensure proper function and safety.
Product Overview and Package Contents
The CARBBIA Carburetor kit includes all necessary components for a complete replacement. Please verify that all items listed below are present in your package.

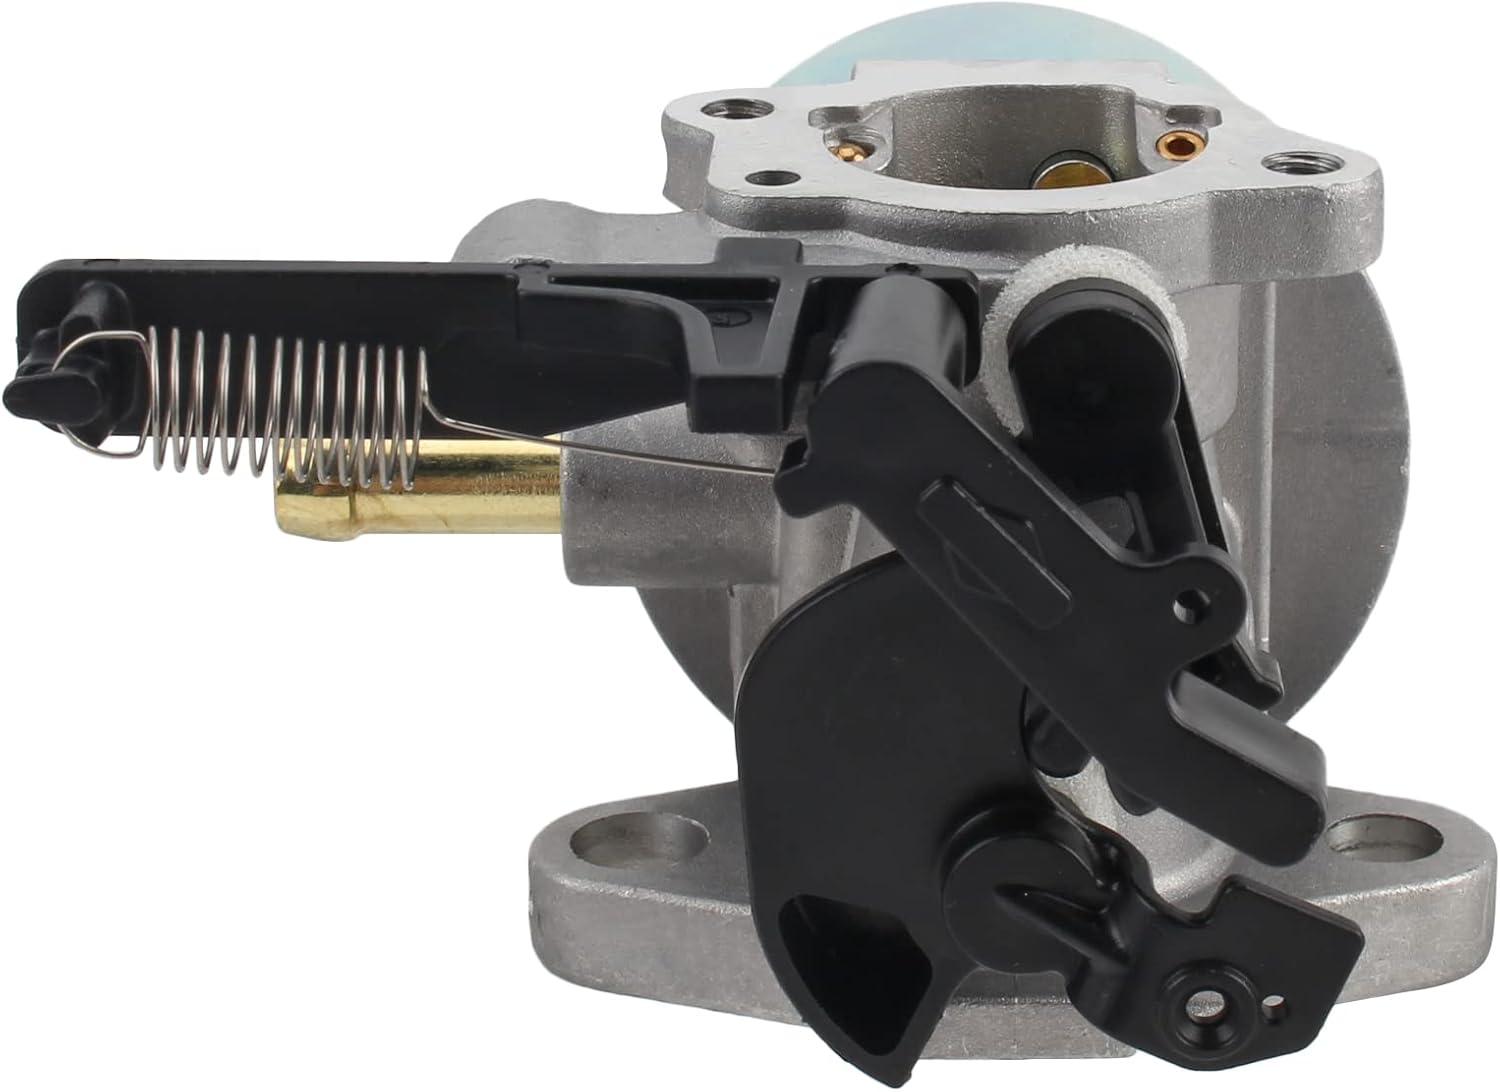
Image: Complete Carburetor Kit. This image displays all components included in the package: the carburetor assembly, fuel hose, fuel filter, rubber ring, and three mounting gaskets.
- Carburetor x 1
- Fuel Hose x 1
- Fuel Filter x 1
- Rubber Ring x 1
- Mounting Gasket x 3
Compatibility
This CARBBIA Carburetor (Model 10520) is a replacement part compatible with the following John Deere lawn mower models:
- John Deere JS35
- John Deere JS46
- John Deere JM46
- John Deere JS48
These models typically feature 21" or 22" cut walk-behind lawn mowers equipped with an 875Exi 190cc engine.
Important: Before ordering or installing, carefully compare your existing carburetor with the images provided in this manual to ensure proper fitment.
Safety Information
Always prioritize safety when working with fuel systems and internal combustion engines. Failure to follow safety precautions can result in serious injury or property damage.
- Fuel Handling: Gasoline is highly flammable. Work in a well-ventilated area, away from open flames, sparks, or other ignition sources. Do not smoke.
- Engine Temperature: Allow the engine to cool completely before beginning any work. Hot engine components can cause severe burns.
- Eye Protection: Always wear safety glasses or goggles to protect your eyes from fuel splashes, debris, or other hazards.
- Gloves: Wear appropriate gloves to protect your hands from fuel, oil, and sharp edges.
- Battery Disconnection: Disconnect the spark plug wire to prevent accidental engine starting.
- Fuel Drainage: Drain the fuel tank and carburetor bowl into an approved container before removal. Dispose of fuel properly.
Installation Instructions
Replacing a carburetor requires mechanical aptitude. If you are unsure about any step, it is recommended to seek assistance from a qualified technician.
- Preparation:
- Ensure the engine is cool.
- Disconnect the spark plug wire.
- Drain all fuel from the fuel tank and carburetor.
- Clean the area around the carburetor to prevent debris from entering the engine.
- Remove Air Filter Assembly: Carefully remove the air filter housing and air filter to gain access to the carburetor.
- Disconnect Fuel Line: Pinch off the fuel line or drain the tank completely. Disconnect the fuel line from the old carburetor. Be prepared for residual fuel to spill.
- Disconnect Linkages: Carefully note or photograph the connections of the throttle and choke linkages to the old carburetor. Disconnect them.
- Remove Old Carburetor: Unscrew the mounting bolts or nuts that secure the carburetor to the engine. Remove the old carburetor and any old gaskets.
- Install New Gaskets: Place the new mounting gaskets (provided) in their correct positions between the engine, carburetor, and air filter housing. Ensure they are seated properly to prevent air leaks.
- Mount New Carburetor: Position the new CARBBIA Carburetor (Model 10520) onto the engine studs, ensuring the gaskets are aligned. Secure it with the mounting bolts/nuts, tightening them evenly.
- Connect Linkages: Reconnect the throttle and choke linkages to the new carburetor, referring to your notes or photos taken during disassembly. Ensure they move freely.
- Install New Fuel Filter and Hose: Cut the new fuel hose to the appropriate length if necessary. Install the new fuel filter in the fuel line, ensuring the flow direction is correct (if indicated). Connect the fuel hose to the carburetor's fuel inlet. Secure with clamps if provided or necessary.
- Reinstall Air Filter Assembly: Reattach the air filter and its housing.
- Final Checks:
- Double-check all connections for tightness.
- Ensure no tools or debris are left near the engine.
- Reconnect the spark plug wire.
- Refill the fuel tank with fresh, appropriate fuel.
Visual Reference for Carburetor Dimensions and Views:


Operating Instructions
After successful installation, follow these general guidelines for operating your lawn mower with the new carburetor:
- Initial Start-up: The engine may require a few extra pulls or cranks to draw fuel into the new carburetor.
- Choke Operation: Use the choke as necessary for cold starts. Once the engine warms up, the choke should be disengaged.
- Engine Performance: Observe engine performance. If the engine runs rough, stalls, or lacks power, further inspection or adjustment may be required.
Maintenance
Regular maintenance helps ensure the longevity and optimal performance of your carburetor and lawn mower.
- Fuel Quality: Always use fresh, clean gasoline. Stale or contaminated fuel is a common cause of carburetor issues. Consider using a fuel stabilizer if the mower will be stored for extended periods.
- Fuel Filter: Replace the fuel filter annually or more frequently if operating in dusty conditions. A clogged fuel filter restricts fuel flow to the carburetor.
- Carburetor Cleaning: If performance issues arise, the carburetor may need cleaning. This typically involves disassembling the carburetor, cleaning jets and passages with carburetor cleaner, and replacing gaskets. This is an advanced procedure and should only be attempted by experienced individuals.
- Air Filter: Regularly inspect and clean or replace the air filter. A dirty air filter can cause the engine to run rich and affect carburetor performance.
Troubleshooting
If you encounter issues after installing the new carburetor, consider the following common problems and solutions:
| Problem | Possible Cause | Solution |
|---|---|---|
| Engine will not start | No fuel, clogged fuel filter, incorrect choke setting, spark plug issue, air leak. | Check fuel level, replace fuel filter, adjust choke, inspect spark plug, ensure gaskets are sealed. |
| Engine runs rough or stalls | Dirty carburetor, improper fuel mixture, air leak, old fuel. | Clean carburetor, check for air leaks, use fresh fuel. |
| Engine lacks power | Clogged air filter, restricted fuel flow, carburetor not adjusted correctly. | Clean/replace air filter, check fuel filter and lines, inspect carburetor for blockages. |
| Fuel leaks | Loose connections, damaged gaskets, float needle issue. | Tighten fuel line connections, replace gaskets, inspect float and needle valve. |
For persistent issues, consult a professional small engine mechanic.
Specifications
- Brand: CARBBIA
- Model Number: 10520
- Item Weight: 9.9 ounces
- Recommended Uses: Lawn Mower
- Compatibility: John Deere JM46, JS35, JS46, JS48 (21" 22'' Cut Walk-Behind Lawn Mower with 875Exi 190cc Engine)
Warranty and Support
For any questions regarding the CARBBIA Carburetor (Model 10520), including installation assistance or troubleshooting, please contact CARBBIA customer support. Refer to your purchase documentation for specific warranty details.
You can often find support contact information on the seller's page or through the platform where the product was purchased.