DL-pro 481290508681
DL-pro Dishwasher Upper Spray Arm User Manual
Model: 481290508681 | Brand: DL-pro
Product Overview
This manual provides essential information for the installation, operation, and maintenance of your DL-pro upper spray arm, a high-quality replacement part designed for various dishwasher models. This component is crucial for effective dish cleaning by distributing water evenly to the upper rack.

Image: The DL-pro upper spray arm, a grey plastic component with a central connection point and multiple spray nozzles along its length.
Compatibility
The DL-pro upper spray arm (part number 481290508681) is compatible with a wide range of dishwasher models from various manufacturers. Please verify your appliance's compatibility using the list below or by comparing your existing part with the provided images and dimensions.
- Bauknecht: 481290508681, GMI, GMX, GSX, GSI, etc.
- Indesit: C00313690
- Smeg: 694570055, 694570054, 694570071, 694570072, 694570111
- Gorenje: 792954, 159860, 163706, 790959
- Küppersbusch / TEKA: 436402 (replaces 434008, 436404, 437772), 81722023
- Ignis: ADX
- Ikea: DWH
- Whirlpool: ADGR, ADG, WP, etc.
- KitchenAid: KDSXS 82131
- Franke: 1330057171
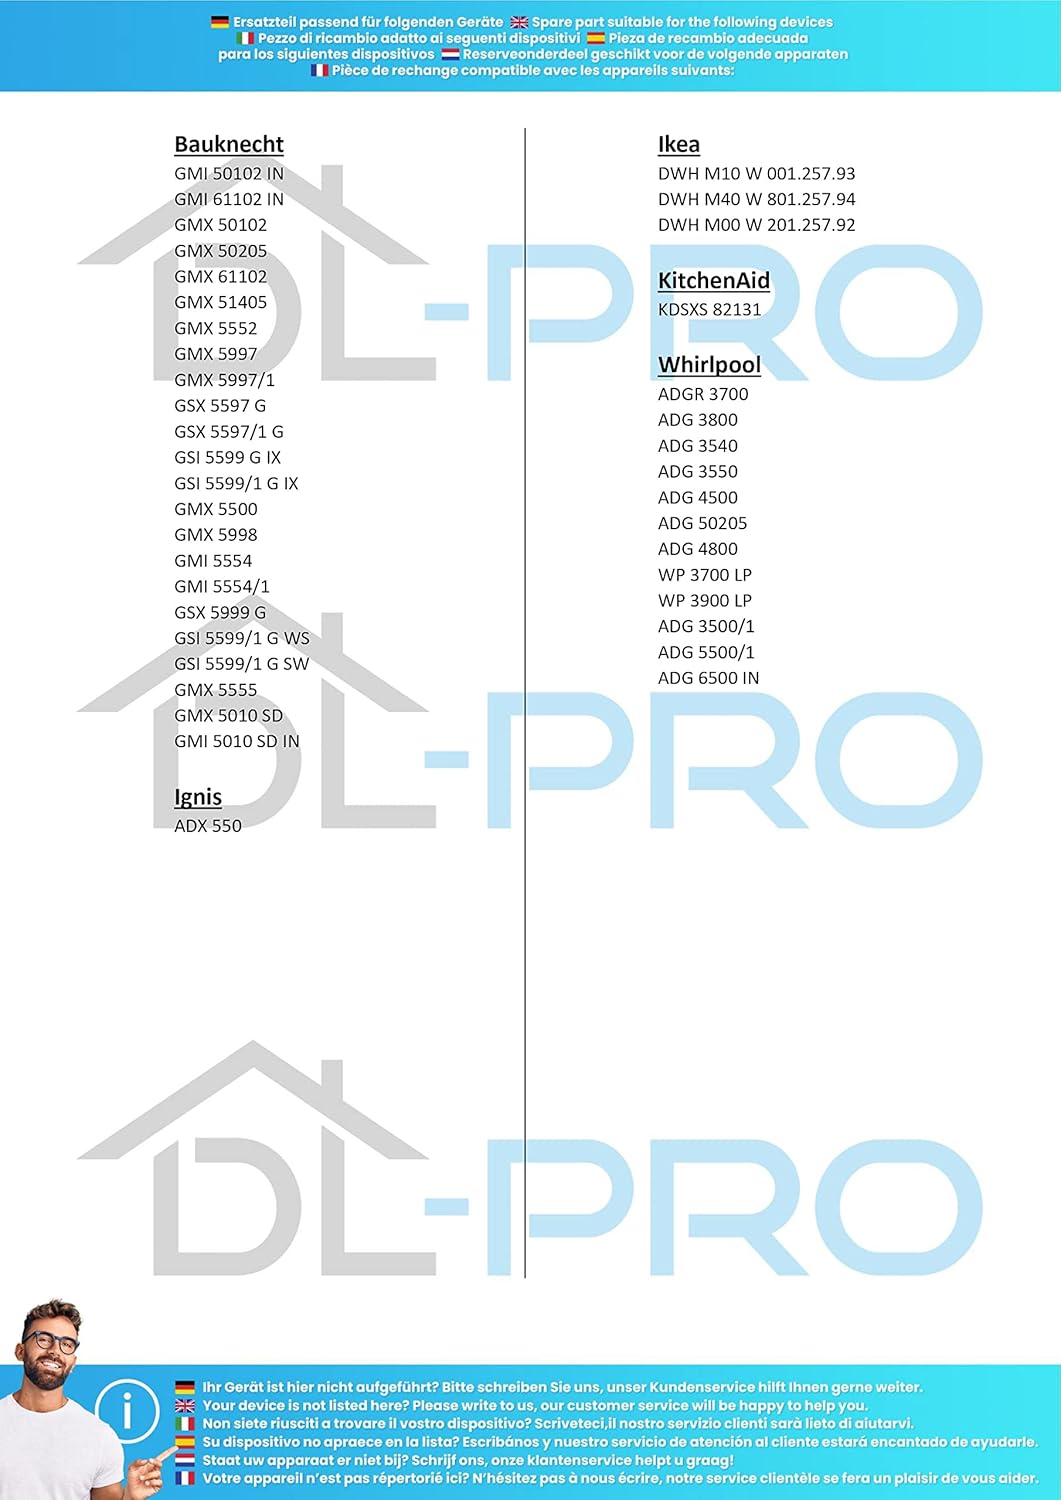
Image: A detailed list of compatible dishwasher models and brands for the DL-pro upper spray arm.
Installation (Setup)
Replacing the upper spray arm is a straightforward process. Follow these steps carefully to ensure proper installation and function.
- Safety First: Before beginning, ensure your dishwasher is unplugged from the power outlet and the water supply is turned off.
- Open Dishwasher Door: Fully open the dishwasher door to access the interior.
- Remove Upper Rack: Carefully pull out the upper dish rack. In some models, you may need to remove the rack completely to gain better access to the spray arm.
- Remove Old Spray Arm: The upper spray arm is typically held in place by a central locking mechanism or simply slides onto a water supply tube.
- For screw-on types: Unscrew the central nut or collar counter-clockwise.
- For clip-on/slide-on types: Gently pull down or unclip the old spray arm from its mounting point.
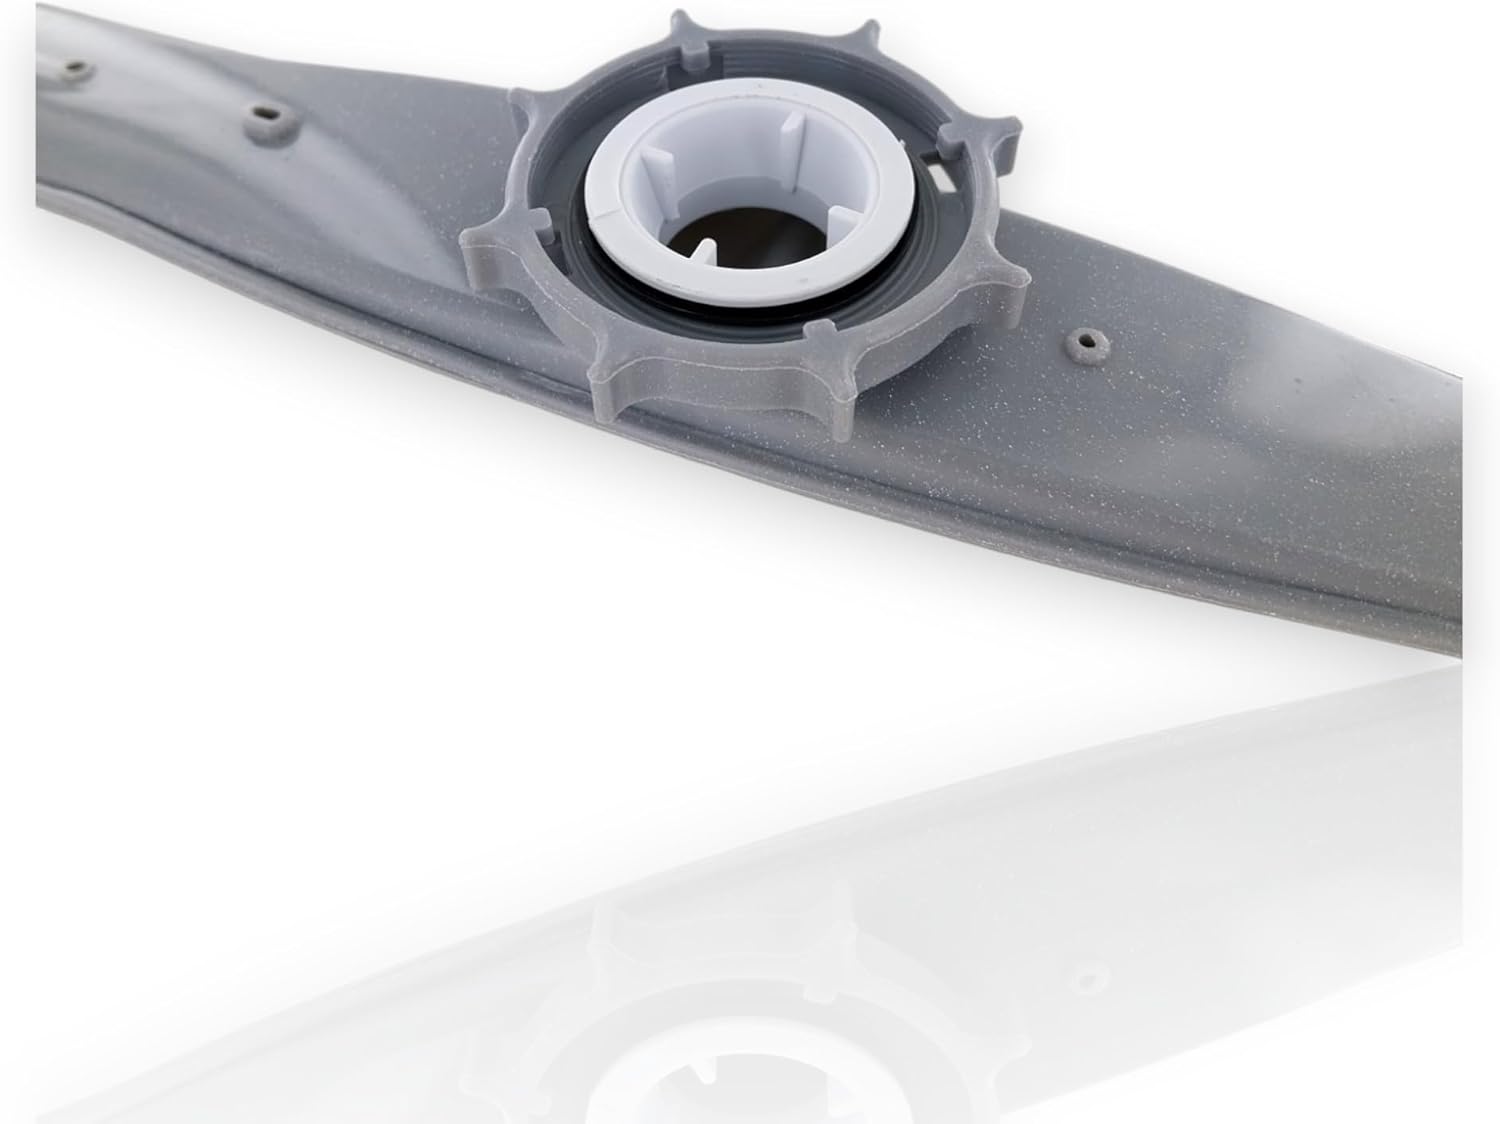
Image: Close-up view of the central connection point of the spray arm, showing the mechanism for attachment.
- Install New Spray Arm: Take your new DL-pro upper spray arm.
- Align the central opening of the new spray arm with the water supply tube or mounting post in the dishwasher.
- Push it firmly into place or screw it on clockwise until secure. Ensure it can rotate freely without obstruction.
- Reinstall Upper Rack: Slide the upper dish rack back into its position.
- Test Functionality: Close the dishwasher door, plug the appliance back in, and turn on the water supply. Run a short cycle to check for proper water distribution and ensure there are no leaks.
Operation
Once installed, the upper spray arm operates automatically as part of your dishwasher's wash cycle. For optimal performance:
- Ensure dishes are loaded correctly, allowing the spray arm to rotate freely and water to reach all surfaces.
- Avoid placing tall items directly beneath the spray arm that could obstruct its rotation or block the spray nozzles.
Maintenance
Regular maintenance of your spray arm helps ensure efficient cleaning and extends its lifespan.
- Check for Blockages: Periodically inspect the small holes (nozzles) on the spray arm for food particles, mineral deposits, or other debris.

Image: Close-up view of the spray arm's nozzles, which can become clogged over time.
- Cleaning the Spray Arm: If blockages are found, remove the spray arm as described in the "Installation" section. Rinse it under running water. Use a toothpick or a small brush to clear any stubborn debris from the nozzles.
- Mineral Deposits: For hard water deposits, soak the spray arm in a solution of white vinegar and water for 30 minutes, then scrub and rinse thoroughly.
- Reinstall: Reinstall the clean spray arm, ensuring it is securely attached and can rotate freely.
Troubleshooting
If you experience issues with your dishwasher's cleaning performance after installing the new spray arm, consider the following:
- Poor Cleaning Results (Upper Rack):
- Check if the spray arm nozzles are clogged. Refer to the "Maintenance" section for cleaning instructions.
- Ensure the spray arm is securely attached and can rotate freely. Obstructions from tall dishes can prevent rotation.
- Verify water pressure to the dishwasher is adequate.
- Unusual Noise:
- Confirm the spray arm is not hitting any dishes or the dishwasher interior during rotation. Adjust dish loading if necessary.
- Ensure the spray arm is correctly seated on its mounting post.
- Water Leaks:
- While unlikely to be caused by the spray arm itself, ensure the connection point is secure and there are no cracks in the spray arm.
Specifications
| Feature | Detail |
|---|---|
| Part Number | 481290508681 |
| Manufacturer | DL-pro |
| Dimensions (L x W x H) | 45.5 x 5.8 x 2.7 cm (approximately 455 mm x 58 mm x 27 mm) |
| Weight | 60 g |
| Color | Grey |
| Material | Plastic |
| Position | Upper |
Warranty and Support
DL-pro is committed to providing high-quality replacement parts. This product is manufactured to meet stringent quality standards. For any questions regarding installation, compatibility, or product performance, please contact your retailer or the DL-pro customer support. Always refer to your dishwasher's original manufacturer manual for specific appliance-related instructions and safety guidelines.

Image: The official DL-pro brand logo, signifying quality and reliability.
no relevant documents
Ask a question about this manual
Ask about setup, troubleshooting, compatibility, parts, safety, or missing instructions. Manuals+ will review the question and use this page’s manual context to help answer it.