Introduction
The iZEEKER iG200 Trail Camera is designed for capturing high-quality photos and videos of wildlife or for security surveillance. Featuring 32MP photo resolution, 1080P video recording, and 940nm no-glow infrared LEDs, it operates discreetly day and night. Its IP66 waterproof rating ensures reliable performance in various outdoor conditions. This manual provides essential information for setting up, operating, and maintaining your camera.
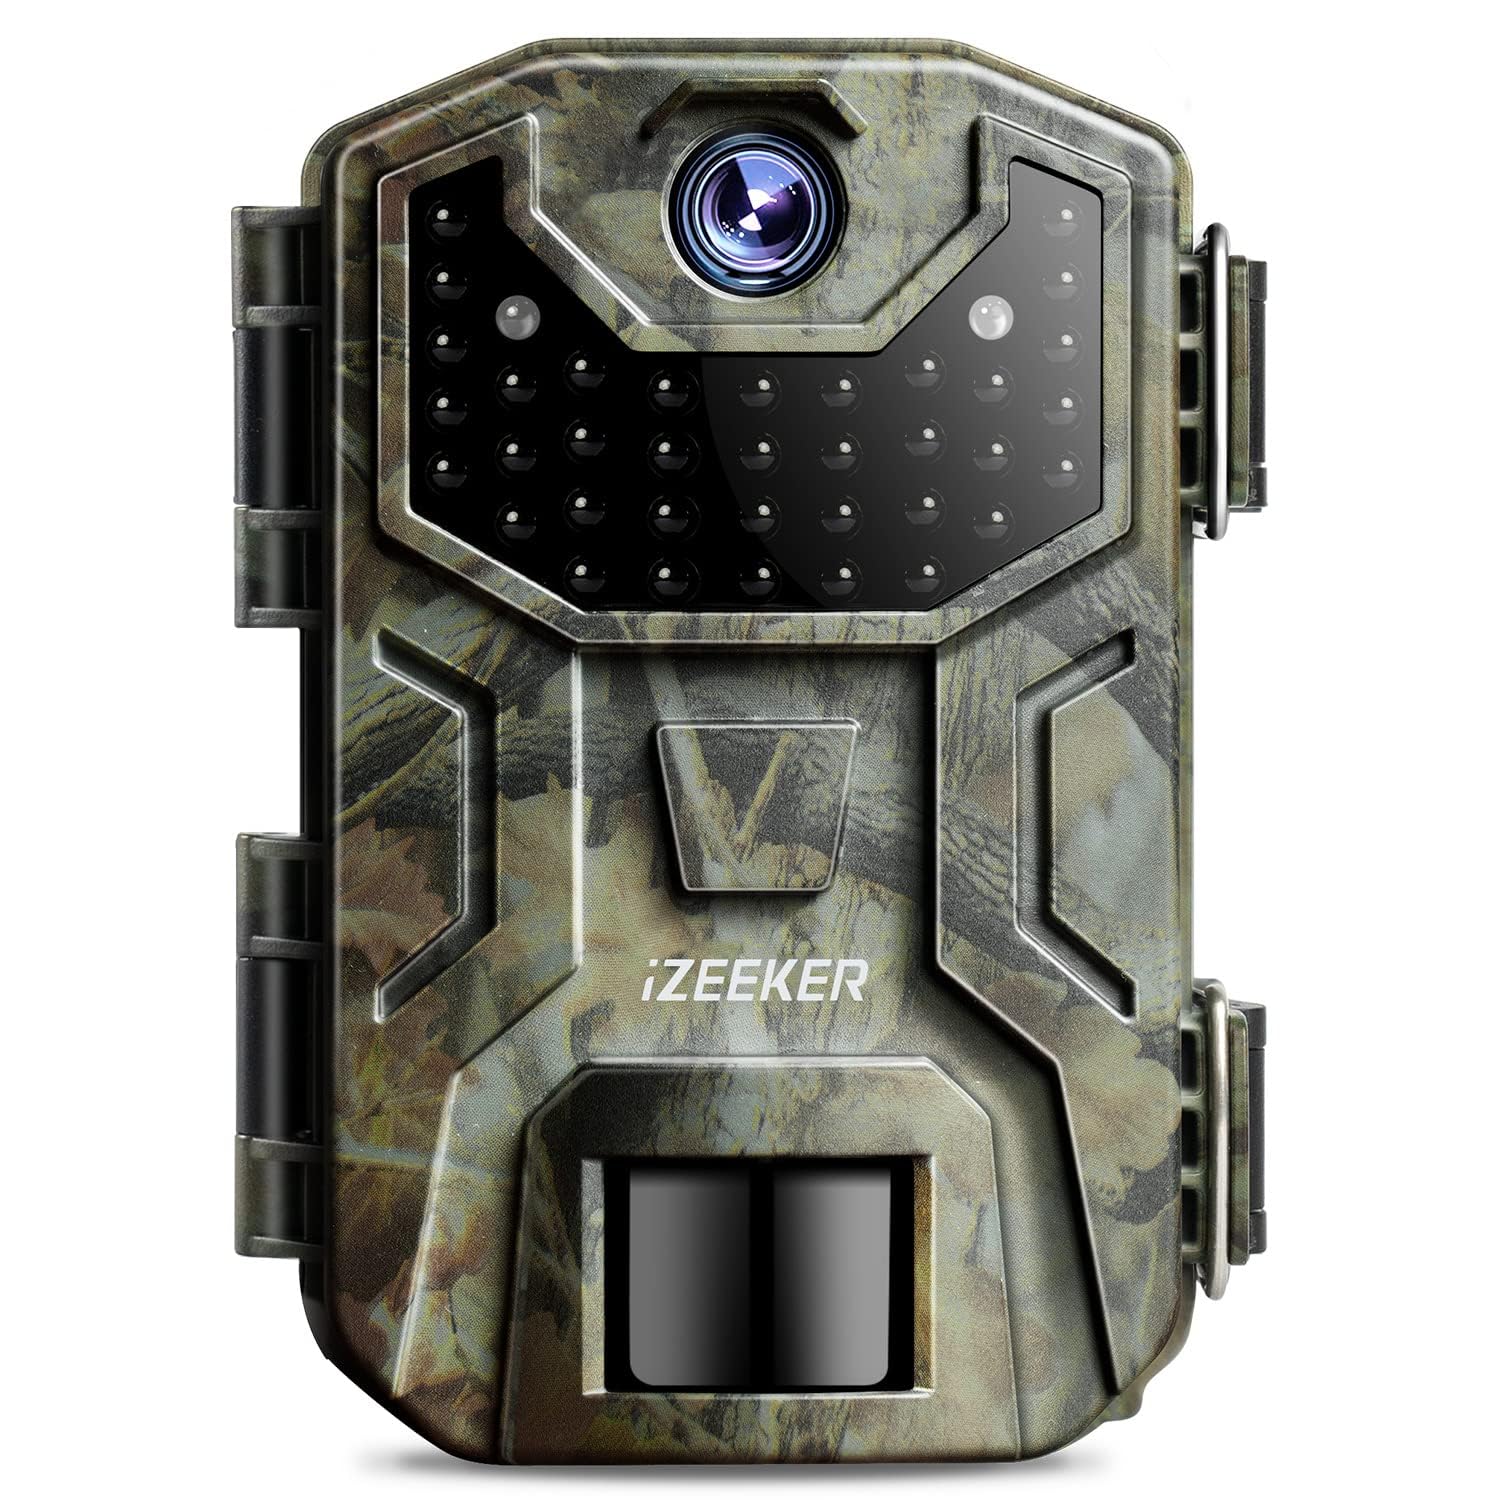
Image: The iZEEKER iG200 Trail Camera, highlighting its 940nm no-glow infrared LEDs for invisible night operation.
Package Contents
Please check the package contents upon unboxing to ensure all items are present:
- 1 x iZEEKER iG200 Trail Camera
- 1 x USB Cable
- 1 x User Manual
- 1 x Mounting Strap
Note: SD card and batteries are NOT included and must be purchased separately.

Image: Contents of the iZEEKER iG200 Trail Camera package, including the camera, USB cable, user manual, and mounting strap.
Setup
1. Battery Installation
- The camera requires 4 or 8 high-quality AA alkaline batteries. High-quality rechargeable AA batteries can also be used.
- Open the battery compartment located at the bottom of the camera.
- Insert the batteries according to the polarity markings (+/-) inside the compartment.
- Close the battery compartment securely to maintain the IP66 waterproof seal.
2. SD Card Installation
- The camera supports SD/SDHC cards of Class 6 or higher, up to 32GB. Do not use micro SD cards with adapters.
- Ensure the camera is in the OFF position before inserting or removing the SD card.
- Locate the SD card slot on the right side of the camera body.
- Insert the SD card until it clicks into place.
- Important: For first-time use, format the new SD card in the camera's TEST mode. If using an old card, format it to FAT32 on a computer before inserting it into the camera.
3. External Power (Optional)
- The iG200 camera is compatible with a 6V 2A external power supply.
- The appropriate plug size is 3.5 x 1.35 mm.
- This option is useful for extended use, such as in a garden setting.
4. Mounting the Camera
- Use the provided mounting strap to secure the camera to a tree or pole.
- The camera's LCD screen and lens are both front-facing, allowing for easy adjustment of the angle and position during installation.

Image: The iZEEKER iG200 camera with its front-facing LCD screen and lens, simplifying aiming and setup.

Image: The iZEEKER iG200 trail camera mounted on a tree, demonstrating its IP66 waterproof design for all-weather protection.
Operating Instructions
1. Powering On/Off
- To power on the camera, slide the mode switch to the ON position.
- To power off, slide the mode switch to the OFF position.
2. Menu Navigation and Settings
- The camera features an intuitive user interface with ergonomic menu buttons and bright icons for easy navigation, even in low light.
- Access the menu in TEST mode to configure settings such as:
- Photo Resolution: Select from 20 MP, 16 MP, 12 MP, 8 MP, 5 MP, or 2 MP.
- Video Resolution: Choose between 1080P, 720P, or 480P.
- PIR Sensitivity: Adjust the motion sensor sensitivity.
- Trigger Speed: The camera boasts a fast 0.2-second trigger speed.
- Continuous Shots: Capture up to 3 continuous shots per trigger event.
- Timer: Set specific operating times for the camera.
- Time-Lapse: Enable time-lapse photography.
- Slideshow: View captured media as a slideshow.
- Write Protection: Protect important files from accidental deletion.
- Password Protection: Secure your camera with a password.
- Cycle Storage (Loop Recording): Enable this setting for continuous recording, overwriting the oldest files when the SD card is full.
- The camera automatically switches between day (color) and night (black and white infrared) shooting modes.

Image: Comparison of day and night vision capabilities, showcasing the camera's ability to capture clear images in both conditions.

Image: Illustrates the camera's rapid 0.2-second trigger speed, designed to capture fast-moving subjects without delay.
Maintenance
1. Cleaning
- Gently wipe the lens and IR LEDs with a soft, lint-free cloth to remove dirt or smudges.
- Clean the camera body with a damp cloth as needed. Avoid harsh chemicals.
- Ensure the LCD screen is clean for clear viewing of settings and captured media.
2. Battery Management
- Regularly check battery levels, especially before deploying the camera for extended periods.
- Replace all batteries simultaneously to ensure consistent power.
- If using rechargeable batteries, ensure they are fully charged.
3. SD Card Management
- Periodically transfer captured photos and videos to a computer to free up space on the SD card.
- Format the SD card regularly (e.g., once a month or after each major use) to maintain optimal performance and prevent data corruption.
4. Waterproof Seal
- Ensure the battery compartment and SD card slot covers are always securely closed to maintain the IP66 waterproof rating.
- Inspect the rubber seals for any signs of wear or damage and replace if necessary.
Troubleshooting
1. Blurry Night Photos / Overexposed Images
- Issue: Night photos appear blurry or overexposed, especially at close range.
- Solution: The infrared illumination might be too powerful for very close subjects. Try positioning the camera further away from the target (e.g., more than 5 meters). The IR flash is more effective at longer distances.
2. Moisture or Fogging Inside Lens
- Issue: Condensation or fog appears inside the lens, affecting image clarity.
- Solution: This can occur due to significant temperature variations or high humidity. Ensure the camera's battery compartment and SD card slot are completely sealed. If possible, avoid placing the camera in areas prone to extreme humidity or rapid temperature changes. Allow the camera to air dry in a warm, dry environment if moisture is present.
3. Camera Not Turning On
- Solution: Check if the batteries are inserted correctly with the correct polarity. Ensure the batteries have sufficient charge. Try replacing with a fresh set of batteries. Verify that the mode switch is firmly in the ON position.
4. Camera Not Recording
- Solution: Ensure an SD card is properly inserted and formatted. Check if the SD card is full; if so, transfer data and format it. Verify that the camera is in the correct operating mode (e.g., ON mode, not TEST mode for active recording). Check PIR sensitivity settings.
Specifications
| Feature | Specification |
|---|---|
| Model Number | iG200 |
| Photo Resolution | 32MP (Effective), 20MP, 16MP, 12MP, 8MP, 5MP, 2MP |
| Video Resolution | 1080P, 720P, 480P (AVI format) |
| Night Vision Distance | 65 feet (20 meters) |
| IR Flash | 38 No-Glow 940nm LEDs |
| Detection Angle | 90° |
| Lens Angle | 55° |
| Screen | 2.0-inch Color TFT LCD |
| Operating Temperature | -4°F to 140°F (-20°C to 60°C) |
| Waterproof Rating | IP66 |
| Power Source | 4 or 8 AA Batteries (not included), 6V 2A External Power (3.5 x 1.35 mm) |
| SD Card Support | Class 6 or higher, up to 32GB (not included) |
| Trigger Speed | 0.2 seconds |
| Dimensions (L x W x H) | 14.5 x 10.5 x 6.8 cm |
| Weight | 490 grams |
| Connectivity Technology | Wired |
| Control Method | Remote Control |
Warranty and Support
iZEEKER products are designed for reliability and performance. For specific warranty details, please refer to the warranty card included in your product packaging or visit the official iZEEKER website.
If you encounter any issues or have questions regarding your iG200 Trail Camera, please contact iZEEKER customer support. Our team is dedicated to providing assistance and ensuring your satisfaction.
- Online Support: Visit the official iZEEKER website for FAQs, troubleshooting guides, and contact information.
- Email Support: Refer to your product packaging or the official website for the customer service email address.