
1. Introduction
This user manual provides detailed instructions for the installation, operation, and maintenance of your Supersonic SC-5008NVR 8-Channel 1080P NVR Security Camera System. Please read this manual thoroughly before using the product to ensure proper setup and optimal performance. Keep this manual for future reference.
2. Safety Information
To prevent injury to yourself or others, or damage to your device, read all safety information before using the device.
- Electrical Safety: Ensure all power connections are secure and use only the provided power adapters. Do not overload electrical outlets.
- Installation: Install cameras in a secure location, away from direct sunlight, heat sources, and excessive moisture. Ensure proper ventilation for the NVR unit.
- Water Resistance: The cameras are designed for indoor and outdoor use with IP66 weatherproof protection. However, avoid submerging them in water.
- Handling: Do not drop, strike, or shake the device. This may cause malfunction.
- Cleaning: Use a soft, dry cloth for cleaning. Do not use harsh chemicals or abrasive cleaners.
3. Package Contents
Verify that all items listed below are included in your package. If any items are missing or damaged, please contact Supersonic customer support.
- 1 x 8-Channel 1080P NVR (Network Video Recorder) with 1TB HDD
- 8 x 1080P Wireless IP Cameras
- 9 x Power Adapters (1 for NVR, 8 for cameras)
- 1 x USB Mouse
- 1 x Ethernet Cable
- 1 x User Manual (this document)
- Mounting Screws and Plugs for Cameras
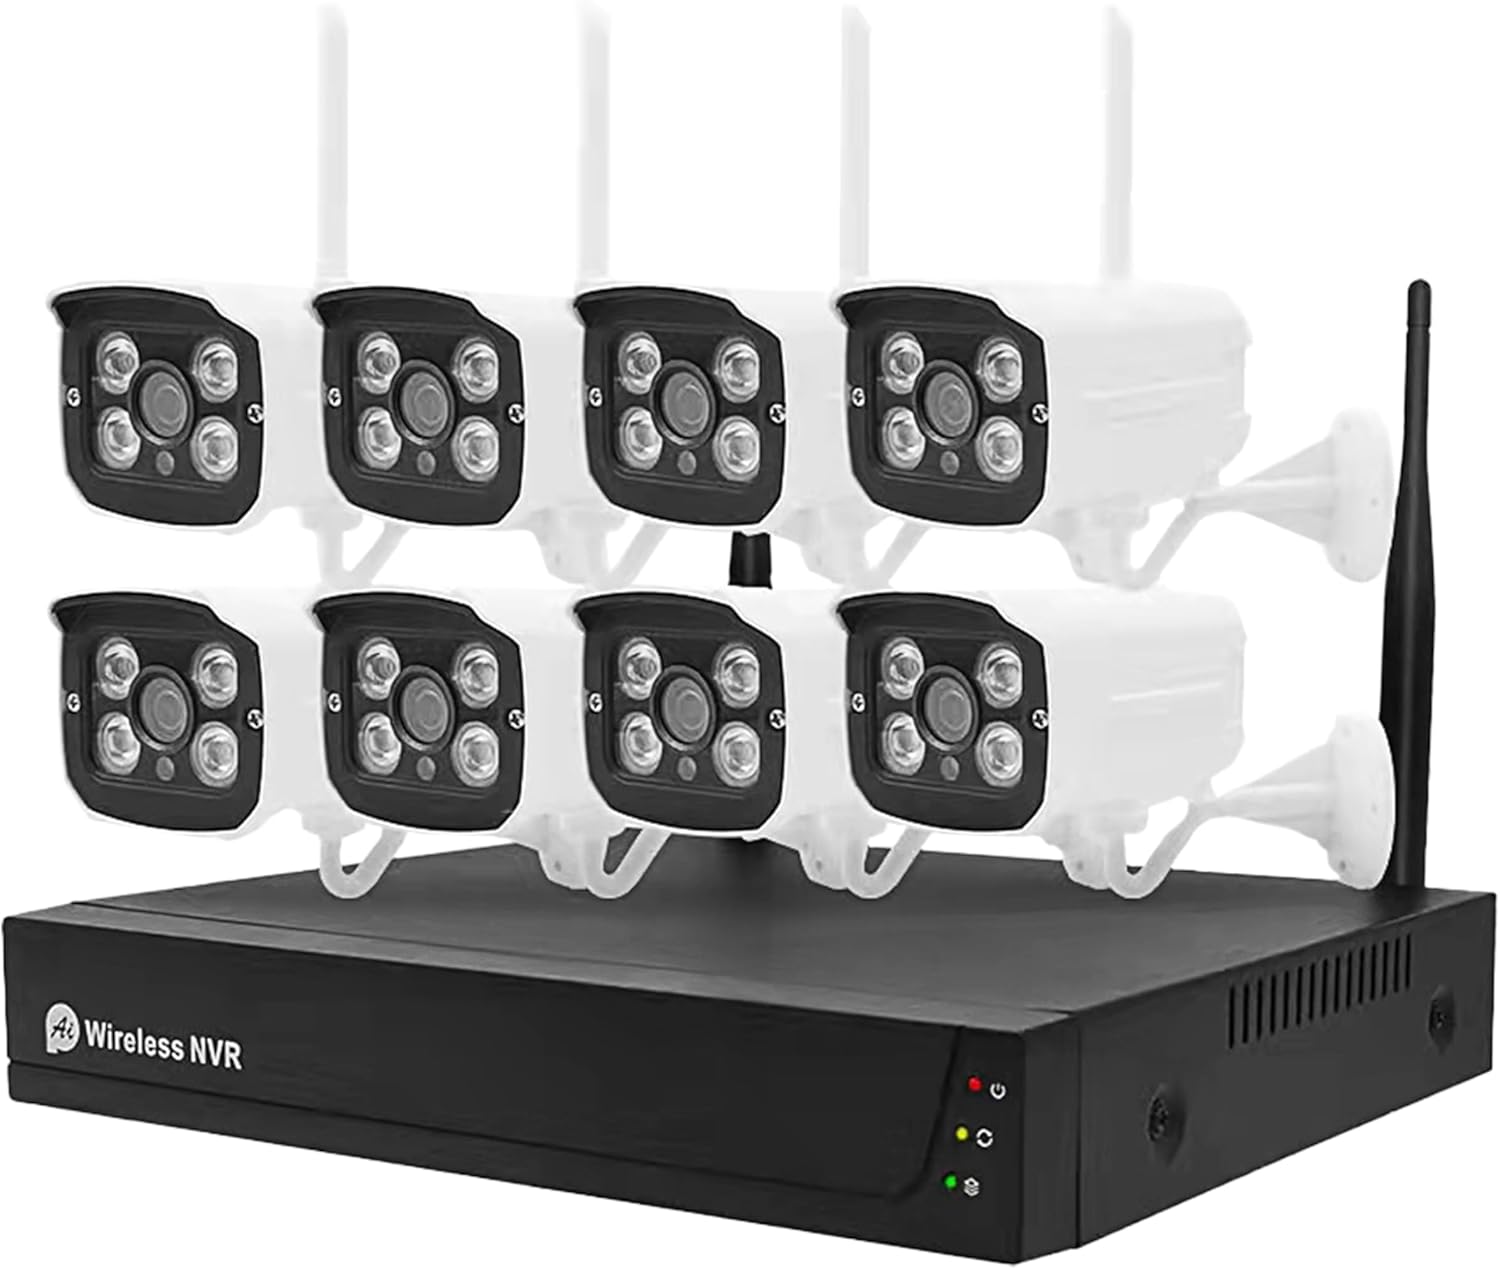
Image: Complete Supersonic SC-5008NVR system including the NVR unit and eight wireless IP cameras.
4. Setup
4.1 NVR Connection
- Connect the included USB mouse to a USB port on the NVR.
- Connect a monitor to the NVR's HDMI or VGA output port.
- Connect the NVR to your router using the provided Ethernet cable for network access and remote viewing.
- Connect the NVR power adapter to the DC 12V input port and plug it into a power outlet. The NVR will power on automatically.

Image: Front and top view of the Supersonic NVR unit, showing its compact design and external antennas for wireless camera connection.
4.2 Camera Installation
The cameras are pre-paired with the NVR for plug-and-play setup. Simply power them on and they will connect automatically.
- Choose suitable locations for your cameras, ensuring they have a clear field of view and are within range of the NVR's wireless signal.
- Mount each camera securely using the provided screws and wall plugs.
- Connect each camera to its dedicated power adapter and plug it into a power outlet.
- Adjust the camera angle to cover the desired monitoring area.
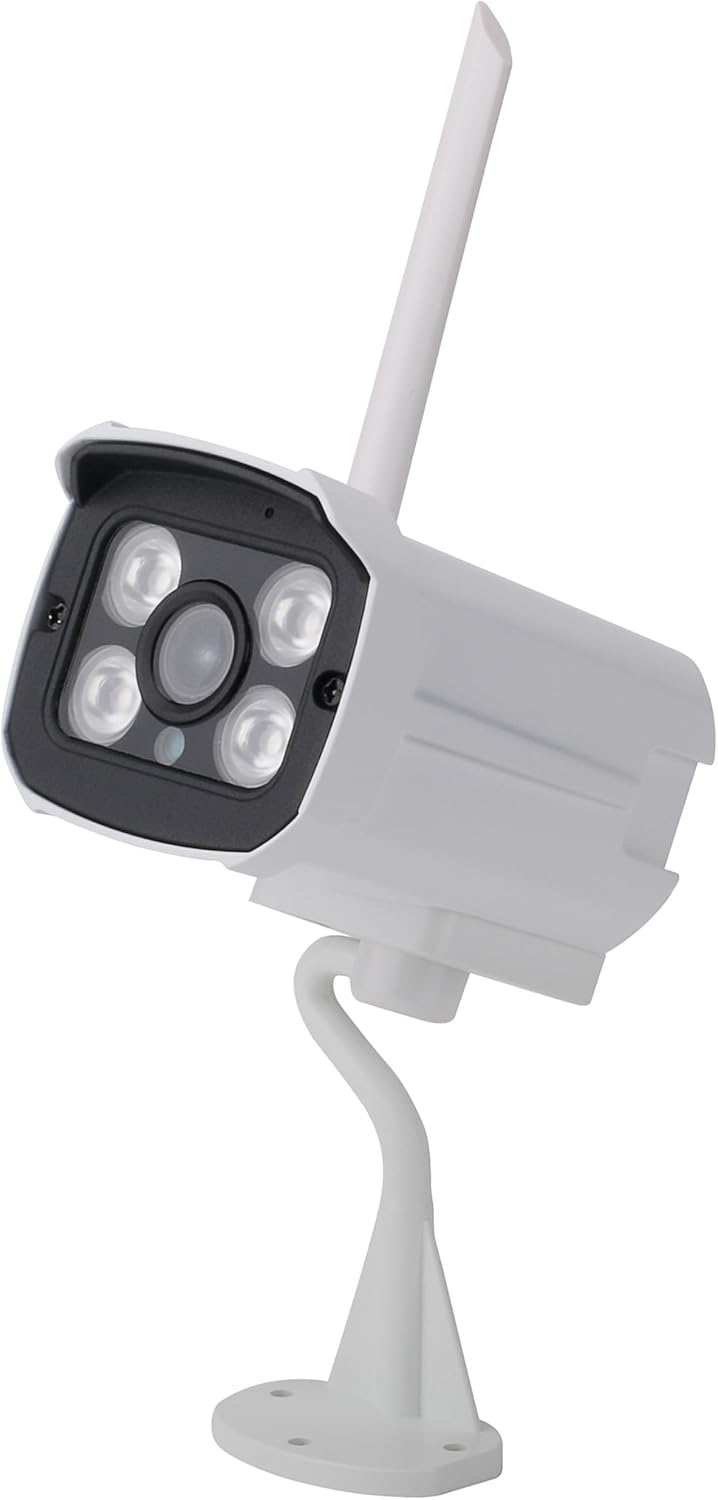
Image: A single Supersonic wireless IP camera, highlighting its adjustable mounting bracket and antenna.
4.3 Initial Configuration
Upon first boot, the NVR may guide you through a setup wizard. Follow the on-screen prompts to set up:
- Language: Select your preferred language.
- Date and Time: Set the correct date, time, and time zone.
- Network Settings: Confirm network connection (DHCP recommended for automatic setup).
- Password: Create a strong password for the NVR administrator account.
5. Operating the System
5.1 Live View
Once cameras are connected, the NVR will display live video feeds on the connected monitor. You can switch between single-camera view and multi-camera grid view using the NVR interface.
5.2 Recording Settings
The NVR supports various recording modes:
- Continuous Recording: Records 24/7.
- Motion Detection Recording: Records only when motion is detected. Configure motion detection zones and sensitivity in the NVR settings.
- Scheduled Recording: Records during specific times of the day or week.
Access recording settings via the NVR's main menu (right-click with mouse).
5.3 Playback
To review recorded footage:
- From the main menu, select 'Playback'.
- Choose the camera(s) and date you wish to review.
- Use the timeline to navigate through recorded events.
5.4 Remote Access (Mobile App)
Monitor your system remotely using the dedicated mobile app (compatible with Android and Apple devices). Search for the app name (usually indicated on the NVR interface or packaging) in your device's app store.
- Download and install the app.
- Register an account if required.
- Add your NVR by scanning the QR code on the NVR or manually entering its ID.
- Ensure your NVR is connected to the internet for remote access.
5.5 Two-Way Audio
Some cameras may support two-way audio. If your cameras have this feature, you can communicate through the camera's built-in microphone and speaker via the NVR interface or mobile app.

Image: Illustrates the camera's performance in various conditions: clear 1080P daytime monitoring, weather-resistant IP66 housing during rain, and infrared night vision up to 65 feet.
6. Maintenance
- Cleaning: Regularly clean the camera lenses with a soft, lint-free cloth to ensure clear image quality. Clean the NVR unit's vents to prevent dust buildup.
- Hard Drive Management: The 1TB HDD can store weeks of footage. The system is configured to overwrite the oldest footage when the disk is full. You can adjust recording quality or schedule to optimize storage. The NVR supports up to 6TB via SATA.
- Firmware Updates: Periodically check the Supersonic website or the NVR's system settings for available firmware updates to ensure optimal performance and security.
7. Troubleshooting
| Problem | Possible Cause | Solution |
|---|---|---|
| No video display on monitor | Loose video cable; NVR not powered on; Incorrect monitor input. | Check HDMI/VGA cable connection; Ensure NVR power adapter is plugged in; Select correct input on monitor. |
| Cameras not connecting to NVR | Camera not powered; Out of wireless range; Interference. | Ensure cameras are powered on; Relocate camera closer to NVR; Reduce wireless interference (e.g., move router). |
| No remote access via mobile app | NVR not connected to internet; Incorrect app settings; Firewall issues. | Verify NVR's network connection; Double-check app settings and NVR ID; Consult your router's manual for port forwarding if necessary. |
| Poor image quality / Night vision not working | Dirty lens; Insufficient IR light; Obstruction. | Clean camera lens; Ensure no obstructions are blocking the IR LEDs; Check camera's power supply. |
| No recording | Recording schedule not set; Motion detection not configured; HDD full or faulty. | Check recording settings in NVR; Verify motion detection is enabled and configured; Check HDD status in NVR settings. |
8. Specifications
| Feature | Specification |
|---|---|
| Model | SC-5008NVR |
| Video Capture Resolution | 1080p (1920x1080) |
| Number of Channels | 8 |
| Memory Storage Capacity | 1 TB (expandable up to 6TB via SATA) |
| Connectivity Technology | Wireless (WiFi 802.11b/g/n) |
| Special Features | IP66 Water Proof, Mobile Surveillance, Motion Sensor, Night Vision, Two-Way Audio |
| Operating System | Linux |
| Recommended Use | Outdoor |
| Compatible Devices | Smartphones (Android, Apple) |
| Frame Rate | 30fps |
| Video Compression | H.265+ |
| Dimensions (NVR) | 5.5 x 3.34 x 2.95 inches |
| Item Weight | 10.35 pounds (total system) |
9. Warranty and Support
Supersonic products are designed for reliability and performance. For specific warranty details, please refer to the warranty card included with your product or visit the official Supersonic website. If you encounter any issues not covered in this manual or require further assistance, please contact Supersonic customer support.
Supersonic Customer Support:
- Refer to the contact information provided on the product packaging or the official Supersonic website (www.supersonicinc.com).