1. Introduction
Thank you for choosing the Cyetus Neo 3-in-1 Espresso Machine. This appliance is designed to provide a premium coffee experience at home, featuring an integrated grinder, a 15-bar Italian pump for rich espresso, and a steam wand for milk frothing. This manual will guide you through the setup, operation, and maintenance of your machine to ensure optimal performance and longevity.

Figure 1: Front view of the Cyetus Neo Espresso Machine.
2. Important Safety Instructions
Please read all instructions carefully before using the appliance. Keep this manual for future reference.
- Always connect the machine to a grounded power outlet.
- Do not immerse the appliance, power cord, or plug in water or other liquids.
- Keep hands and cords away from hot surfaces and steam.
- Unplug the machine before cleaning and when not in use.
- Do not operate the machine with a damaged cord or plug.
- This appliance is for household use only.
3. Product Components
The Cyetus Neo Espresso Machine comes with the following components:

Figure 2: Overview of included components.
- Main Unit
- Portafilter
- Filter Baskets (for single and double shots)
- Bean Hopper
- Milk Jug
- Cleaning Pin
- Cleaning Brush
- Tamper
- Portafilter Pad
4. Setup
- Unpacking: Carefully remove all packaging materials and ensure all components are present.
- Placement: Place the machine on a stable, level, and heat-resistant surface, away from water sources.
- Water Tank: Remove the water tank from the back of the machine, fill it with fresh, cold water (minimum 1000ml for automatic cleaning), and securely place it back.
- Bean Hopper: Install the bean hopper on top of the machine. Adjust the grind setting to your preference. For espresso, a setting between 3-4 is recommended.
- Power On: Plug the machine into a grounded outlet and press the 'POWER' button to turn it on. The machine will begin heating up.
5. Operating Instructions
5.1 Grinding Coffee Beans
- Ensure the bean hopper is filled with fresh coffee beans.
- Place the appropriate filter basket (single or double) into the portafilter.
- Attach the portafilter to the grinding outlet and press down to activate the grinder. Coffee grounds will dispense into the portafilter.
- Remove the portafilter and use the tamper to firmly press the coffee grounds. The tamped coffee should be level and compact.

Figure 3: Adjusting the grind size for optimal espresso extraction.
5.2 Espresso Extraction
- After grinding and tamping, securely attach the portafilter to the brewing head.
- Place your cup(s) under the portafilter spouts.
- Press the 'SINGLE' or 'DOUBLE' cup button to start the espresso extraction. The machine will automatically stop when the desired volume is reached.

Figure 4: Espresso extraction showing rich crema.
Video 1: Demonstrates the process of espresso extraction, from filling the water tank and bean hopper to grinding, tamping, and brewing a perfect shot.
5.3 Milk Frothing and Latte Art
- Fill the milk jug with cold milk. The recommended amount is approximately twice the volume of your coffee liquid.
- Press the 'STEAM/HOT WATER' button to preheat the steam wand. Be cautious as steam will be emitted.
- Once heated, insert the steam nozzle into the milk jug at an angle (approx. 45 degrees), about 1cm below the surface.
- Activate the steam by pressing the 'STEAM/HOT WATER' button again. Move the jug up and down slightly to create fine, velvety foam.
- Once the milk is frothed to your desired consistency, turn off the steam. Tap the milk jug gently on a flat surface to remove any large bubbles.
- Pour the frothed milk into your espresso, rotating the jug to create latte art.

Figure 5: Demonstrating the creation of latte art with frothed milk.
6. Maintenance and Cleaning
6.1 Steam Nozzle Cleaning
After each use of the steam nozzle, activate the steam briefly to clear any milk residue. Wipe the nozzle clean with a damp cloth immediately.
6.2 Drip Tray Cleaning
The drip tray collects excess water and coffee grounds. Regularly remove and clean the drip tray and its cover with water to maintain hygiene.
6.3 Automatic Cleaning
The machine features an automatic internal cleaning function.
- Ensure the water tank has at least 1000ml of water.
- Simultaneously press the 'SINGLE' and 'DOUBLE' buttons to initiate automatic internal cleaning.
- Once the cleaning cycle is complete, press the 'POWER' button to end the automatic cleaning process.

Figure 6: The machine's automatic cleaning function in progress.
Video 2: Detailed instructions for cleaning the steam nozzle, drip tray, and performing automatic internal cleaning.
7. Troubleshooting
If you encounter issues with your Cyetus Neo Espresso Machine, please refer to the following common solutions:
| Problem | Possible Cause | Solution |
|---|---|---|
| Machine does not power on | Not plugged in; Power button not pressed | Check power connection; Press 'POWER' button |
| No water dispensing | Water tank empty; Tank not properly seated | Refill water tank; Ensure tank is securely in place |
| Espresso flows too slowly/quickly | Grind size too fine/coarse; Tamping pressure incorrect | Adjust grind size; Adjust tamping pressure |
| Steam wand not producing steam | Steam button not activated; Nozzle clogged | Activate 'STEAM/HOT WATER' button; Clean nozzle with cleaning pin |
8. Specifications
- Brand: CYETUS
- Model: CYETUS-NEO
- Dimensions: 41cm (Depth) x 38cm (Width) x 44cm (Height)
- Weight: 10.9 kg (Package Weight)
- Color: White
- Voltage: 100 Volts
- Water Tank Capacity: 2300ml
- Pressure: 15 Bar (Italian Pump)
- Features: Integrated Grinder, Automatic Cleaning Function, Automatic Water Temperature Management, Steam Nozzle
9. Warranty and Support
The Cyetus Neo Espresso Machine comes with a 1-year warranty against manufacturer defects. This warranty does not cover malfunctions caused by water leakage, drops, fire, or other issues not attributable to manufacturing defects.
Lifetime free Japanese customer support is provided.
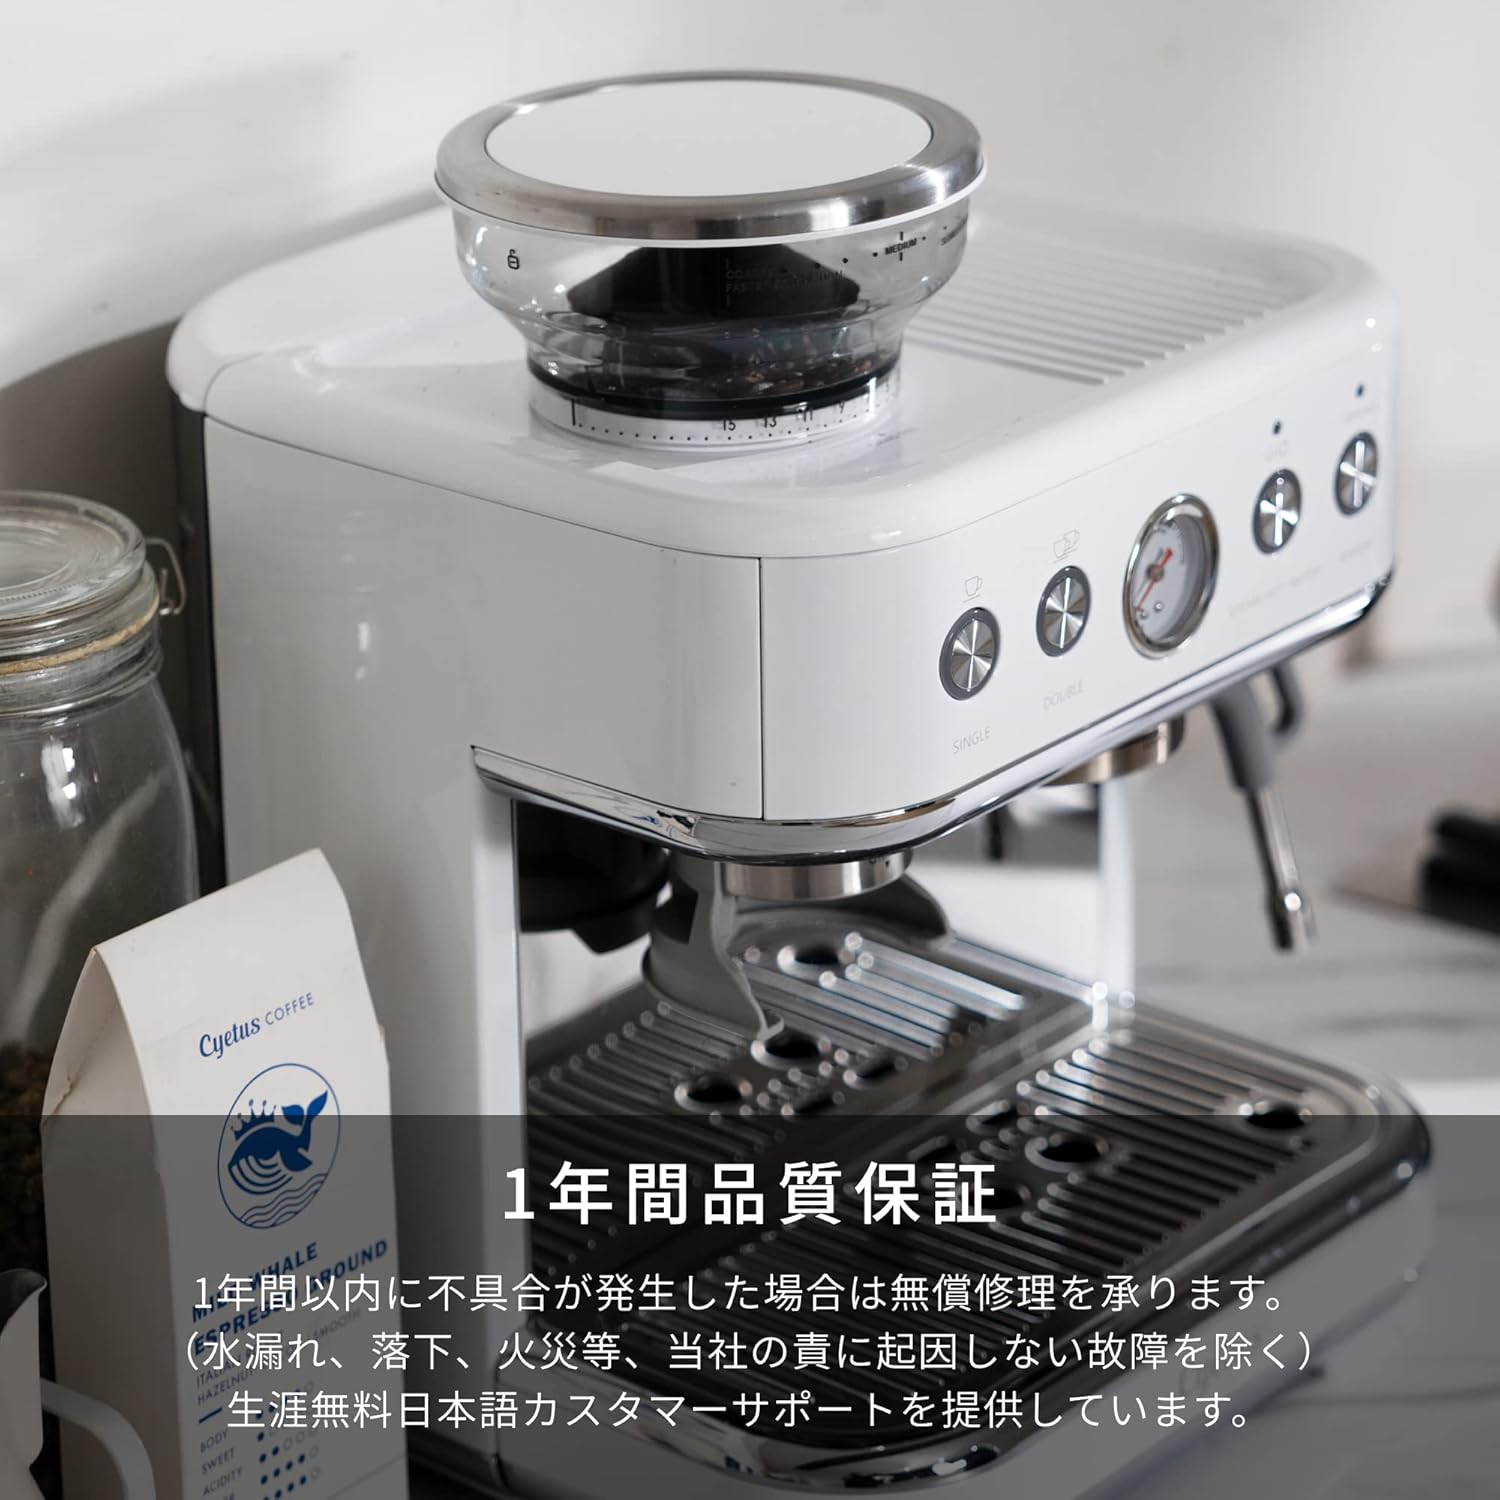
Figure 7: Warranty information for the Cyetus Neo Espresso Machine.