1. Safety Information
- Do not expose the device to water or excessive moisture. This product is not waterproof.
- Avoid extreme temperatures. Operate and store the device in a moderate environment.
- Do not disassemble or attempt to repair the device yourself. Refer all servicing to qualified personnel.
- Keep the device away from heat sources, direct sunlight, and flammable materials.
- Use only the provided USB Type-C charging cable for charging.
2. Product Overview
The TRENBADER Retro Wood Bluetooth Radio (Model Artlink) combines vintage aesthetics with modern audio technology. It features built-in speakers, a subwoofer, and supports wireless streaming via Bluetooth, as well as AM/FM radio tuning and an auxiliary input.
2.1 Key Features
- Retro wood design with elegant brass knobs.
- Bluetooth 5.4 for wireless audio streaming up to 33 feet.
- Integrated AM/FM radio tuner with rotary dial.
- Built-in speakers with a 3W full-range speaker for clear mid-range bass.
- Auxiliary (AUX) input for wired connections.
- USB Type-C charging port.
- Interchangeable faceplate design (one wooden, one colored).
- Built-in microphone for hands-free communication.
2.2 Package Contents
- 1 x TRENBADER Retro Wood Bluetooth Radio (Model Artlink)
- 1 x USB Type-C Charging Cable
- 1 x External Antenna Wire
- 1 x Replacement Faceplate (colored)
- 1 x Faceplate Removal Tool
2.3 Controls and Ports
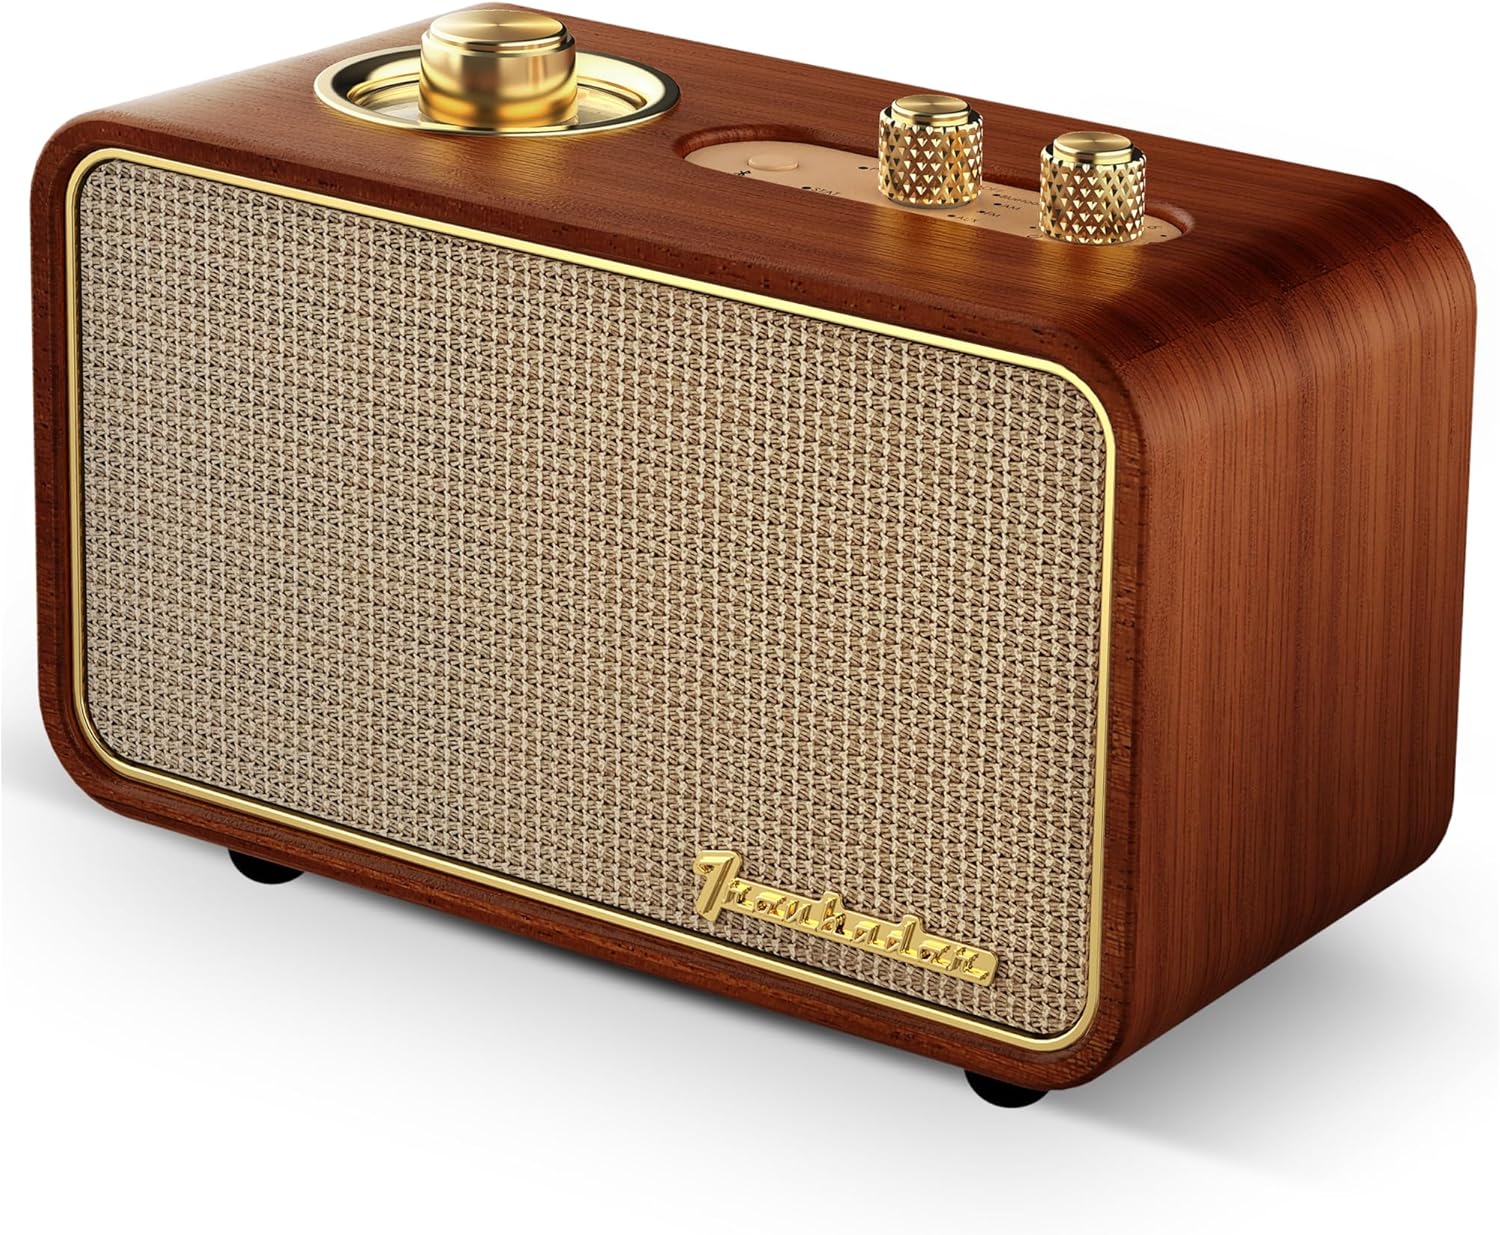
Image: Front and top view of the TRENBADER Retro Wood Bluetooth Radio, highlighting the main speaker grille and control knobs.
- Rotary Tuning Dial: Located on the top left, used for AM/FM radio frequency selection.
- Source Knob: Selects input mode (OFF, Bluetooth, AM, FM, AUX).
- Volume Knob: Adjusts audio output level.
- Bluetooth Pairing Button: Initiates Bluetooth pairing mode.

Image: Close-up of the top panel showing the rotary tuning dial, source selector, volume knob, and Bluetooth button.

Image: Rear view of the radio, indicating the AUX port (also used for antenna) and the USB Type-C charging port.
- USB Type-C Port: For charging the internal battery.
- AUX/Antenna Port: 3.5mm jack for auxiliary audio input or connecting the external FM antenna.
3. Setup
3.1 Charging the Device
- Connect the provided USB Type-C cable to the charging port on the back of the radio.
- Connect the other end of the USB cable to a compatible USB power adapter (not included) or a computer USB port.
- The charging indicator light will illuminate. The device is fully charged when the light changes color or turns off (refer to specific LED behavior in future updates if available).
3.2 Connecting the FM Antenna
For improved FM radio reception, connect the included external antenna wire to the AUX/Antenna port on the back of the radio.
3.3 Changing the Faceplate
The radio comes with an interchangeable faceplate design. To change the faceplate:
- Locate the faceplate removal tool (resembles a guitar pick) in the packaging.
- Carefully insert the tool into the small gap between the faceplate and the wooden frame.
- Gently pry the faceplate off.
- Align the desired new faceplate with the slots and press firmly until it clicks into place.

Image: Illustration demonstrating the interchangeable faceplate feature, showing the original wood faceplate and an alternative colorful design.
4. Operating Instructions
4.1 Power On/Off
To power on the device, rotate the Source knob from the 'OFF' position to any desired mode (Bluetooth, AM, FM, or AUX). To power off, rotate the Source knob back to the 'OFF' position.
4.2 Mode Selection
Rotate the Source knob on the top panel to select your desired audio source:
- Bluetooth: For wireless connection to a smartphone, tablet, or laptop.
- AM: For Amplitude Modulation radio stations.
- FM: For Frequency Modulation radio stations.
- AUX: For wired connection via a 3.5mm audio cable.
4.3 Bluetooth Pairing
- Turn on the radio and set the Source knob to 'Bluetooth'. The Bluetooth indicator light will flash, indicating it's in pairing mode.
- On your mobile device (smartphone, tablet, etc.), go to the Bluetooth settings.
- Search for available devices and select "Trenbader Artlink Pure" from the list.
- Once connected, the Bluetooth indicator light on the radio will become solid.
4.4 AM/FM Radio Tuning
- Set the Source knob to 'AM' or 'FM'.
- Rotate the Rotary Tuning Dial to scan for radio stations. The dial will illuminate to show the frequency.
- Adjust the position of the external antenna wire for optimal reception.
4.5 Auxiliary Input (AUX)
- Set the Source knob to 'AUX'.
- Connect one end of a 3.5mm audio cable (not included) to the AUX/Antenna port on the back of the radio.
- Connect the other end of the audio cable to the headphone jack or audio output of your external device.
- Play audio from your external device.
4.6 Volume Control
Rotate the Volume knob on the top panel clockwise to increase the volume and counter-clockwise to decrease it.
4.7 Using the Built-in Microphone
When connected via Bluetooth, the built-in microphone allows for hands-free communication during calls or online meetings. Ensure your connected device's audio output is set to the radio for microphone functionality.
5. Maintenance
- Cleaning: Use a soft, dry cloth to clean the exterior of the radio. Do not use liquid cleaners or abrasive materials.
- Storage: When not in use for extended periods, store the radio in a cool, dry place, away from direct sunlight and extreme temperatures.
- Battery Care: To prolong battery life, avoid fully discharging the battery frequently. Charge the device regularly, even if not in active use.
6. Troubleshooting
6.1 No Power
- Ensure the Source knob is not in the 'OFF' position.
- Check if the battery is charged. Connect the radio to a power source using the USB Type-C cable.
6.2 No Sound
- Increase the volume using the Volume knob.
- Ensure the correct source (Bluetooth, AM, FM, AUX) is selected.
- If using Bluetooth, ensure the device is properly paired and connected.
- If using AUX, ensure the audio cable is securely connected to both the radio and the external device.
6.3 Bluetooth Connected, but Sound is Quiet or Low Volume
If your Bluetooth speaker is connected but the sound is quiet or lacks sufficient volume, you may need to adjust the device type setting on your connected smartphone or tablet. Follow these steps:
- Open the Settings app on your device and tap on Bluetooth.
- Ensure Bluetooth is turned on.
- Locate "Trenbader Artlink Pure" in your list of connected devices.
- Tap the 'Information' icon (usually an 'i' in a circle) next to "Trenbader Artlink Pure".
- Select Device Type and choose Speaker from the options. This setting helps optimize audio output for speakers.

Image: Visual guide showing the steps on a mobile device to adjust Bluetooth device type settings for optimal volume.
6.4 Poor Radio Reception
- Ensure the external antenna wire is properly connected to the AUX/Antenna port.
- Adjust the position and orientation of the antenna wire for better signal.
- Try relocating the radio to an area with better signal reception.
6.5 Bluetooth Disconnection
- Ensure your device is within the 33-foot Bluetooth range.
- Check for obstacles between the radio and your connected device.
- Turn the radio off and on again, then re-attempt pairing.
- If the issue persists, 'Forget This Device' in your phone's Bluetooth settings and re-pair.
7. Specifications
| Feature | Specification |
|---|---|
| Brand | TRENBADER |
| Model Name | Artlink |
| Material | Wood |
| Product Dimensions | 2.58"D x 5.11"W x 3.58"H |
| Item Weight | 1.06 Pounds |
| Speaker Type | Sub-woofer/Tweeter |
| Speaker Maximum Output Power | 3 Watts |
| Connectivity Technology | USB, Wireless |
| Wireless Communication Technology | Bluetooth |
| Bluetooth Version | 5.4 |
| Bluetooth Range | 33 Feet |
| Power Source | Battery Powered |
| Control Method | Rotary Knobs, Button |
| Indoor/Outdoor Usage | Indoor, Outdoor |
| Water Resistance Level | Not Water Resistant |
8. Warranty and Support
This product comes with a Full Warranty. For specific warranty terms and conditions, please refer to the documentation included with your purchase or contact TRENBADER customer support.
For technical assistance or further inquiries, please visit the official TRENBADER website or contact their customer service department.