1. Introduction
This manual provides essential information and general installation guidelines for the A-Premium Engine Motor and Transmission Mount Kit. This kit is designed to replace worn or damaged engine and transmission mounts in compatible vehicles, helping to reduce engine vibration and noise for a smoother driving experience. Proper installation is crucial for optimal performance and safety.

Image 1: Engine mounts are critical components that secure the engine and transmission, absorbing vibrations.
2. Product Components
The A-Premium Engine Motor and Transmission Mount Kit includes the following four components:
- 1x Front Motor Mount
- 1x Front Transmission Mount
- 1x Upper Transmission Mount
- 1x Rear Transmission Mount

Image 2: The complete A-Premium 4-piece engine and transmission mount kit.

Image 3: Individual components of the kit, clearly labeled for identification.
3. Vehicle Compatibility
This A-Premium Engine Motor and Transmission Mount Kit is compatible with the following vehicle specifications:
- Make: Chevrolet
- Model: Cruze
- Years: 2011, 2012, 2013, 2014, 2015
- Engine: L4 1.4L
- Transmission: Automatic Transmission
Please verify your vehicle's make, model, year, engine size, and transmission type before proceeding with installation to ensure proper fitment.
4. Safety Precautions
Automotive repair can be hazardous. Always prioritize safety. If you are not confident in your ability to perform this installation, it is recommended to seek assistance from a qualified mechanic.
- Always wear appropriate personal protective equipment (PPE), including safety glasses and gloves.
- Ensure the vehicle is parked on a level surface and the parking brake is engaged.
- Disconnect the negative terminal of the battery before starting any work.
- Use jack stands to securely support the vehicle after lifting it with a jack. Never rely solely on a jack.
- Use an engine support bar or a transmission jack to safely support the engine and transmission during mount replacement.
- Refer to your vehicle's specific service manual for detailed torque specifications and procedures.
- Keep children and pets away from the work area.

Image 4: Important safety reminder regarding professional installation and vehicle-specific manuals.
5. Tools Required
The following tools are generally required for engine and transmission mount replacement:
- Vehicle Jack and Jack Stands
- Engine Support Bar or Transmission Jack
- Socket Wrench Set (various sizes)
- Combination Wrench Set (various sizes)
- Torque Wrench
- Pry Bar (optional, for leverage)
- Penetrating Oil (optional, for rusted bolts)
- Personal Protective Equipment (Safety Glasses, Gloves)
- Vehicle Service Manual (highly recommended for specific torque values and procedures)
6. Installation Instructions
These instructions provide a general overview. Always consult your vehicle's specific service manual for precise steps and torque specifications.
General Procedure:
- Prepare Vehicle: Park on a level surface, engage parking brake, and disconnect the negative battery terminal.
- Lift and Secure: Safely lift the front of the vehicle using a jack and secure it with jack stands.
- Support Engine/Transmission: Use an engine support bar or transmission jack to support the weight of the engine and transmission. This is critical to prevent damage and allow for mount removal.
- Locate Mounts: Identify the specific mount to be replaced.
- Remove Old Mount: Loosen and remove the bolts securing the old mount to the engine/transmission and the vehicle frame. Carefully remove the old mount.
- Install New Mount: Position the new A-Premium mount in place. Hand-tighten all bolts initially.
- Torque Bolts: Refer to your vehicle's service manual for the correct torque specifications for each bolt. Tighten all bolts to the specified torque.
- Lower Support: Carefully lower the engine support or transmission jack.
- Repeat for Other Mounts: Follow the same procedure for each of the remaining mounts.
- Final Steps: Reconnect the battery, lower the vehicle, and perform a final inspection.
Specific Mount Locations and Considerations:
6.1 Front Motor Mount
The front motor mount is typically located on the passenger side of the engine, connecting the engine to the vehicle's frame. Ensure adequate support for the engine before removal.

Image 5: The A-Premium Front Motor Mount, designed for precise fitment.
6.2 Front Transmission Mount
This mount is usually found on the front side of the transmission, connecting it to the subframe or chassis. Support the transmission carefully during this step.

Image 6: The A-Premium Front Transmission Mount, crucial for transmission stability.
6.3 Upper Transmission Mount
The upper transmission mount is typically located near the top of the transmission, often accessible from the engine bay. This mount helps control rotational movement.

Image 7: The A-Premium Upper Transmission Mount, designed to secure the upper part of the transmission.
6.4 Rear Transmission Mount
The rear transmission mount is usually positioned towards the rear of the transmission, connecting it to the subframe. This mount often bears significant load.
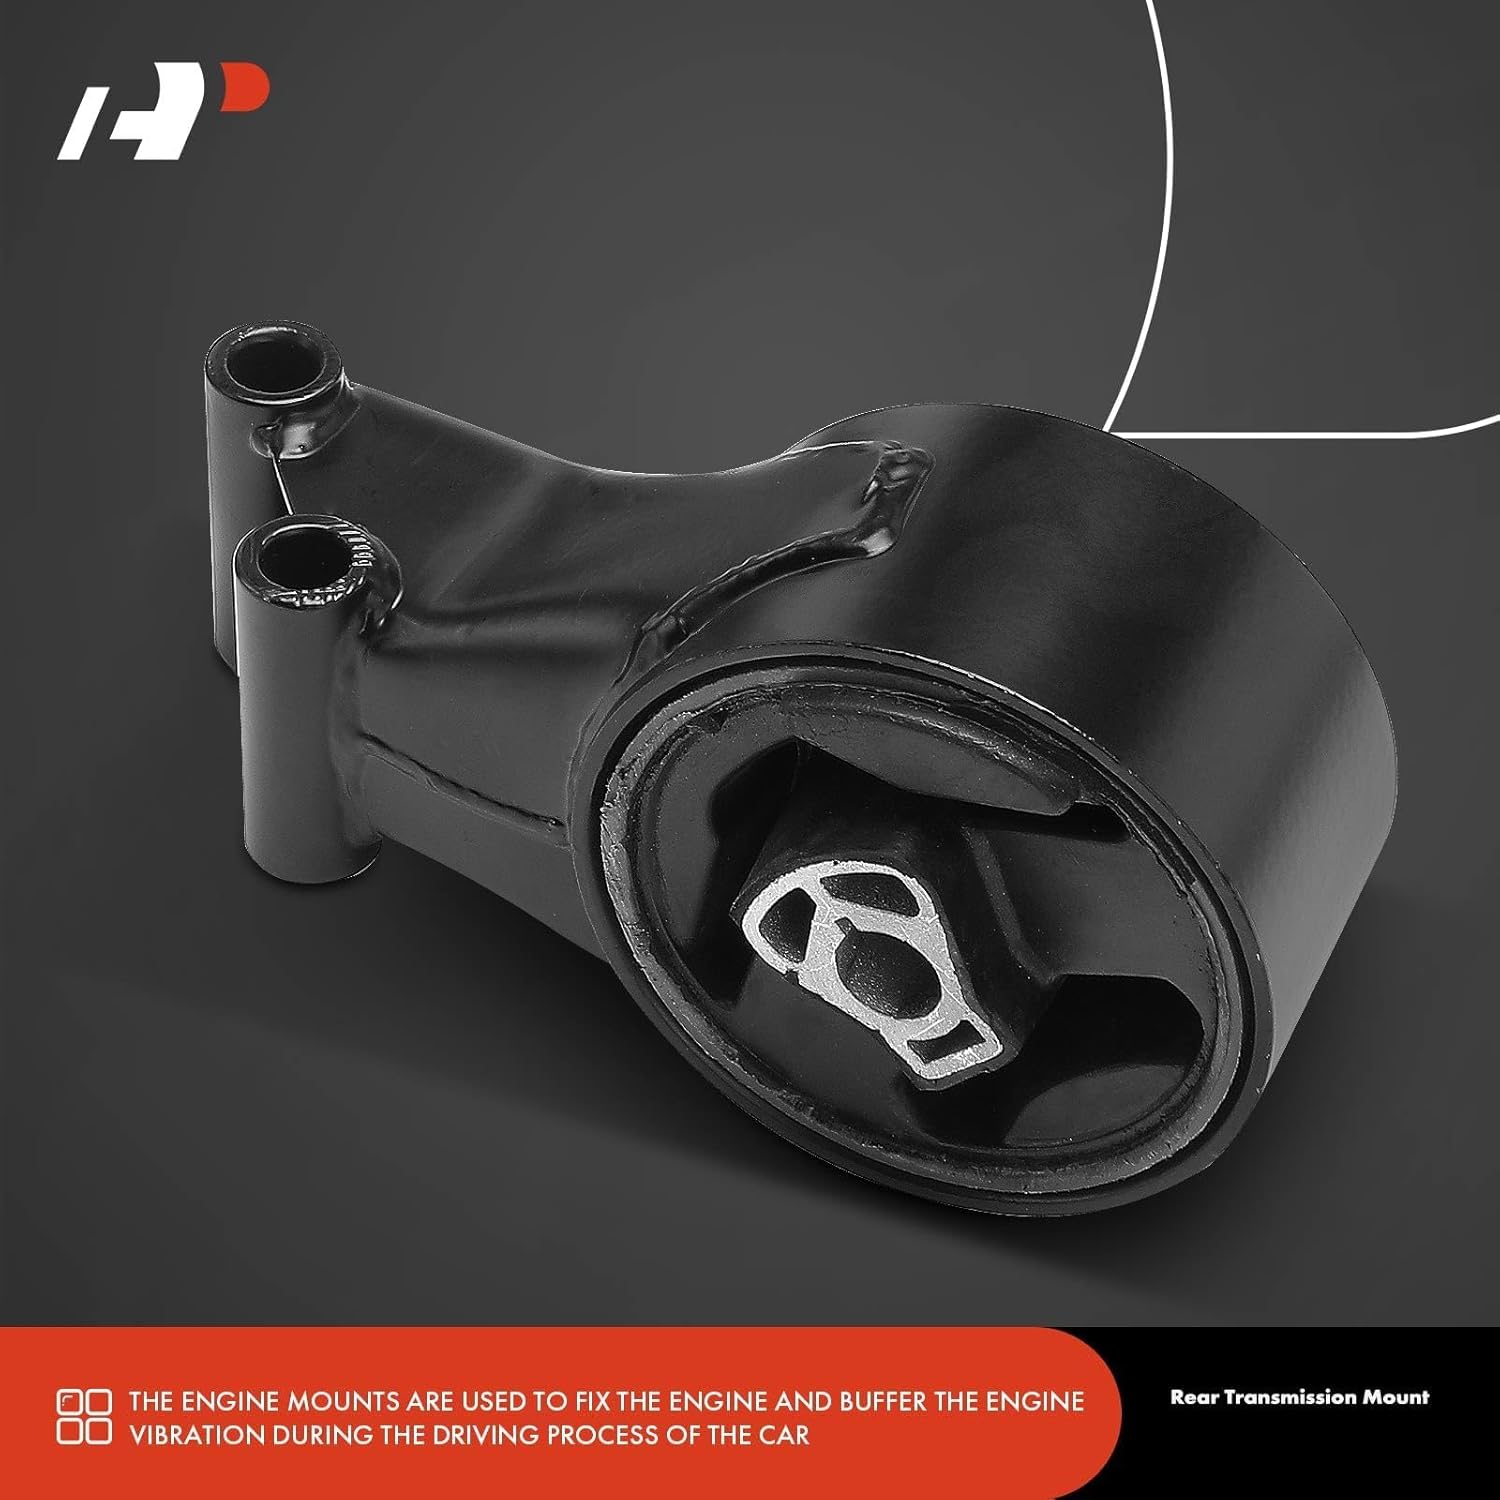
Image 8: The A-Premium Rear Transmission Mount, essential for supporting the transmission's rear section.
7. Troubleshooting Common Issues
If you experience issues after installation or suspect worn mounts, consider the following:
- Excessive Vibration: This is a primary symptom of worn or improperly installed mounts. Check all bolts for proper torque.
- Loud Noises: Clunking, banging, or thumping sounds, especially during acceleration, shifting, or rough roads, can indicate a failing mount.
- Engine/Transmission Movement: Visually inspect the engine and transmission for excessive movement when the vehicle is in gear with the brakes applied (perform safely).
- Visual Damage: Look for cracks, tears, or separation in the rubber components of the mounts.

Image 9: Common indicators that engine mounts may need inspection or replacement.
8. Maintenance
Engine and transmission mounts are wear items. Regular inspection can help identify issues before they become severe.
- During routine vehicle maintenance (e.g., oil changes), visually inspect the mounts for any signs of wear, cracking, or fluid leaks (if hydraulic).
- Check for loose or missing bolts.
- Address any unusual vibrations or noises promptly.
9. Specifications
This A-Premium Engine Motor and Transmission Mount Kit is manufactured to meet or exceed OEM standards for fit and performance.
| Feature | Detail |
|---|---|
| Part Numbers (OEM Cross-Reference) | A5430, A5563, A5510, A5579, 3223, 3265, 3226, 3196, 13248472, 13248475, 13347453, 13347455, 13444859, 13248610, 13248550, 23113984, 13228303, 13346302 |
| Manufacturer Part Number | APEM290PC |
| Material | High-strength steel and durable rubber components, die-cast aluminum alloy (where applicable) |
| Fitment | Direct replacement for Chevrolet Cruze 2011-2015 L4 1.4L with Automatic Transmission |
| Benefits | Supports engine, absorbs vibrations, reduces noise, precise fit, long-lasting performance |

Sturdy and Reliable Capability

Die-Cast Aluminum Alloy

High-Strength Steel
10. Warranty and Support
A-Premium offers a one-year unlimited-mileage guarantee on this engine mount kit. For any questions, concerns, or warranty claims, please contact A-Premium customer support through the retailer where the product was purchased.