Introduction
This manual provides detailed instructions for the installation, operation, and maintenance of your Sharkoon Rebel C50 ATX PC Case. Please read this manual carefully before beginning the assembly process to ensure proper setup and to maximize the lifespan of your components.
Product Overview
The Sharkoon Rebel C50 is a mid-tower ATX PC case designed for high-performance computing. It features a robust construction and optimized airflow for efficient cooling.
- 4-sided full mesh construction: Ensures excellent airflow and cooling performance.
- Radiator Support: Accommodates 14.2 inches (360 mm) radiators on both the top and sides for advanced liquid cooling solutions.
- Fan Capacity: Can be equipped with up to 11 x 120mm fans for comprehensive air cooling.
- Screwless Panel Design: Side panels feature a screwless mechanism for easy, one-touch opening and closing, simplifying component access.
- Modern Connectivity: Includes a TRRS audio terminal and a USB Type-C port on the front I/O for versatile peripheral connections.

Figure 1: Front view of the Sharkoon Rebel C50 ATX PC case, showcasing its full mesh design and Sharkoon logo.

Figure 2: Side view of the Sharkoon Rebel C50 ATX PC case, highlighting the mesh side panel for airflow.
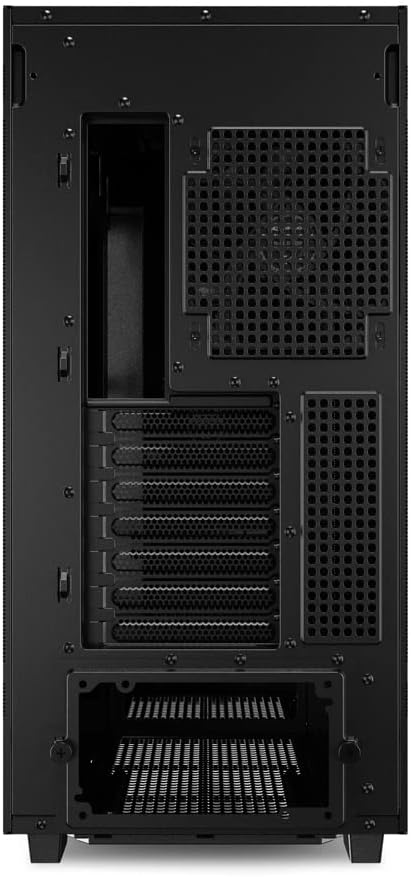
Figure 3: Rear view of the Sharkoon Rebel C50 ATX PC case, showing expansion slots and fan mounting points.

Figure 4: Top-down angled view of the Sharkoon Rebel C50 ATX PC case, showing the top mesh panel and front I/O ports.
Setup and Installation
Follow these steps for proper installation of your computer components into the Sharkoon Rebel C50 case.
- Prepare the Case: Carefully unbox the case and place it on a stable, flat surface. Remove the side panels by utilizing the screwless panel mechanism.
- Install Motherboard: Align your ATX motherboard with the standoffs inside the case. Secure it with screws.
- Install Power Supply Unit (PSU): Mount your standard power supply unit in the designated area, typically at the bottom rear of the case. Secure it with screws.
- Install Storage Drives: Install your SSDs or HDDs into the available drive bays. The Rebel C50 offers various mounting options.
- Install Expansion Cards: Insert your graphics card and other expansion cards into the PCIe slots on the motherboard and secure them to the case.
- Install Cooling Systems: Install any additional fans (up to 11 x 120mm) or liquid cooling radiators (up to 360mm on top and sides) as required. Ensure proper airflow direction.
- Cable Management: Route all power and data cables neatly behind the motherboard tray to ensure optimal airflow and a clean build. Connect all necessary cables to your components.
- Connect Front I/O: Connect the front panel cables (USB Type-C, TRRS audio, power button, reset button, LED indicators) to their respective headers on the motherboard.
- Close the Case: Once all components are installed and cables are managed, reattach the side panels using the screwless mechanism.

Figure 5: Interior view of the Sharkoon Rebel C50 ATX PC case, showing the spacious layout for component installation.

Figure 6: Interior view of the Sharkoon Rebel C50 ATX PC case, showing cable management routes and drive mounting options.
Operating Instructions
After successful assembly, connect your peripherals and power cable.
- Power On: Press the power button located on the front I/O panel to start your computer.
- Fan Control: If your system includes PWM fans, their speed can typically be controlled via your motherboard's BIOS/UEFI settings or dedicated software.
- Front Panel Connectivity: Utilize the USB Type-C port and TRRS audio jack for connecting compatible devices like headphones, microphones, or external storage.
Maintenance
Regular maintenance helps ensure optimal performance and longevity of your PC components.
- Dust Filter Cleaning: The Sharkoon Rebel C50 features dust filters to prevent dust buildup. Regularly remove and clean these filters. The bottom filter can be easily accessed and removed.
- Interior Cleaning: Periodically open the side panels and use compressed air to remove dust from internal components, especially fans and heatsinks.
- Exterior Cleaning: Wipe the exterior of the case with a soft, damp cloth. Avoid abrasive cleaners.

Figure 7: Bottom view of the Sharkoon Rebel C50 ATX PC case, showing the easily removable dust filter for maintenance.
Troubleshooting
If you encounter issues, refer to the following common troubleshooting steps.
- No Power:
- Ensure the power cable is securely connected to both the PSU and the wall outlet.
- Verify the PSU switch is in the 'ON' position.
- Check all internal power connections (24-pin ATX, CPU power, GPU power) to the motherboard and components.
- Confirm the front panel power button cable is correctly connected to the motherboard header.
- Fans Not Spinning:
- Check if fan cables are properly connected to the motherboard or fan controller.
- Ensure fan headers are enabled in BIOS/UEFI settings.
- No Display Output:
- Ensure your monitor cable is connected to the graphics card (not the motherboard, if a dedicated GPU is installed).
- Reseat the graphics card in its PCIe slot.
- Check graphics card power connections.
- Component Fit Issues:
- Refer to the specifications section for maximum component dimensions (e.g., GPU length, CPU cooler height, radiator size).
- Ensure all standoffs are correctly aligned for the motherboard.
Specifications
Key technical specifications for the Sharkoon Rebel C50 ATX PC Case:
| Brand | Sharkoon |
| Model Name | REBEL C50 |
| Item Model Number | REBEL C50 BK |
| Case Type | Mid Tower |
| Motherboard Compatibility | ATX |
| Material | Metal |
| Color | Black |
| Product Dimensions (L x W x H) | 18.11 x 9.06 x 19.49 inches |
| Item Weight | 17.38 pounds |
| Cooling Method | Air |
| Fan Size Support | 120 Millimeters (up to 11 fans) |
| Radiator Support | Up to 360mm (top and sides) |
| Front I/O Ports | USB Type-C, TRRS Audio |
| Compatible Devices | ATX motherboards, standard power supply units, multiple expansion cards, various cooling systems |
Warranty and Support
For detailed warranty information and technical support, please refer to the official Sharkoon website or contact their customer service directly. Keep your proof of purchase for warranty claims.
Manufacturer: Sharkoon
Website: www.sharkoon.com (Please check the manufacturer's official website for the most current support information.)


