UYEIKMLOP RADIO-Army green
UYEIKMLOP 12000mAh Emergency Weather Radio User Manual
Model: RADIO-Army green
1. Introduction
The UYEIKMLOP 12000mAh Emergency Weather Radio is a versatile and essential device designed for emergency preparedness and outdoor activities. It integrates multiple functions including AM/FM/NOAA radio reception, a powerful 12000mAh battery for charging external devices, a multi-mode flashlight, a reading lamp, an SOS alarm, and a compass. With three reliable charging methods (USB, hand crank, and dual solar panels), this radio ensures you stay informed and connected during critical situations.

Image 1.1: The UYEIKMLOP 12000mAh Emergency Weather Radio in Army Green.
2. Package Contents
Please check the package for the following items:
- 1 x Emergency Weather Radio
- 1 x USB-C Charge Cable
- 1 x User Manual
3. Product Features and Components
Familiarize yourself with the radio's key features and components:
- 12000mAh Ultra Capacity Battery: Provides extended power for the radio and external device charging.
- Dual Solar Panels: Enhanced efficiency for solar charging.
- AM/FM/NOAA Radio: Receives standard AM/FM broadcasts and NOAA weather alerts.
- Automatic Frequency Search: Scans and tunes to the strongest signals automatically.
- 3-Mode Flashlight: Offers Far Beam, Dipped Beam, and Far & Dipped Beam modes for varied illumination needs.
- Reading LED Light: Provides ambient light for reading or general illumination.
- SOS Alarm: Activates a loud siren and flashing light for emergency signaling.
- Phone Charger: USB output port for charging mobile devices.
- Compass: Integrated for navigation assistance.
- Earphone Jack: For private listening.
- LCD Display: Shows channel and battery information.
- 15.3-inch Telescopic Antenna: Improves signal reception.
- Detachable Handle: For portability and flexible use.
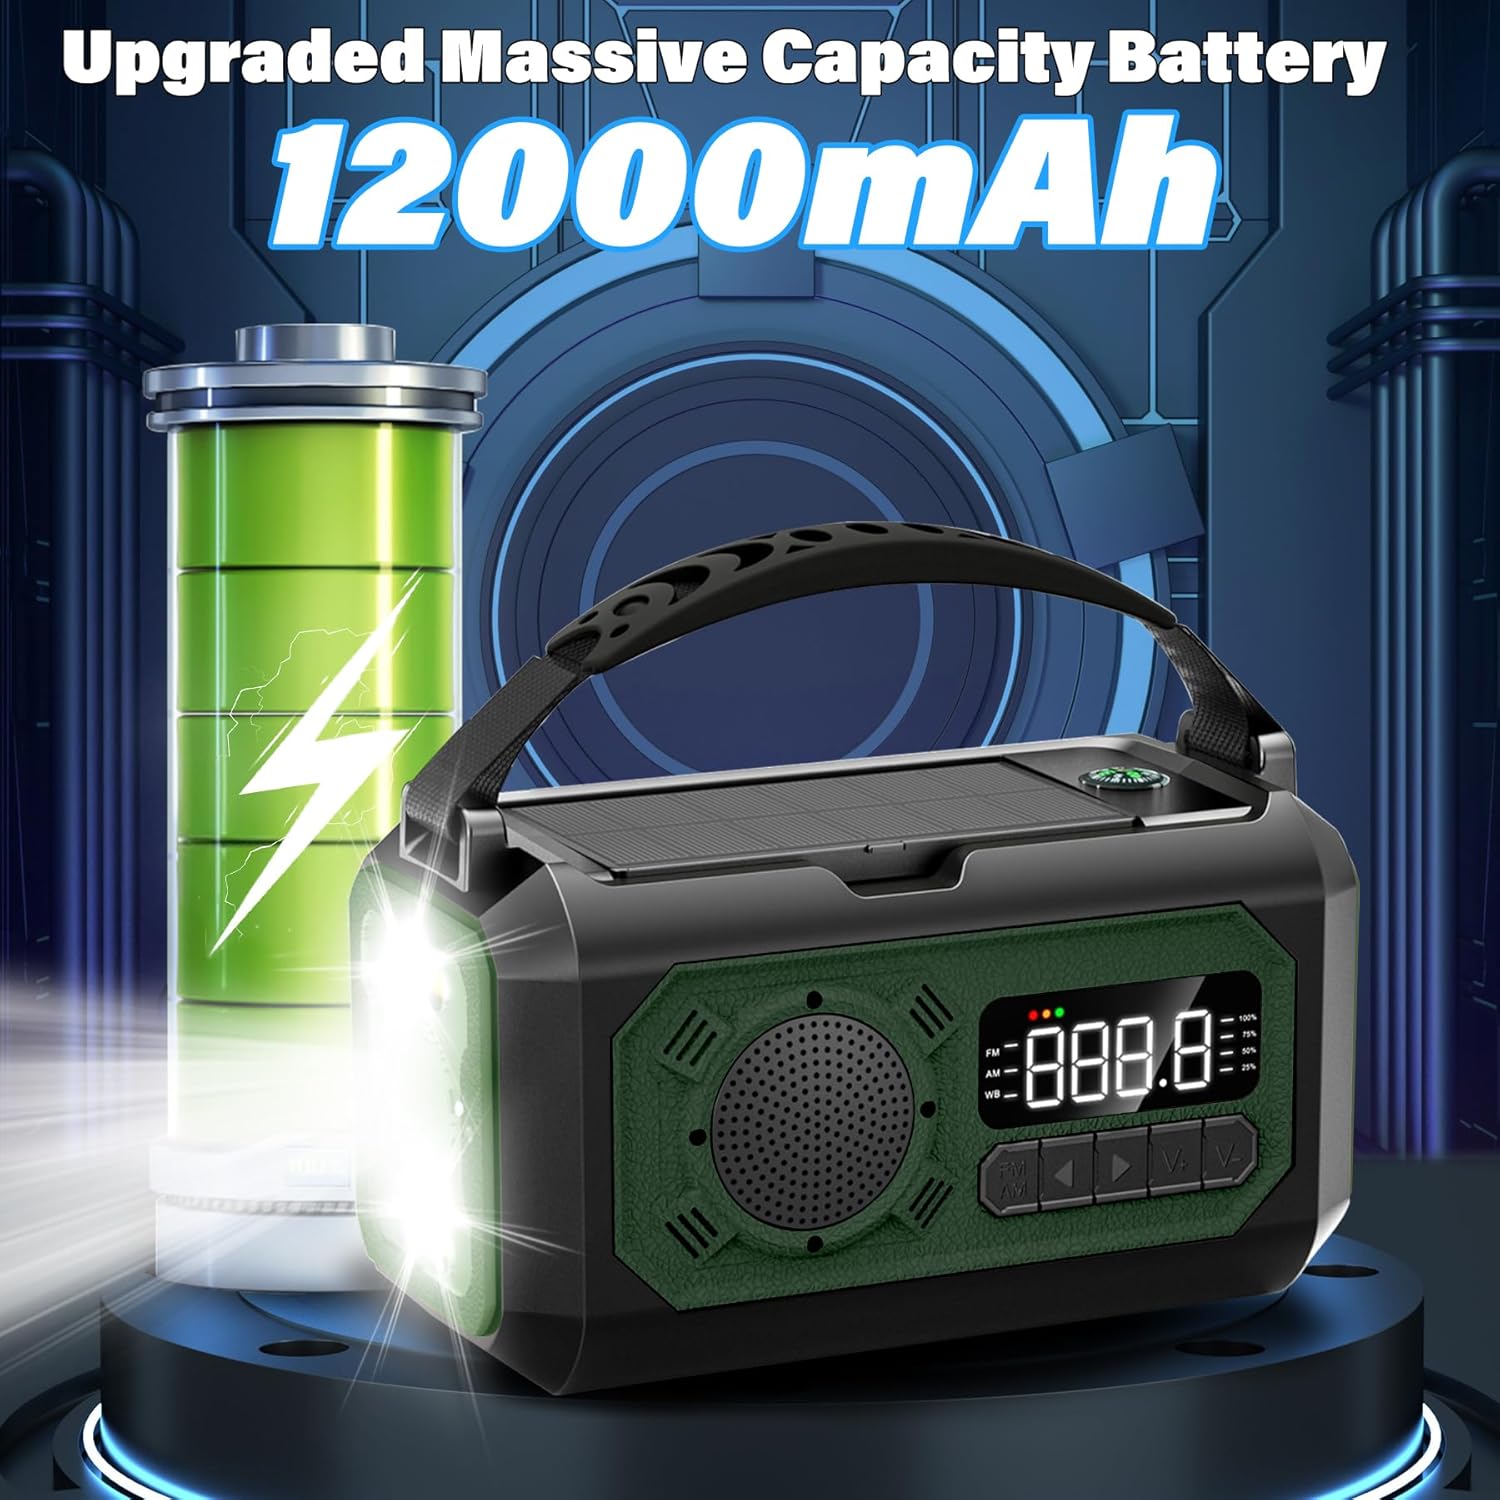
Image 3.1: Illustration of the 12000mAh upgraded battery capacity.

Image 3.2: Close-up of the radio's LCD display showing frequency and battery indicators.

Image 3.3: The 15.3-inch long telescoping antenna extended for improved signal reception.
4. Setup
Before first use, it is recommended to fully charge the radio using the USB-C cable.
- Unpack: Remove all components from the packaging.
- Initial Charge: Connect the supplied USB-C cable to the radio's input port and the other end to a USB power adapter (not included) or a computer USB port. The battery indicator on the LCD display will show charging progress.
- Full Charge: Charge until the battery indicator shows full capacity.
5. Operating Instructions
5.1. Radio Operation (AM/FM/NOAA)
- Power On/Off: Press the power button to turn the radio on or off.
- Band Selection: Press the "FM/AM" button to cycle through FM, AM, and WB (NOAA Weather Band) frequencies.
- Automatic Frequency Search: For FM frequency, press and hold the "FM/AM" button for 2 seconds. The radio will automatically scan and save available stations.
- Manual Tuning: Use the "V+" and "V-" buttons to manually adjust the frequency.
- Volume Adjustment: Use the dedicated volume adjustment buttons (usually marked with +/- or arrows) to control the audio level.
- Antenna Adjustment: Extend the telescopic antenna for optimal signal reception, especially for FM and WB bands.
Video 5.1: Demonstration of radio functions including automatic frequency search and volume adjustment.
5.2. Flashlight Operation
The radio features a 3-mode flashlight:
- Activate Flashlight: Press the dedicated flashlight button (often located on the side or front).
- Change Modes: Press the flashlight button repeatedly to cycle through Far Beam, Dipped Beam, and Far & Dipped Beam modes.
- Turn Off: Continue pressing the button until the light turns off.
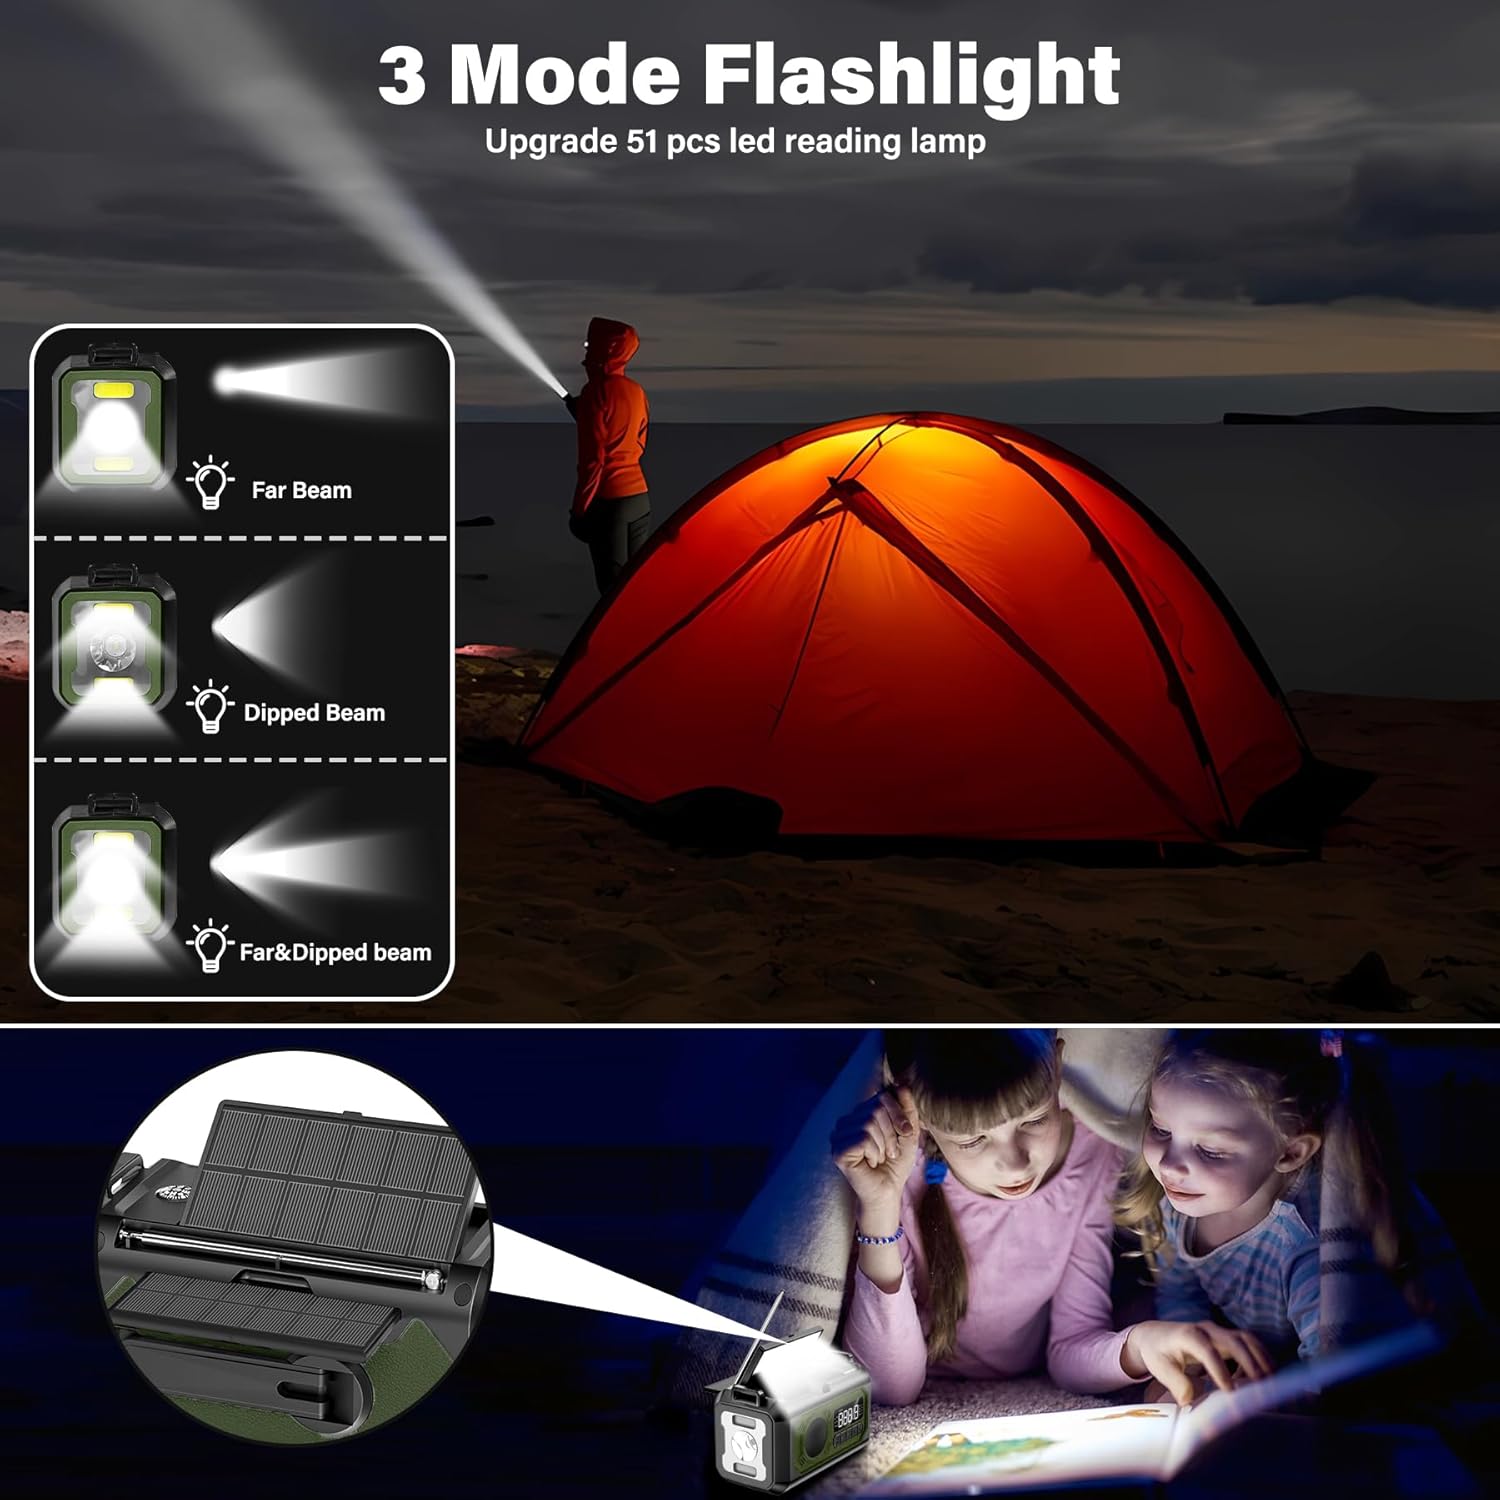
Image 5.2: Visual representation of the three flashlight modes: Far Beam, Dipped Beam, and a combination of both.
5.3. Reading Lamp Operation
The reading lamp is located on the top of the radio, under the handle.
- Open Lamp Panel: Lift the reading lamp panel from its housing.
- Activate Lamp: Press the reading lamp button (often located near the flashlight button) to turn the lamp on.
- Turn Off: Press the button again to turn the lamp off.
- Close Lamp Panel: Fold the reading lamp panel back into its housing when not in use.

Image 5.3: The reading lamp extended and illuminated, providing light for various tasks.
5.4. SOS Alarm
The SOS alarm emits a loud siren and flashes the flashlight to attract attention in emergencies.
- Activate SOS: Press the SOS button (often clearly marked).
- Deactivate SOS: Press the SOS button again to turn off the alarm.
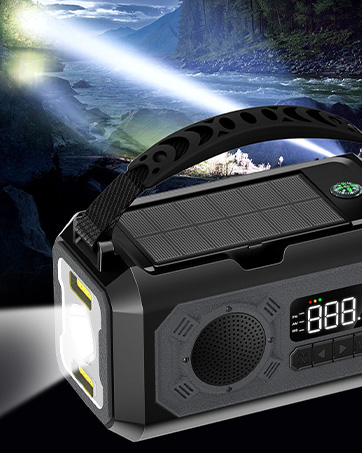
Image 5.4: Location of the SOS alarm button on the radio.
5.5. Using the Compass
The integrated compass is located on the top surface of the radio, near the solar panels. Ensure the radio is held level for accurate readings.
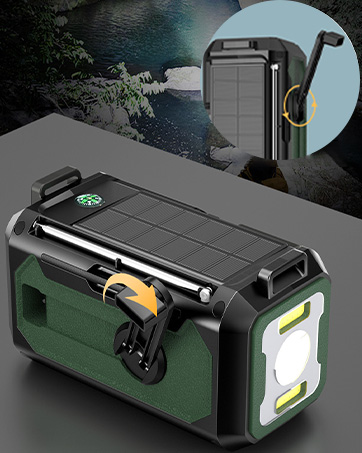
Image 5.5: The integrated compass on the top of the radio.
5.6. Headphone Jack
For private listening, connect standard 3.5mm headphones (not included) to the headphone jack located on the side of the radio.
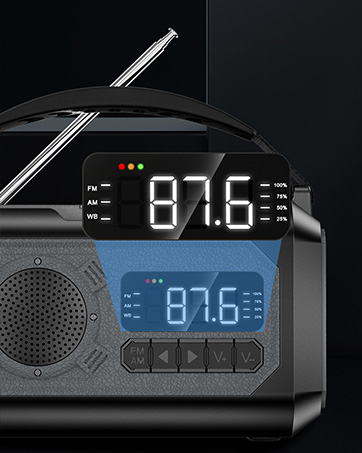
Image 5.6: Location of the headphone jack on the side of the radio.
6. Charging Methods
The radio offers three methods to charge its internal 12000mAh battery and to power external devices:
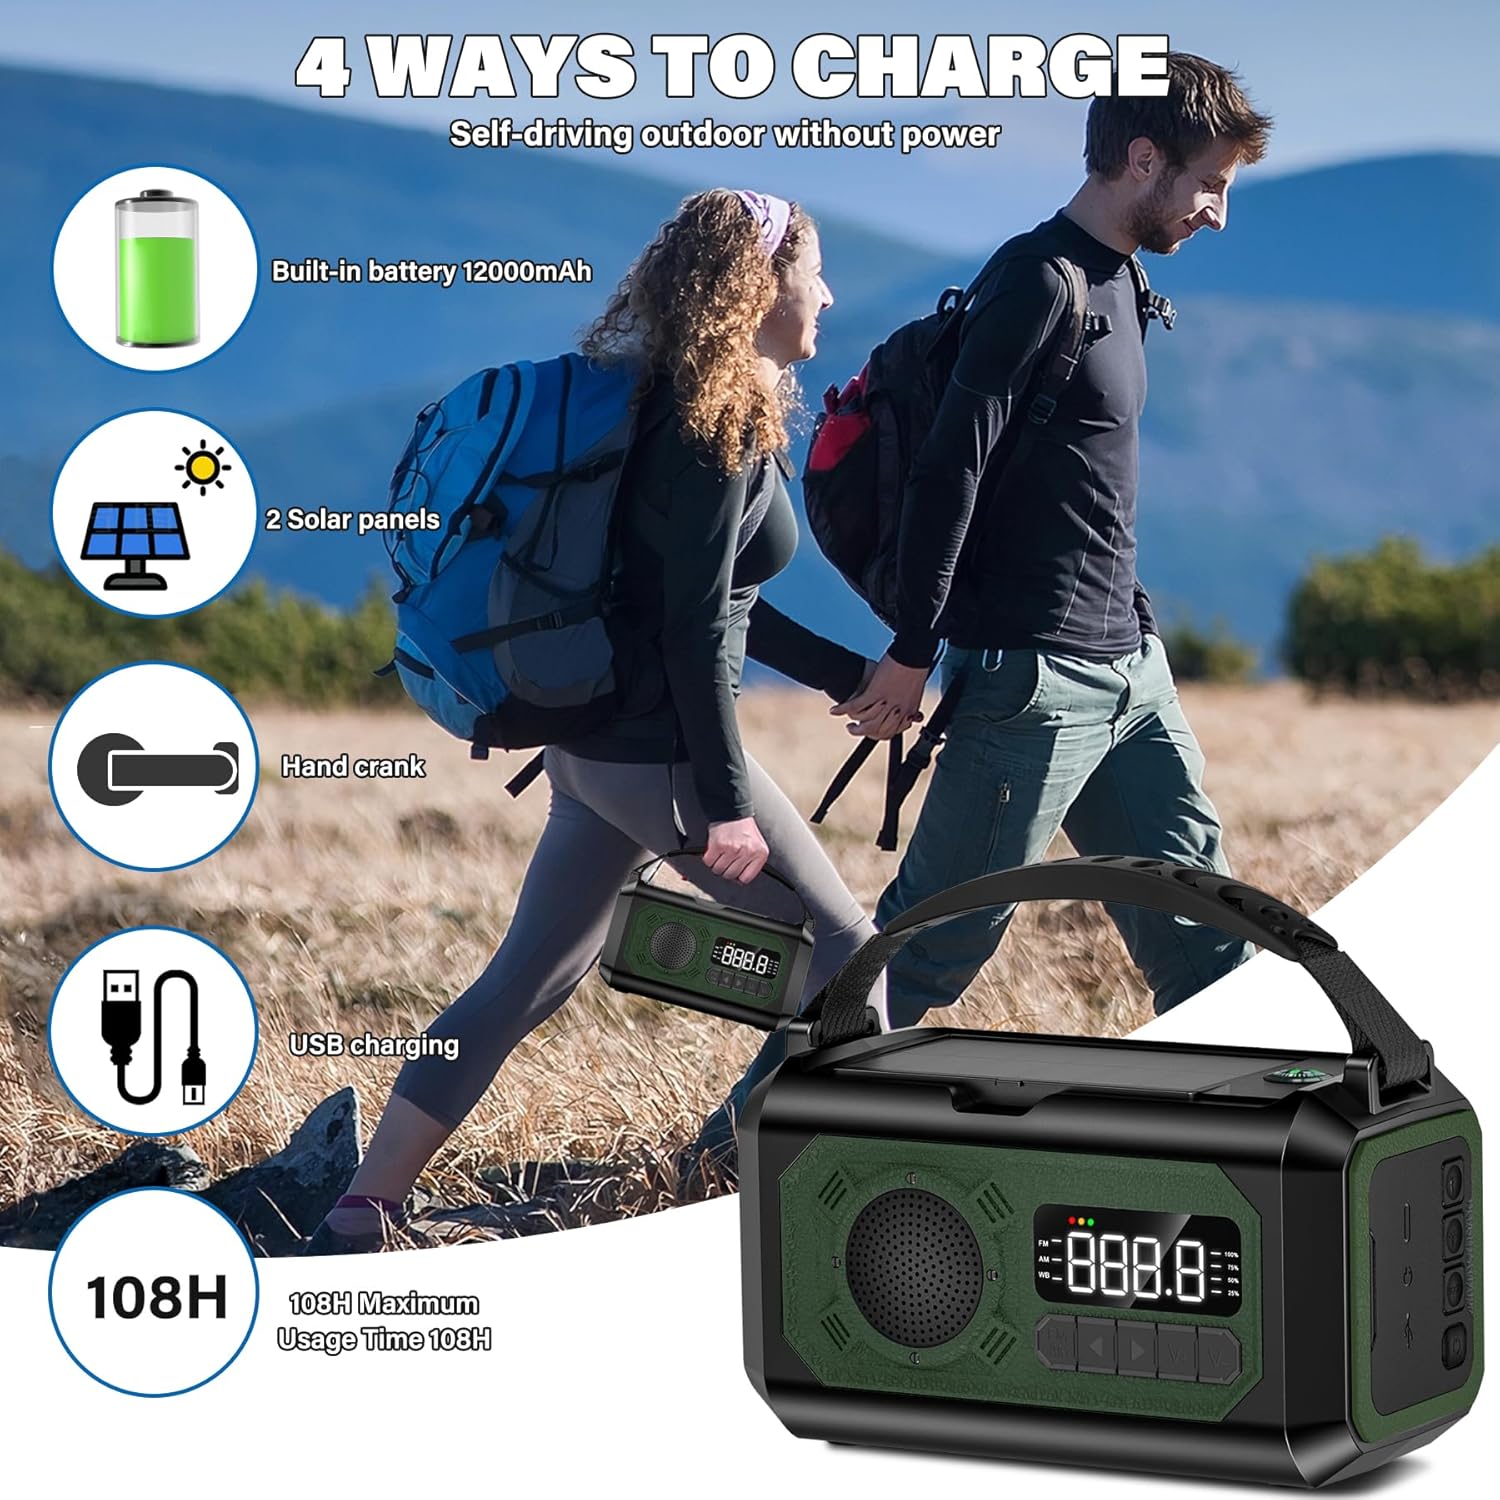
Image 6.1: Overview of the four charging methods: built-in battery, 2 solar panels, hand crank, and USB charging.
6.1. USB Charging
This is the primary and fastest charging method.
- Connect the supplied USB-C cable to the radio's input port.
- Connect the other end of the cable to a USB power source (e.g., wall adapter, computer, power bank).
- The battery indicator will show charging status.
Image 6.2: Close-up of the USB charging port on the radio.
6.2. Hand Crank Charging
Ideal for emergency situations when no other power source is available.
- Unfold the hand crank handle from the back of the radio.
- Rotate the hand crank clockwise or counter-clockwise at a steady pace (approximately 120-150 RPM).
- The LED display will indicate charging activity. Crank for at least 3-5 minutes to generate enough power for basic radio operation or a short phone call.
- Fold the hand crank back into its position when finished.

Image 6.3: The hand crank mechanism on the back of the radio.
6.3. Solar Charging
Utilizes sunlight to trickle charge the internal battery. Best for maintaining charge or slow charging over extended periods.
- Open the dual solar panels located on the top of the radio.
- Place the radio in direct sunlight.
- Ensure the solar panels are facing the sun for maximum efficiency.
- The charging indicator will light up when solar charging is active.
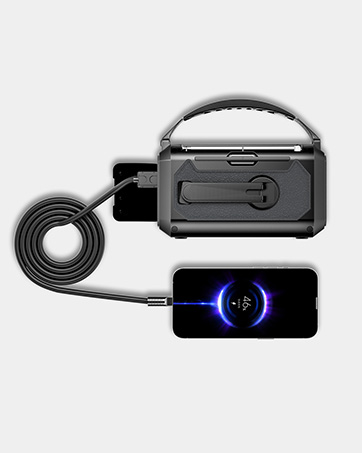
Image 6.4: The dual retractable solar panels extended for charging.
6.4. Charging External Devices
Use the radio's large capacity battery to charge your mobile phone or other small electronic devices.
- Connect your device's USB charging cable to the radio's USB output port.
- Ensure the radio has sufficient battery charge.
- Your device should begin charging automatically.
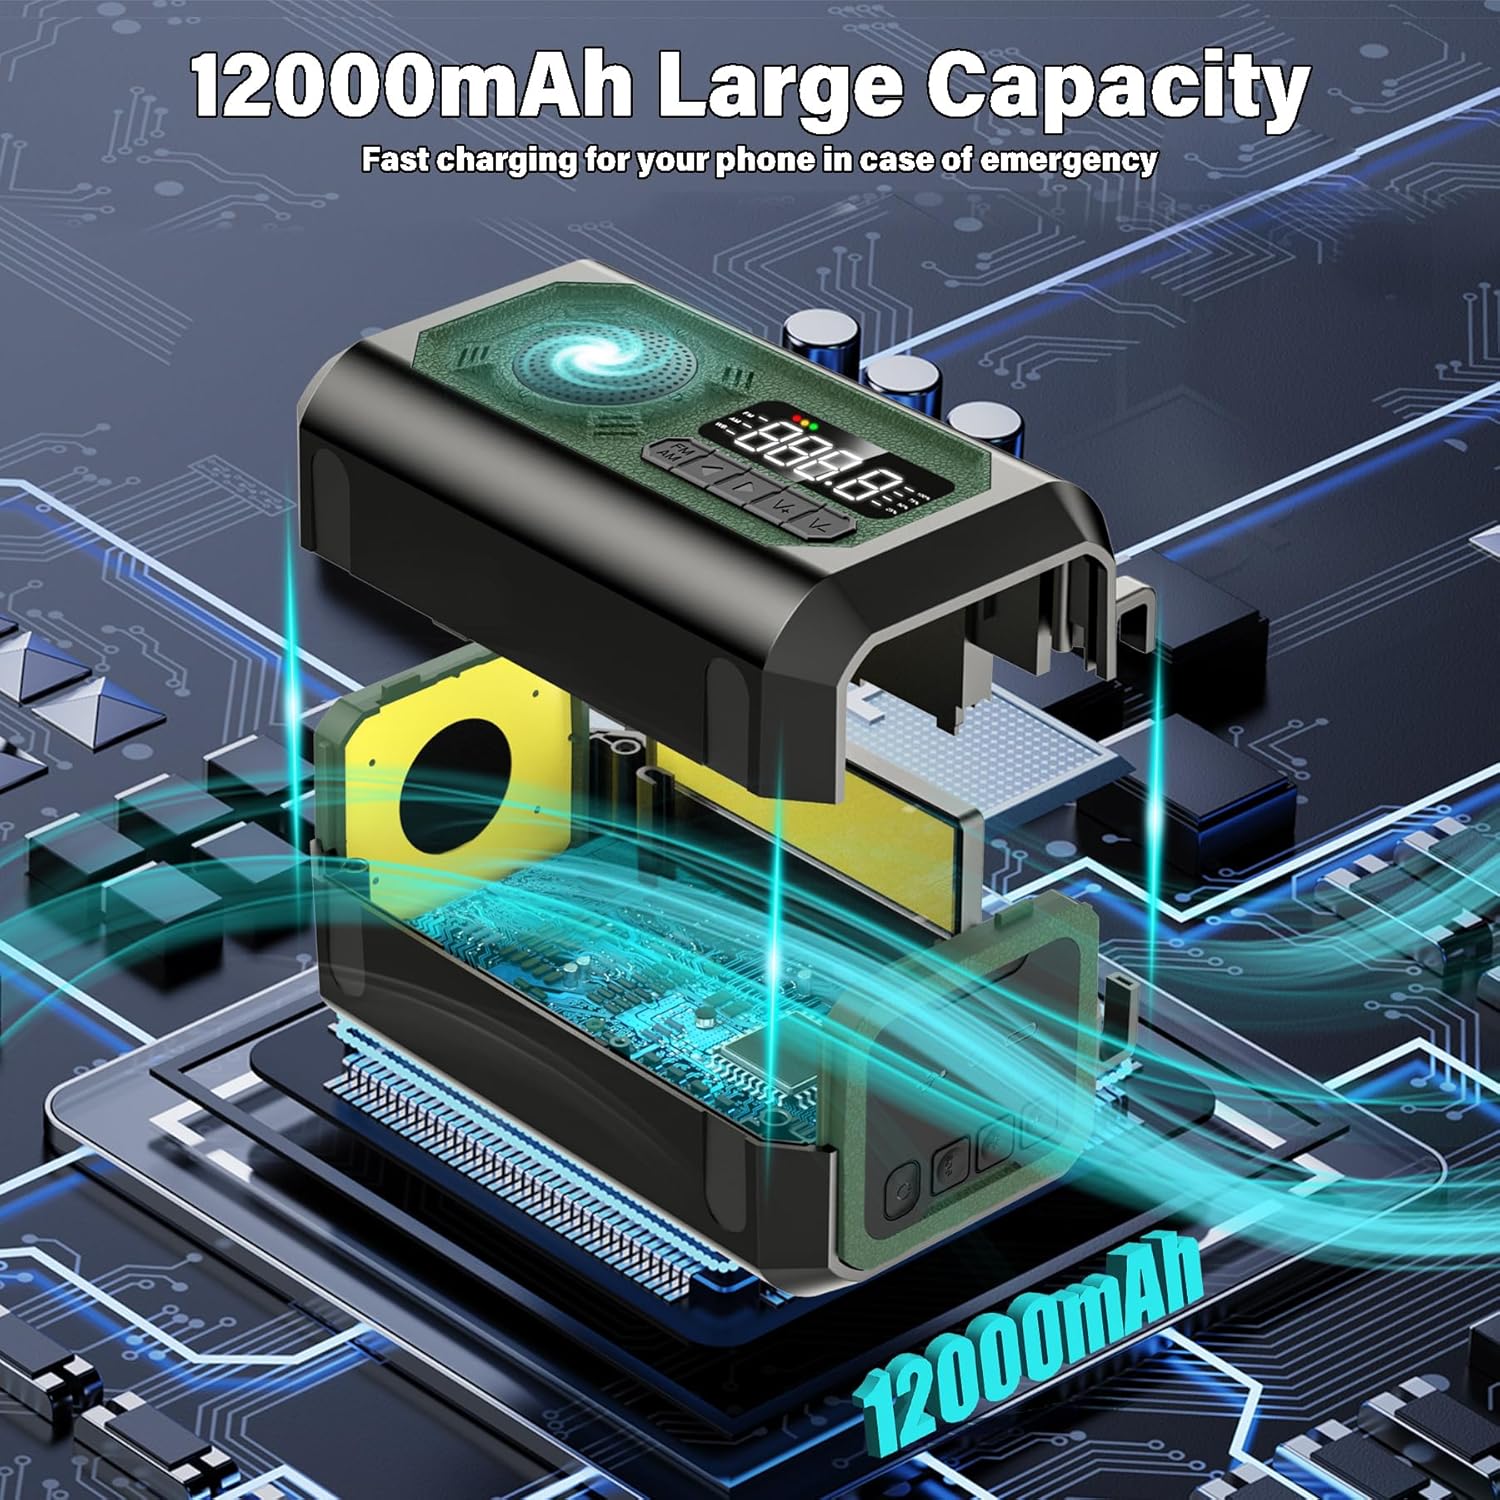
Image 6.5: The radio connected to a smartphone for charging.
7. Maintenance
- Cleaning: Wipe the radio with a soft, damp cloth. Do not use harsh chemicals or abrasive cleaners.
- Storage: Store the radio in a cool, dry place away from direct sunlight and extreme temperatures.
- Battery Care: For optimal battery life, fully charge the radio at least once every three months, even if not in use.
- Water Resistance: The radio has an IPX3 waterproof rating, meaning it is resistant to spraying water. Do not immerse it in water.
8. Troubleshooting
| Problem | Possible Cause | Solution |
|---|---|---|
| Radio not turning on/unresponsive buttons. | Low battery; protective measures activated due to impact during transport. | Charge the radio fully. If unresponsive after impact, refer to the second video on the product details page for specific instructions or contact customer support. |
| Poor radio reception. | Antenna not fully extended; weak signal area; interference. | Fully extend the telescopic antenna. Try repositioning the radio. Move away from electronic devices that may cause interference. |
| Solar charging is slow or not working. | Insufficient direct sunlight; panels not angled correctly. | Ensure the radio is in direct, strong sunlight. Adjust the angle of the solar panels to face the sun directly. Note that solar charging is a trickle charge and slower than USB. |
| Cannot charge external devices. | Radio battery is too low; incorrect cable; device incompatibility. | Ensure the radio is sufficiently charged. Use the correct USB cable for your device. Some high-power devices may not be fully supported. |
9. Specifications
| Feature | Detail |
|---|---|
| Model Number | RADIO-Army green |
| Battery Capacity | 12000mAh |
| Radio Bands Supported | AM, FM, NOAA Weather Band (WB) |
| AM Frequency Range | 520-1710 KHz |
| FM Frequency Range | 87-108 MHz |
| WB Frequency Range | 162.4-162.55 MHz |
| Power Source | Battery Powered (USB, Hand Crank, Solar) |
| Product Dimensions | 5.94 x 3.15 x 3.38 inches (approximate, derived from item weight and product dimensions) |
| Item Weight | 1.33 pounds |
| Antenna Length | 15.3 inches (telescopic) |
10. Warranty and Support
UYEIKMLOP is committed to providing high-quality products and customer satisfaction. Your Emergency Weather Radio comes with:
- Continuous 24/7 online assistance.
- A 6-month replacement promise.
- Lifetime dedicated after-sales support.
For any inquiries or assistance, please do not hesitate to reach out to our customer service team.
Ask a question about this manual
Ask about setup, troubleshooting, compatibility, parts, safety, or missing instructions. Manuals+ will review the question and use this page’s manual context to help answer it.