1. Introduction
Thank you for purchasing the Samsung DW60C7050FS/AZ 14 Place Setting Stainless Steel Dishwasher. This manual provides essential information for the safe installation, operation, and maintenance of your appliance. Please read these instructions thoroughly before using the dishwasher and retain them for future reference.
2. Safety Information
To reduce the risk of fire, electric shock, or injury when using your dishwasher, follow these basic precautions:
- Read all instructions before using the appliance.
- Use the dishwasher only for its intended function.
- Do not touch the heating element during or immediately after use.
- Do not operate the dishwasher if it has a damaged power cord or plug, or if it is not working properly.
- Keep children away from the dishwasher, especially when the door is open.
- Always use detergents and rinse aids specifically designed for dishwashers.
- Ensure proper grounding of the appliance.
3. Product Overview
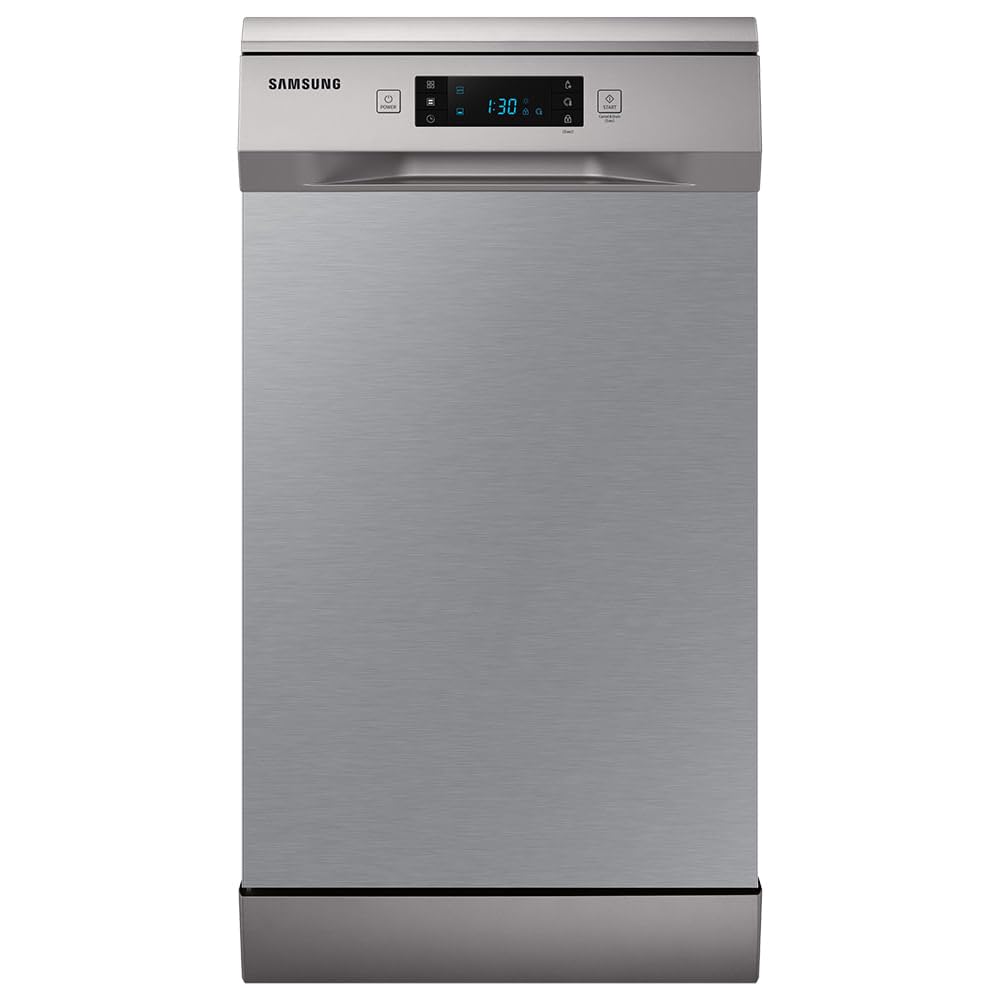
The Samsung DW60C7050FS/AZ dishwasher is designed for efficient and quiet dishwashing. It features a durable stainless steel interior and a user-friendly touch control panel.
The dishwasher's interior is designed for optimal loading, accommodating up to 14 place settings. The racks are adjustable to fit various dish sizes, from small cups to large pots and pans.


One of the key features is its quiet operation, producing less than 47 decibels, ensuring minimal disturbance in your home environment.

The dishwasher also includes an automatic door opening feature for quick and efficient drying.

The flexible interior allows for easy height adjustment of the upper rack, making space for taller items in the lower rack.

4. Setup
Proper installation is crucial for the optimal performance and safety of your dishwasher. It is recommended that installation be performed by a qualified technician.
4.1 Unpacking
- Carefully remove all packaging materials from the dishwasher.
- Inspect the appliance for any shipping damage. If damage is found, do not install and contact your retailer.
- Remove any internal packing materials, including foam blocks or tape securing the racks.
4.2 Placement
- Place the dishwasher on a level, stable surface.
- Ensure adequate clearance around the appliance for ventilation and door opening.
- The dishwasher is designed for under-counter installation or as a freestanding unit.
4.3 Electrical and Water Connections
- Connect the dishwasher to a dedicated 110V power outlet.
- Ensure water supply and drainage hoses are securely connected to prevent leaks.
- Refer to the detailed installation guide provided with your appliance for specific connection instructions.
5. Operating Instructions
Follow these steps for effective dishwashing:
5.1 Loading the Dishwasher
- Scrape off large food particles from dishes before loading.
- Place larger items and pots in the lower rack.
- Load glasses, cups, and smaller bowls in the upper rack. Ensure items do not block the spray arms.
- Use the cutlery basket for forks, spoons, and knives, placing sharp ends down for safety.
5.2 Adding Detergent and Rinse Aid
- Fill the detergent dispenser with the recommended amount of dishwasher detergent.
- Check the rinse aid dispenser and refill if necessary. Rinse aid helps with drying and prevents water spots.
5.3 Selecting a Wash Cycle
The dishwasher offers several cycle options:
- Normal: For everyday soiled dishes.
- Intensive: For heavily soiled pots, pans, and dishes.
- Hygiene Function: Elevates water temperature to 70°C during the final rinse for deep sanitization.
- Auto Cycle Function: Automatically detects the level of soil on dishes and adjusts the wash cycle for optimal cleaning and resource efficiency.
- Express Cycle Function: Washes and dries lightly soiled items in approximately 1 hour.
- Half Load Function: Allows washing smaller loads using only the selected zone, saving water and energy.


5.4 Starting a Cycle
- Close the dishwasher door firmly.
- Press the Power button to turn on the appliance.
- Select your desired wash cycle using the touch controls.
- Press the Start button to begin the cycle. The LED display will show the cycle duration and progress.
6. Maintenance and Cleaning
Regular maintenance ensures the longevity and efficiency of your dishwasher.
6.1 Cleaning the Filters
- Periodically check and clean the filters at the bottom of the dishwasher tub.
- Remove food debris and rinse the filters under running water.
- Reinstall the filters securely after cleaning.
6.2 Cleaning the Interior and Exterior
- Wipe the interior with a damp cloth to remove any residue.
- Clean the exterior stainless steel surface with a soft cloth and a mild, non-abrasive cleaner designed for stainless steel.
- Do not use harsh chemicals or abrasive pads.
6.3 Descaling
- If you notice limescale buildup, run an empty cycle with a dishwasher cleaner or white vinegar.
7. Troubleshooting
Before contacting service, try these solutions for common issues:
- Dishwasher not starting: Ensure the door is fully closed, the power cord is plugged in, and the circuit breaker is not tripped.
- Dishes not clean: Check that spray arms are not blocked, filters are clean, and detergent dispenser is filled correctly. Ensure dishes are loaded properly.
- Water remaining in the tub: Clean the drain filter and check for any kinks in the drain hose.
- Unusual noises: Check for items obstructing the spray arms or foreign objects in the pump area.
- Error codes on display: Refer to the full user manual for specific error code meanings and solutions.
8. Specifications
| Feature | Specification |
|---|---|
| Brand | Samsung |
| Model | DW60C7050FS/AZ |
| Installation Type | Under-counter / Freestanding |
| Color | Stainless Steel |
| Control Type | Touch |
| Noise Level | 47 Decibels |
| Place Settings | 14 |
| Cycle Options | Normal, Intensive, Hygiene, Auto Cycle, Express Cycle, Half Load |
| Item Weight | 51 Kilograms |
| Material | Stainless Steel |
| Included Components | Cutlery basket, Dish rack |
| Recommended Uses | Daily dishes, cutlery, glasses |
9. Warranty and Support
Your Samsung DW60C7050FS/AZ Dishwasher comes with a manufacturer's warranty. Please refer to the warranty card included with your product for specific terms and conditions.
For technical assistance, spare parts, or further information, please contact Samsung Customer Service or visit the official Samsung website. Ensure you have your product model number and serial number available when seeking support.