1. Introduction
Thank you for purchasing the HANNLOMAX HX-151CR Alarm Clock Radio. This device combines a digital clock with dual alarms, a PLL AM/FM radio, and a clear 1.2-inch red LED display. This manual provides detailed instructions for setup, operation, and maintenance to ensure optimal performance and longevity of your product.
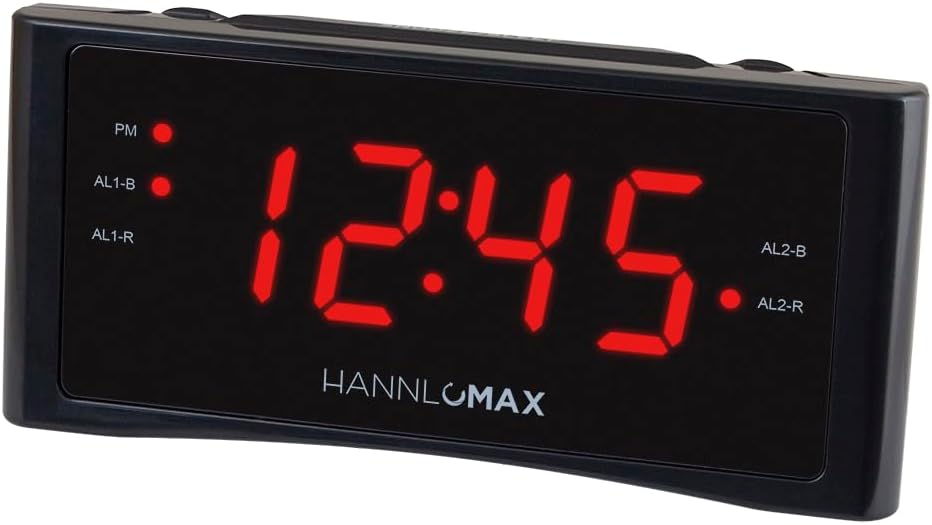
Figure 1: HANNLOMAX HX-151CR Alarm Clock Radio, front view.
2. Important Safety Instructions
- Read these instructions thoroughly before operating the unit.
- Keep these instructions for future reference.
- Heed all warnings on the product and in the operating instructions.
- Follow all instructions.
- Do not use this apparatus near water.
- Clean only with a dry cloth.
- Do not block any ventilation openings. Install in accordance with the manufacturer's instructions.
- Do not install near any heat sources such as radiators, heat registers, stoves, or other apparatus (including amplifiers) that produce heat.
- Protect the power cord from being walked on or pinched, particularly at plugs, convenience receptacles, and the point where they exit from the apparatus.
- Only use attachments/accessories specified by the manufacturer.
- Unplug this apparatus during lightning storms or when unused for long periods of time.
- Refer all servicing to qualified service personnel. Servicing is required when the apparatus has been damaged in any way, such as power-supply cord or plug is damaged, liquid has been spilled or objects have fallen into the apparatus, the apparatus has been exposed to rain or moisture, does not operate normally, or has been dropped.
- This product operates on AC power only. Ensure the voltage matches your local power supply.
3. Package Contents
Please check the package for the following items:
- HANNLOMAX HX-151CR Alarm Clock Radio Unit
- AC Power Cord (attached)
- User Manual (this document)
4. Product Features
The HANNLOMAX HX-151CR is equipped with the following key features:
- PLL AM/FM Radio with Preset Stations: Easily locate and save your favorite radio stations. An external FM antenna is included to enhance reception.
- Digital Clock with Dual Alarms: Set two independent alarms to wake up to either a buzzer or your preferred radio station.
- 1.2" Red LED Display: A clear and easy-to-read display, suitable for all users.
- Dimmer Function: Adjust the brightness of the LED display to your comfort level.
- Sleep Timer: Listen to the radio as you fall asleep, with the radio automatically turning off after a set period.
- Snooze Function: Temporarily suspend an active alarm for an additional 9 minutes of sleep.
- Memory Backup: In the event of a power outage, a backup battery (not included) will preserve your time and alarm settings.
- AC Operation Only: Designed for continuous operation via an AC power source.

Figure 2: Overview of the alarm clock radio highlighting key features.
5. Controls and Display
Familiarize yourself with the buttons and indicators on your alarm clock radio.

Figure 3: Front panel of the alarm clock radio showing the 1.2" LED display and indicators.
Front Panel
- 1.2" Red LED Display: Shows current time, alarm status, and radio frequency.
- PM Indicator: Lights up when the time is PM.
- AL1-B / AL1-R Indicators: Light up when Alarm 1 is set to Buzzer or Radio, respectively.
- AL2-B / AL2-R Indicators: Light up when Alarm 2 is set to Buzzer or Radio, respectively.
Top Panel Buttons (Typical Layout)
- TIME SET: Press to enter time setting mode.
- HOUR / MIN: Used to adjust hour and minute settings.
- ALARM 1 / ALARM 2: Press to set Alarm 1 or Alarm 2.
- RADIO ON/OFF / AUTO SCAN: Turns the radio on/off. Long press for auto scan.
- TUNING +/-: Adjusts radio frequency.
- VOLUME +/-: Adjusts radio volume.
- SNOOZE / SLEEP / DIMMER: Press to snooze an alarm. Long press for sleep timer. Press repeatedly to adjust display dimmer.
- PRESET / MEMORY: Press to recall preset stations. Long press to save a station.
- AM/FM: Switches between AM and FM bands.
Rear Panel
- AC Power Cord: Connects to a wall outlet for power.
- FM Antenna Wire: Extend fully for optimal FM reception.
- Battery Compartment: For memory backup batteries (e.g., 2 x AAA, not included).
6. Setup
6.1 Power Connection
- Uncoil the AC power cord completely.
- Plug the AC power cord into a standard AC wall outlet (120V, 60Hz). The unit will power on, and the display will flash.
- For memory backup, open the battery compartment on the rear of the unit and insert two AAA batteries (not included), observing correct polarity (+/-). These batteries will maintain time and alarm settings during a power interruption.
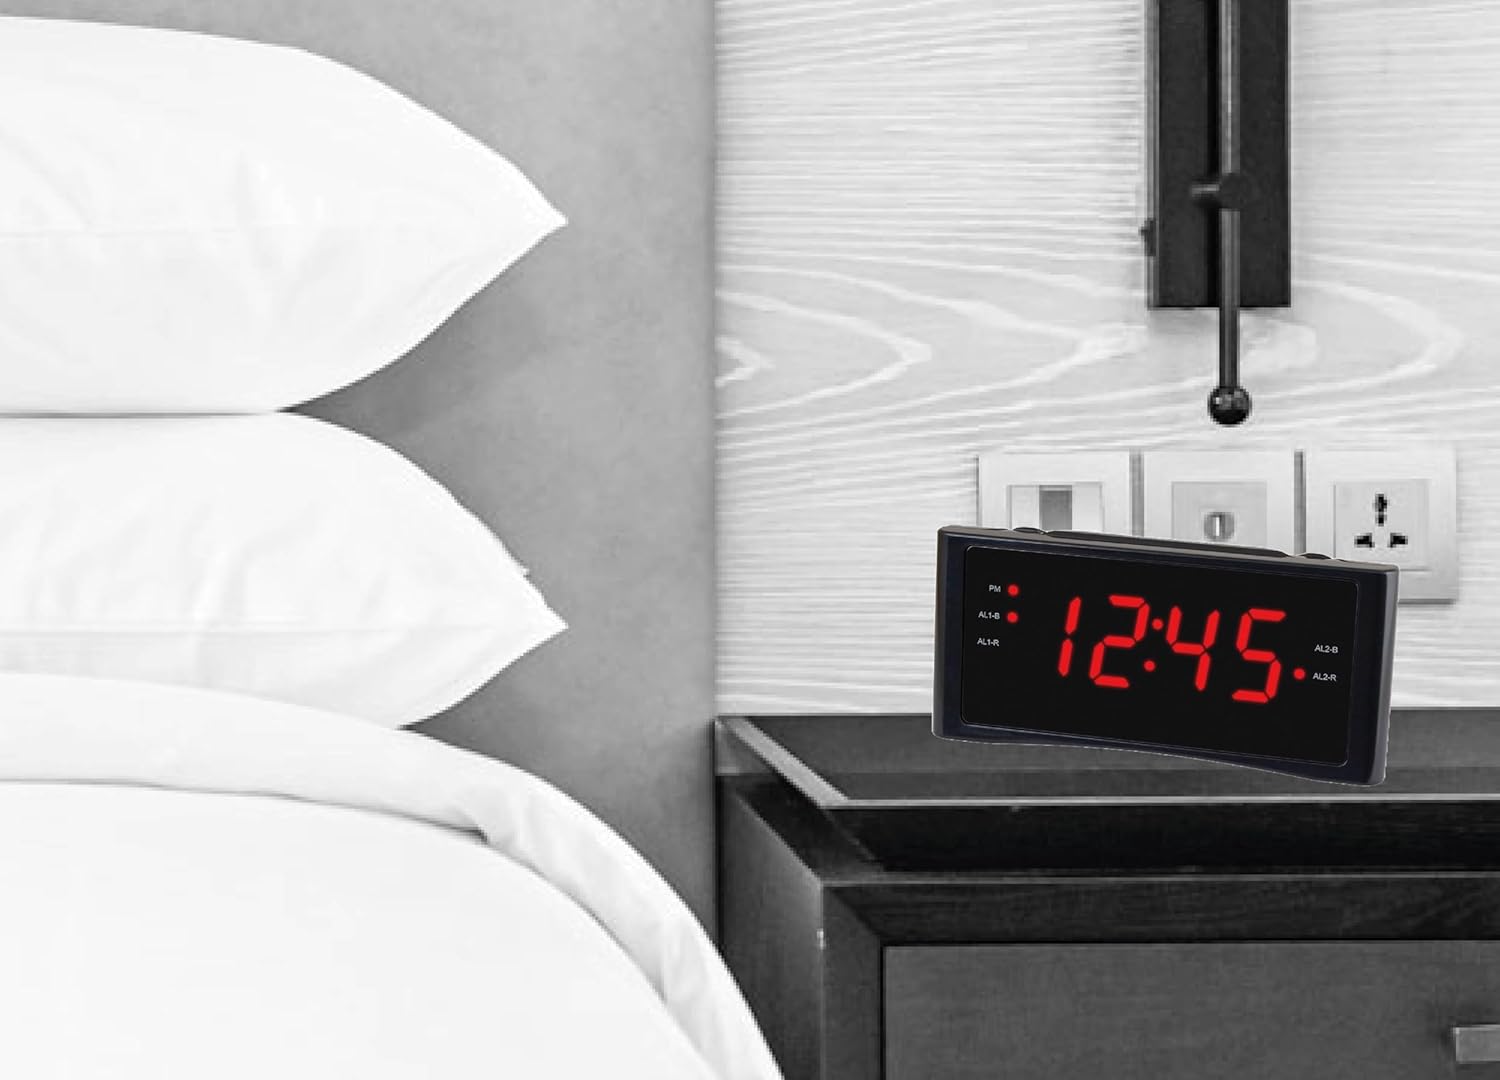
Figure 4: The alarm clock radio placed on a nightstand, ready for use.
6.2 Setting the Time
- Press and hold the TIME SET button until the display starts flashing.
- Press the HOUR button repeatedly to set the correct hour. Observe the PM indicator for afternoon hours.
- Press the MIN button repeatedly to set the correct minutes.
- Press the TIME SET button again to confirm and exit time setting mode. The display will stop flashing.
7. Operation
7.1 Radio Operation (AM/FM)
- Turning On/Off: Press the RADIO ON/OFF button to turn the radio on or off.
- Selecting Band: Press the AM/FM button to switch between AM and FM bands.
- Tuning:
- Manual Tuning: Press the TUNING +/- buttons repeatedly to fine-tune to your desired station.
- Auto Scan: Press and hold the RADIO ON/OFF button for a few seconds to automatically scan and stop at the next available station.
- Adjusting Volume: Press the VOLUME +/- buttons to increase or decrease the sound level.
- Setting Presets:
- Tune to your desired station.
- Press and hold the PRESET / MEMORY button until the preset number flashes on the display.
- Use the TUNING +/- buttons to select the desired preset number (e.g., P01, P02).
- Press the PRESET / MEMORY button again to confirm and save the station.
- Recalling Presets: Press the PRESET / MEMORY button repeatedly to cycle through your saved stations.
- Improving Reception: For FM, extend the wire antenna fully. For AM, rotate the unit for best reception.
7.2 Setting Alarms (Alarm 1 & Alarm 2)
The unit features two independent alarms.
- Setting Alarm Time:
- Press and hold the ALARM 1 or ALARM 2 button until the alarm time flashes.
- Press the HOUR button repeatedly to set the desired alarm hour.
- Press the MIN button repeatedly to set the desired alarm minutes.
- Press the ALARM 1 or ALARM 2 button again to confirm the alarm time.
- Selecting Alarm Source (Buzzer or Radio):
- After setting the alarm time, press the ALARM 1 or ALARM 2 button repeatedly to cycle through alarm modes:
- Buzzer: The corresponding AL-B indicator will light up.
- Radio: The corresponding AL-R indicator will light up. The radio will wake you to the last tuned station. Ensure the radio volume is set to an audible level.
- OFF: No indicator lights up, alarm is disabled.
- After setting the alarm time, press the ALARM 1 or ALARM 2 button repeatedly to cycle through alarm modes:
- Stopping an Alarm: When an alarm sounds, press the RADIO ON/OFF button to turn it off until the next day.
- Snooze Function: When an alarm sounds, press the SNOOZE button to temporarily silence the alarm for approximately 9 minutes. The alarm will sound again after this period.
7.3 Sleep Timer
The sleep timer allows you to fall asleep to the radio, which will automatically turn off after a set duration.
- Turn on the radio and tune to your desired station.
- Press and hold the SNOOZE / SLEEP / DIMMER button. The display will show the sleep timer duration (e.g., 90, 60, 30, 15 minutes).
- Release the button when your desired sleep duration is displayed. The radio will play for this duration and then automatically turn off.
7.4 Dimmer Function
Adjust the brightness of the 1.2" Red LED display.
- Press the SNOOZE / SLEEP / DIMMER button repeatedly (when the radio is off and no alarm is sounding) to cycle through different brightness levels (e.g., High, Low, Off).
8. Maintenance
- Cleaning: Disconnect the power cord before cleaning. Use a soft, dry cloth to wipe the exterior of the unit. Do not use abrasive cleaners or solvents.
- Placement: Place the unit on a stable, flat surface away from direct sunlight, heat sources, and excessive dust or moisture.
- Battery Replacement: If the memory backup batteries are depleted, replace them with new AAA batteries, ensuring correct polarity.
9. Troubleshooting
| Problem | Possible Cause | Solution |
|---|---|---|
| Unit does not power on. | Power cord not properly connected. | Ensure the AC power cord is securely plugged into both the unit and a working wall outlet. |
| Display is flashing. | Power interruption or initial setup. | Set the correct time as described in Section 6.2. |
| No radio reception or poor sound quality. | Antenna not extended/positioned correctly; weak signal. | Extend the FM wire antenna fully. For AM, rotate the unit to find the best reception. Try moving the unit to a different location. |
| Alarm does not sound. | Alarm not set or disabled; incorrect alarm source selected; radio volume too low (if waking to radio). | Verify alarm time and source (Buzzer/Radio) are correctly set and enabled (AL-B or AL-R indicator lit). If waking to radio, ensure radio volume is audible. |
| Difficulty setting time or alarms. | Incorrect button sequence or timing. | Refer to Sections 6.2 and 7.2 and follow the steps carefully. Ensure buttons are pressed and held for the specified duration where applicable. |
| Display is too bright or too dim. | Dimmer setting needs adjustment. | Press the SNOOZE / SLEEP / DIMMER button repeatedly to cycle through brightness levels. |
10. Specifications
- Model: HX-151CR
- Power Source: AC 120V ~ 60Hz (Corded Electric)
- Display: 1.2" Red LED
- Radio Bands: PLL AM/FM
- Alarm Features: Dual Alarm (Buzzer/Radio), Snooze
- Additional Features: Sleep Timer, Dimmer Function, Memory Backup (requires 2 x AAA batteries, not included)
- Product Dimensions (L x D x H): 153 mm x 57 mm x 71 mm (approx. 6.02" x 2.24" x 2.80")
- Item Weight: 11.3 ounces (approx. 320g)
- Material: Plastic (Acrylonitrile Butadiene Styrene)
- Manufacturer: Hannix Ltd.

Figure 5: Unit dimensions of the HANNLOMAX HX-151CR. Length 153 mm, Depth 57 mm, Height 71 mm.
11. Warranty and Support
For warranty information or technical support, please refer to the documentation included with your purchase or contact HANNLOMAX customer service. Keep your purchase receipt as proof of purchase.
Note: Specific warranty terms may vary by region and retailer.