Introduction
This user manual provides essential information for the safe and efficient operation of your Lifemaster Portable Air Conditioner. Please read this manual thoroughly before use and retain it for future reference.
The Lifemaster Portable Air Conditioner is a versatile 3-in-1 unit designed to provide cooling, dehumidification, and fan functions for rooms up to 450 sq. ft. Its compact and portable design, along with easy installation, makes it ideal for various living spaces.
Key Features
- 3-in-1 Operation: Functions as an Air Conditioner, Dehumidifier, and Fan.
- Digital Remote Control: Easy switching between modes and temperature adjustments.
- Quiet & Powerful: 10,000 BTU ASHRAE cooling capacity with a sleep mode for reduced noise.
- Easy Setup & Maintenance: Includes an exhaust kit and features a removable, washable air filter.
- Portability: Equipped with casters for easy mobility between rooms.
- Coverage: Effectively cools areas up to 450 sq. ft.
Product Overview

Figure 1: Lifemaster Portable Air Conditioner and its remote control.

Figure 2: Product dimensions and key features like lightweight, auto-swing, sleek design, 24-hour timer, and low noise operation.

Figure 3: Overview of the 3-in-1 operations and remote control access.
Setup and Installation
The Lifemaster Portable Air Conditioner is designed for quick and easy setup. Follow these steps for proper installation:
- Placement: Roll the air conditioner to your desired cooling area. Ensure it is placed on a flat, stable surface. The unit features casters for easy movement.
- Window Kit Installation:
- Adjust the window brackets to fit your window opening (fits openings from 26.5-49 inches).
- Securely place the window kit in the window frame.
- Exhaust Hose Connection:
- Attach one end of the 5ft exhaust hose to the air conditioner's exhaust port.
- Connect the other end of the exhaust hose to the opening in the installed window kit. Ensure a secure fit to prevent hot air from re-entering the room.
- Power Connection: Plug the unit into a standard 115 Volt electrical outlet.

Figure 4: Easy setup and maintenance with an exhaust kit and a removable air filter.
Video 1: This video demonstrates the unboxing and setup process of the Lifemaster Portable Air Conditioner, including the installation of the window kit and exhaust hose. It highlights the ease of transport and mode switching.
Operating Instructions
Your Lifemaster Portable Air Conditioner can be operated using either the control panel on the unit or the included digital remote control.
Control Panel and Remote Control
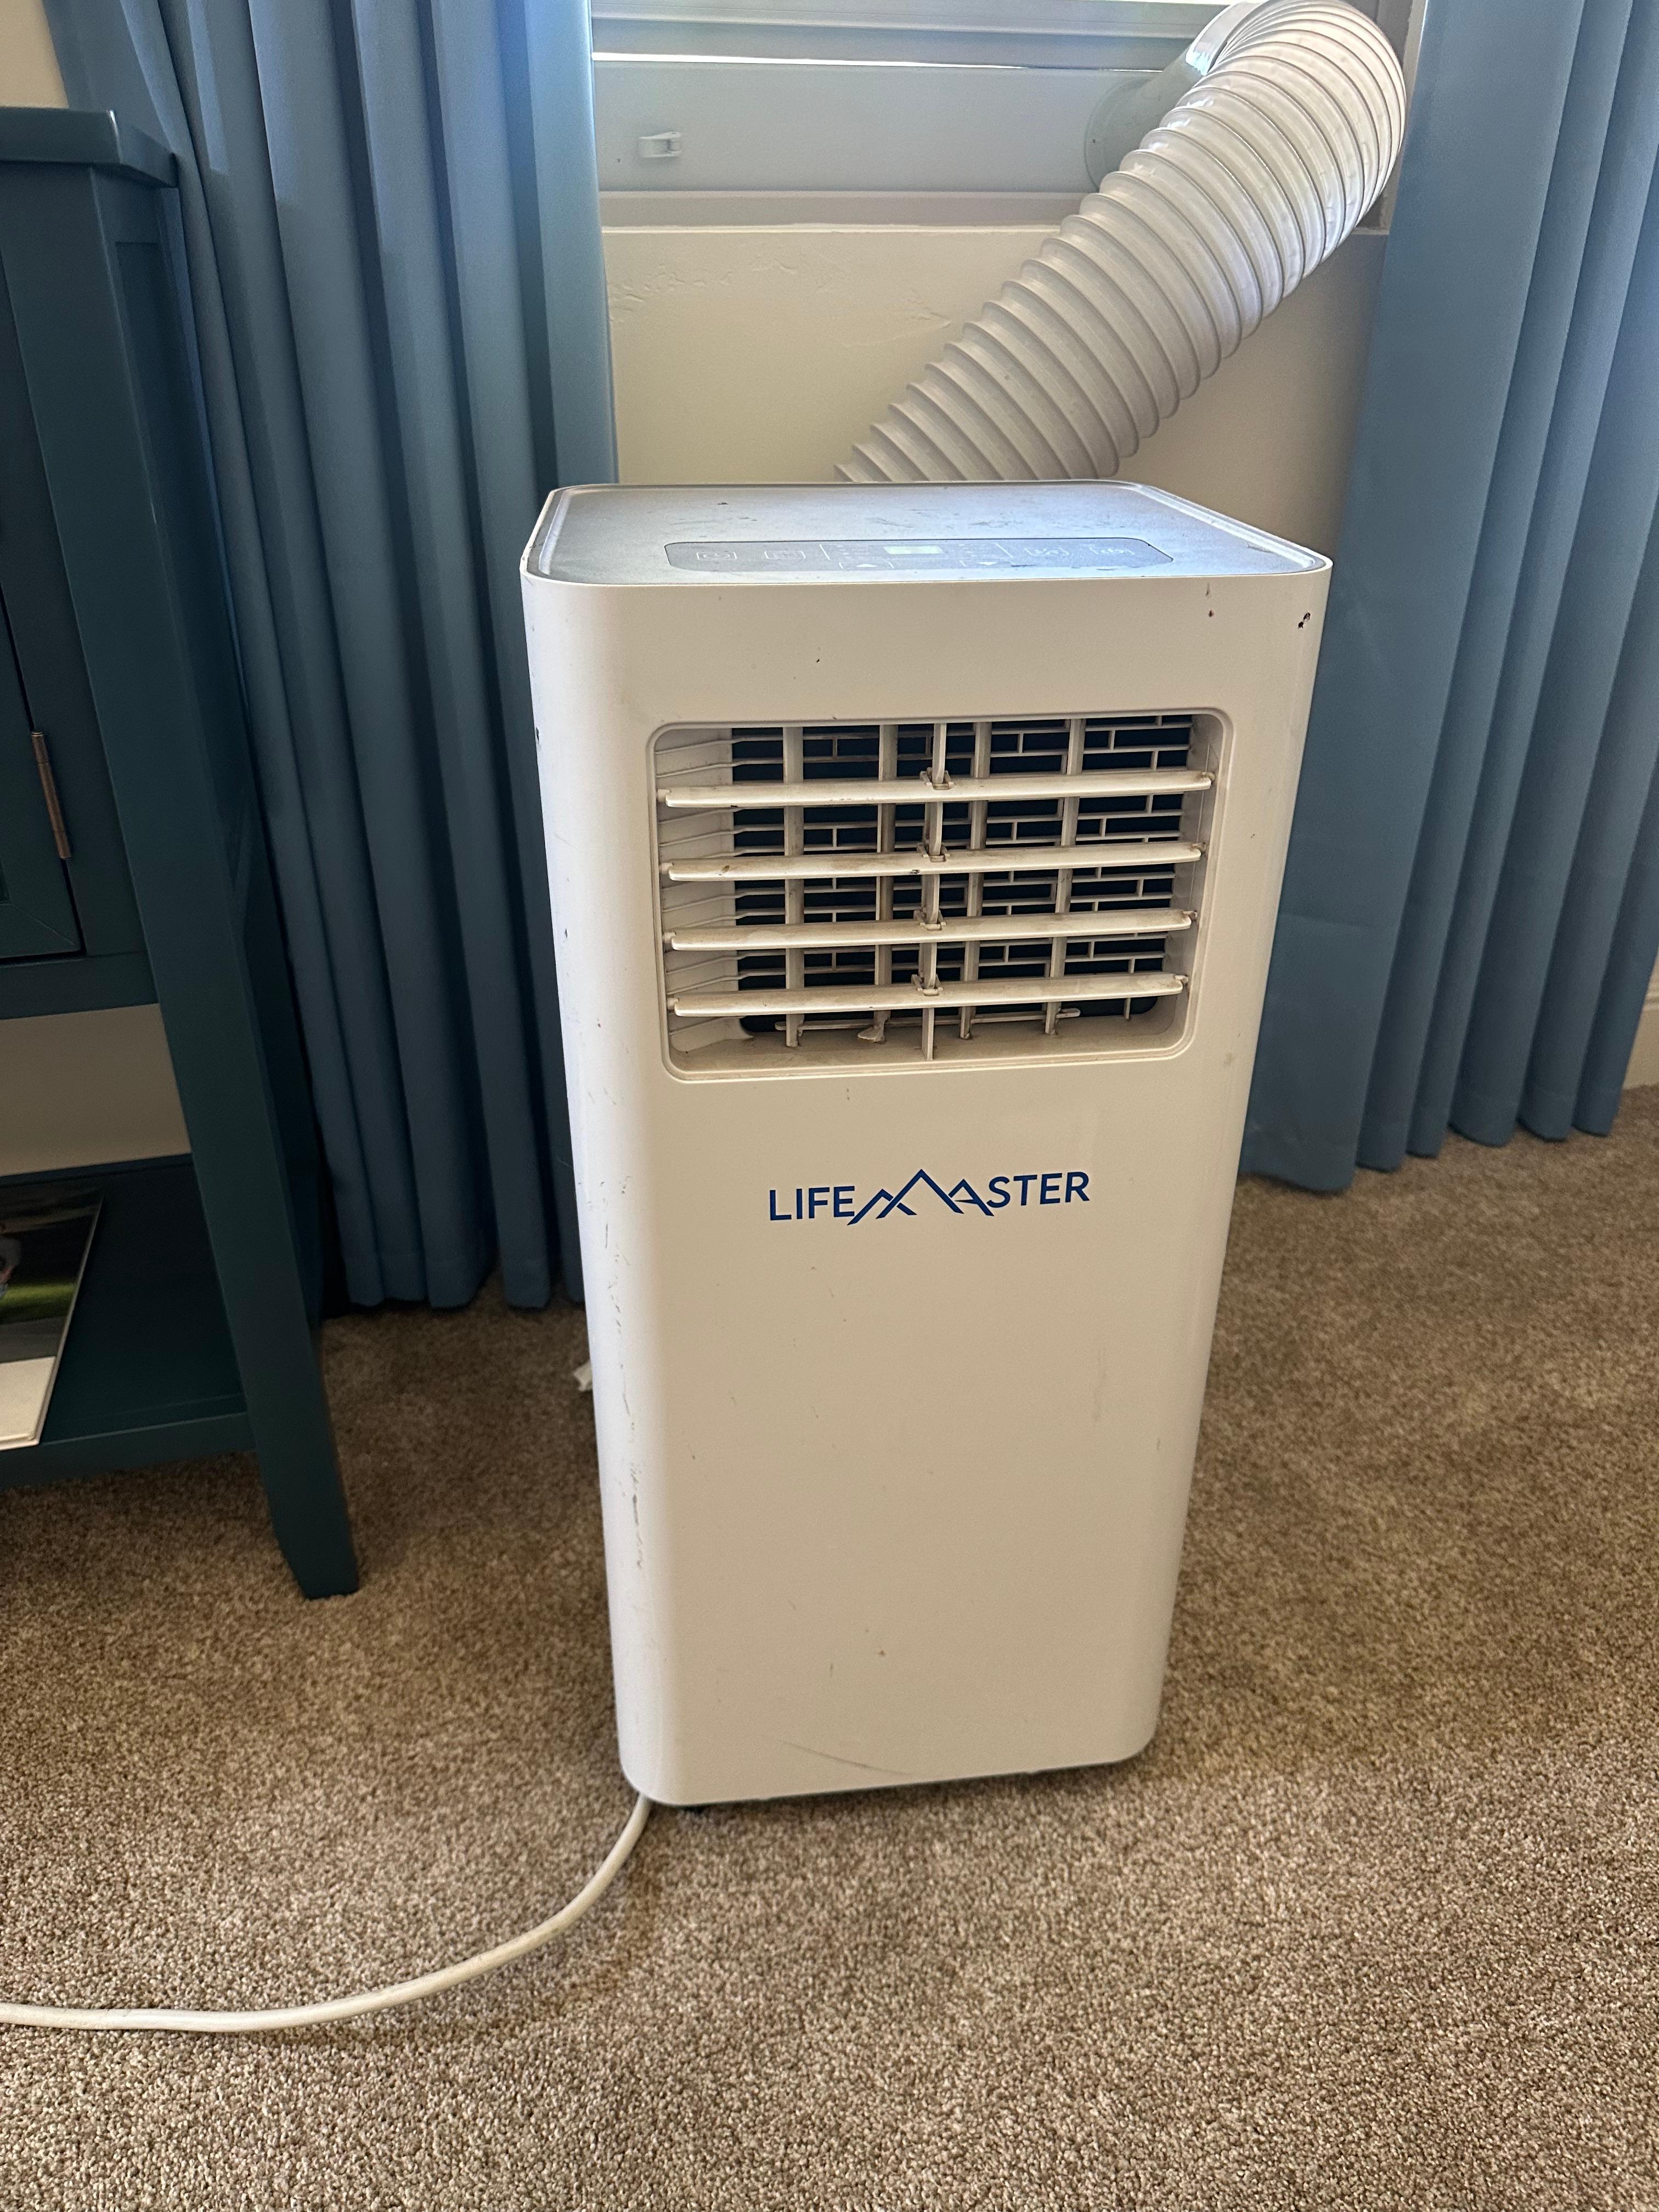
Figure 5: The control panel with digital display and various function buttons.
The control panel features a large LED display showing the current temperature and mode. Buttons allow you to adjust settings directly on the unit. The remote control provides convenient access to all functions from a distance.
Operating Modes
- Cool Mode (Air Conditioner): Provides powerful cooling for your room. Adjust the desired temperature using the up/down arrows on the control panel or remote.
- Fan Mode: Circulates air without cooling. Ideal for improving air circulation in a room. Two speed settings are available.
- Dry Mode (Dehumidifier): Reduces humidity in the air, making the room feel more comfortable and preventing mold growth.
Additional Functions
- Timer: Set the unit to turn on or off automatically after a specified period (up to 24 hours).
- Sleep Mode: Reduces noise levels for a quieter operation, ideal for nighttime use. The unit will automatically adjust the temperature for optimal sleep comfort.
- Auto-Swing: Activates the automatic swing function of the air outlet louvers to distribute air evenly.
Maintenance
Regular maintenance ensures optimal performance and longevity of your air conditioner.
- Air Filter Cleaning: The unit features a removable air filter that should be cleaned regularly (e.g., every two weeks, depending on usage).
- Turn off and unplug the unit before cleaning.
- Remove the air filter from its housing.
- Wash the filter with warm, soapy water. Rinse thoroughly and allow it to air dry completely before reinserting.
- Water Drainage: During dehumidification or prolonged cooling, water may accumulate in the internal tank. The unit has a drain plug for manual drainage.
- Locate the drain plug at the bottom rear of the unit.
- Place a shallow pan or container beneath the drain plug.
- Remove the plug to allow water to drain. Reinsert the plug securely once drainage is complete.

Figure 6: The comparison table highlights the advanced features of the Lifemaster unit, including its efficient cooling and air flow capabilities.
Troubleshooting
If you encounter issues with your Lifemaster Portable Air Conditioner, refer to the following common troubleshooting tips:
- Unit does not turn on:
- Check if the power cord is securely plugged into a working electrical outlet.
- Ensure the unit's power button is pressed and the remote control has working batteries.
- Verify if there's a power outage or tripped circuit breaker.
- Unit is not cooling effectively:
- Check if the exhaust hose is properly installed and sealed to the window kit, preventing hot air recirculation.
- Clean the air filter if it is dirty or clogged.
- Ensure the room size is within the unit's cooling capacity (up to 450 sq. ft.).
- Close all windows and doors in the room to prevent warm air from entering.
- Excessive Noise:
- Ensure the unit is placed on a flat, stable surface to minimize vibrations.
- Check for any obstructions around the air intake or exhaust vents.
- If operating in Sleep Mode, noise levels should be reduced.
- Water Leakage:
- Verify that the drain plug is securely closed.
- If the unit's internal water tank is full, it may need to be drained.
For more detailed troubleshooting or persistent issues, please refer to the comprehensive user manual available for download or contact customer support.
Specifications
| Feature | Specification |
|---|---|
| Product Dimensions | 15 x 14 x 35 inches |
| Item Weight | 23 pounds |
| Manufacturer | Lifemaster |
| Item Model Number | LMPAC10 |
| Form Factor | Portable |
| Included Components | Window Kit |
| Capacity | 0.83 Tons |
| Floor Area Coverage | 450 Square Feet |
| Voltage | 115 Volts |
| Noise Level | 56 dB |
| Cooling Power | 10000 British Thermal Units (BTU) |
| Special Feature | 4 Way Swing |
| Seasonal Energy Efficiency Ratio (SEER) | 5 |
| Color | White |
| Refrigerant | R 410A |
Warranty and Support
Warranty: The Lifemaster Portable Air Conditioner comes with a 1-Year Limited Warranty. Please refer to the warranty card included with your product for full terms and conditions.
Customer Support: For any questions, issues, or concerns regarding your product, please contact Lifemaster Customer Support. You can find contact information on the product packaging or the official Lifemaster website.
For additional resources, including a downloadable PDF user manual, please visit the Lifemaster Store on Amazon.