1. Introduction
Welcome to the user manual for your new Generic Commercial Ice Maker Machine. This manual provides essential information for the safe and efficient operation, maintenance, and troubleshooting of your ice maker machine. Please read it thoroughly before initial use and retain it for future reference.

Figure 1: Front view of the Generic Commercial Ice Maker Machine, showcasing its sleek design and ice production.
2. Safety Instructions
To ensure safe operation and prevent damage, always adhere to the following safety precautions:
- Electrical Safety: Ensure the power supply matches the machine's requirements. Do not operate with a damaged power cord or plug.
- Ventilation: Maintain adequate clearance around the machine for proper airflow to prevent overheating.
- Water Connection: Connect to a potable water supply only. Ensure all water connections are secure to prevent leaks.
- Placement: Place the unit on a stable, level surface away from direct sunlight or heat sources.
- Children and Pets: Keep children and pets away from the appliance during operation and maintenance.
- Maintenance: Disconnect power before cleaning or performing any maintenance to avoid electrical shock.
3. Setup and Installation
This ice maker can be installed as an undercounter or freestanding unit. Follow these steps for proper setup:
3.1 Unpacking
- Carefully remove all packaging materials.
- Inspect the machine for any shipping damage. Report any damage immediately to the retailer or manufacturer.
- Allow the unit to stand upright for at least 3 hours before plugging it in to allow the refrigerant to settle.

Figure 2: Product dimensions and included accessories. The package includes the ice machine, an ice shovel, and a water hose for connection.
3.2 Placement
Choose a location that is:
- Level and stable to ensure proper operation and drainage.
- Well-ventilated, with sufficient space around the unit for heat dissipation (as shown in Figure 3).
- Away from direct heat sources or sunlight to maintain optimal performance.
- Within reach of a grounded electrical outlet and a potable water supply.

Figure 3: Installation options: undercounter and freestanding. Ensure proper ventilation for both setups.
3.3 Water Connection
Connect the provided water hose to the water inlet on the back of the machine and to a potable water supply. Ensure all connections are tight to prevent leaks. The unit also requires a drain connection for wastewater; ensure it is properly routed to a drain.
4. Operating Instructions
Your ice maker is designed for efficient and convenient ice production. Familiarize yourself with the control panel and its functions.

Figure 4: Smart LCD Display for clear monitoring of the ice making process, indicating status and allowing user input.
4.1 Control Panel Functions
- ON/OFF Button: Powers the unit on or off.
- TIMER Button: Sets a timer for delayed start or stop of ice production.
- CLEAN Button: Initiates the self-cleaning cycle.
- +/- Buttons: Adjust ice thickness or timer settings.
- Indicators: Displays for "Ice Full" (when the ice bin is full) and "Water Shortage" (when water supply is low).
4.2 Initial Operation
- Ensure the unit is properly connected to power and water.
- Press the ON/OFF button to start the machine.
- The machine will automatically begin the ice-making process, typically producing 54 pieces of ice cubes within 5-15 minutes.
4.3 Adjusting Ice Thickness
The thickness of the ice cubes can be adjusted by increasing or decreasing the ice-making time using the +/- buttons on the control panel. Standard ice cube size is 0.9"x0.9"x0.9".

Figure 5: Ice production capacity and ice cube specifications. The machine produces up to 150 lbs of ice per day with a 33 lbs storage bin, and 66 ice cubes per cycle.
4.4 Timer Setting
Use the TIMER button to schedule when the ice maker starts or stops operation, allowing for convenient ice production as needed, for example, setting it to start overnight.

Figure 6: Smart Timer Setting for automated ice production, allowing users to plan ice availability.
5. Maintenance and Cleaning
Regular maintenance ensures optimal performance and extends the lifespan of your ice maker.
5.1 Self-Cleaning System
The machine features a smart 360° self-cleaning system. To activate, press the CLEAN button on the control panel. This helps maintain hygiene and ensures the production of crystal-clear ice cubes.

Figure 7: Smart 360° Self-Cleaning System for hygienic ice production, simplifying maintenance.
5.2 Regular Cleaning
- Exterior: Wipe the exterior with a soft, damp cloth. Avoid abrasive cleaners that could damage the stainless steel finish.
- Interior: Periodically clean the ice storage bin and water reservoir with a mild detergent and warm water. Rinse thoroughly to remove all soap residue.
- Water Filter: If applicable, clean or replace the water filter as recommended by the manufacturer to ensure clean ice.
- Drainage: Ensure the drainage system is clear and free of obstructions to prevent water backup.
Important: Always unplug the unit before performing any manual cleaning or maintenance to prevent injury.
6. Troubleshooting
Refer to the following table for common issues and their solutions. If the problem persists after attempting these solutions, contact customer support.
| Problem | Possible Cause | Solution |
|---|---|---|
| Machine not making ice. | No water supply; "Water Shortage" indicator on; clogged water line; low ambient temperature. | Check water connection and supply; clear any blockages in the water line; ensure room temperature is within operating range (typically above 50°F/10°C). |
| Ice cubes are too thin or too thick. | Ice-making time setting is incorrect. | Adjust ice thickness using the +/- buttons on the control panel to increase or decrease freezing time. |
| "Ice Full" indicator is on, but bin is not full. | Sensor obstruction or malfunction. | Clear any ice or debris from around the ice full sensor. If issue persists, the sensor may require service. |
| Machine is noisy. | Normal compressor operation; unit not level; loose components. | Ensure unit is on a level surface. Check for any loose parts. The compressor operates at approximately 50dB, which is a normal operating sound. |
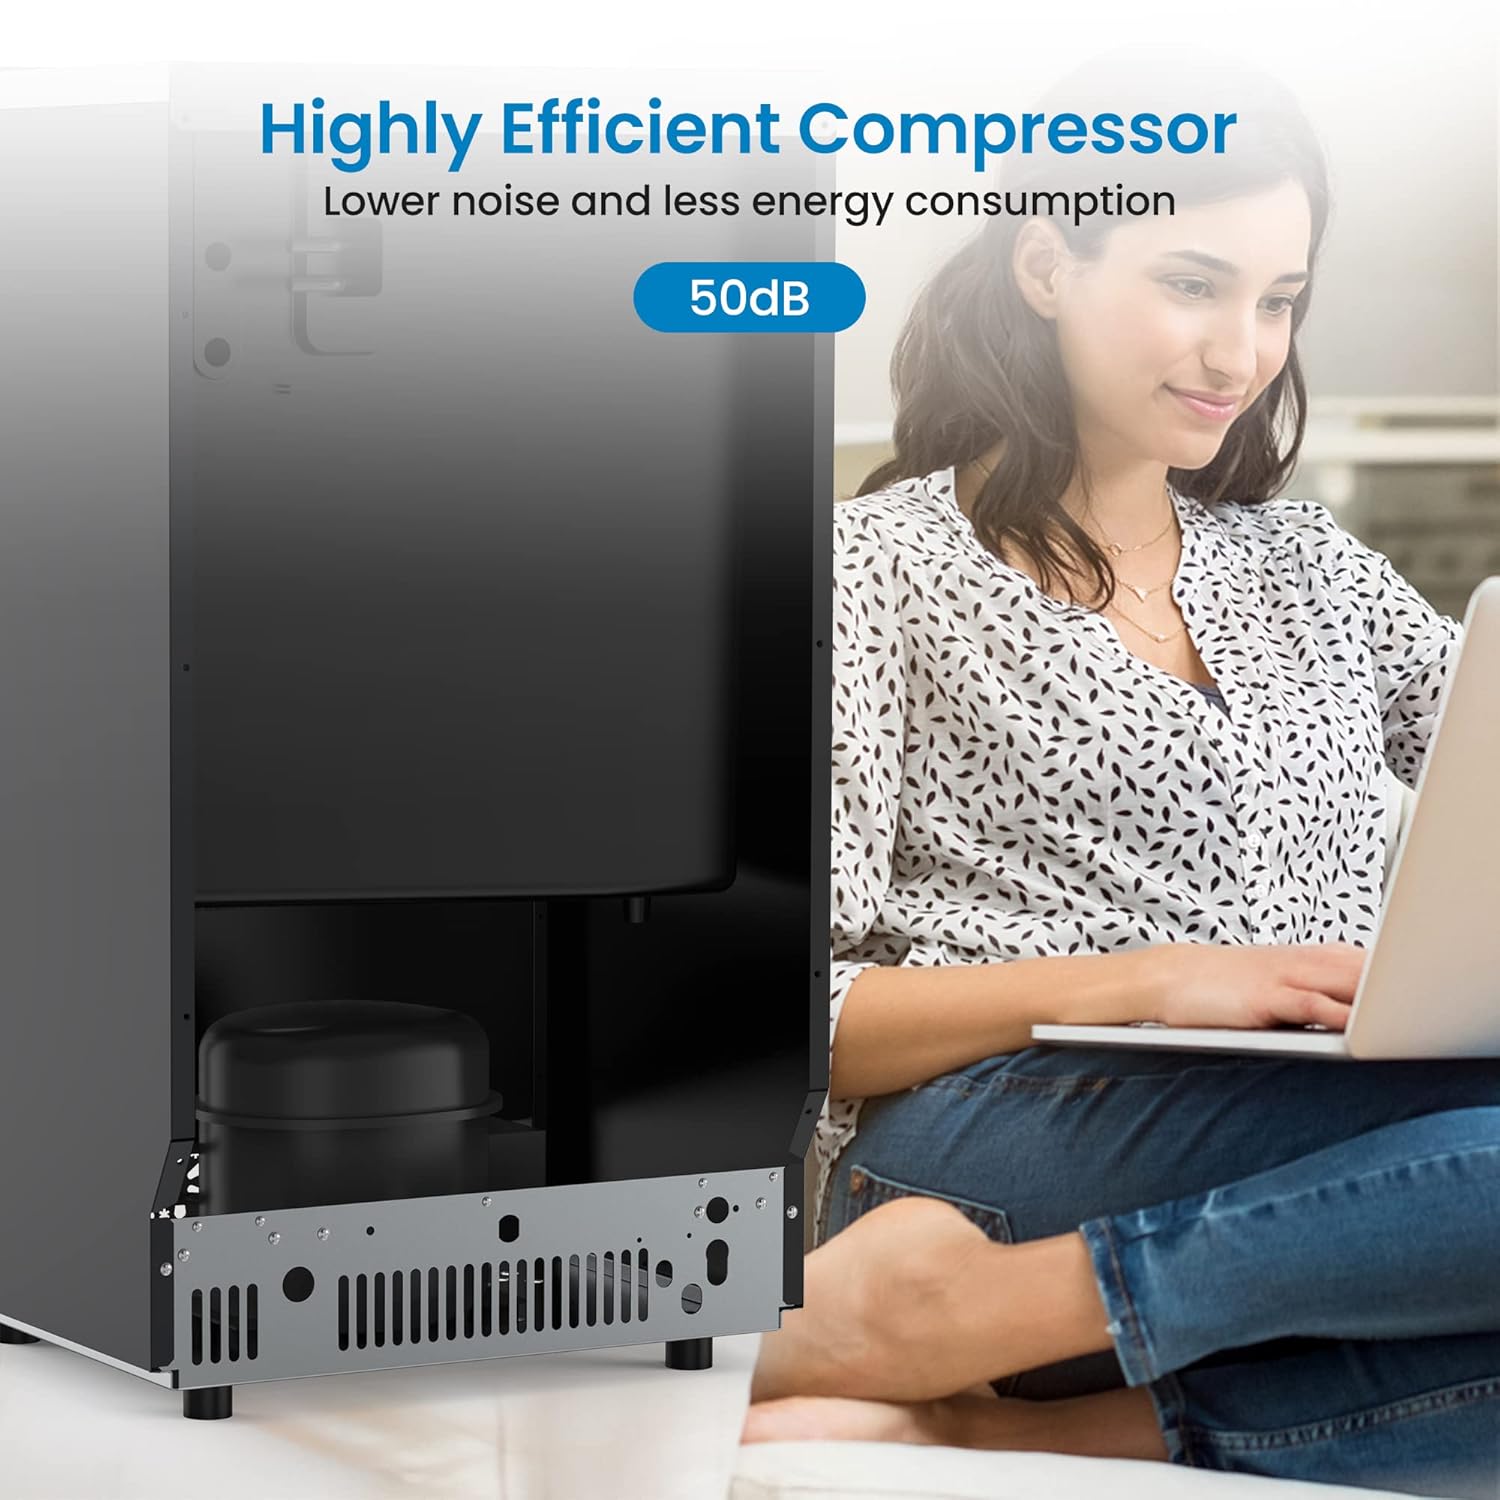
Figure 8: The highly efficient compressor operates at a low noise level of approximately 50dB, suitable for various environments.
7. Specifications
| Feature | Detail |
|---|---|
| Model Name | CIM2 (HZB65) |
| Brand | Generic |
| Ice Production Capacity | 150 lbs / 24 hours |
| Ice Storage Bin Capacity | 33 lbs |
| Ice Cube Production Cycle | 54 pieces within 5-15 minutes |
| Standard Ice Cube Size | 0.9" x 0.9" x 0.9" |
| Product Dimensions (D x W x H) | 15.75" x 17.64" x 31.42" |
| Weight | 62 Pounds |
| Wattage | 1000 watts |
| Installation Type | Undercounter or Freestanding |
| Included Accessories | Ice shovel, Water hose |
8. Warranty and Support
This product comes with a manufacturer's warranty. Please refer to the warranty card included with your purchase for specific terms and conditions regarding coverage and duration. For technical support, service, or warranty claims, please contact the manufacturer or your retailer directly.
For customer support regarding this product, please refer to the contact information provided at the point of purchase or on the manufacturer's official website. Keep your purchase receipt as proof of purchase for warranty purposes.