1. Product Overview
The EDISHINE 240 Degree Motion Sensor is designed to replace existing motion detectors on outdoor lights, providing enhanced security and convenience. This UL Listed sensor features a wide detection angle, adjustable time and sensitivity settings, and multiple operating modes to suit various outdoor lighting needs.
2. Key Features
- 240° Detection Angle: Covers a broad area for comprehensive motion sensing.
- Up to 60FT Sensing Distance: Detects motion from a significant range.
- 3 Operating Modes: Auto, Dusk to Dawn, and Manual Override for versatile control.
- Adjustable Delay Time: Set the light-on duration from 0 to 10 minutes after motion detection.
- Adjustable Sensitivity: Customize the detection range from 10 to 60 feet.
- Adjustable Sensor Neck: 180° vertically and 360° horizontally for precise positioning.
- Wide Application: Compatible with LED bulbs (max 72W) and incandescent lamps (max 300W).
- UL Listed: Ensures safety and quality standards.
3. Product Components
The EDISHINE motion sensor includes the main sensor unit with an adjustable neck and wiring for connection. Familiarize yourself with the components before installation.
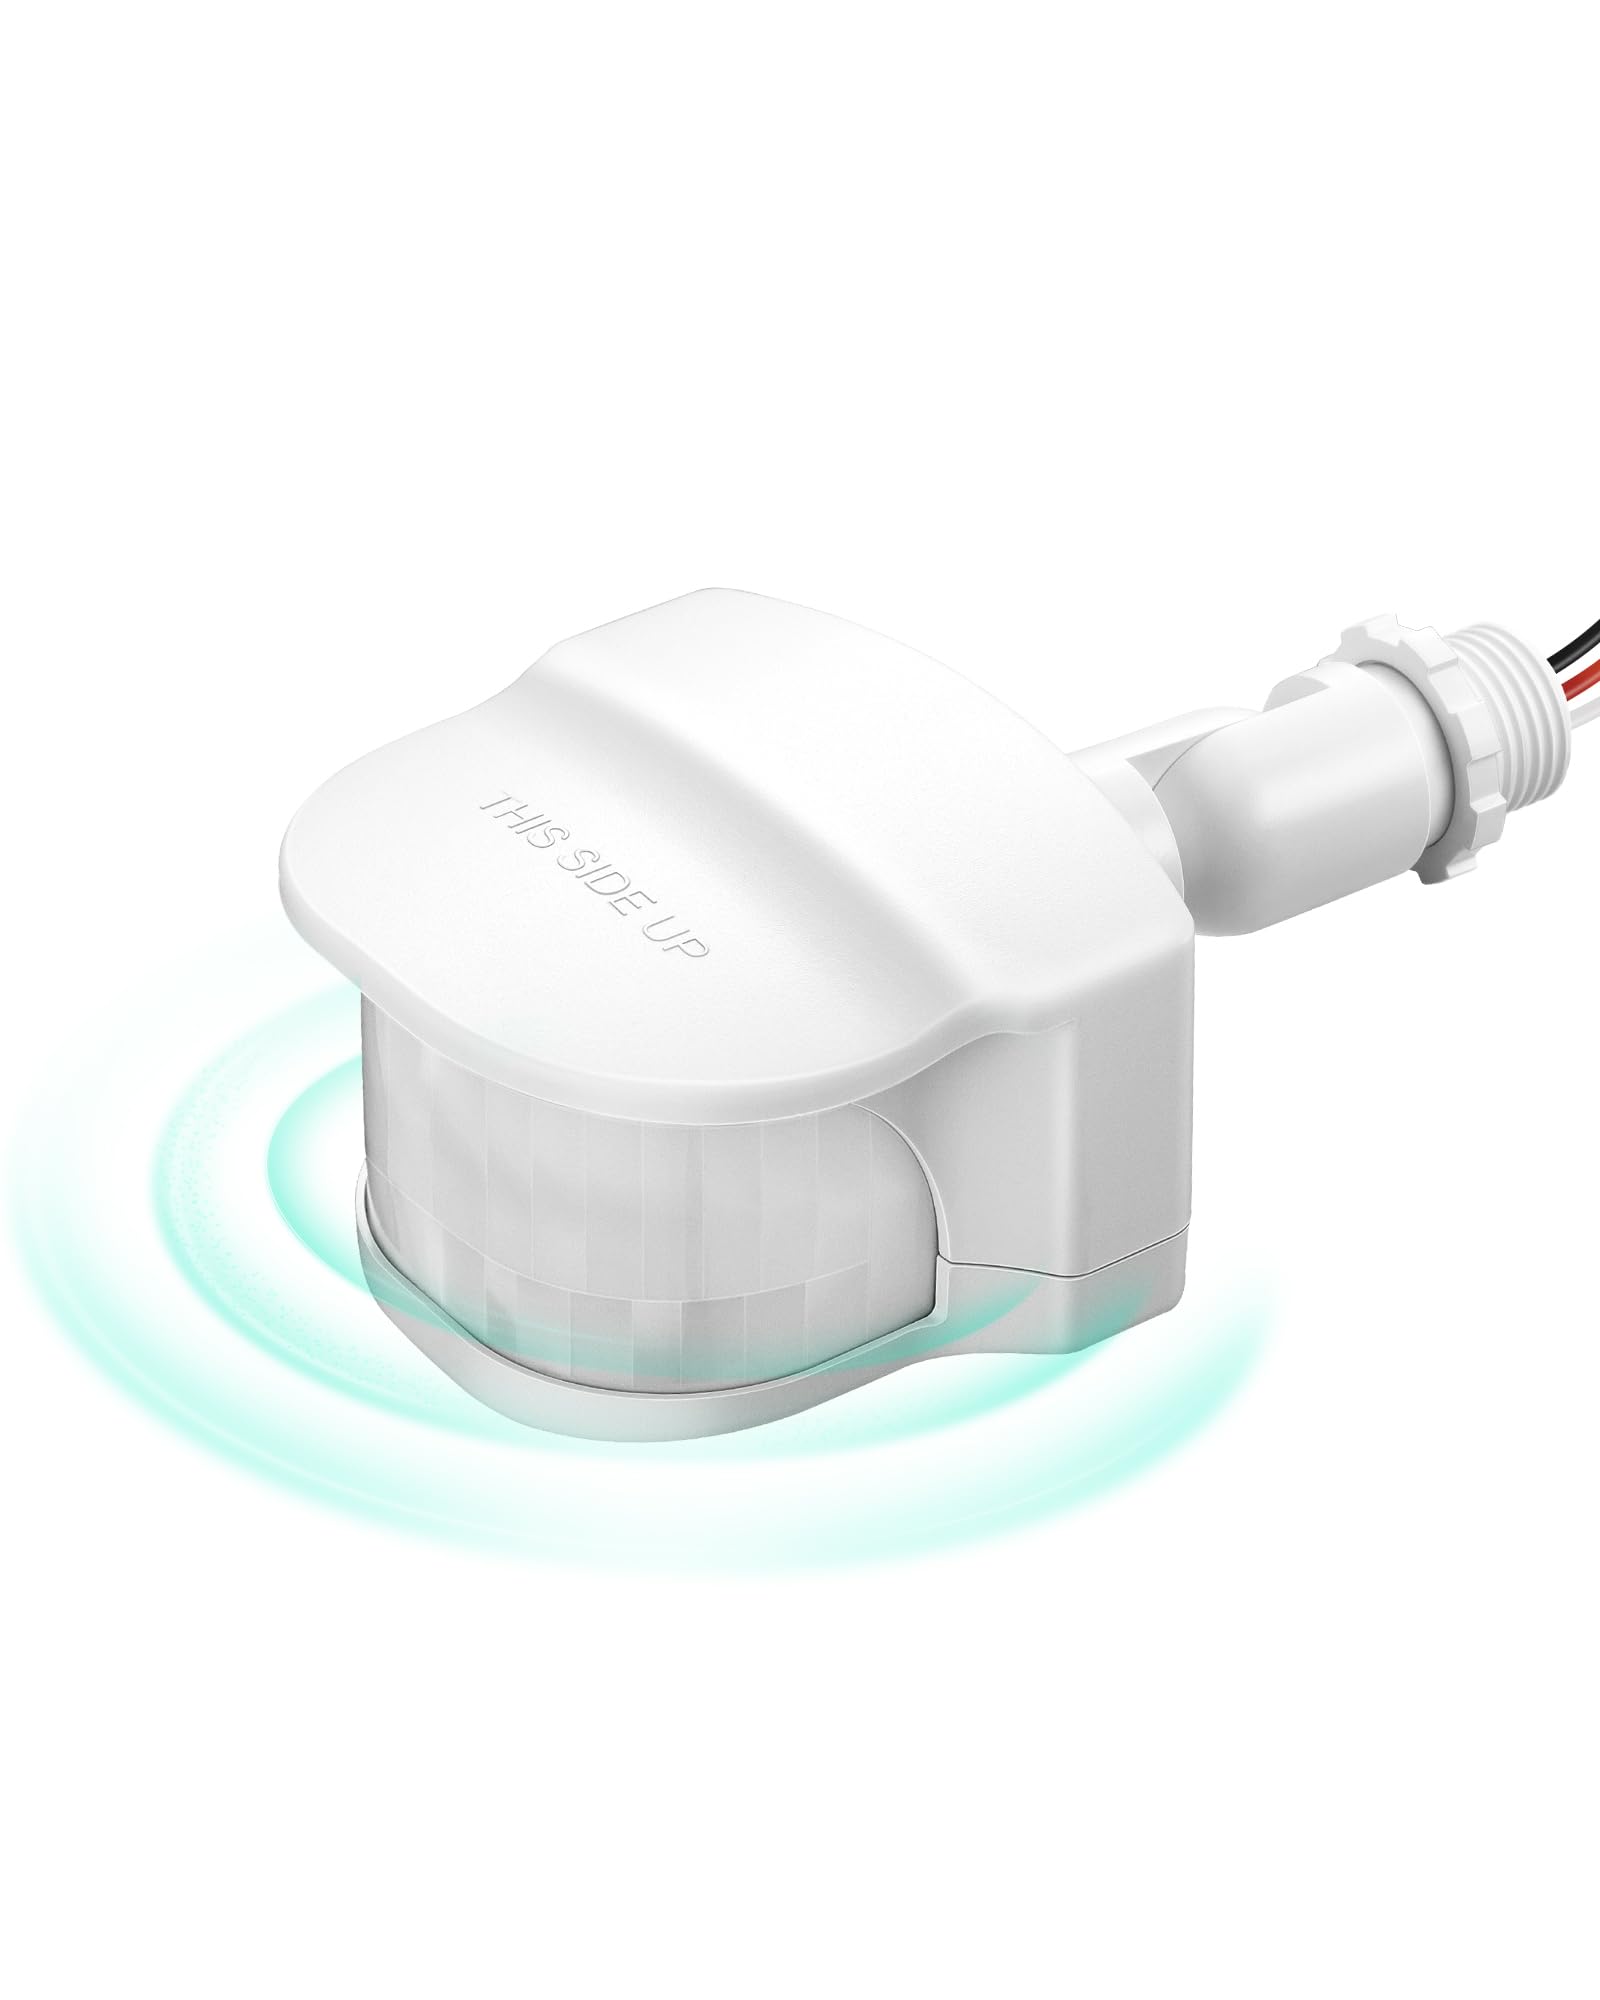
Image: EDISHINE 240 Degree Motion Sensor (White Model HMSS10W).

Image: Sensor dimensions and adjustable neck with 300° horizontal and 180° vertical rotation.
4. Installation Guide
This motion sensor is designed for outdoor use and is compatible with 3-wire fixtures. Ensure power is OFF before installation.
4.1 Wiring Instructions
The sensor comes with three color-coded wire nuts for easy connection. Connect the sensor wires to your existing fixture's wiring as follows:
- Black Wire: Connect to the live/hot wire.
- Red Wire: Connect to the load wire (to the light fixture).
- Green or Bare Wire: Connect to the ground wire.

Image: Wiring diagram for connecting the motion sensor to a 3-wire light fixture.
4.2 Mounting
The sensor is designed for wall mount applications. The adjustable neck allows for optimal positioning to cover the desired detection area. Adjust the sensor head 180 degrees vertically and 360 degrees horizontally to achieve accurate area monitoring.

Image: Proper installation under an eave to protect the sensor from direct rain exposure.
Important: While suitable for outdoor use, it is recommended to install the sensor under an eave or other protected area to shield it from direct heavy rain and prolong its lifespan.
5. Operating Modes
The EDISHINE motion sensor offers three distinct operating modes, selectable via the control knob:

Image: Visual representation of the three operating modes.
5.1 AUTO Mode
In AUTO mode, the sensor activates connected devices (lights) only at night when motion is detected. The lights will turn OFF after a pre-selected delay time if no further motion is detected.
5.2 DUSK TO DAWN Mode
In DUSK TO DAWN mode, the sensor automatically turns on the connected lights when it gets dark and keeps them on until daylight. Motion detection is not active in this mode.
5.3 Manual Override Mode
To activate Manual Override Mode, quickly turn the wall switch OFF and then ON within 3 seconds. The connected devices will remain ON for 8 hours, after which the sensor will automatically revert to AUTO mode.
6. Adjusting Settings
The sensor features adjustable knobs for customizing the delay time and detection sensitivity.

Image: Adjustment knobs for Time and Sensitivity.
6.1 Delay Time Adjustment (TIMER Knob)
The TIMER knob controls how long the light stays on after motion is detected in AUTO mode. Rotate the knob to select a delay time from 0 (Test Mode) to 10 minutes. For initial setup, rotate to 'Test' mode.
6.2 Detection Range Adjustment (SENSITIVITY Knob)
The SENSITIVITY knob adjusts the motion detection range from 10 feet to 60 feet. Rotate the knob to increase or decrease the sensitivity based on your coverage requirements.

Image: Illustration of the 240° detection angle and 60FT sensing distance.
7. Specifications
| Specification | Value |
|---|---|
| Brand | EDISHINE |
| Model Number | HMSS10W |
| Color | White |
| Power Source | Corded Electric (120V AC 60HZ) |
| Maximum Range | 60 Feet |
| Detection Angle | 240 Degrees |
| Mounting Type | Wall Mount |
| Adjustable Delay Time | 0 to 10 minutes |
| Adjustable Sensitivity | 10 to 60 feet |
| Compatible Devices | LED bulbs (max 72W), Incandescent lamps (max 300W) |
| Product Dimensions | 5.4 x 3.8 x 2.6 inches |
| Item Weight | 5.3 ounces |
| Temperature Range | -30 to 50 Degrees Celsius |
8. Troubleshooting
If you encounter issues with your EDISHINE motion sensor, refer to the following common problems and solutions:
- Light does not turn on:
- Ensure power is supplied to the sensor and fixture.
- Check wiring connections for proper installation.
- Verify the sensor is in AUTO mode and it is dark enough for activation.
- Adjust sensitivity to ensure motion is being detected.
- Light stays on continuously:
- Check if the sensor is in Manual Override Mode. Turn the wall switch OFF and ON within 3 seconds to reset to AUTO mode.
- Ensure the sensor is not in DUSK TO DAWN mode if you expect motion activation.
- Reduce sensitivity if the sensor is being triggered by distant objects, moving branches, or small animals.
- Ensure the sensor is not exposed to constant heat sources or direct sunlight that could interfere with its operation.
- Light turns on for no apparent reason (false triggers):
- Lower the sensitivity setting.
- Adjust the sensor's angle to exclude areas with moving objects (e.g., trees, traffic).
- Ensure the sensor is not facing reflective surfaces.
- Sensor not detecting motion effectively:
- Increase the sensitivity setting.
- Adjust the sensor's angle to cover the desired area more effectively.
- Ensure there are no obstructions blocking the sensor's view.
9. Care and Maintenance
To ensure optimal performance and longevity of your EDISHINE motion sensor, follow these care guidelines:
- Cleaning: Gently wipe the sensor lens with a soft, damp cloth to remove dust or dirt. Avoid using abrasive cleaners or solvents.
- Protection: As noted in the installation guide, installing the sensor under an eave or other protected area helps shield it from harsh weather conditions, which can extend its lifespan.
- Regular Checks: Periodically inspect the sensor and its wiring for any signs of damage or loose connections.
10. Warranty and Support
EDISHINE products are designed for reliability and performance. For warranty information, technical support, or any questions regarding your motion sensor, please contact EDISHINE customer service. Refer to the product packaging or the official EDISHINE website for the most current contact details.
We recommend keeping your purchase receipt as proof of purchase for warranty claims.