1. Introduction
This manual provides comprehensive instructions for the safe and effective operation, setup, maintenance, and troubleshooting of your HBUDS 7D3A 100ft Self-Leveling Sewer Camera. This professional inspection system is designed for examining sewer lines, drains, wells, chimneys, machinery, ducts, tanks, railways, and other confined or underground environments.
The HBUDS sewer inspection camera assists in identifying potential issues such as blockages, cracks, or damage within piping systems, enabling timely repairs and preventing further complications.

2. Safety Information
Please read and understand all safety warnings and instructions before using this product. Failure to follow these instructions may result in electric shock, fire, or serious injury.
- Electrical Safety: Ensure all connections are secure and dry before powering on. Do not operate the device if any part is damaged or exposed to excessive moisture beyond its IP68 rating for the camera head.
- Battery Safety: Use only the provided charger. Do not expose the battery to extreme temperatures or attempt to disassemble it.
- Cable Handling: Handle the fiberglass cable carefully to prevent kinks or damage. Avoid sharp bends that could compromise the cable's integrity.
- Personal Protective Equipment (PPE): Wear appropriate PPE, such as gloves and eye protection, especially when working in unsanitary or hazardous environments.
- Environmental Considerations: Dispose of the battery and electronic components according to local regulations.
3. Package Contents
Verify that all items are present in your package:
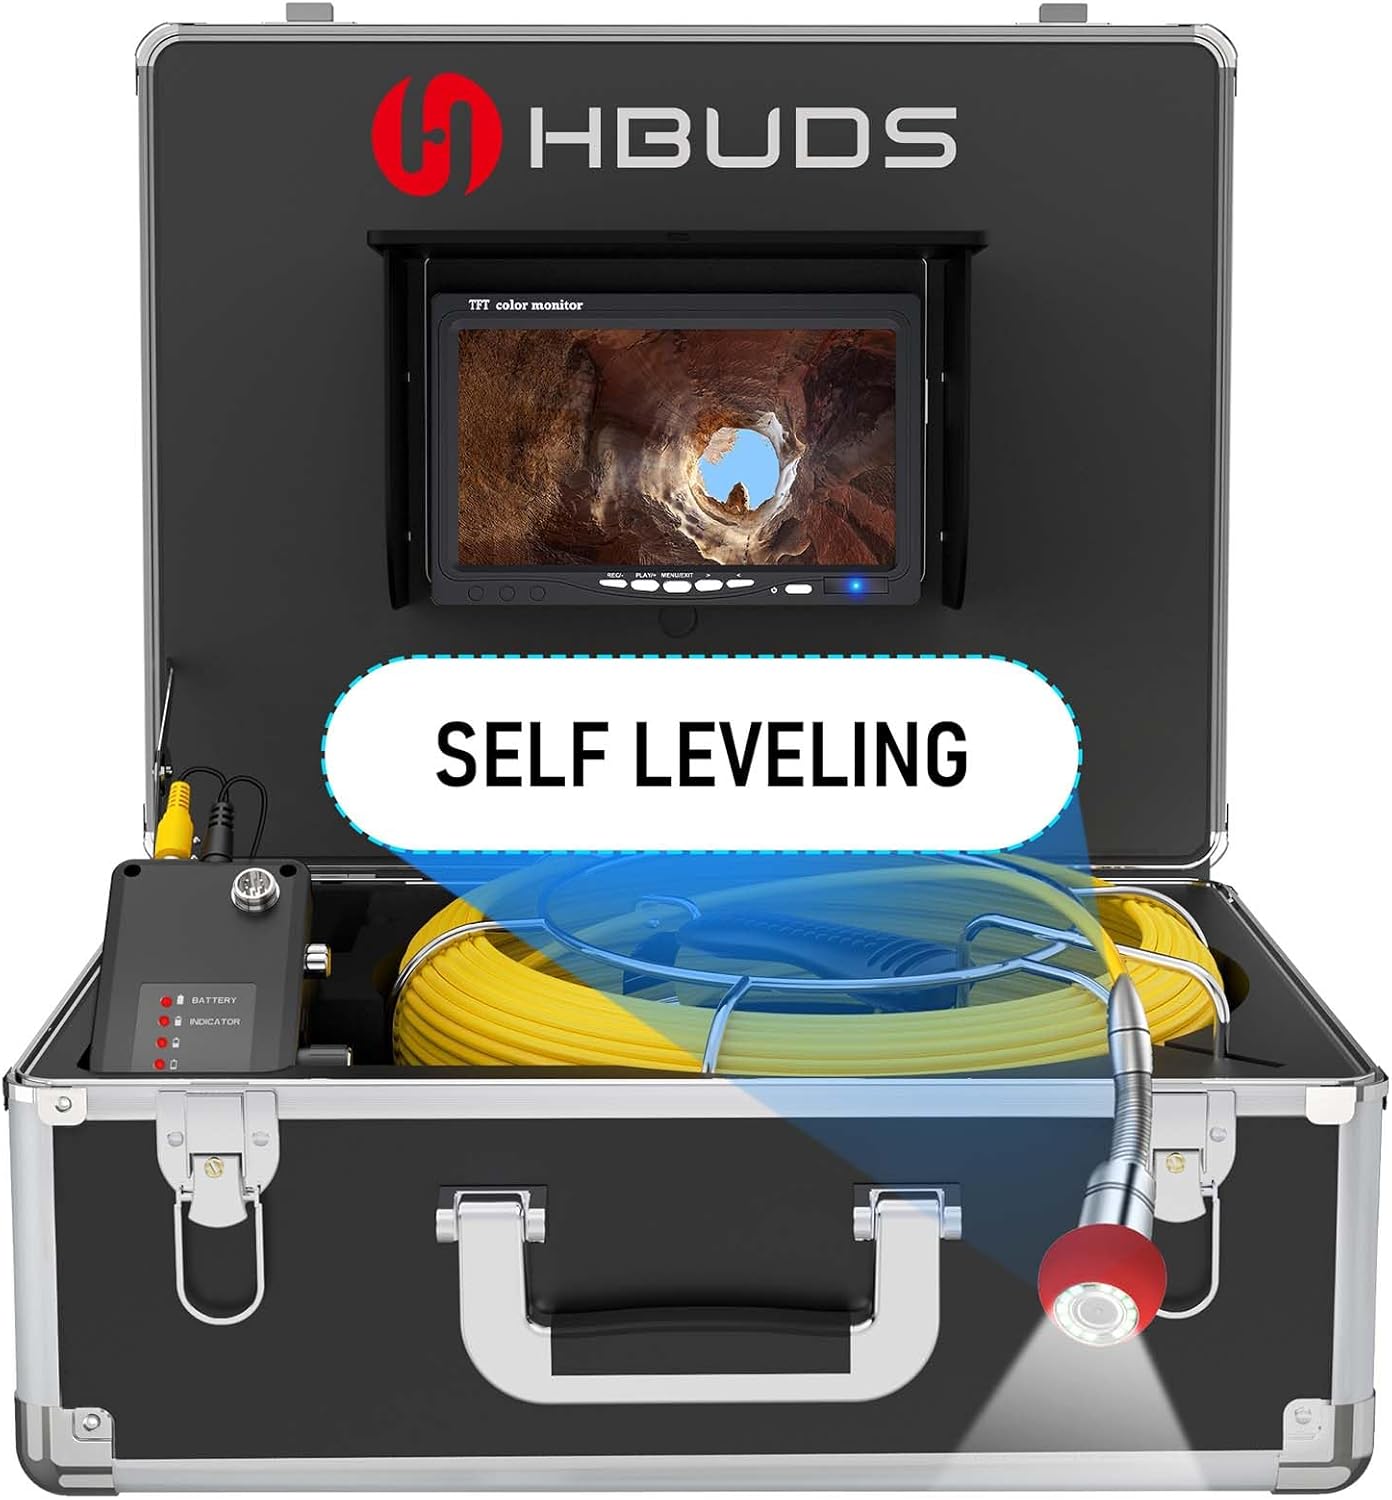
- Control Box with 7-inch TFT Color Monitor
- Camera Head with Self-Leveling Function and 12 Adjustable LEDs
- 100ft (30m) Fiberglass Cable Reel with Meter Counter
- 12V 4500mAh Rechargeable Lithium-Ion Battery Pack
- 16GB SD Card (pre-installed or included separately)
- Power Adapter/Charger
- User Manual (this document)
4. Setup
4.1 Charging the Battery
- Locate the 12V 4500mAh rechargeable battery pack.
- Connect the provided power adapter to the charging port on the battery pack.
- Plug the power adapter into a standard electrical outlet.
- The battery indicator lights will show the charging status. Charge until all indicator lights are solid, indicating a full charge. A full charge provides approximately 6-8 hours of continuous operation.

4.2 Connecting Components
- Ensure the battery is charged and securely connected to the power input of the control box.
- Connect the camera cable from the reel to the designated camera input port on the control box. Ensure the connection is firm.
- If not already installed, insert the 16GB SD card into the SD card slot on the control box/monitor unit.
5. Operation
5.1 Powering On/Off
Press and hold the power button on the control box/monitor unit to turn the system on or off. The 7-inch TFT HD color display will illuminate.

5.2 Camera Control and Self-Leveling
The camera head features a self-leveling function, ensuring the image remains upright regardless of the camera's orientation within the pipe. This is achieved via an integrated gravity sensor.

The camera head is equipped with 12 adjustable white LED lights. Use the dedicated control knob or buttons on the monitor unit to adjust the brightness of these LEDs to suit the inspection environment. This ensures clear visibility even in dark conditions.
5.3 Cable Management and Meter Counter
The 100ft (30m) fiberglass cable is semi-rigid, providing good handling characteristics for navigating pipes. The cable features clear Arabic numerals marked at regular intervals, allowing you to accurately measure the camera's insertion depth into the pipes.

When inserting the camera, gently feed the cable into the pipe. For retrieval, carefully reel the cable back onto the spool, avoiding sudden pulls or twists.
5.4 Applicable Pipe Sizes
This camera system is suitable for:
- Straight pipes: 25mm (1 inch) diameter and larger.
- Bend pipes: 45mm (2 inches) diameter and larger.
- Near 90° bend pipes: 150mm (6 inches) diameter and larger.
6. DVR Recording Function
The HBUDS sewer camera includes a DVR recording function, allowing you to capture video footage and still images of your inspections. These files are stored on the included 16GB SD card for later review and analysis.

6.1 Recording Video
Press the 'Record' button on the control box to start video recording. Press it again to stop. A recording indicator will typically appear on the screen.
6.2 Capturing Photos
Press the 'Photo' button on the control box to capture a still image. The image will be saved to the SD card.
6.3 Playback and Data Transfer
Access the 'Playback' menu on the monitor to review recorded videos and photos. To transfer files to a computer, remove the SD card from the control box and insert it into a compatible card reader on your computer.
7. Maintenance and Storage
7.1 Cleaning
- After each use, clean the camera head and cable with a damp cloth. For stubborn debris, a mild detergent can be used. Ensure the camera head is thoroughly rinsed and dried.
- Wipe down the monitor and control box with a soft, dry cloth. Avoid using abrasive cleaners or solvents.
7.2 Storage
- Store the entire system in its protective case in a cool, dry place, away from direct sunlight and extreme temperatures.
- Ensure the cable is neatly coiled on the reel to prevent kinks or damage.
- For long-term storage, it is recommended to charge the battery to approximately 50% every few months to maintain its health.
8. Troubleshooting
| Problem | Possible Cause | Solution |
|---|---|---|
| No power to monitor | Battery discharged or not connected properly. | Charge the battery fully. Ensure all power connections are secure. |
| No image on screen | Camera cable not connected or damaged. | Check the camera cable connection to the control box. Inspect the cable for visible damage. |
| Poor image quality | Insufficient LED light, dirty camera lens, or monitor settings. | Adjust LED brightness. Clean the camera lens. Adjust monitor brightness/contrast. |
| Cannot record video/photos | SD card full, not inserted, or faulty. | Check if the SD card is inserted correctly. Delete old files or replace the SD card. Ensure the card is not write-protected. |
| Self-leveling not working | Camera head damage or internal sensor issue. | Inspect the camera head for physical damage. If the issue persists, contact customer support. |
9. Specifications
| Feature | Detail |
|---|---|
| Model Number | 7D3A 100ft Self-leveling |
| Monitor Size | 7-inch Color TFT HD Display |
| Camera Head | Self-leveling, IP68 Waterproof |
| Illumination | 12 Adjustable White LED Lights |
| Cable Length | 100ft (30 meters) with Meter Counter |
| Cable Material | Fiberglass |
| Battery | 12V 4500mAh Lithium Ion (included) |
| Battery Life | Approx. 6-8 hours continuous use |
| Recording | DVR Video Recording & Photo Capture |
| Storage | 16GB SD Card (included) |
| Video Resolution | 720p or 1080p |
| Product Dimensions | 16 x 14 x 8 inches |
| Item Weight | 13 pounds |
| Color | Black |
| Manufacturer | HBUDS IHBUDS |
10. Warranty and Support
HBUDS is committed to providing quality products and customer satisfaction. If you encounter any issues with your HBUDS 7D3A 100ft Self-Leveling Sewer Camera, please do not hesitate to contact our professional technical support team.
For assistance, please reach out to us via the Amazon message system with your order information. Our technicians are available to help resolve any problems you may experience.