1. Product Overview
The JMBricklayer Vintage Building Set 20132 offers a unique opportunity to construct detailed models of iconic retro devices: a game console, a radio, and a computer. This set is designed for enthusiasts who appreciate the craftsmanship and nostalgic appeal of vintage electronics. Comprising 552 high-quality building blocks, the set provides a rewarding and engaging assembly experience, resulting in collectible display pieces.
Each model features intricate details and realistic elements, capturing the essence of 70s and 80s technology. The compact size of the finished models makes them suitable for display on shelves, desks, or any personal space, enhancing a vintage aesthetic.

Figure 1: The complete JMBricklayer Vintage Building Set 20132, featuring the retro game console, computer, and radio models.
2. Package Contents
Before beginning assembly, please verify that all components are present. The JMBricklayer Vintage Building Set 20132 includes:
- 552 high-quality building blocks.
- Detailed instruction manual for assembly.
- Components for one (1) retro game console model.
- Components for one (1) retro computer model.
- Components for one (1) retro radio model.
If any parts are missing or damaged, please contact JMBricklayer customer support for assistance.
3. Assembly Instructions
Follow the step-by-step instructions provided in the included manual. Sort pieces by color and shape to facilitate the building process. Each model has a dedicated section in the manual for clear guidance.
3.1. Retro Radio Model Assembly
Begin by assembling the base of the radio, ensuring all connection points are secure. Progress through the layers, adding details such as the speakers, dials, and cassette deck mechanism. The antenna should be attached last, allowing for articulation.

Figure 2: Detailed view of the retro radio model.

Figure 3: Inserting the cassette tape into the radio model.
3.2. Retro Computer Model Assembly
Construct the main body of the computer, including the monitor and CPU housing. Pay close attention to the internal components and the screen assembly. The keyboard and mouse are separate sub-assemblies that connect to the main unit.

Figure 4: Detailed view of the retro computer model.

Figure 5: Internal view of the retro computer model.
3.3. Retro Game Console Model Assembly
Assemble the main console unit, focusing on the cartridge slot and controller ports. The two controllers are built separately and then connected to the console via flexible brick-built cables.
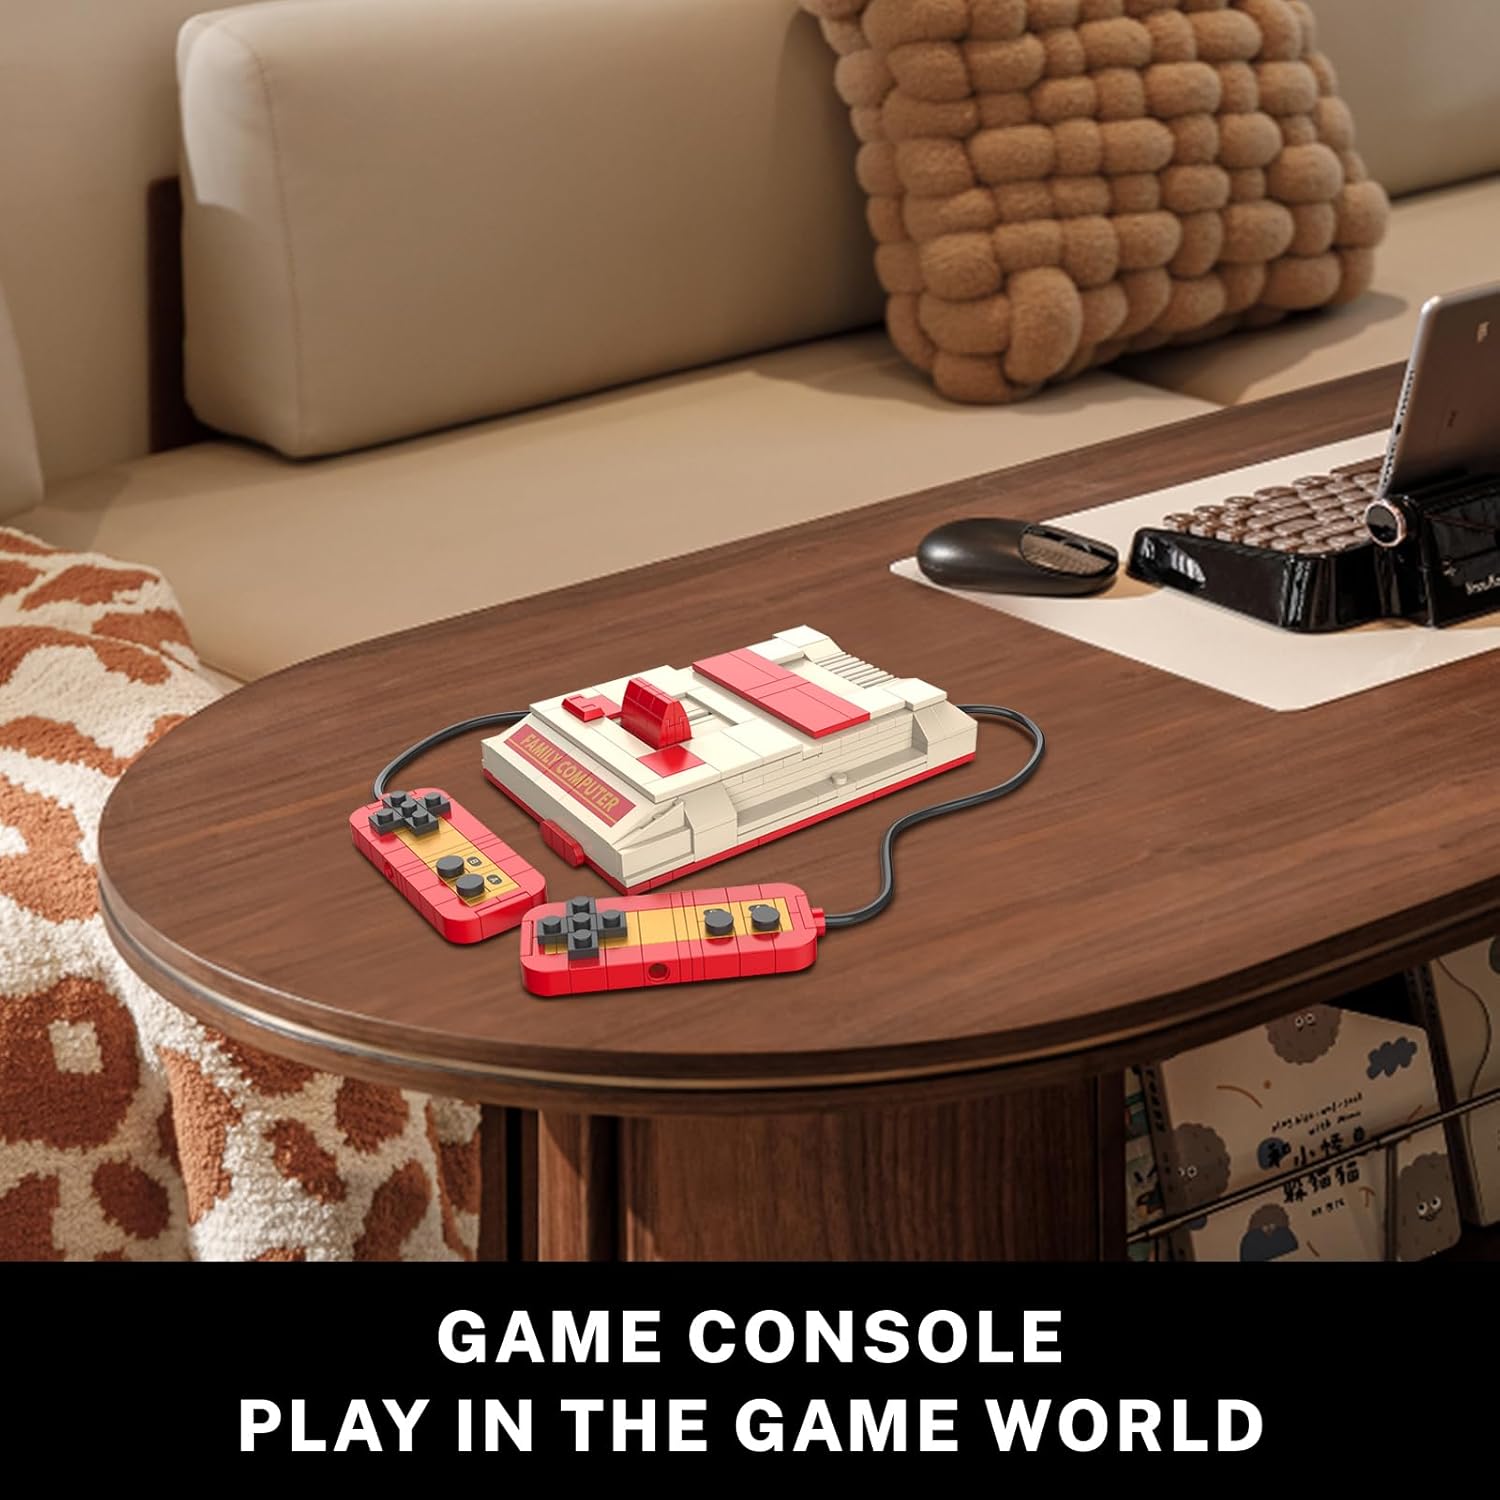
Figure 6: Detailed view of the retro game console model with controllers.

Figure 7: Interacting with the game console controllers.
4. Operating Instructions
These models are primarily for display and interactive play. While not functional electronic devices, they feature movable parts for enhanced realism and engagement.
- Retro Radio: The antenna can be extended and retracted. The cassette deck cover opens, and the miniature cassette tape can be inserted and removed. Dials can be rotated.
- Retro Computer: The monitor screen features a colorful display. The side panel of the CPU can be removed to reveal internal details. The keyboard and mouse are separate pieces for arrangement.
- Retro Game Console: The cartridge slot opens to allow insertion of a game cartridge (if included or custom-built). Controllers are connected via flexible cables and can be positioned as desired.
Video 1: Official JMBricklayer overview of the Vintage Set 20132, showcasing the assembled models and their interactive features.
5. Maintenance
To ensure the longevity and appearance of your JMBricklayer Vintage Building Set models, follow these maintenance guidelines:
- Cleaning: Dust regularly with a soft, dry cloth or a soft-bristled brush. For stubborn dirt, lightly dampen a cloth with water (avoiding excessive moisture) and gently wipe. Do not use harsh chemicals or abrasive cleaners.
- Storage: Store models in a cool, dry place away from direct sunlight to prevent discoloration or material degradation. If disassembling for storage, keep all pieces organized in sealed bags to prevent loss.
- Handling: Handle models with care to avoid accidental disassembly or damage to delicate parts.
6. Troubleshooting
If you encounter any issues during assembly or with the finished models, refer to the following common troubleshooting tips:
- Missing Pieces: Double-check all packaging and sorting trays. If a piece is genuinely missing, contact JMBricklayer customer support with the part number (from the back of the instruction manual) for replacement.
- Difficulty Connecting Pieces: Ensure pieces are correctly oriented and aligned. Apply gentle, even pressure. Avoid forcing pieces, as this can cause damage.
- Model Instability: Re-examine the assembly steps for the unstable section. Ensure all connections are firm and that no steps were skipped or incorrectly performed.
- Stickers/Decals: Apply stickers carefully using tweezers for precision. If a sticker is misaligned, gently peel it off and reapply before it fully adheres.
7. Specifications
| Feature | Detail |
|---|---|
| Brand | JMBricklayer |
| Model Number | 20132 |
| Number of Pieces | 552 |
| Recommended Age | 14 years and up |
| Item Weight | 1.54 pounds |
| Package Dimensions | 11.14 x 7.17 x 3.31 inches |

Figure 8: Dimensions of the assembled models.
8. Warranty and Support
JMBricklayer is committed to providing high-quality products. For any questions, concerns, or support needs regarding your Vintage Building Set 20132, please refer to the contact information provided on the product packaging or visit the official JMBricklayer website. Please retain your proof of purchase for any warranty claims.


