1. Introduction
This manual provides detailed instructions for the installation, operation, and maintenance of your ZZWYF JX-X1 Bluetooth Car MP3 Board. Please read this manual thoroughly before using the product to ensure proper function and longevity. This device integrates Bluetooth connectivity, MP3 playback from USB/TF cards, FM radio, and hands-free calling capabilities, designed for car audio systems.
2. Safety Information
- Power Supply: Ensure the power supply is within the specified range of DC 8V-24V. Incorrect voltage can damage the device.
- Installation: Professional installation is recommended for car audio systems. Ensure all connections are secure and correctly polarized to prevent short circuits.
- Moisture: Keep the device away from water and excessive moisture.
- Temperature: Avoid exposing the device to extreme temperatures.
- Cleaning: Use a dry, soft cloth for cleaning. Do not use liquid cleaners.
- Disassembly: Do not attempt to disassemble or repair the unit yourself. Refer to qualified service personnel.
3. Package Contents
Verify that all items are present in the package:
- 1 x ZZWYF JX-X1 Bluetooth Car MP3 Board
- 1 x Remote Control (style may vary)
- Connection Wires
- FM Antenna Wire
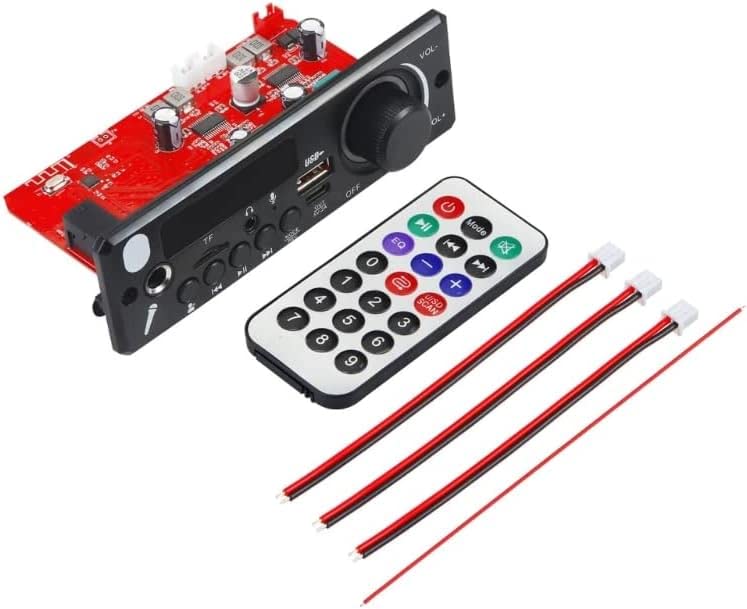
Image: The ZZWYF JX-X1 Bluetooth Car MP3 Board, accompanied by a remote control and necessary connection wires, as typically included in the package.
4. Product Overview
The JX-X1 board features a front panel with various controls and ports for media playback and system interaction.

Image: Close-up of the JX-X1 front panel, highlighting the digital display, USB port, TF card slot, microphone input, and control buttons for mode, playback, and volume.
Front Panel Controls and Ports:
- Digital Display: Shows current mode, track number, frequency, etc.
- USB Port: For USB flash drives (MP3 playback) and 5V-2A output discharge.
- TF Card Slot: For TF (MicroSD) cards (MP3 playback).
- 6.5mm Microphone Input: For external microphone connection.
- 3.5mm Earphone Output: For private listening.
- MODE Button: Switches between USB, TF, LINE IN, FM, and Bluetooth modes.
- Play/Pause Button: Controls playback; long press to answer/end calls.
- Previous/Next Buttons: Navigates tracks or FM stations.
- VOL-/VOL+ Knob: Adjusts volume.
- REC Button: Initiates/stops recording (requires storage device).
- OFF/ON Switch: Power switch.
5. Setup
5.1 Wiring Diagram
Connect the board to your car's power supply and speakers according to the following guidelines. Ensure correct polarity for all connections.
- Power Input: Connect the DC 8V-24V power supply to the designated power terminals on the board.
- Speaker Output: Connect your speakers to the amplifier output terminals. The board supports 2 channels with 80W per channel.
- FM Antenna: Connect the provided FM antenna wire to the FM antenna port for optimal radio reception.
- LINE IN (Optional): If using an external audio source via LINE IN, connect it to the corresponding input.
5.2 Mounting
The JX-X1 board is designed for freestanding integration into a car's dashboard or custom enclosure. Ensure adequate ventilation around the board to prevent overheating.
6. Operating Instructions
6.1 Power On/Off
Toggle the OFF/ON switch on the front panel to power the device on or off.
6.2 Mode Selection
Press the MODE button to cycle through available input sources: Bluetooth, USB, TF, LINE IN, and FM radio.
6.3 Bluetooth Pairing
- Switch the device to Bluetooth mode using the MODE button. The display will show 'BLUE' or a similar indicator.
- On your mobile device, enable Bluetooth and search for available devices.
- Select 'JX-X1' (or similar name) from the list to pair.
- Once paired, you can play audio from your mobile device through the JX-X1.
6.4 USB/TF Card Playback
- Insert a USB flash drive or TF card containing MP3 audio files into the respective port/slot.
- The device will automatically switch to USB or TF mode and begin playing. If not, press the MODE button to select the correct source.
- Use the Previous/Next buttons to navigate tracks and the Play/Pause button to control playback.
6.5 FM Radio Operation
- Switch the device to FM mode using the MODE button. The display will show the current FM frequency.
- Long press the Play/Pause button to initiate an automatic scan for FM stations. The device will save found stations.
- Use the Previous/Next buttons to cycle through saved FM stations.
6.6 Hands-free Calling
When a call comes in while in Bluetooth mode:
- Answer Call: Long press the Play/Pause button.
- End Call: Long press the Play/Pause button again.
6.7 Recording Function
The recording function requires a USB drive or TF card to be inserted.
- Ensure a storage device (USB or TF card) is connected.
- Long press the REC button to start recording.
- Long press the REC button again to stop recording and play the recorded file.
- To exit recording playback, long press the Play/Pause button.
6.8 Remote Control Usage
The included remote control provides convenient access to all major functions. Point the remote directly at the IR receiver on the front panel of the JX-X1 board.
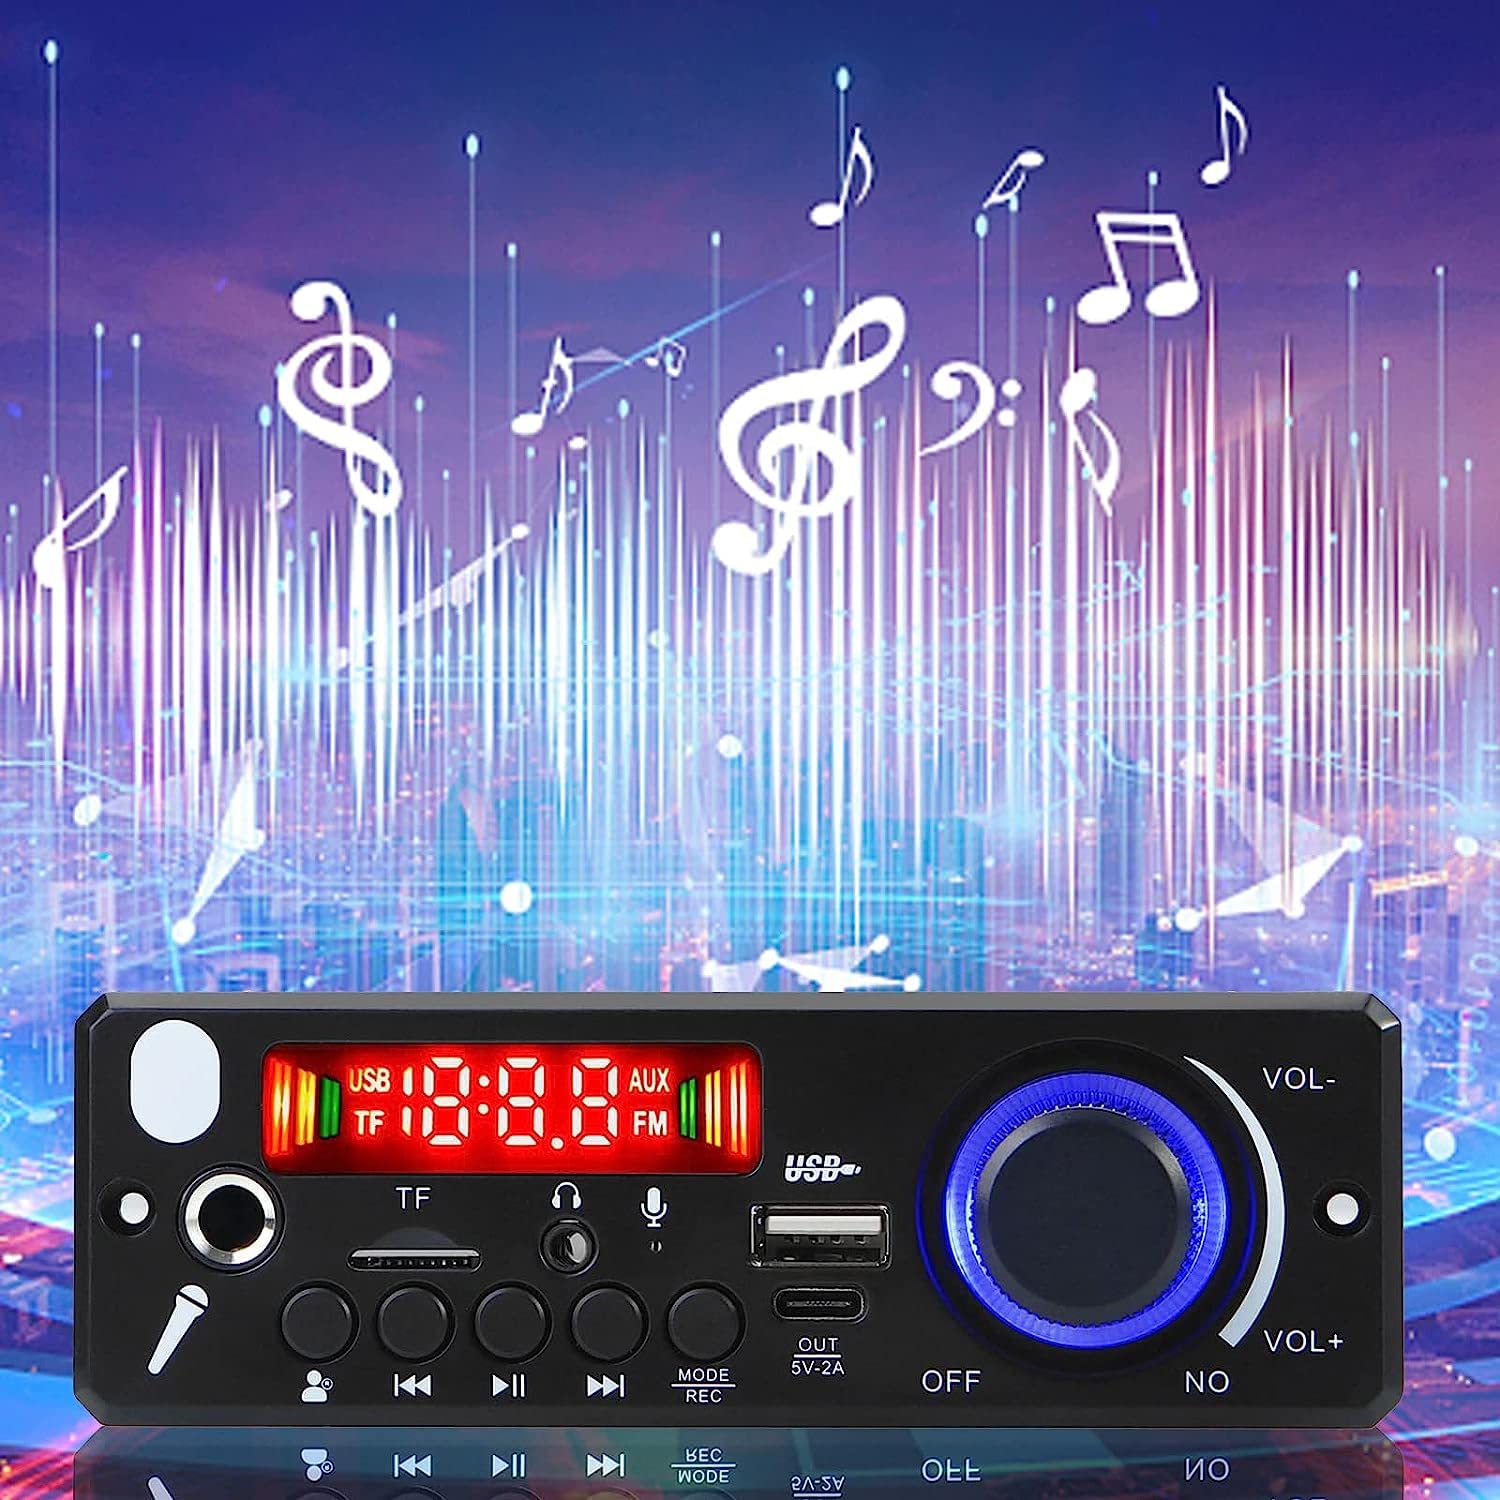
Image: The JX-X1 board displayed alongside three variations of remote controls, illustrating the different styles that may be included with the product.
7. Maintenance
- Cleaning: Gently wipe the front panel and buttons with a dry, soft cloth. Avoid abrasive cleaners or solvents.
- Connections: Periodically check all wiring connections to ensure they are secure and free from corrosion.
- Storage: If storing the device for an extended period, ensure it is powered off and kept in a dry, dust-free environment.
8. Troubleshooting
| Problem | Possible Cause | Solution |
|---|---|---|
| No power | Incorrect power connection; Power supply outside range | Check power wiring and voltage (DC 8V-24V). Ensure the ON/OFF switch is in the 'ON' position. |
| No sound | Volume too low; Incorrect speaker connection; Wrong mode selected | Increase volume. Verify speaker wiring. Ensure the correct input mode (Bluetooth, USB, TF, FM) is selected. |
| Bluetooth not pairing | Device not in pairing mode; Bluetooth disabled on mobile device | Ensure JX-X1 is in Bluetooth mode. Enable Bluetooth on your mobile device and rescan. |
| USB/TF card not playing | Card/drive not inserted correctly; Unsupported file format; Corrupted files | Reinsert the USB drive/TF card. Ensure files are in MP3 format. Try a different storage device. |
| Poor FM reception | Antenna not connected; Weak signal | Connect the FM antenna. Try repositioning the antenna or performing an auto-scan again. |
| Recording not working | No storage device connected | Ensure a USB drive or TF card is inserted before attempting to record. |
9. Specifications

Image: The JX-X1 board with key dimensions indicated: approximately 130mm (5.12 inches) in length and 60mm (2.36 inches) in height.
| Feature | Detail |
|---|---|
| Model | JX-X1 |
| Brand | ZZWYF |
| Power Supply | DC 8V-24V |
| Current | 1-4A |
| Output Power | 2 x 80W (Total 160W) |
| Bluetooth Version | 5.0 |
| FM Radio Frequency | 87.5MHz - 108.0MHz |
| Connectivity | Bluetooth, USB, TF Card, LINE IN (RCA) |
| Microphone Input | 6.5mm |
| Earphone Output | 3.5mm |
| USB Output Discharge | 5V-2A (Type-C support) |
| Memory Function | Power-off memory |
| Dimensions (Approx.) | 130mm x 43mm x 60mm (5.12in x 1.69in x 2.36in) |
10. Warranty and Support
For warranty information or technical support, please refer to the retailer or manufacturer's official website. Keep your purchase receipt as proof of purchase.


