1. Introduction
Thank you for choosing the AstroAI Tyre Inflator Air Compressor. This digital car tyre pump is designed for efficient and accurate inflation of various items, including car tyres, bicycle tyres, sports balls, and other inflatables. Its user-friendly features, such as the digital display, auto shutoff, and integrated LED light, ensure a convenient and safe inflation experience. Please read this manual thoroughly before operation to ensure proper use and maintenance.
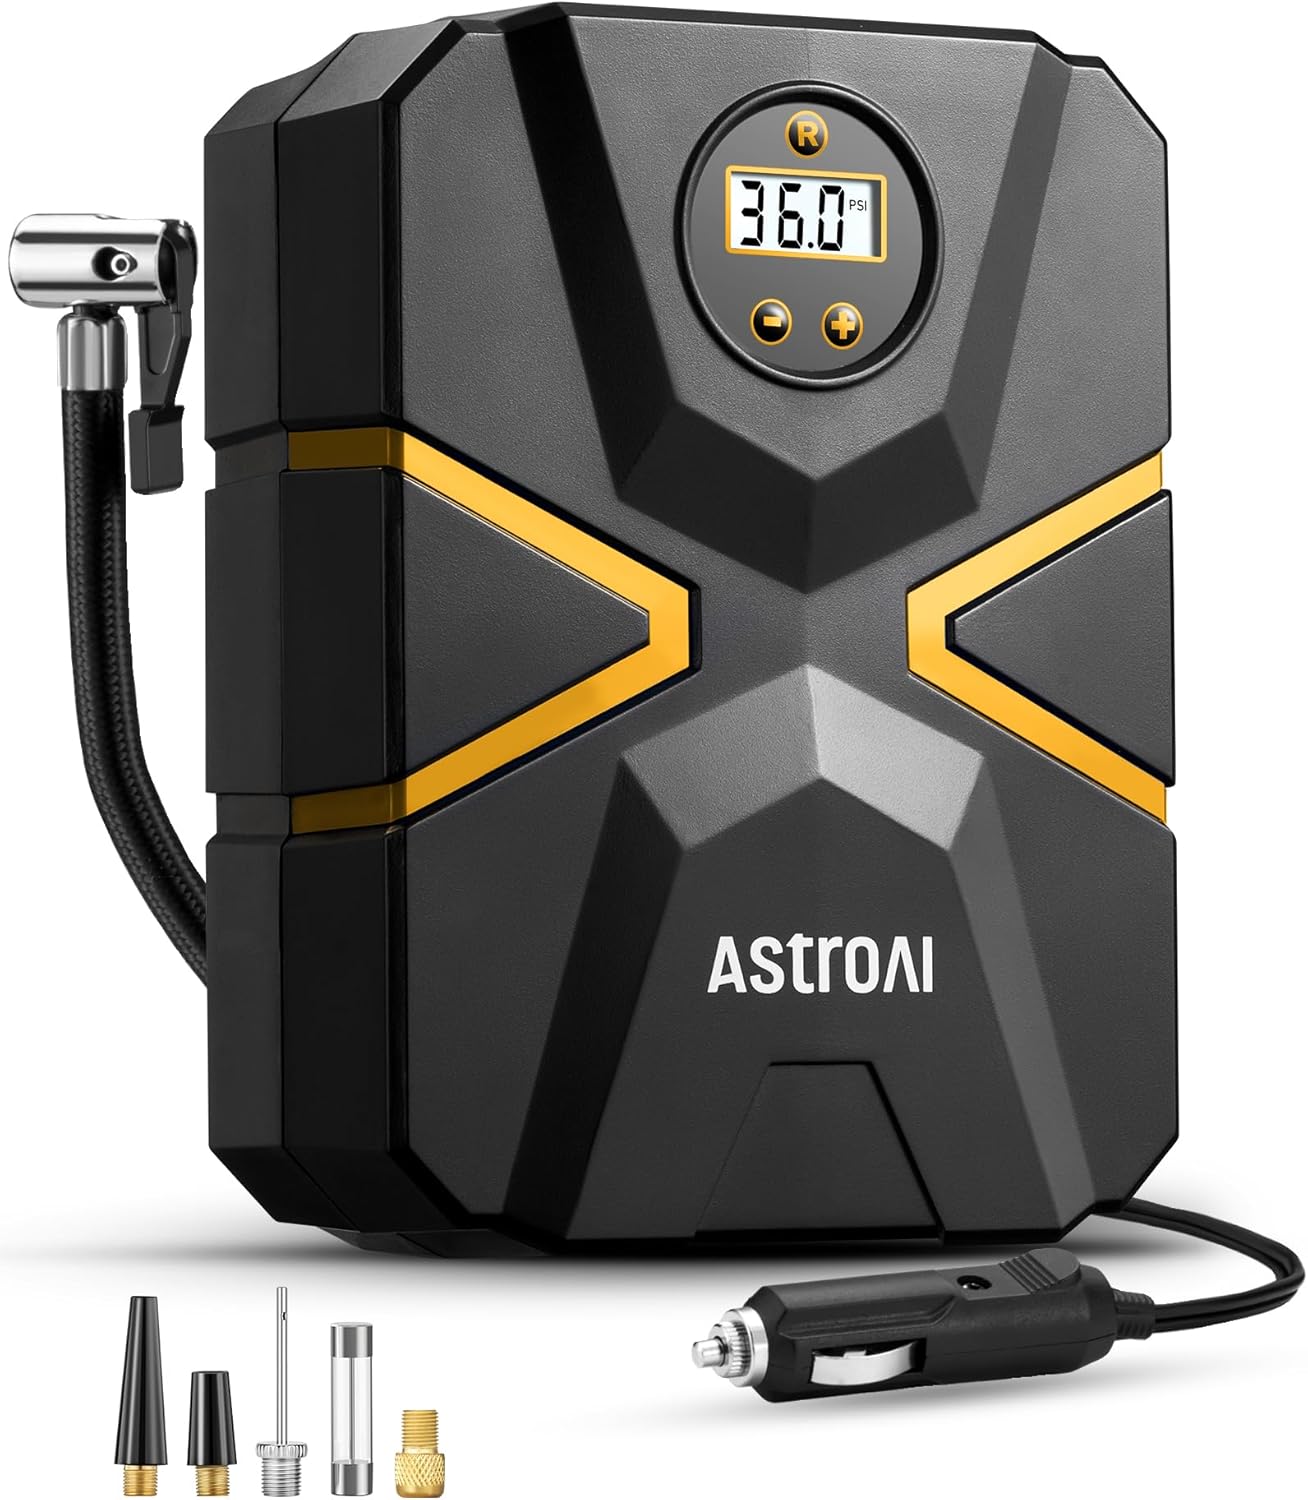
Image 1.1: AstroAI Tyre Inflator Air Compressor (Model CZK-3676).
2. Safety Information
- Ensure the vehicle engine is running when using the inflator to avoid draining the car battery.
- Do not leave the inflator unattended during operation.
- Allow the inflator to cool down for at least 10 minutes after 15 minutes of continuous use to prevent overheating.
- Keep out of reach of children.
- Do not operate the inflator in wet conditions or near flammable liquids/gases.
- Always check the recommended pressure for your tyre or inflatable item before inflation.
3. Package Contents
The AstroAI Tyre Inflator Air Compressor package includes the following items:
- 1 × AstroAI S1 Tyre Inflator (Model CZK-3676)
- 2 × Nozzles (for various inflatables)
- 1 × Needle Valve Adapter (for sports balls)
- 1 × Presta-Schrader Adapter (for bicycle tyres)
- 1 × Replacement Fuse
- 1 × User Manual

Image 3.1: The AstroAI Tyre Inflator comes with a full accessory kit to meet diverse inflation requirements, including adapters for car tyres, bicycles, basketballs, and swimming rings.
4. Product Features
- Digital Screen & Real-Time Pressure Display: The large digital screen provides an accurate and intuitive display of the tyre's real-time pressure, eliminating errors common with analog gauges.
- Preset Tyre Pressure & Auto Shutoff: The inflator automatically stops once the preset pressure value is reached, preventing overinflation and allowing for hands-free operation.
- Instant Inflation: Capable of inflating a 185/55 R14 tyre from 30 PSI to 36 PSI in less than 1 minute, and from 0 PSI to 36 PSI in less than 5 minutes.
- Ultra-Long Power Cord & Air Hose: Features a 3-meter (9.87 ft) power cord and a 0.48-meter (1.57 ft) air hose, providing ample reach for all tyres on a vehicle.
- Emergency LED Light: An integrated LED light illuminates automatically when the inflator is powered, providing visibility for night-time use or emergencies.
- Integrated Storage: Designed with convenient storage for the air hose, power cord, and accessories, ensuring a compact and tidy unit.
- Upgraded Metal Structure: Features a durable metal internal structure for enhanced performance and a 15-minute continuous working time.

Image 4.1: The digital screen provides real-time pressure readings in four different units (PSI, BAR, KPA, kg/cm²).

Image 4.2: The auto shutoff feature allows for hands-free inflation once the desired pressure is reached.
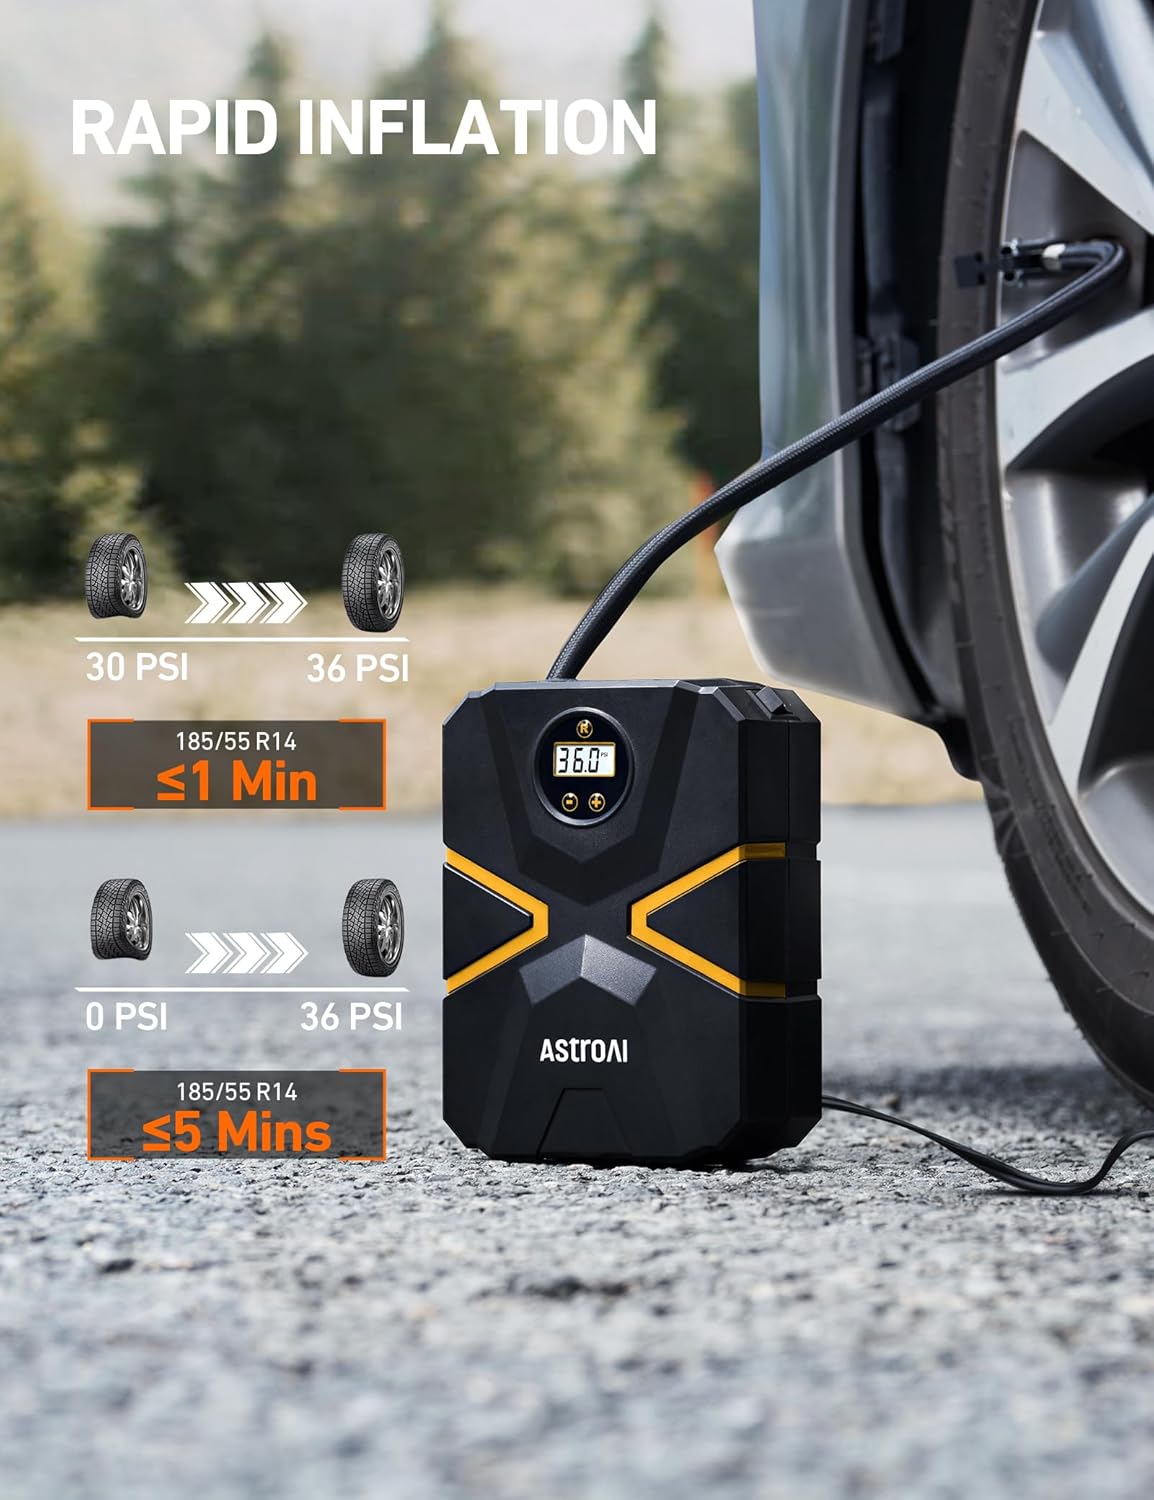
Image 4.3: The inflator provides rapid inflation, significantly reducing waiting time.

Image 4.4: The extended power cord and air hose ensure easy access to all vehicle tyres.

Image 4.5: The built-in LED light provides essential illumination in low-light conditions.

Image 4.6: The integrated storage keeps all components neatly organized within the unit.
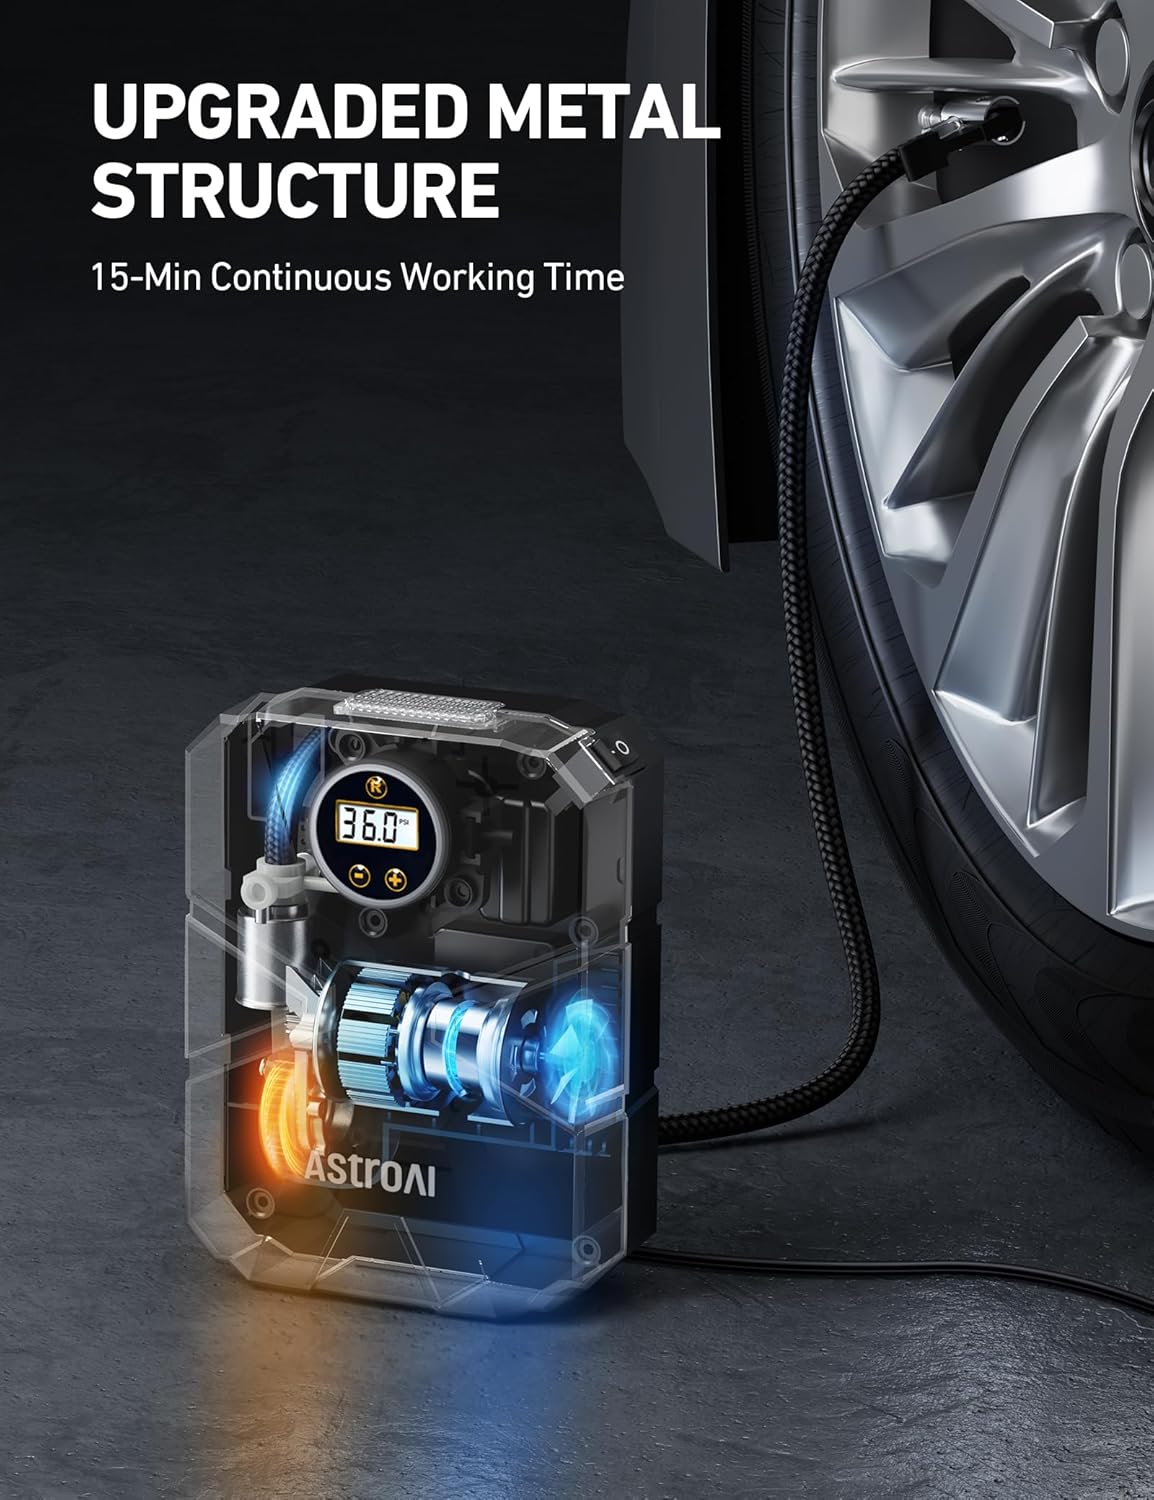
Image 4.7: The upgraded metal structure ensures durability and consistent performance.
5. Setup
Before using the AstroAI Tyre Inflator, follow these steps for proper setup:
- Start the Engine: Ensure your vehicle's engine is running. This provides sufficient power to the inflator and prevents battery drain.
- Connect to Cigarette Lighter: Insert the 12V DC cigarette lighter plug into your car's 12V outlet. The LED light on the inflator will illuminate, indicating power.
- Connect to Tyre/Inflatable: Securely attach the air hose nozzle to the valve stem of the tyre or inflatable item. For different items, use the appropriate adapter from the accessory kit.
- Preset Pressure Value: Use the '+' and '-' buttons on the inflator to set your desired pressure. The digital display will show the target pressure.

Image 5.1: Visual guide for connecting and setting up the inflator.
6. Operating Instructions
Once the setup is complete, follow these steps to inflate your item:
- Start Inflation: Press the power button on the inflator to begin the inflation process. The digital display will show the real-time pressure increasing.
- Automatic Shutoff: The inflator will automatically shut off once the preset pressure value is reached.
- Disconnect: Once inflation is complete and the unit has shut off, disconnect the air hose from the valve stem and unplug the cigarette lighter adapter from your car's outlet.
- Store: Neatly store the air hose, power cord, and accessories in the integrated storage compartments of the inflator.
Note: For optimal performance and longevity, do not operate the inflator for more than 15 minutes continuously. Allow it to cool down before resuming use.
7. Maintenance
Regular maintenance ensures the longevity and optimal performance of your AstroAI Tyre Inflator:
- Cleaning: Wipe the exterior of the inflator with a soft, dry cloth. Do not use harsh chemicals or abrasive cleaners.
- Storage: Store the inflator in a cool, dry place, away from direct sunlight and extreme temperatures. Ensure all cables and accessories are properly stored in their designated compartments.
- Fuse Replacement: If the inflator does not power on, check the fuse located in the cigarette lighter plug. Replace it with the provided spare fuse if necessary.
- Hose and Cord Inspection: Periodically inspect the air hose and power cord for any signs of wear, cracks, or damage. Do not use the inflator if any damage is found.
8. Troubleshooting
If you encounter issues with your AstroAI Tyre Inflator, refer to the following common problems and solutions:
| Problem | Possible Cause | Solution |
|---|---|---|
| Inflator does not turn on. | No power from 12V outlet; Blown fuse in plug; Loose connection. | Ensure vehicle engine is running. Check car's 12V outlet for power. Replace fuse in cigarette lighter plug. Ensure plug is fully inserted. |
| Inflator runs but no air comes out. | Air hose not securely connected; Valve stem blocked; Air hose kinked. | Ensure air hose is tightly screwed onto valve stem. Check valve stem for obstructions. Straighten any kinks in the air hose. |
| Inflator stops before reaching preset pressure. | Overheating; Incorrect preset pressure. | Allow inflator to cool down for 10-15 minutes. Verify the preset pressure is correct for your item. |
| Inaccurate pressure reading. | Loose connection; Unit not calibrated. | Ensure air hose is securely connected. Compare reading with a known accurate gauge if possible. |
9. Specifications
| Specification | Value |
|---|---|
| Model Number | CZK-3676 |
| Power Source | 12V DC (Corded Electric) |
| Maximum Pressure | 150 PSI |
| Maximum Power | 100 Watts |
| Hose Length | 0.48 meters (1.57 ft) |
| Power Cord Length | 3 meters (9.87 ft) |
| Sound Level | 85 dB |
| Product Dimensions | 15 x 7 x 19 cm |
| Item Weight | 767 g |
| Special Features | Pre-set pressure and automatic shut-off, Quick inflation, Digital display, Long power cord, LED light |
10. Warranty & Support
AstroAI provides a 2-year warranty for this product from the date of purchase. This warranty covers manufacturing defects and issues arising from normal use. It does not cover damage caused by misuse, accidents, or unauthorized modifications.
For any questions, concerns, or warranty claims, please contact AstroAI customer support through the following channels:
- Email: support@astroai.com
- Website: Visit the official AstroAI website for FAQs and further assistance.
Please have your purchase receipt and product model number (CZK-3676) ready when contacting support.