Introduction
The iCrimp ICP-QC01 Qickclamp Crimp Tool is a specialized ratcheting tool designed for securely fastening Qickclamp stainless steel crimp rings onto PEX piping. This durable tool provides a reliable connection for various plumbing projects, accommodating 1/2'', 3/4'', and 1'' Qickclamp sizes. It is engineered for ease of use and long-term performance, ensuring strong and leak-free connections.

Figure 1: The iCrimp ICP-QC01 Qickclamp Crimp Tool.
Product Features
- Versatile Compatibility: Works with Qickclamp stainless steel clamps ranging from 3/8 inch to 1 inch.
- Ratcheting Mechanism: Ensures the necessary force is applied for secure crimp ring fastening onto PEX piping, providing consistent and reliable crimps.
- Durable Construction: Manufactured from hardened steel for enhanced longevity and robust performance in demanding applications.
- Reliable Connections: Designed to create strong, reliable Qickclamp connections with immediate results.
- Go/No-Go Gauge Included: A free Go/No-Go gauge is provided to verify proper crimp tightness and ensure connection integrity.
- Ergonomic Grip: Features an ergonomic handle design for comfortable and efficient operation, reducing user fatigue.

Figure 2: Key components of the iCrimp ICP-QC01, highlighting the crimp jaw, ratcheting mechanism, and release trigger.
Package Contents
Please verify that all items listed below are included in your package:
- 1 x iCrimp ICP-QC01 Qickclamp Crimp Tool
- 1 x Go/No-Go Gauge (for 3/8", 1/2", 3/4", 1" Qickclamp)

Figure 3: The crimp tool alongside its key specifications and included gauge.
Setup
The iCrimp ICP-QC01 tool comes pre-assembled and ready for use. No complex setup is required. Before first use, inspect the tool for any signs of damage from shipping. Ensure the jaws open and close smoothly and the ratcheting mechanism engages properly.
- Familiarize Yourself: Hold the tool and practice opening and closing the handles to understand the ratcheting action and the release trigger.
- Inspect Jaws: Ensure the crimp jaws are clean and free of debris.
- Prepare Materials: Have your PEX pipe and Qickclamp rings ready for the crimping process.
Operating Instructions
Follow these steps for a secure and reliable Qickclamp connection:
- Prepare the Pipe: Cut the PEX pipe cleanly and ensure the end is free of burrs. Slide the Qickclamp ring over the end of the PEX pipe.
- Position the Fitting: Insert the PEX fitting into the end of the pipe, ensuring it is fully seated. Position the Qickclamp ring over the fitting, approximately 1/8 to 1/4 inch from the end of the pipe.
- Crimp the Clamp:
- Open the crimp tool jaws fully.
- Place the Qickclamp ring within the jaws of the tool. Ensure the tool's jaws are centered over the raised portion of the clamp.
- Begin to squeeze the handles of the tool. The ratcheting mechanism will engage, applying pressure to the clamp. Continue squeezing until the handles are fully closed and the tool automatically releases. This indicates a complete crimp.
- Verify with Go/No-Go Gauge:
- After crimping, use the provided Go/No-Go gauge to check the crimp.
- Slide the "Go" side of the gauge over the crimped clamp. If it slides on easily, the crimp is good.
- Attempt to slide the "No-Go" side of the gauge over the crimped clamp. If it does not slide on, the crimp is good. If it slides on, the crimp is too tight, and the connection may be compromised.

Figure 4: Visual guide to the Qickclamp crimping process, from preparing the pipe to verifying the crimp with the gauge.

Figure 5: The wide jaw opening of the tool, designed for easy placement onto Qickclamps.
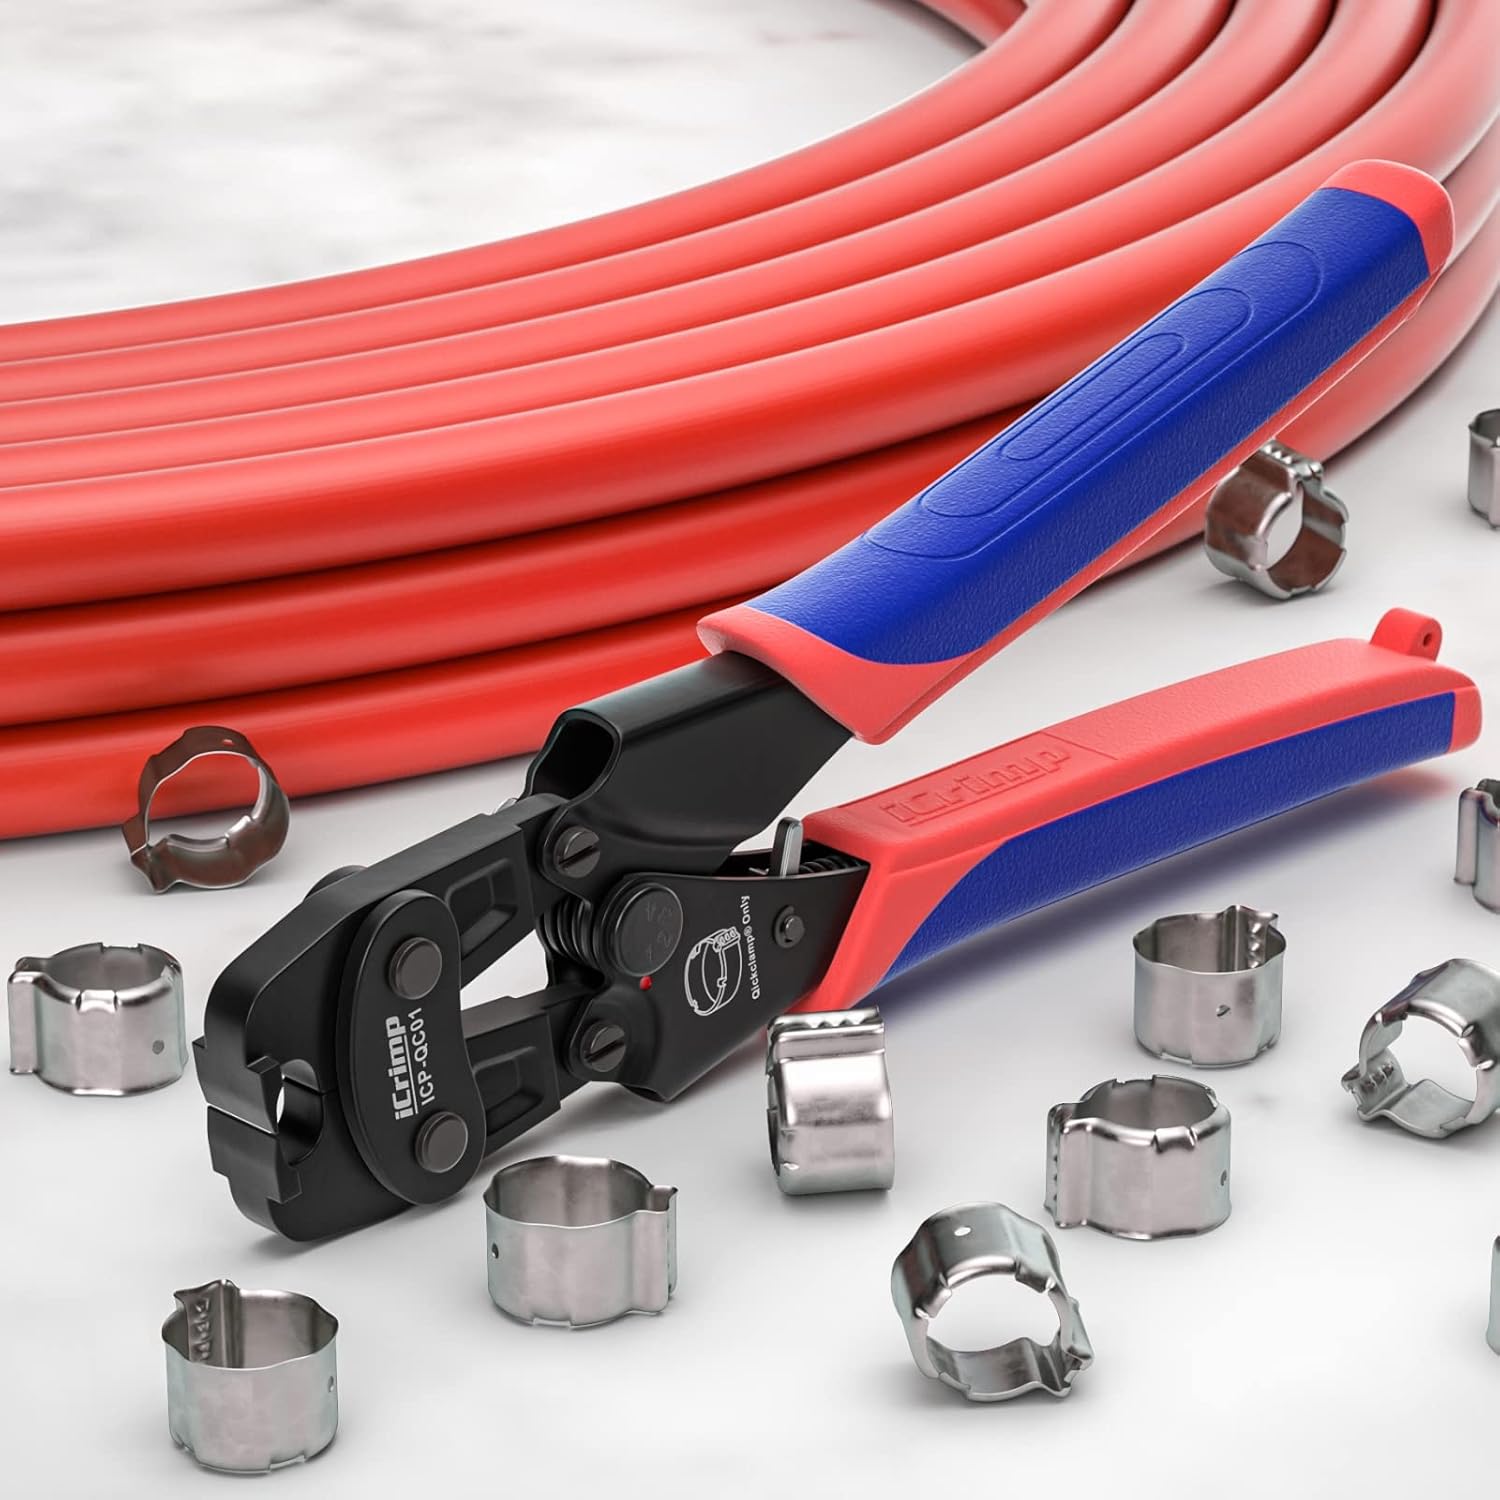
Figure 6: The iCrimp ICP-QC01 tool ready for use with PEX piping and Qickclamp rings.
Maintenance
Proper maintenance will extend the life and performance of your iCrimp tool:
- Cleaning: After each use, wipe down the tool with a clean, dry cloth to remove any dirt, dust, or debris.
- Lubrication: Periodically apply a light machine oil to all moving parts and pivot points to ensure smooth operation of the ratcheting mechanism and jaws.
- Storage: Store the tool in a dry environment to prevent rust and corrosion. Keep it away from excessive moisture and extreme temperatures.
- Inspection: Regularly inspect the crimp jaws for wear or damage. If the jaws appear worn or damaged, contact customer support for assistance.
Troubleshooting
If you encounter issues with your iCrimp ICP-QC01 tool, refer to the following common problems and solutions:
| Problem | Possible Cause | Solution |
|---|---|---|
| Tool handles do not fully close or release. | Debris in the ratcheting mechanism or jaws; lack of lubrication. | Clean the tool thoroughly. Apply light machine oil to all moving parts. Ensure the tool is fully closed to reset the ratcheting mechanism. |
| Crimp is too loose (Go gauge fits, No-Go gauge fits). | Tool not fully closed during crimping; incorrect clamp size; worn jaws. | Ensure handles are fully squeezed until the tool releases. Verify correct Qickclamp size for the pipe. Inspect jaws for wear; if worn, tool may need replacement. |
| Crimp is too tight (No-Go gauge fits). | Incorrect clamp size; excessive force applied (unlikely with ratcheting tool unless mechanism is faulty). | Ensure correct Qickclamp size is used. If issue persists, contact customer support. |
| Tool feels stiff or difficult to operate. | Lack of lubrication; rust or corrosion. | Clean and lubricate all moving parts. Store in a dry environment. |
Specifications
| Attribute | Detail |
|---|---|
| Model Number | ICP-QC01 |
| Brand | iCRIMP |
| Compatible Clamp Sizes | 3/8'', 1/2'', 3/4'', 1'' Qickclamp |
| Material | Hardened Steel |
| Handle Material | Hardened Steel |
| Grip Type | Ergonomic |
| Item Weight | 1.1 pounds |
| Package Dimensions | 9.57 x 3.62 x 1.26 inches |
| Manufacturer | ZHEJIANG IWISS ELECTRIC CO.,LTD. |
Warranty and Support
For warranty information, technical support, or any inquiries regarding your iCrimp ICP-QC01 Qickclamp Crimp Tool, please contact the manufacturer or your point of purchase. Keep your purchase receipt as proof of purchase for any warranty claims.
Manufacturer: ZHEJIANG IWISS ELECTRIC CO.,LTD.
For further assistance, visit the official iCRIMP store on Amazon: iCRIMP Store


