
1. Introduction
This manual provides detailed instructions for the installation, operation, and maintenance of your MIDTY EP06-000384 STW350-ABDD-ATX PC Power Supply Unit. Please read this manual thoroughly before using the product to ensure proper function and safety. Keep this manual for future reference.
2. Safety Information
- Electrical Hazard: Always disconnect the power supply from the main power outlet before installation, removal, or maintenance. Failure to do so can result in electric shock or serious injury.
- Ventilation: Ensure adequate ventilation around the power supply unit. Do not block any ventilation openings. Overheating can damage the unit and other components.
- Moisture: Do not expose the power supply to water or excessive humidity. This can cause short circuits and electrical hazards.
- Professional Installation: If you are unsure about any installation steps, seek assistance from a qualified technician.
- Component Compatibility: Verify that the power supply's wattage and connectors are compatible with your PC components before installation.
3. Package Contents
Please check the package contents upon unboxing. If any items are missing or damaged, contact your retailer.
- MIDTY EP06-000384 STW350-ABDD-ATX PC Power Supply Unit
- Power cables (various connectors)
- Mounting screws (if included)
- This instruction manual
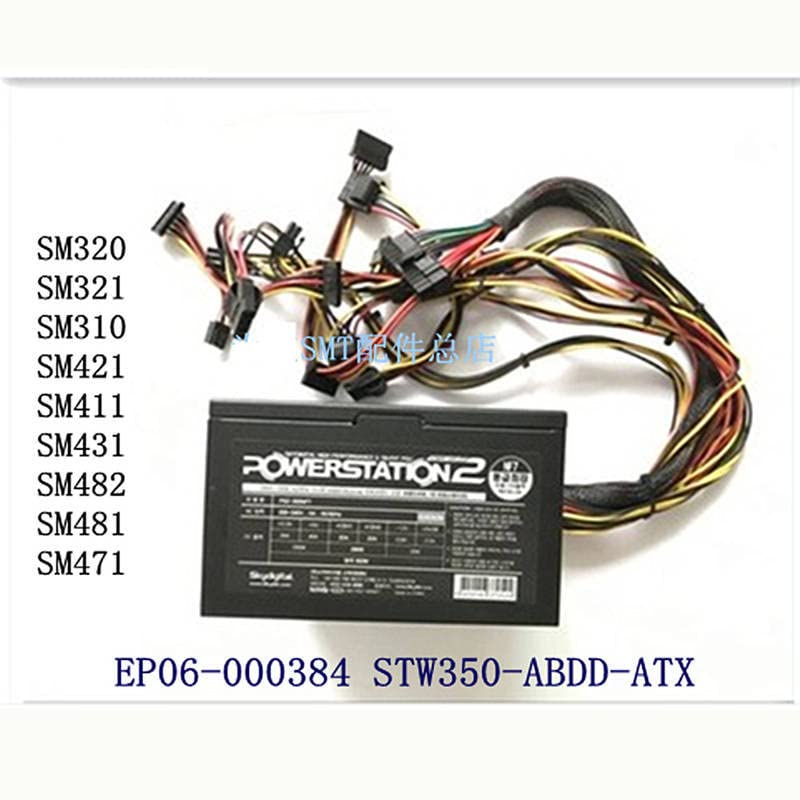
Image 1: The MIDTY EP06-000384 STW350-ABDD-ATX PC Power Supply Unit, showing the main unit and its attached array of power cables with various connectors.
4. Setup and Installation
- Prepare Your PC Case: Ensure your PC case is powered off and disconnected from the wall outlet. Open the side panel of your PC case.
- Remove Old PSU (if applicable): If replacing an existing power supply, disconnect all cables from the old PSU to your components (motherboard, GPU, drives, etc.). Unscrew and remove the old PSU from the case.
- Install New PSU: Carefully slide the MIDTY power supply unit into the designated PSU bay in your PC case. Ensure the fan is oriented correctly for optimal airflow (usually facing downwards or outwards, depending on case design).
- Secure the PSU: Use the provided mounting screws to secure the power supply unit to the PC case from the rear.
- Connect Motherboard Power: Connect the main 20+4 pin ATX power connector from the PSU to the corresponding port on your motherboard.
- Connect CPU Power: Connect the 4+4 pin EPS/ATX 12V connector to the CPU power port on your motherboard.
- Connect GPU Power (if applicable): If your graphics card requires additional power, connect the appropriate PCIe power connectors (6-pin or 8-pin) from the PSU to the GPU.
- Connect Peripherals: Connect SATA power connectors to your storage drives (SSDs, HDDs) and Molex connectors to any other peripherals that require them.
- Cable Management: Route cables neatly to improve airflow and aesthetics.
- Close Case: Once all connections are secure, close the side panel of your PC case.
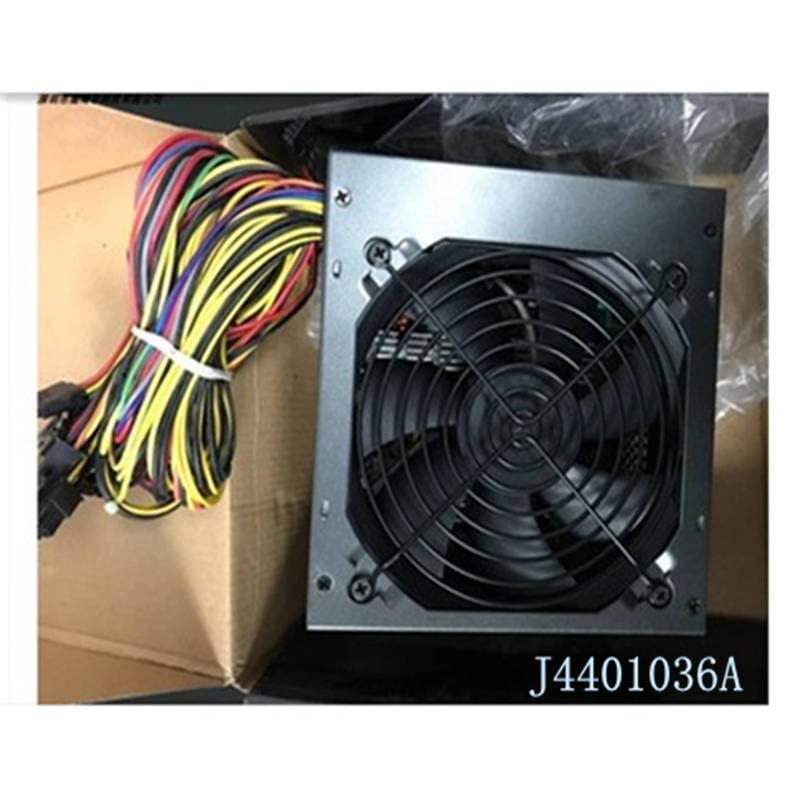
Image 2: Rear view of the power supply unit, highlighting the cooling fan and screw holes for secure mounting within a PC case.
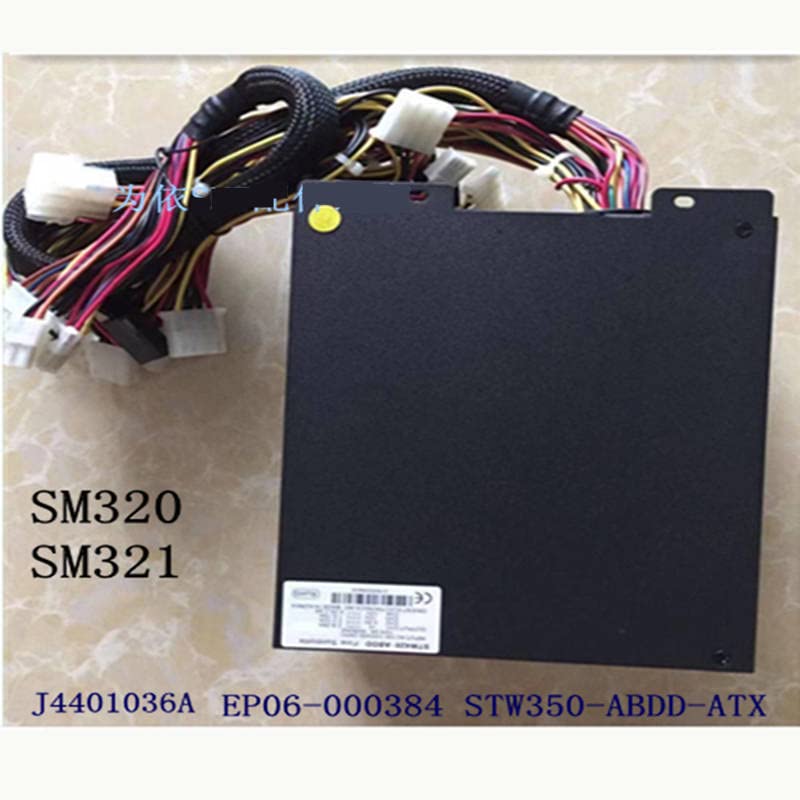
Image 3: Top view of the power supply unit, showing the main body and the bundled power cables ready for connection to PC components.
5. Operation
- Connect Power Cord: Plug the AC power cord into the power supply unit's inlet and then into a wall outlet or surge protector.
- Power On: Flip the power switch on the back of the PSU to the "ON" position (usually marked with "I").
- Start PC: Press the power button on your PC case to start the computer.
- Normal Operation: The power supply will provide stable power to all connected components. The fan will operate to cool the unit.
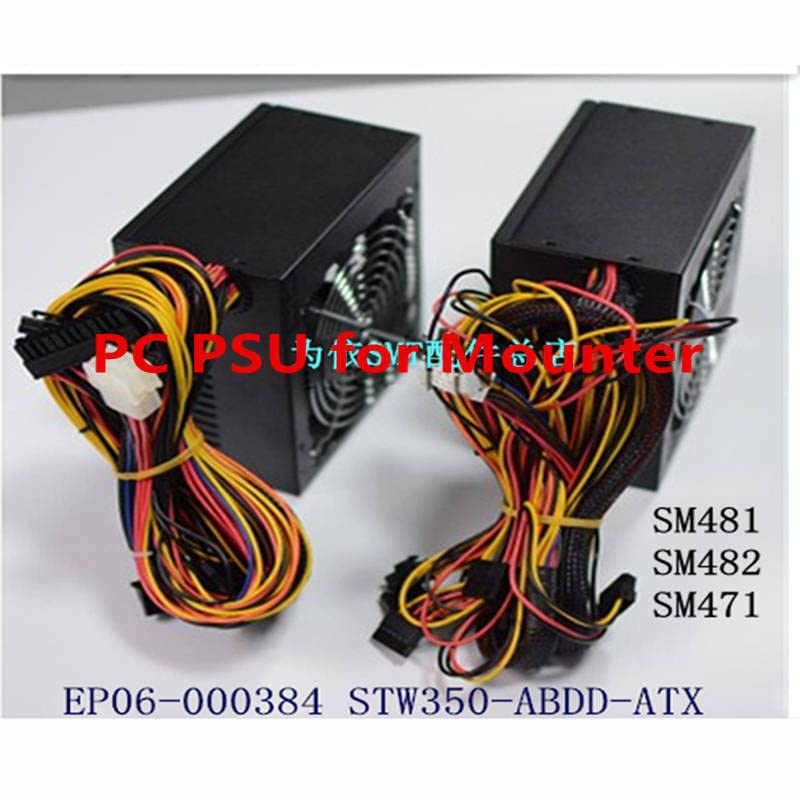
Image 4: Two MIDTY power supply units displayed side-by-side, illustrating their compact design and the extensive cabling for various PC connections.
6. Maintenance
- Dust Cleaning: Periodically clean dust from the power supply's fan and vents using compressed air. Ensure the PC is powered off and unplugged before cleaning.
- Cable Inspection: Regularly check all power cables for secure connections and signs of wear or damage.
- Environmental Conditions: Operate the power supply in a clean, dry, and well-ventilated environment to prolong its lifespan.
7. Troubleshooting
| Problem | Possible Cause | Solution |
|---|---|---|
| PC does not power on. | Power cord not connected, PSU switch off, faulty PSU, or other component failure. | Check power cord connection. Ensure PSU switch is ON. Verify all internal power connections. Test with a known working PSU if possible. |
| System crashes or reboots randomly. | Insufficient power, unstable power delivery, or overheating. | Ensure PSU wattage meets system requirements. Check for secure cable connections. Monitor system temperatures. |
| Fan is noisy or not spinning. | Dust accumulation, fan obstruction, or fan failure. | Clean dust from the fan and vents. Ensure nothing is obstructing the fan blades. If the fan is faulty, consider replacing the PSU. |
8. Specifications
| Feature | Detail |
|---|---|
| Model | EP06-000384 STW350-ABDD-ATX |
| Brand | MIDTY |
| Manufacturer Part Number | MiDTY_Ser_11268 |
| Power Output | 350W |
| Form Factor | ATX |
| ASIN | B0C24NLW86 |
9. Warranty and Support
For warranty information and technical support, please refer to the documentation provided with your purchase or contact your retailer. Keep your proof of purchase for warranty claims.
Manufacturer: MIDTY