1. Product Overview
The SUVCON Dash Cam Front and Rear 2K is a high-definition vehicle recording system designed to capture clear video footage of your journeys. It features both a front-facing camera and a rear-facing camera, providing comprehensive coverage. Equipped with advanced features such as Wi-Fi connectivity, G-sensor for incident detection, seamless loop recording, and a 24-hour parking monitor, this dash cam offers enhanced safety and peace of mind for drivers.
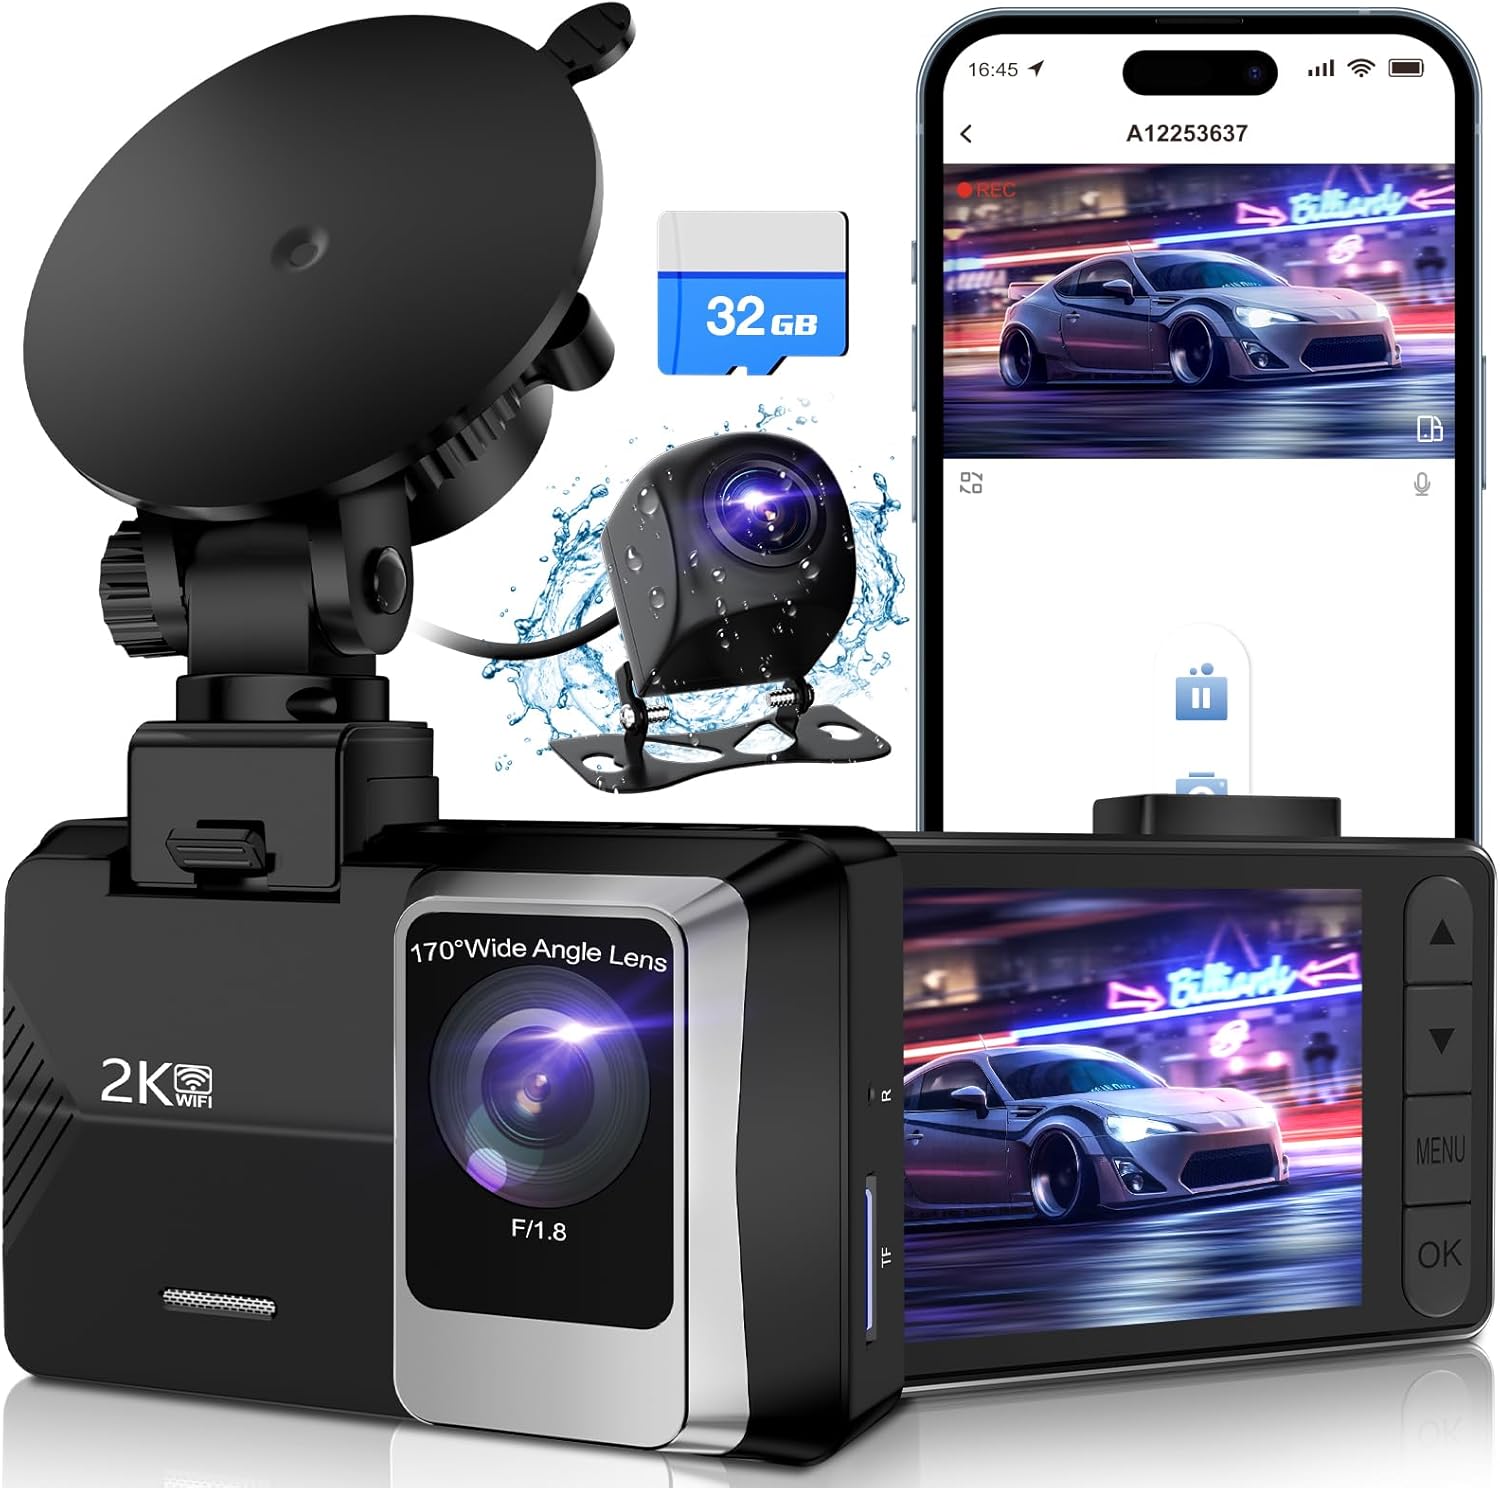
Image: The SUVCON Dash Cam system, showing the main unit, rear camera, and included 32GB memory card.
2. Package Contents
Before installation, please verify that all items are present in your package:
- SUVCON Dash Cam (Main Unit)
- Rear Camera
- 32GB Memory Card
- Car Charger
- Rear Camera Cable
- Suction Cup Mount
- User Manual
- Cable Clips and Adhesive Pads

Image: A complete view of all components included in the SUVCON Dash Cam package.
3. Setup and Installation
Follow these steps for proper installation of your dash cam system:
- Insert Memory Card: Ensure the included 32GB memory card is inserted into the main dash cam unit's TF card slot.
- Mount Front Camera: Attach the suction cup mount to the front dash cam unit. Clean a spot on your windshield, preferably behind the rearview mirror, and firmly press the suction cup to secure the dash cam. Adjust the camera angle to ensure a clear view of the road ahead.
- Install Rear Camera: Connect the rear camera to the main unit using the provided cable. Route the cable neatly along the vehicle's interior trim to the rear of the car. Mount the rear camera on the rear windshield, ensuring it has a clear view.
- Connect Power: Plug the car charger into your vehicle's 12V power outlet (cigarette lighter socket). Connect the other end of the charger cable to the main dash cam unit. The dash cam will automatically power on and begin recording when your vehicle starts.

Image: Visual guide demonstrating the straightforward installation process of the dash cam within a vehicle.
4. Operating Instructions
4.1 Basic Operation
- Power On/Off: The dash cam powers on automatically with vehicle ignition and powers off when the ignition is turned off. You can also manually power it on/off using the power button.
- Recording: Once powered on, the dash cam automatically begins loop recording. A red indicator light or on-screen icon typically confirms recording is active.
- Screen Display: The 2.0-inch IPS screen displays live footage from the front and/or rear cameras. You can switch between views or turn off the screen display to avoid distraction while driving.
4.2 Key Features
The SUVCON Dash Cam includes several important features:
- Loop Recording: When the memory card is full, the dash cam automatically overwrites the oldest unlocked video files with new recordings, ensuring continuous operation.
- G-Sensor (Emergency Lock): The built-in G-sensor detects sudden shakes or collisions. In such an event, it automatically locks the current video segment, preventing it from being overwritten by loop recording.
- 24-Hour Parking Monitor: This feature provides continuous surveillance even when your vehicle is parked. It requires a hardwire kit (not included) for constant power supply. When activated, the dash cam will automatically record if it detects a collision or motion while parked.
- Wi-Fi Connectivity: Connect your smartphone to the dash cam via Wi-Fi using the dedicated app (e.g., Viidure app). This allows you to view live footage, download recorded videos, and adjust settings directly from your phone.

Image: Illustration of the dash cam's built-in Wi-Fi feature, enabling easy viewing, downloading, and sharing of footage via a smartphone app.
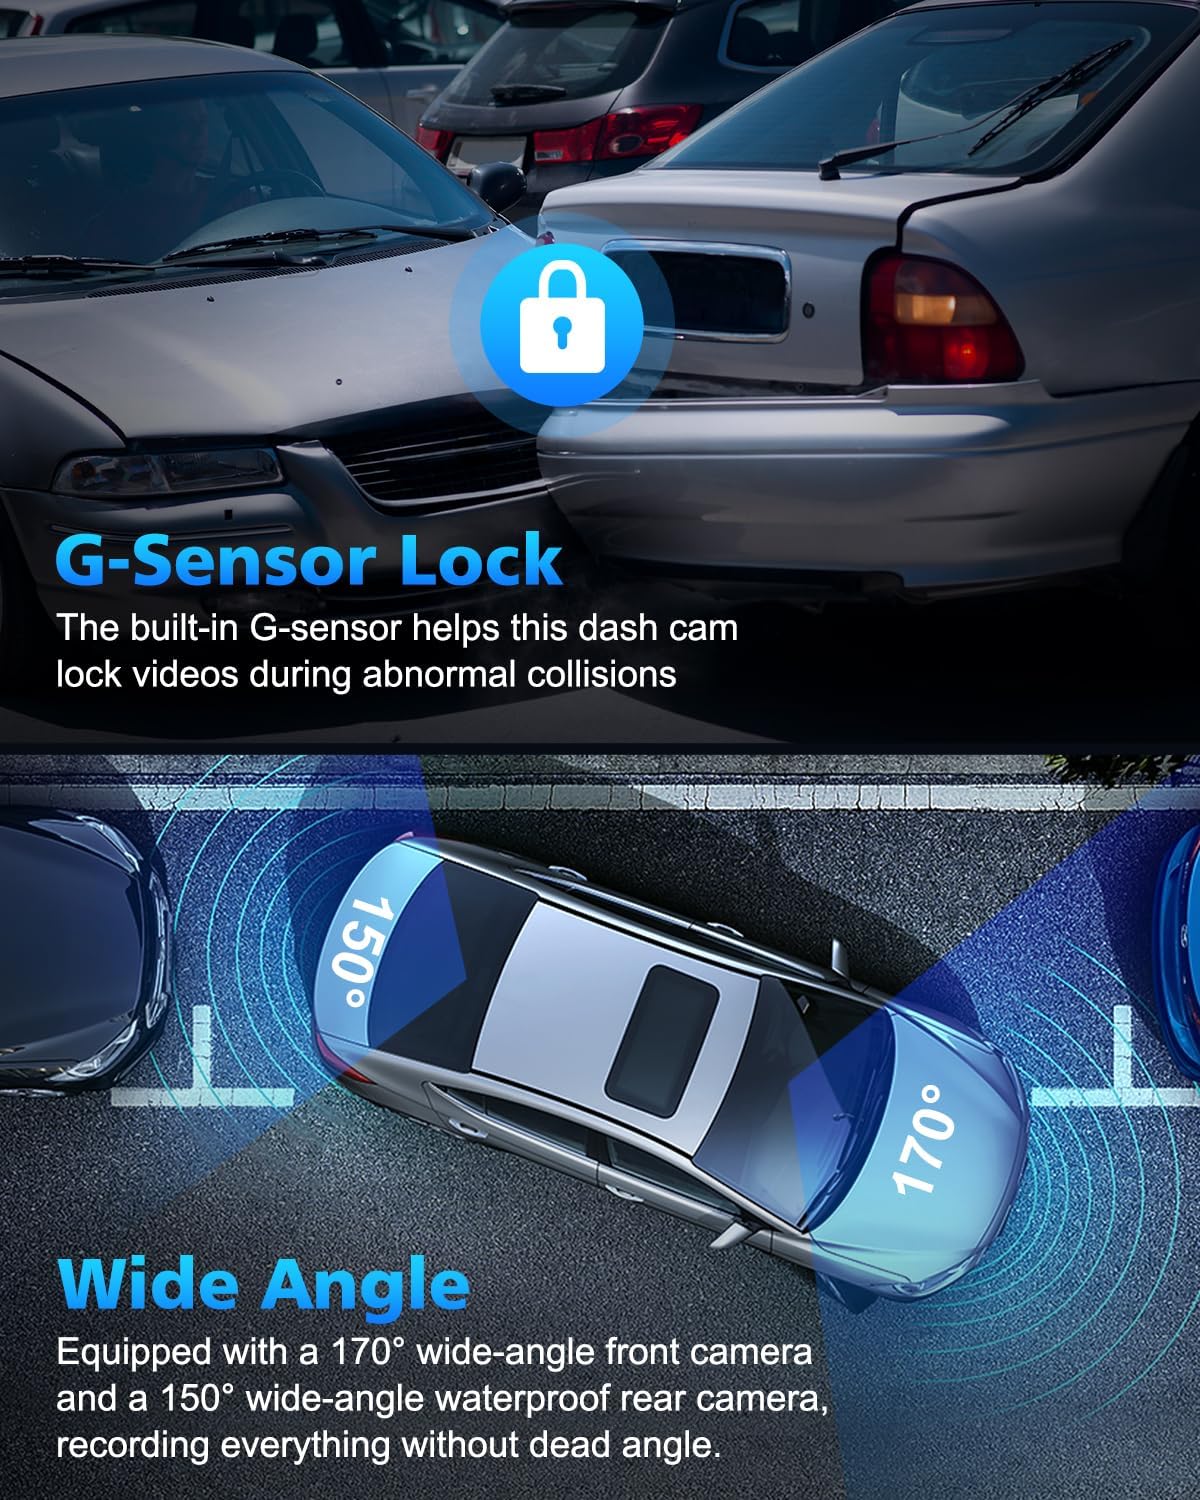
Image: Depiction of the G-Sensor locking mechanism during an impact and the wide 170-degree front and 150-degree rear camera angles.

Image: Visual representation of seamless loop recording, where older files are automatically replaced by new ones when the memory card is full.
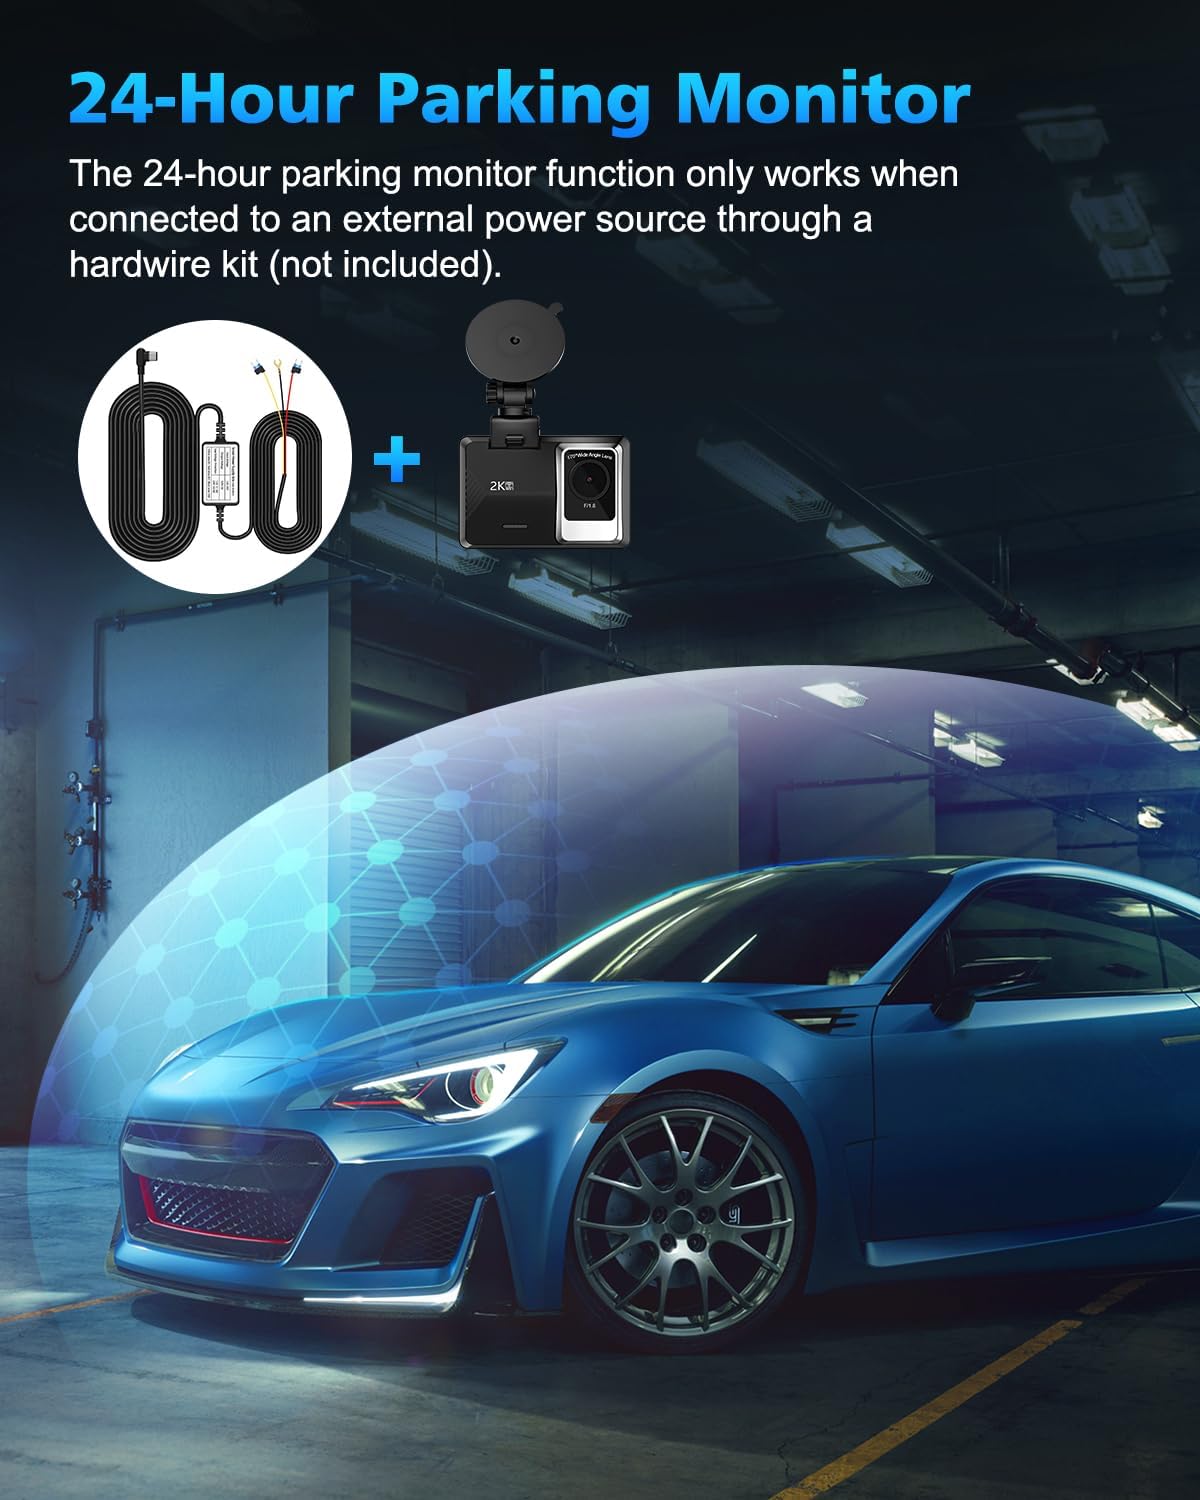
Image: Illustration of the 24-hour parking monitor function, noting its requirement for an external hardwire kit.
5. Maintenance
To ensure optimal performance and longevity of your SUVCON Dash Cam, follow these maintenance guidelines:
- Clean Lenses: Regularly clean the front and rear camera lenses with a soft, lint-free cloth to ensure clear video quality. Avoid abrasive materials that could scratch the lenses.
- Memory Card Formatting: It is recommended to format the memory card every 2-4 weeks to prevent data corruption and ensure smooth loop recording. This can usually be done through the dash cam's settings menu.
- Temperature Control: Avoid exposing the dash cam to extreme temperatures for prolonged periods. If parked in direct sunlight, consider removing the dash cam or using a sunshade.
- Cable Management: Ensure all cables are securely routed and not interfering with driving controls or vision. Use the provided cable clips to keep wiring tidy.
6. Troubleshooting
If you encounter issues with your dash cam, refer to the following common solutions:
| Problem | Possible Cause | Solution |
|---|---|---|
| Dash cam does not power on. | No power supply; loose connection. | Check car charger connection to both the dash cam and the vehicle's 12V outlet. Ensure the vehicle's ignition is on. |
| Recording stops or freezes. | Memory card error; full memory card; incompatible card. | Format the memory card. Ensure you are using a high-speed (Class 10 or U3) microSD card. Try a different memory card. |
| Poor video quality. | Dirty lens; protective film still on lens. | Clean the camera lenses. Remove any protective film from the lenses. |
| Wi-Fi connection issues. | Incorrect app; Wi-Fi not enabled on dash cam. | Ensure you have downloaded the correct app (e.g., Viidure). Enable Wi-Fi on the dash cam through its settings. Restart both the dash cam and your smartphone. |
7. Specifications
Key technical specifications for the SUVCON Dash Cam Front and Rear 2K:
- Model: A12
- Front Camera Resolution: 1440P (2K)
- Rear Camera Resolution: 720P
- Front Camera Angle: 170 degrees wide angle
- Rear Camera Angle: 150 degrees wide angle
- Display: 2.0-inch IPS Screen
- Storage: Supports MicroSD Card (32GB included, up to 256GB supported)
- Features: Wi-Fi Control, Loop Recording, G-Sensor, Parking Monitor, Voice Recording
- Connectivity Technology: Powerline, Wireless (Wi-Fi)
- Product Dimensions: 1 x 1 x 1 inches
- Item Weight: 15.2 ounces
- Manufacturer: SUVCON
- Date First Available: July 8, 2023
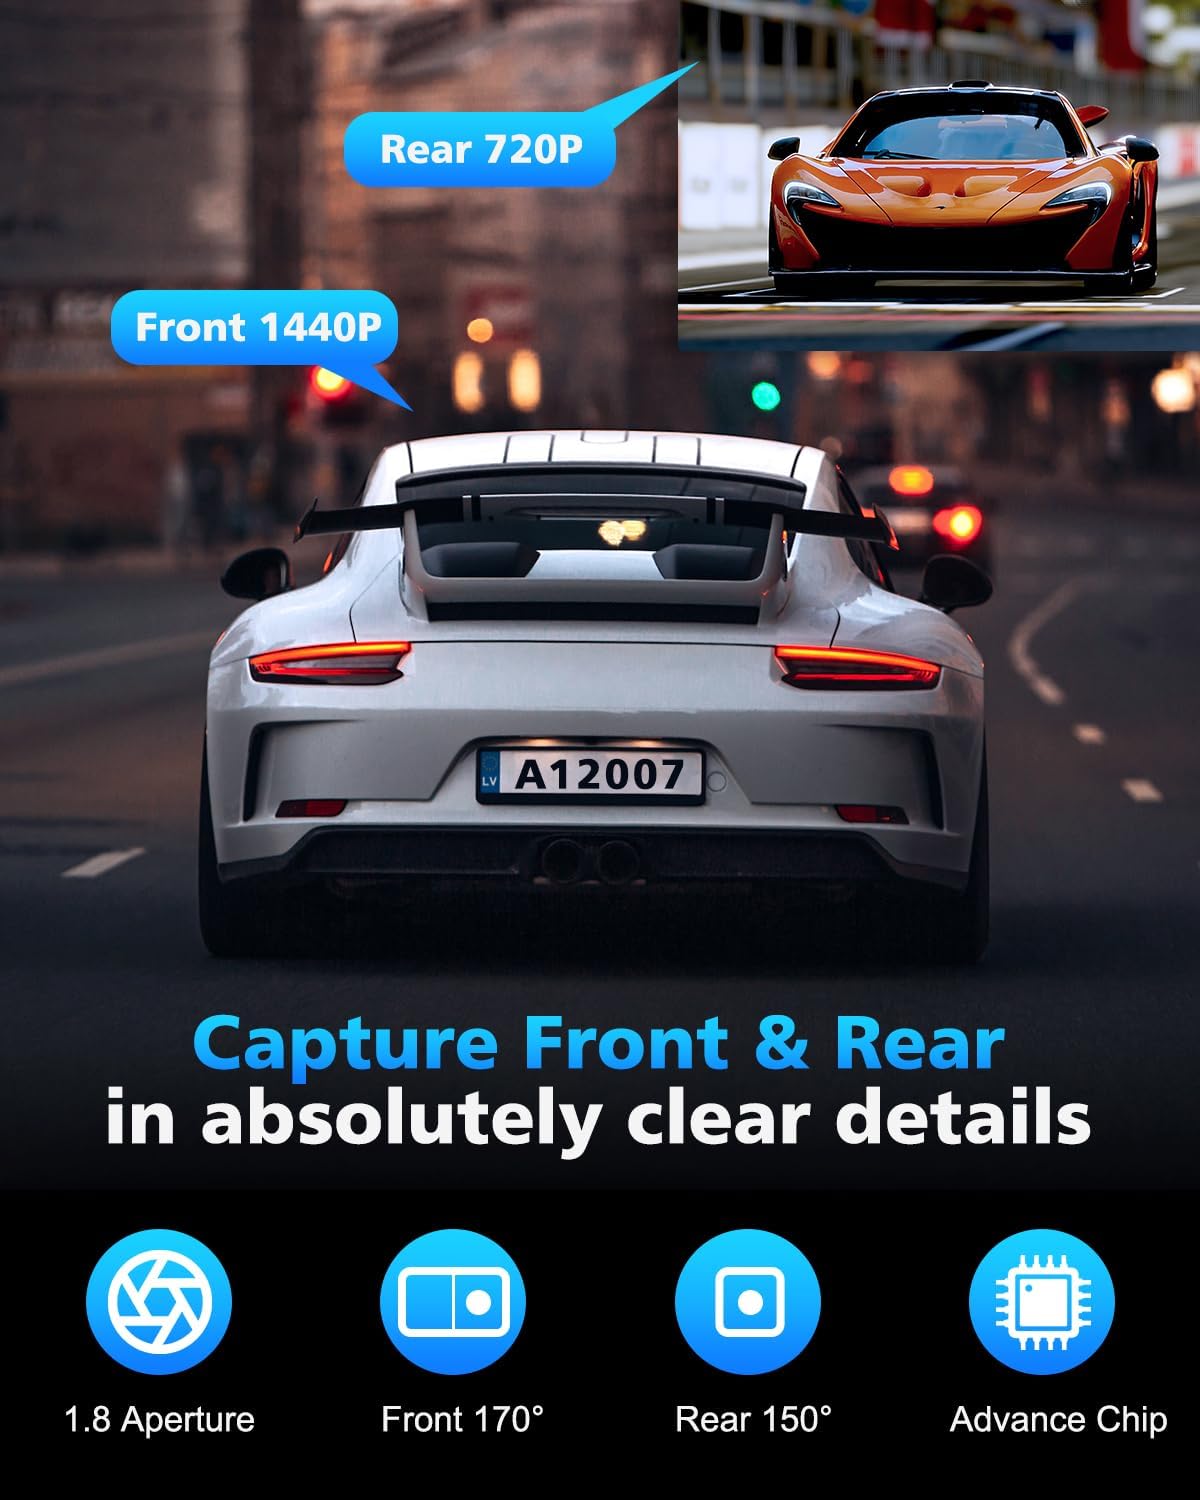
Image: Visual representation of the front camera's 1440P resolution and the rear camera's 720P resolution capabilities.
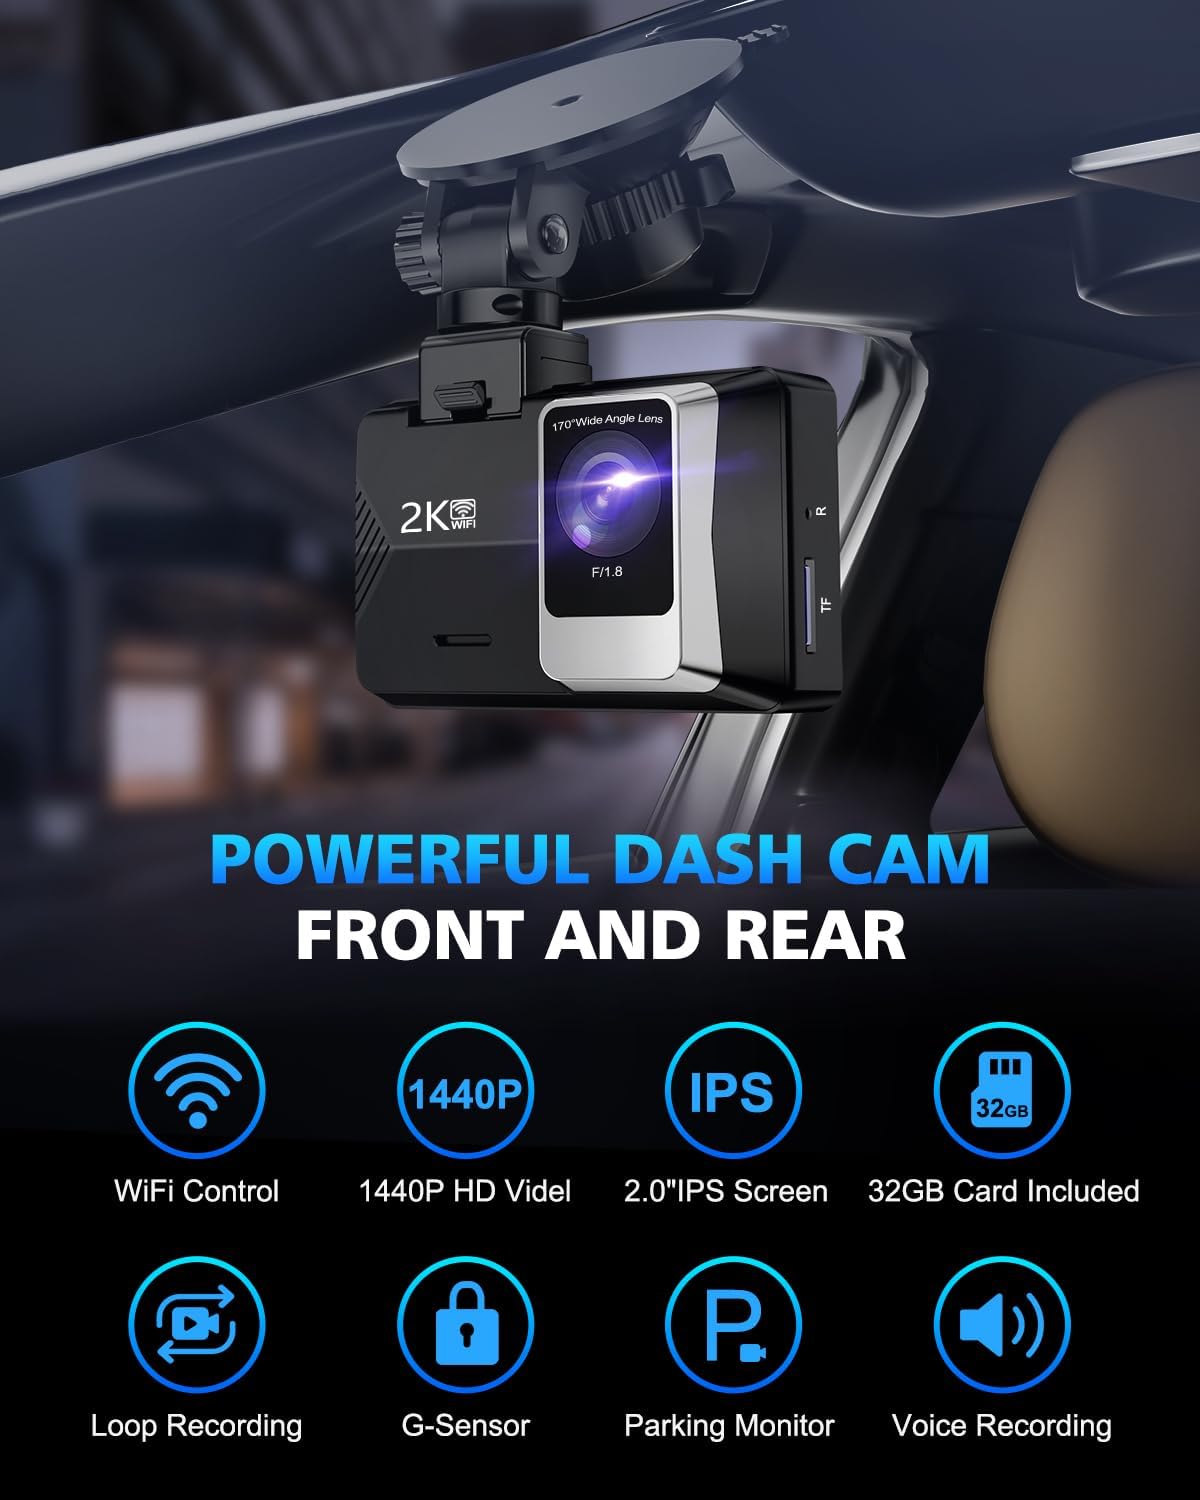
Image: An overview of the powerful features of the SUVCON Dash Cam, highlighting its core functionalities.
8. Warranty and Support
For warranty information and technical support regarding your SUVCON Dash Cam, please refer to the official SUVCON website or contact their customer service directly. Details are typically provided on the product packaging or within the included documentation.
You may also find additional resources and frequently asked questions on the product's Amazon listing page or by visiting the SUVCON Store on Amazon.