Introduction
This manual provides detailed instructions for the assembly, operation, and maintenance of your Quictent Galvanized Raised Garden Bed Kit. This kit is designed to provide an optimal environment for growing vegetables, herbs, and flowers, featuring a self-watering system and a protective mesh cover.
Key Features:
- Self-watering System: An integrated irrigation kit with a misting system for efficient watering and cooling.
- Protective Mesh Cover: Shields plants from birds and rodents while allowing sunlight and air circulation.
- Galvanized Metal Construction: Durable and rust-resistant material for long-lasting use.
- No Sharp Edges: Rolled edges ensure safety during handling and gardening activities.
- Crossbar Strengthened Design: Enhances stability and weight capacity, preventing bulging.
- Open Base: Promotes good drainage and allows plant roots to access natural soil nutrients.
Safety Information
Please read and understand all safety instructions before assembly and use. Keep children and pets away from small parts during assembly. Always wear appropriate safety gear, such as gloves, when handling metal components. Ensure the garden bed is placed on a stable, level surface.
Assembly Instructions
Assembly typically requires two people and approximately 1.5 hours. Refer to the video and diagrams below for visual guidance.
Video: Step-by-step assembly guide for the Quictent Raised Garden Bed with Self-Watering System and Mesh Cover.
Preparation:
Before starting assembly, ensure all components are present and undamaged. Peel off any protective film from the metal panels.

Image: Protective film being removed from a metal panel before assembly.
Step 1: Assemble the Garden Bed Panels
Connect the galvanized metal panels using the provided screws. Ensure the rolled edges are facing upwards. The curved panels should be installed outside of the straight panels. Use short screws for initial connections and long screws for crossbar connections.
Step 2: Install Support Rods and Frame
Connect the support poles and install them into the garden bed. Then, connect the arched frame rods to create the structure for the mesh cover.

Image: Illustration of multi-connectors used to build the strong frame for the mesh cover.

Image: The arched frame design, maximizing interior space for plants.
Step 3: Assemble and Connect the Self-Watering System
Assemble the pipe nozzles and connectors. Cut the pipe to the appropriate length and connect the nozzles. Attach the system to a water source using the provided faucet converter and secure the pipes with clamps and zip ties.

Image: The self-watering system with adjustable spray nozzles and flexible angles for comprehensive plant coverage.

Image: Three possible configurations for the sprinkler system: vertical, underground, and wraparound watering.
Step 4: Install the Mesh Cover
Drape the mesh cover over the assembled frame. Secure the cover using the integrated Velcro straps and ensure the two large doors are properly aligned for easy access.
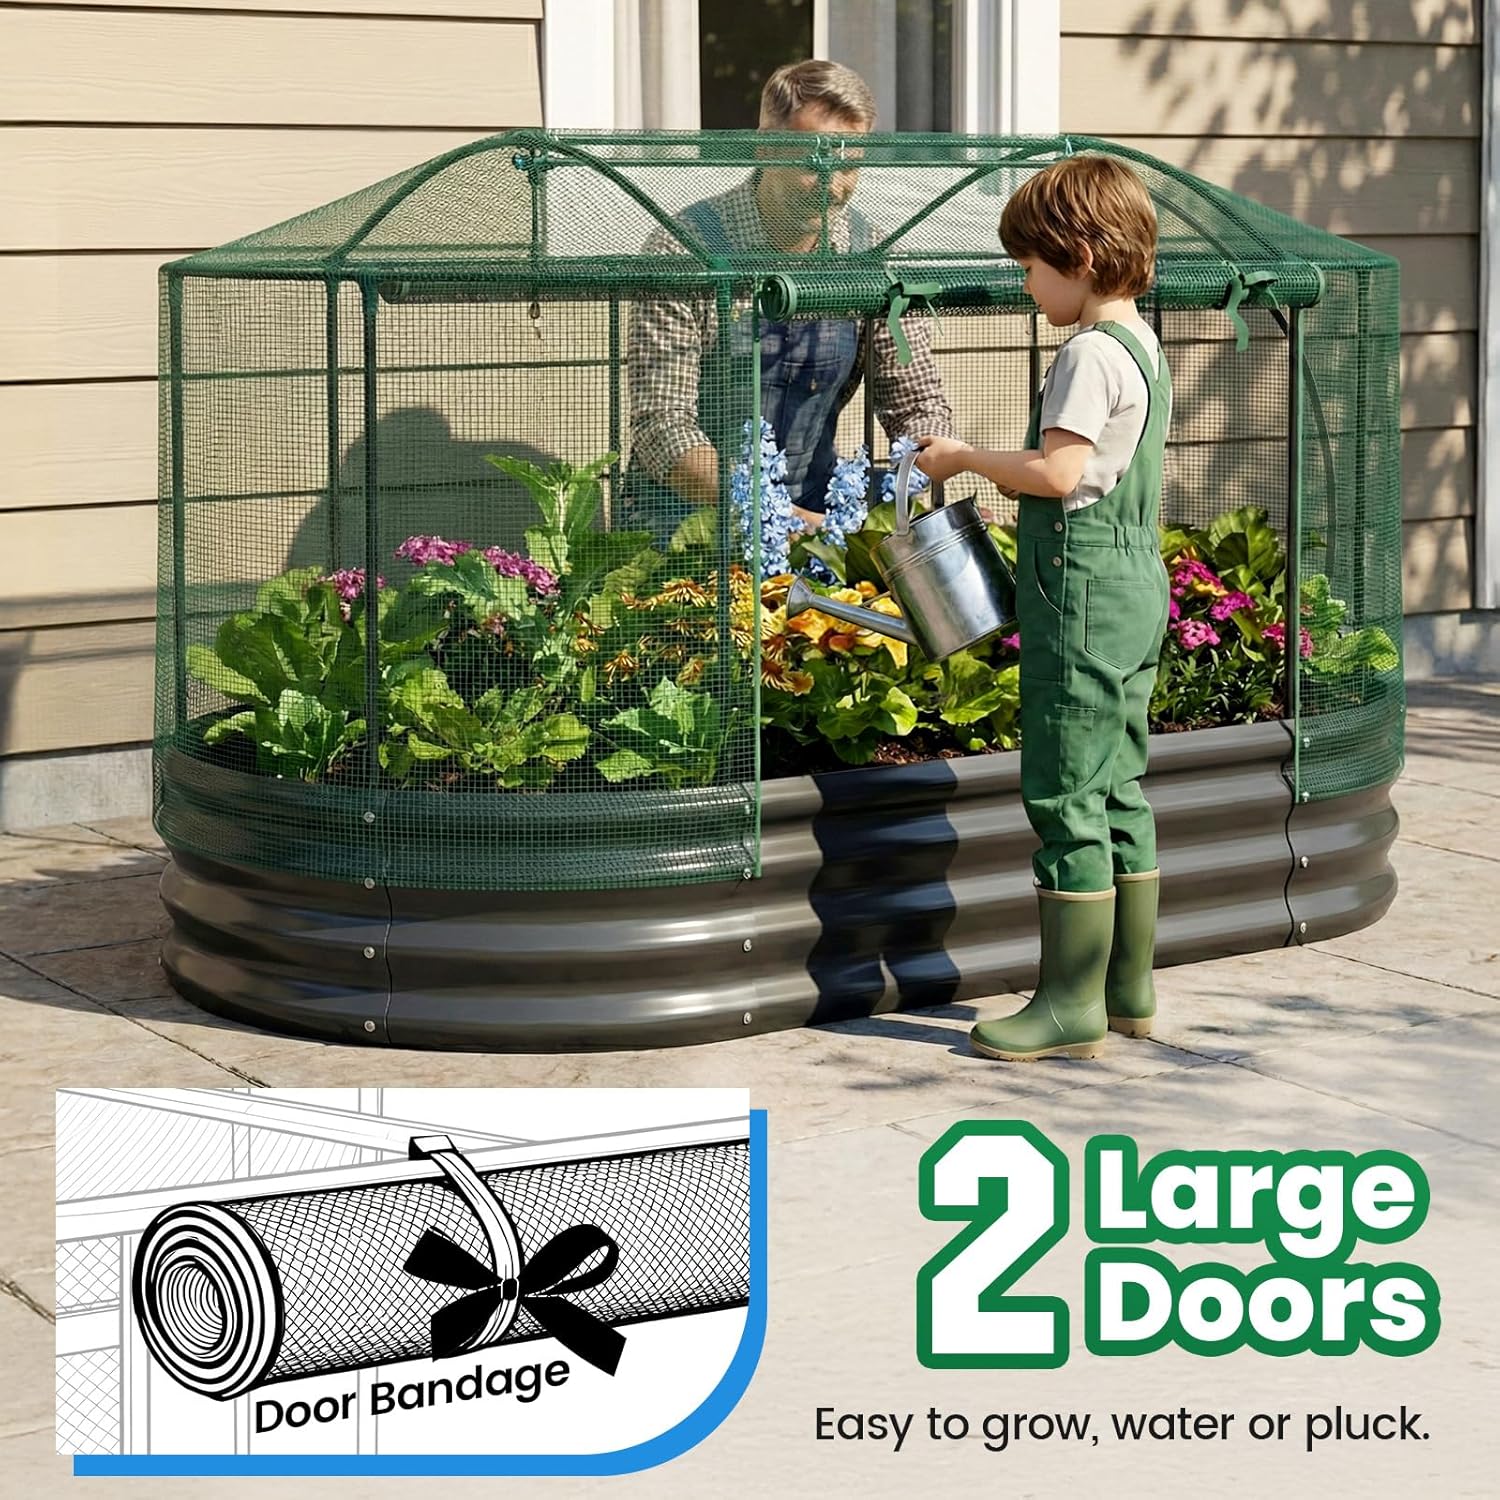
Image: The mesh cover features two large zippered doors for convenient access to plants.

Image: Velcro straps are used to securely fix the mesh net to the frame, preventing it from shifting.
Operating Instructions
Using the Self-Watering System:
Connect the self-watering system to a standard garden hose. Adjust the sprinkler nozzles to achieve the desired spray pattern and coverage for your plants. The misting function helps cool plants during hot weather and increases humidity.
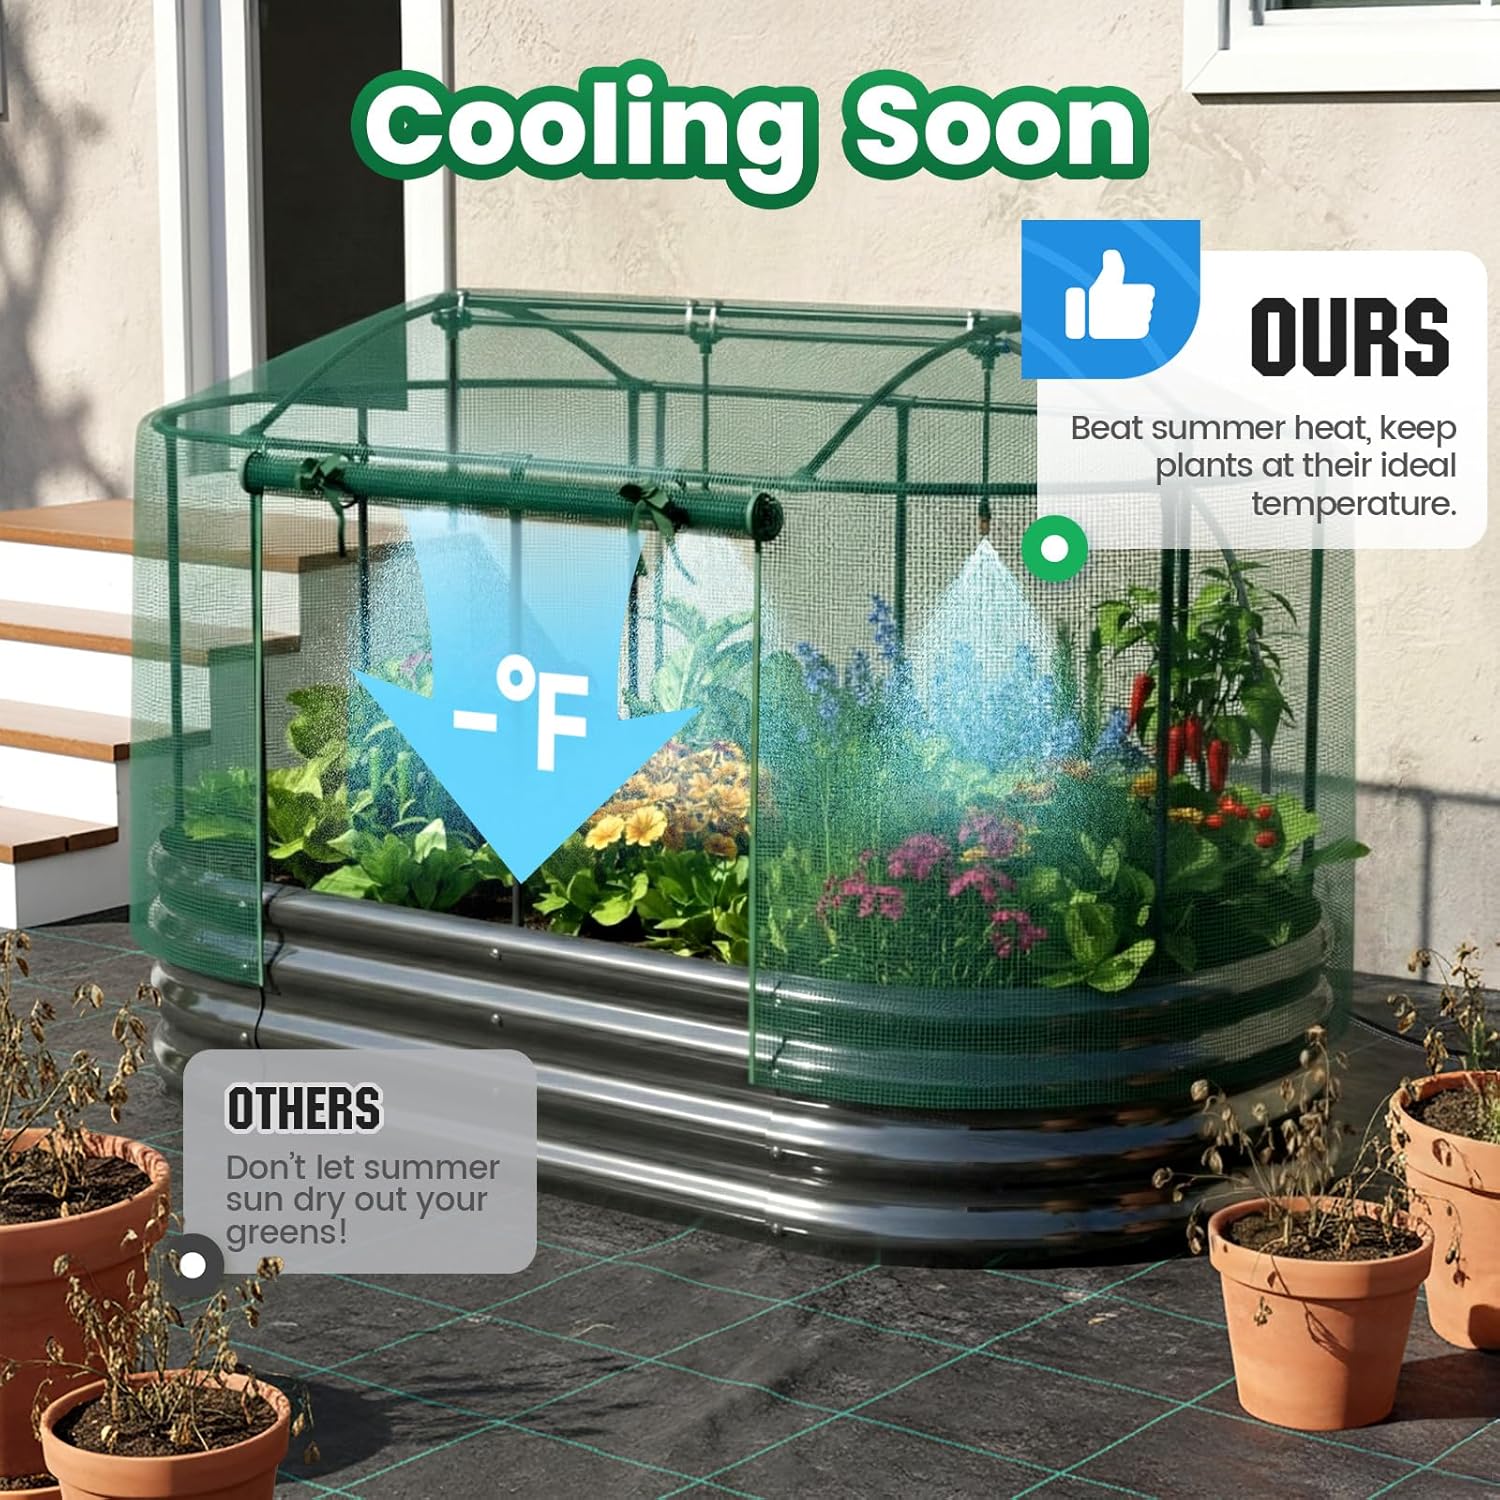
Image: The misting system provides a cooling effect, helping to maintain optimal plant temperatures.
Utilizing the Mesh Cover:
The mesh cover provides protection against common garden pests such as birds and rodents. Ensure the cover is fully zipped and secured with Velcro straps to prevent unwanted access. The mesh design allows for adequate light penetration and air circulation, crucial for plant growth.

Image: The mesh cover effectively protects plants from birds and small animals.
Maintenance
Cleaning:
Regularly inspect and clean the garden bed. Wipe down metal surfaces with a damp cloth to remove soil and debris. Clean the mesh cover with mild soap and water if necessary, ensuring it is thoroughly rinsed and dried before re-installation.
Winter Care:
In colder climates, consider disassembling the mesh cover and storing it indoors to prolong its lifespan. The metal bed can remain outdoors, but ensure proper drainage to prevent water accumulation and potential ice damage.
Troubleshooting
Watering System Issues:
- Low Water Pressure: Check your water source connection and ensure the faucet is fully open. Inspect pipes for kinks or blockages.
- Uneven Spray: Adjust individual sprinkler nozzles to achieve uniform coverage. Clean nozzles if they appear clogged.
Structural Stability:
- Loose Connections: Periodically check all screws and connections on the metal bed and frame. Tighten as needed.
- Mesh Cover Sagging: Ensure all Velcro straps are securely fastened and the frame rods are properly seated.
Missing or Damaged Parts:
If you encounter missing or damaged parts during assembly or use, please contact Quictent customer support for assistance.
Specifications
| Material | Metal |
| Color | Dark Grey |
| Special Feature | Anti-Bird Netting Mesh Cover |
| Style | Self Watering System and Mesh Cover |
| Planter Form | Raised Bed |
| Shape | Oval |
| Size | 6x3x1 FT |
| Item Dimensions (D x W x H) | 68.45"D x 35"W x 36.9"H |
| Number of Pieces | 1 |
| Indoor/Outdoor Usage | Outdoor |
Warranty and Support
For warranty information, replacement parts, or technical support, please contact Quictent customer service. Refer to your purchase documentation for specific warranty terms and contact details. You can also visit the official Quictent website for further assistance.


