

1. Introduction
This manual provides detailed instructions for the installation, operation, and maintenance of your KOMIGAN KMG-3233 Motion-Activated Cascading Effect LED Stair Lighting Kit. This system is designed to enhance safety and aesthetics on indoor staircases by providing sequential, motion-activated illumination.
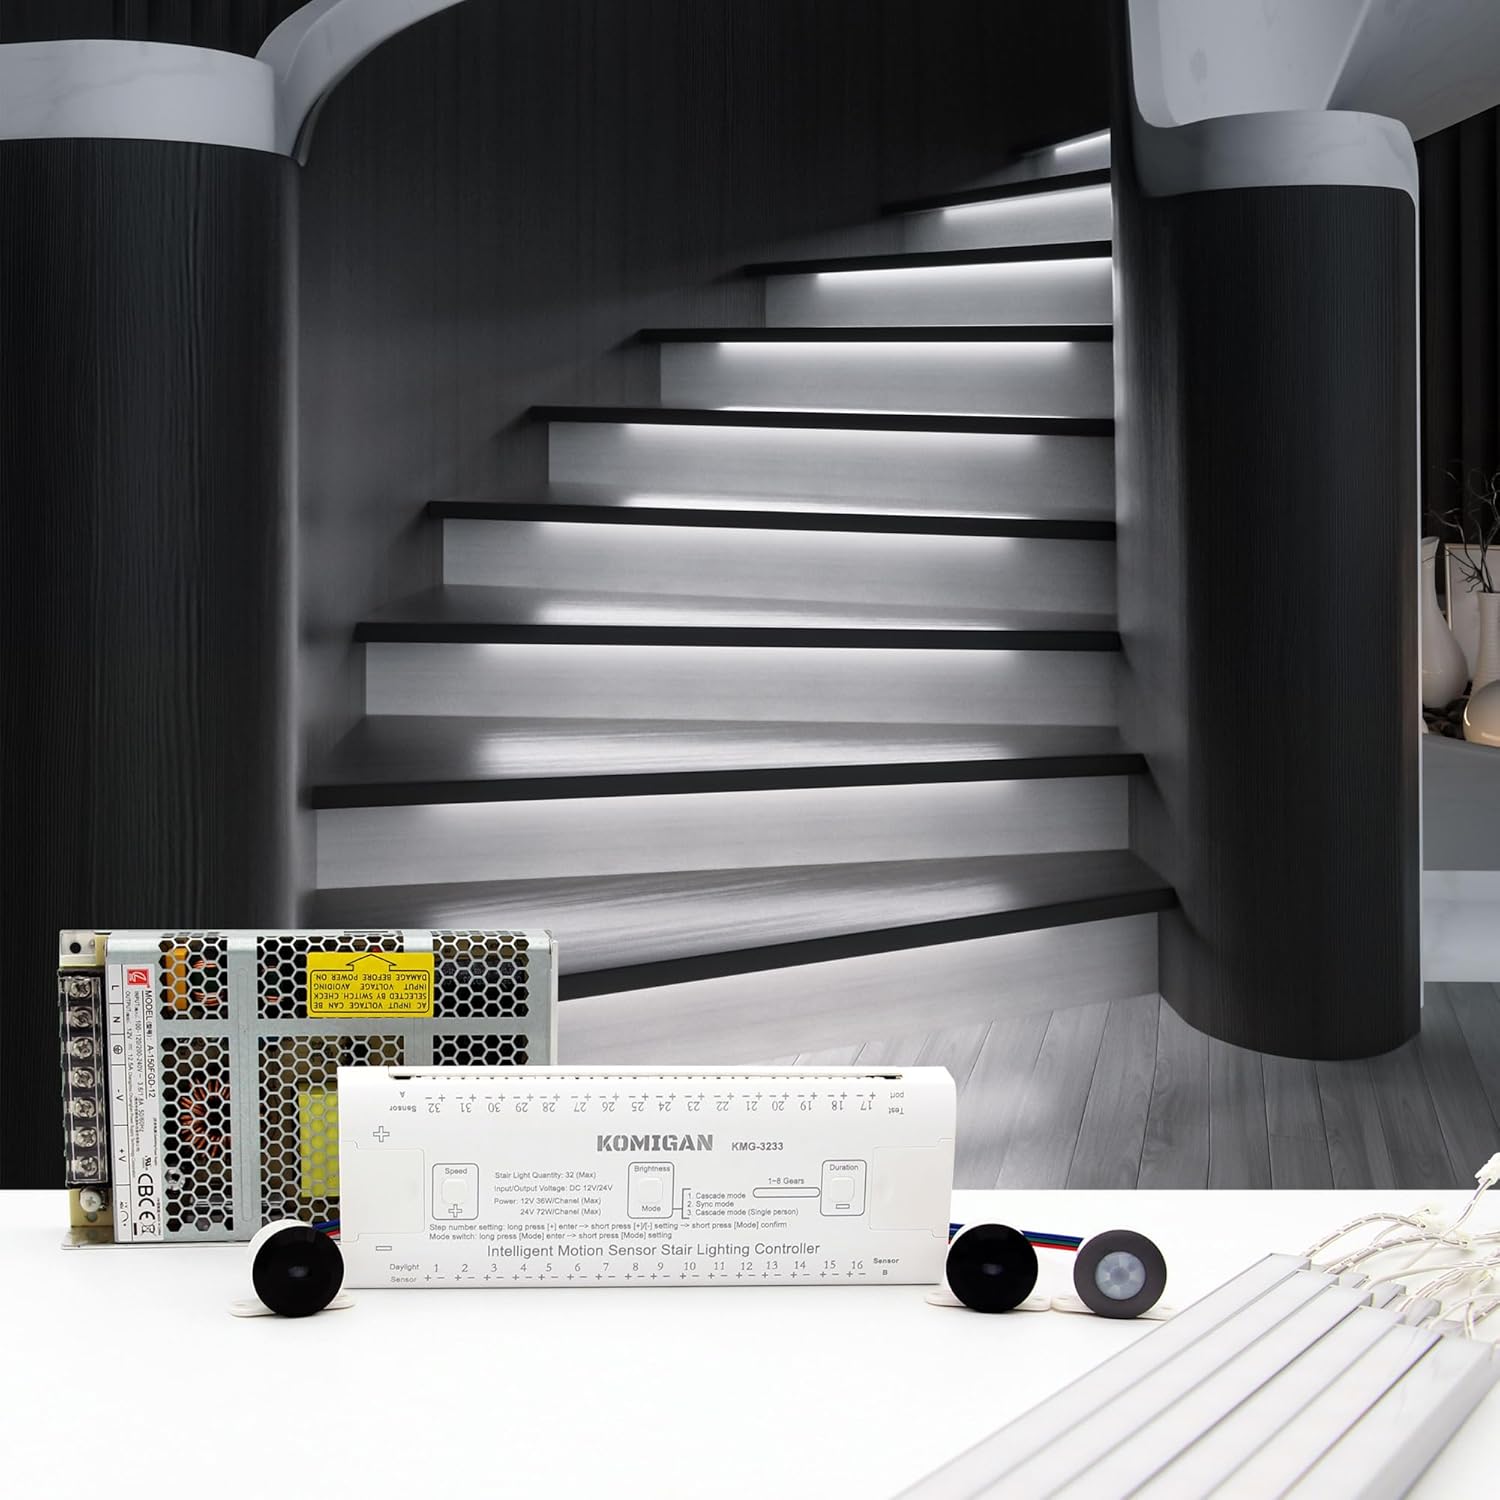
Image 1.1: KOMIGAN KMG-3233 LED Stair Lighting Kit components with illuminated stairs.
The KMG-3233 kit features high-quality LED light bars that illuminate in a cascading sequence as motion is detected, and turn off sequentially when motion ceases. It offers customizable settings for brightness, speed, and delay, along with various control modes to suit different preferences and environments.
2. Safety Precautions
- Indoor Use Only: This product is designed for indoor use. Do not install in outdoor or wet environments.
- Power Supply: Ensure the power supply voltage matches the product's requirements (110V AC). Incorrect voltage can damage the device and pose a safety risk.
- Electrical Connections: All electrical connections should be performed by a qualified professional if you are unsure. Disconnect power before installation or maintenance.
- Cable Management: Route all cables securely to prevent tripping hazards and damage.
- Children and Pets: Keep small components and packaging materials away from children and pets to prevent choking hazards.
- Heat Dissipation: Ensure adequate ventilation around the power supply and controller to prevent overheating.
3. Package Contents
Verify that all components listed below are included in your package:
- Intelligent Motion Sensor Controller (KMG-3233)
- LED Light Bars (35.4 inches / 900mm, quantity varies by kit, e.g., 16 for 16-stair kit)
- Motion Sensors (2 units)
- Daylight Sensor (1 unit)
- Power Supply Unit
- Connection Cables and Quick Connectors
- Mounting Clips and Double-sided Adhesive Tape
- User Manual

Image 3.1: Overview of KOMIGAN KMG-3233 kit components.
4. Product Specifications
| Brand | KOMIGAN |
| Model Name | KMG-3233 |
| Light Color | Cool White (6000K) |
| Number of Stairs Supported | 16 Stairs |
| Light Bar Length | 35.4 inches (900mm) |
| Material | Aluminum (Shade), Plastic (Components) |
| Power Source | AC (110V) |
| Control Method | Touch (on controller) |
| Installation Type | Surface Mount |
| Indoor/Outdoor Usage | Indoor Only |
| Brightness | 8190 Lumen (Total) |
5. Installation Guide
Careful planning and execution are key to a successful installation. Ensure you have access to the underside or rear of your staircase for wiring.
5.1. Planning and Preparation
- Measure Stairs: Determine the width of your stair treads to ensure the 35.4-inch light bars fit appropriately.
- Wiring Access: Confirm you have a method to route wires from each step to the central controller, typically through drilled holes or existing gaps.
- Controller Placement: Choose a discreet, accessible location for the controller and power supply, preferably near a power outlet and where wiring can be concealed.
5.2. Light Bar Installation
The LED light bars can be installed using either metal clips or double-sided adhesive tape.

Image 5.1: Light bar fixing methods and dimensions.
- Metal Clip Fixing: Secure the metal clips to the desired location on the underside of each stair tread using screws (not included). Snap the LED light bar into the clips.
- Double-sided Adhesive Fixing: Clean the surface where the light bar will be attached. Apply the provided double-sided adhesive tape to the back of the light bar and firmly press it onto the stair tread.
- Cable Routing: Drill a small hole (approximately 1/4 inch or 7mm) at the end of each light bar's mounting position to route the power cable to the underside of the stairs.
5.3. Sensor Installation
Install the motion sensors at the top and bottom of the staircase, and the daylight sensor in a location that accurately reflects ambient light conditions.

Image 5.2: Sensor mounting options (Surface and Flush).
- Motion Sensors: Mount one motion sensor at the top of the stairs and one at the bottom. They can be surface-mounted or flush-mounted by drilling a 20mm hole. Ensure they have a clear line of sight for motion detection.
- Daylight Sensor: Install the daylight sensor in an area that receives natural light, but not direct sunlight, to accurately detect ambient light levels for automatic operation.
5.4. Wiring Diagram
Follow the wiring diagram carefully to connect all components to the controller. Each light bar connects to a numbered port on the controller, corresponding to its position on the staircase (e.g., step 1 to port 1, step 2 to port 2, etc., starting from the bottom step).

Image 5.3: KOMIGAN KMG-3233 Wiring Diagram.
- Connect the power supply to the controller's power input.
- Connect the motion sensors (Sensor A and Sensor B) to their designated ports on the controller.
- Connect the daylight sensor to its designated port.
- Connect each LED light bar to its corresponding numbered output port on the controller using the quick connectors. Ensure the numbering matches the physical order of the stairs from bottom to top.
5.5. Power Connection
Once all components are securely connected, plug the power supply into a standard 110V AC outlet. The system should power on, and the controller's display will activate.
Video 5.1: Demonstration of the cascading light effect on stairs. This video illustrates how the lights sequentially illuminate as a person walks up or down the staircase, showcasing the motion-activated feature.
6. Operation
The KMG-3233 controller allows for customization of the lighting experience.
6.1. Controller Overview

Image 6.1: KOMIGAN KMG-3233 Controller.
The controller features a display and touch buttons for adjusting settings. Refer to the controller's labels for specific button functions (e.g., Speed, Brightness, Delay, Mode).
6.2. Control Modes
- Motion Trigger Mode: Lights activate sequentially upon motion detection and turn off after a set delay.
- Daylight Sensor Mode: The system automatically enables motion-activated lighting when ambient light levels are low (e.g., at night) and disables it during the day.
- Stay On Mode: All lights remain continuously illuminated.
- Cascade Mode: Controls the speed and direction of the cascading effect.
- Sync Mode: Synchronizes lighting effects across multiple connected controllers (if applicable).
Adjust parameters such as step count, brightness, speed of cascading effect, and delay time using the controller's interface.

Image 6.2: Motion-activated cascading effect in action.
7. Maintenance
- Cleaning: Gently wipe the LED light bars and sensors with a soft, dry cloth. Avoid using abrasive cleaners or solvents.
- Inspection: Periodically check all wiring connections to ensure they are secure.
- Sensor Obstruction: Ensure motion sensors are free from obstructions that could interfere with detection.
8. Troubleshooting
| Problem | Possible Cause | Solution |
|---|---|---|
| Lights do not turn on. | No power; Loose connections; Daylight sensor active. | Check power supply connection. Verify all cables are securely connected. Check daylight sensor settings or test in a dark environment. |
| Lights do not cascade correctly. | Incorrect wiring order; Controller settings. | Ensure light bars are connected to controller ports in sequential order (bottom to top). Adjust cascade settings on the controller. |
| Motion sensors not detecting. | Obstruction; Incorrect placement; Sensor malfunction. | Clear any obstructions. Reposition sensors for optimal detection range. Ensure sensors are correctly plugged into the controller. |
| Lights stay on continuously. | Controller in 'Stay On' mode; Sensor issue. | Check controller mode settings and switch to motion-activated mode. Verify motion sensors are functioning correctly. |
9. Warranty and Support
KOMIGAN products come with a limited warranty. For specific warranty details, please refer to the warranty card included with your product or visit the official KOMIGAN website. For technical support, troubleshooting assistance, or replacement parts, please contact KOMIGAN customer service through the contact information provided on our website or your purchase platform.
Online Resources: For additional support and frequently asked questions, visit the KOMIGAN Brand Store on Amazon.