
1. Introduction
Thank you for choosing the Huuger Nightstand with Charging Station. This manual provides essential information for the safe assembly, operation, and maintenance of your new nightstands. Please read these instructions carefully before beginning assembly and retain them for future reference.

Image: Huuger Nightstand in a bedroom setting, showcasing its design and placement.
2. Safety Information
- Always place the nightstand on a flat, stable surface to prevent tipping.
- Do not overload drawers. Fabric drawers have weight limitations.
- Keep liquids away from the charging station to prevent electrical hazards.
- Ensure all electrical connections are secure before use.
- Do not attempt to modify the electrical components or the nightstand structure.
- Keep small parts and packaging materials away from children during assembly.
3. Package Contents
Verify that all components are present before beginning assembly. If any parts are missing or damaged, please contact customer support.
- Nightstand Frame Components (Metal)
- Top and Middle Shelves (Engineered Wood)
- Fabric Drawers (3 per nightstand)
- Recessed Power Strip with 2 AC Outlets, 1 USB Port, 1 Type-C Port
- Adjustable Feet
- Assembly Tools (Hex Key)
- Assembly Guide
- Hardware Pack (Screws, etc.)

Image: Detailed diagram illustrating the dimensions and individual components of the nightstand.
4. Assembly Instructions
Assembly is designed to be straightforward. Follow the step-by-step instructions provided in the included Assembly Guide. A screwdriver may be helpful, though basic tools are supplied.
- Unpack and Identify Parts: Lay out all components and hardware. Match them with the numbered and lettered labels in the Assembly Guide.
- Assemble the Frame: Connect the metal frame pieces according to the diagrams in the guide. Secure with the provided screws.
- Attach Shelves: Install the top and middle engineered wood shelves onto the frame.
- Install Power Strip: Carefully place the recessed power strip into the designated slot on the top shelf and secure it with screws. Route the power cord as instructed.
- Insert Fabric Drawers: Unfold the fabric drawers and insert the bottom panels. Place them into the designated slots within the frame.
- Attach Adjustable Feet: Screw the adjustable feet into the bottom of the nightstand frame. Adjust them to ensure stability on uneven surfaces.

Image: Illustration of the adjustable feet for leveling the nightstand.
5. Operating Instructions (Charging Station)
The integrated charging station provides convenient power access for your devices.
- Power Connection: Plug the nightstand's power cord into a standard wall outlet.
- AC Outlets: Use the two 125V/12A AC outlets for lamps, alarm clocks, or other small appliances.
- USB Ports: The 5V-2A USB-A and 5V-2A Type-C ports are suitable for charging smartphones, tablets, and other USB-powered devices.
- Usage: Simply plug your device's charging cable into the appropriate port.

Image: The recessed power strip with various charging ports in use.
6. Storage and Organization
Your nightstand features multiple storage options to help keep your space tidy.
- Top Surface: Ideal for placing lamps, drinks, or decorative items.
- Open Shelf: Provides easy access storage for books, magazines, or small electronic devices.
- Fabric Drawers: Three durable fabric drawers offer concealed storage for personal items, accessories, or other essentials.
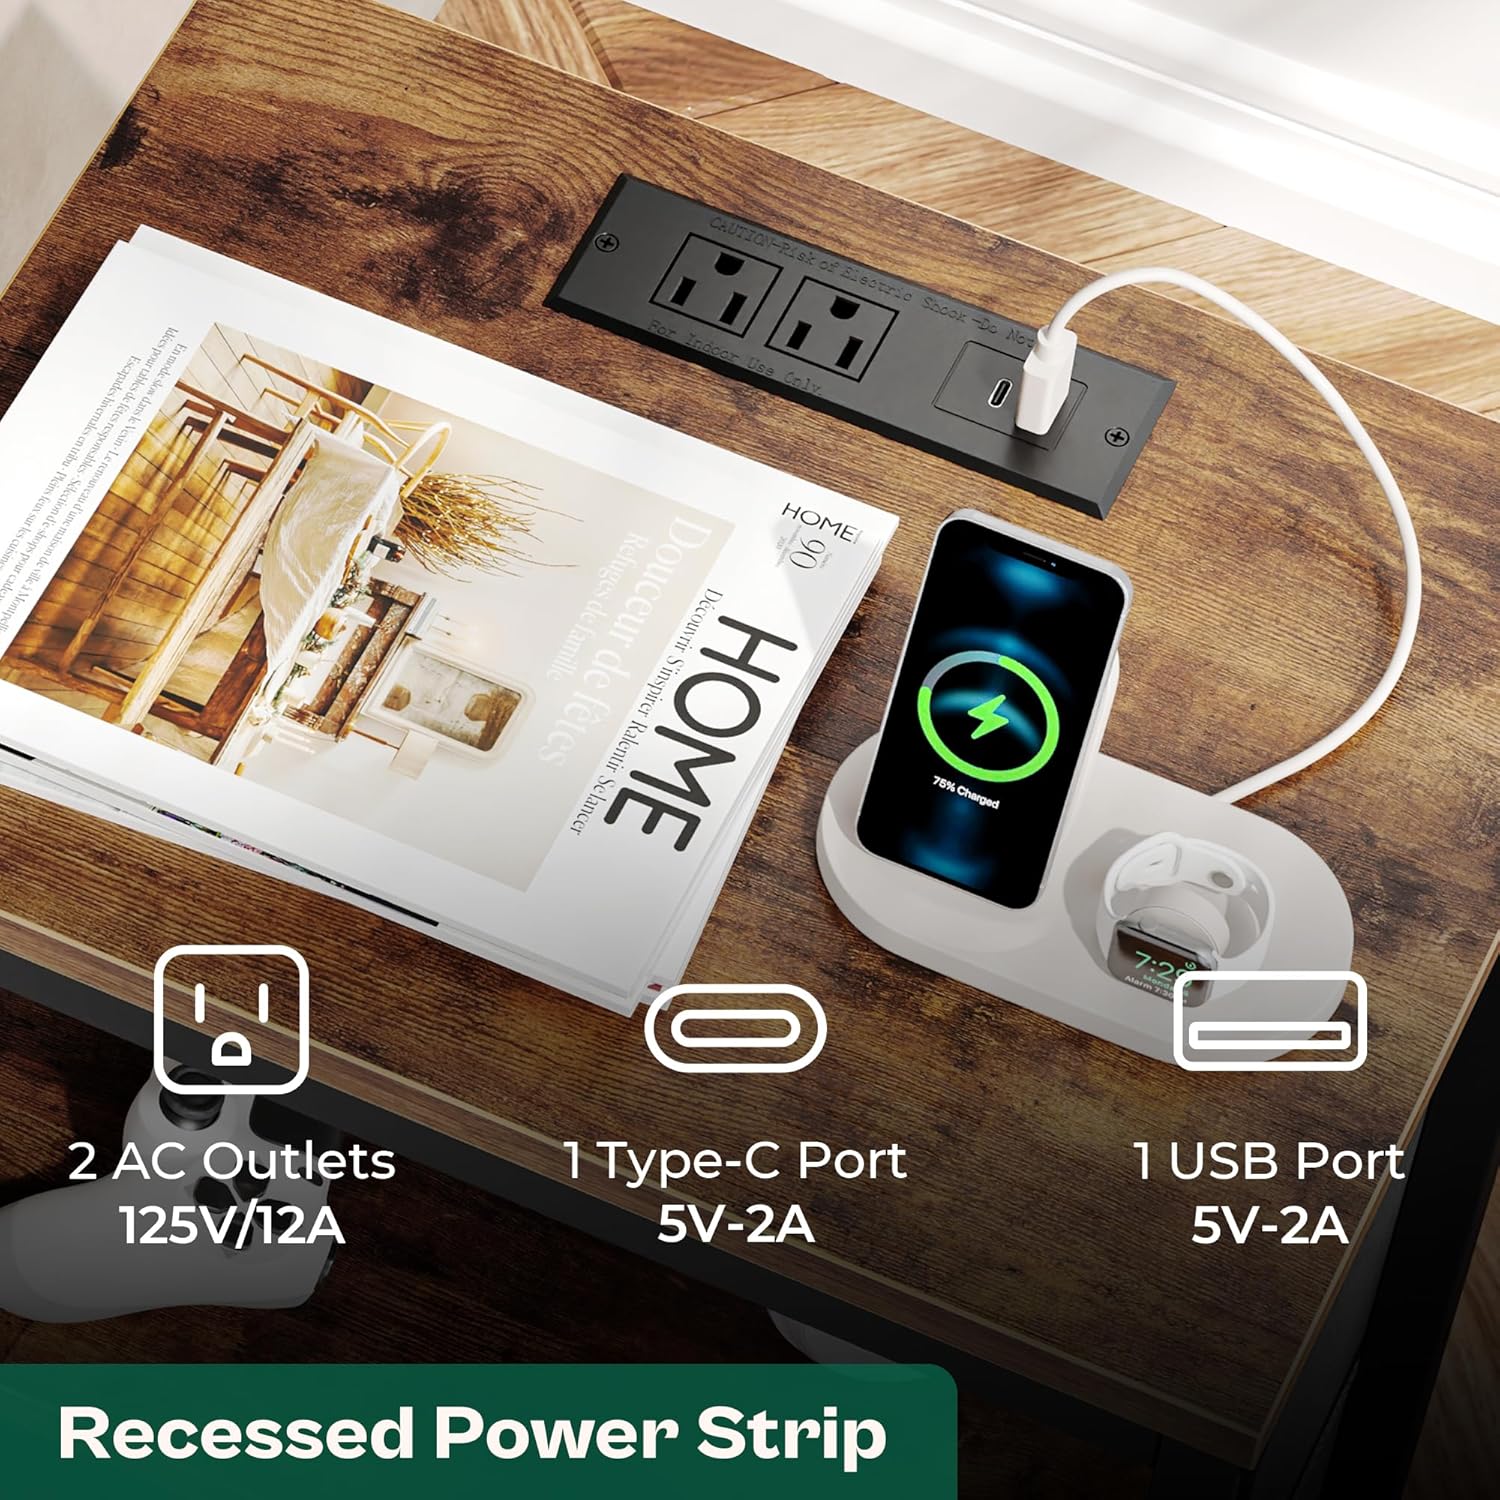
Image: The open shelf space, suitable for books and other items.
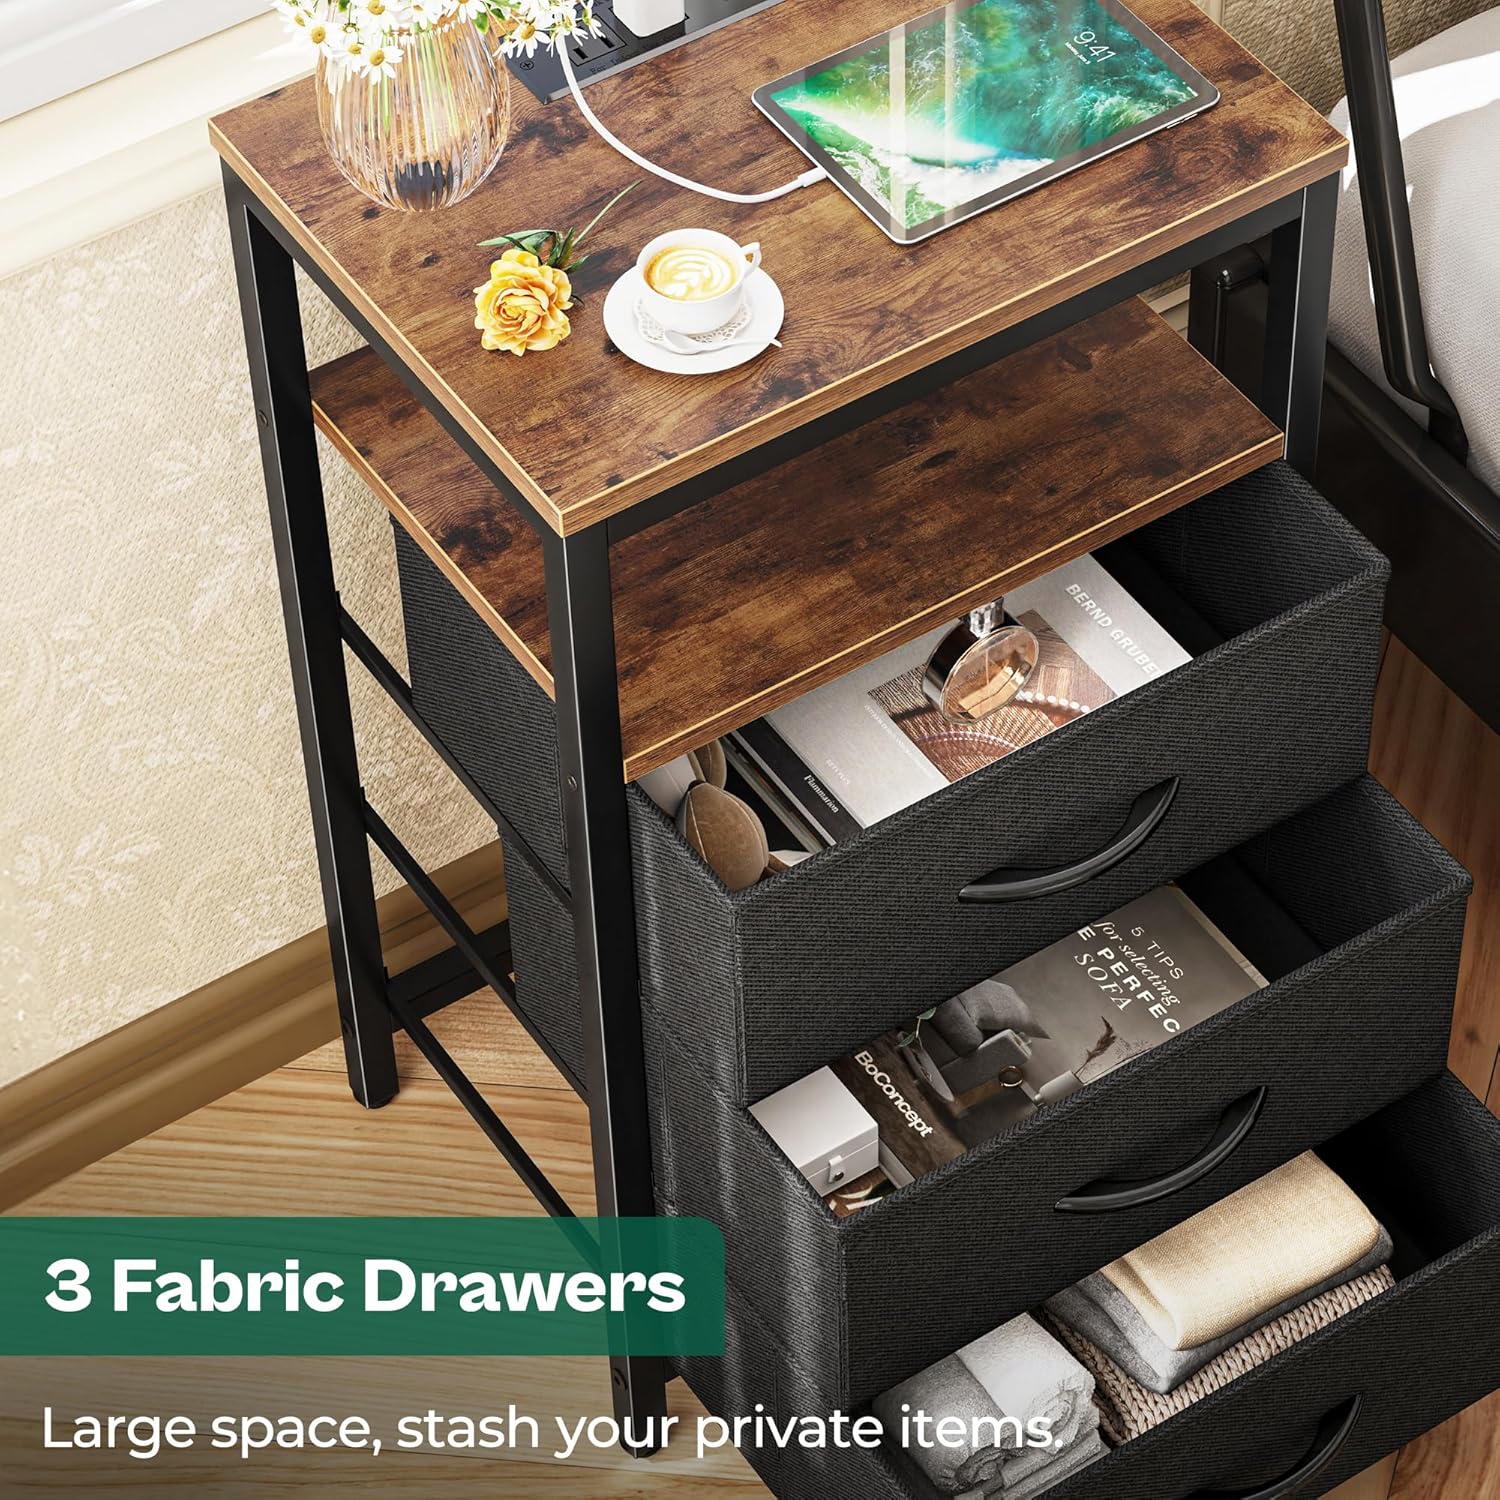
Image: Fabric drawers providing ample storage for personal items.
7. Maintenance
To maintain the appearance and longevity of your nightstand:
- Cleaning: Wipe surfaces with a damp cloth. Avoid harsh chemicals or abrasive cleaners.
- Dusting: Regularly dust the frame and shelves with a soft, dry cloth.
- Drawer Care: Fabric drawers can be spot cleaned with a mild detergent and water. Allow to air dry completely.
- Electrical: Periodically check the power cord and connections for any signs of wear or damage.
8. Troubleshooting
| Problem | Possible Cause | Solution |
|---|---|---|
| Nightstand is wobbly. | Uneven floor or loose connections. | Adjust the leveling feet at the bottom of the frame. Tighten all screws. |
| Charging station not working. | Power cord not plugged in or loose connection. | Ensure the nightstand's power cord is securely plugged into a functional wall outlet. Check device cables. |
| Drawers do not slide smoothly. | Overloaded or improperly inserted. | Reduce the weight in the drawers. Ensure drawers are fully unfolded and inserted correctly into their slots. |
9. Specifications
- Brand: Huuger
- Model: 11.8"D x 15.7"W x 27.6"H (3 Drawers)
- Product Dimensions: 11.8"D x 15.7"W x 27.6"H
- Frame Material: Metal
- Top Material Type: Engineered Wood
- Drawer Material: Fabric (Non-woven)
- Color: Rustic Brown and Black
- Number of Drawers: 3 per nightstand
- Charging Station: 2 AC Outlets (125V/12A), 1 USB Port (5V-2A), 1 Type-C Port (5V-2A)
- Assembly Required: Yes
- Product Care: Wipe with Damp Cloth
10. Warranty and Support
For warranty information or technical support, please refer to the contact details provided with your purchase documentation or visit the official Huuger website. Keep your purchase receipt as proof of purchase.