
Philips SCF883/01
Philips Avent EasyPappa Plus 4-in-1 Food Maker
Model: SCF883/01
Introduction
The Philips Avent EasyPappa Plus 4-in-1 Food Maker is designed to simplify the process of preparing healthy, homemade baby food. This versatile appliance allows you to steam, blend, defrost, and reheat meals all in one convenient jar, ensuring your baby receives nutritious food at every stage of weaning.

Figure 1: The Philips Avent EasyPappa Plus 4-in-1 Food Maker, shown with its original packaging and included accessories (spatula and storage pot).
Important Safety Instructions
Please read all instructions carefully before using the appliance. Failure to follow these safety guidelines may result in electric shock, fire, or serious injury.
- Always ensure the appliance is placed on a stable, flat, heat-resistant surface, away from hot gas or electric burners.
- Do not immerse the base unit in water or any other liquid. Clean only with a damp cloth.
- Keep hands and utensils away from the blending blade during operation to prevent injury. The blade is very sharp.
- Exercise extreme caution when handling hot steam and hot surfaces. Steam can cause severe burns.
- Unplug the appliance from the power outlet when not in use, before cleaning, and before assembling or disassembling parts.
- This appliance is not intended for use by persons (including children) with reduced physical, sensory or mental capabilities, or lack of experience and knowledge, unless they have been given supervision or instruction concerning use of the appliance by a person responsible for their safety.
- Do not operate any appliance with a damaged cord or plug, or after the appliance malfunctions or has been damaged in any manner.
- Use only Philips Avent original accessories and parts.
Product Overview
Familiarize yourself with the components of your Philips Avent EasyPappa Plus 4-in-1 Food Maker:
- Base Unit: Contains the motor, heating element, and control knob.
- Water Tank: Located within the base unit, used for steaming.
- Blending Jar: Transparent container for steaming and blending ingredients. Features a handle and measurement markings.
- Blade Assembly: Detachable unit with sharp blades, located at the bottom of the blending jar.
- Lid: Covers the blending jar during steaming and blending.
- Control Knob: Used to select functions (Off, Steam, Blend) and set steaming time.
- Spatula: For stirring and removing food.
- Storage Pot: For storing prepared baby food.
Setup and Initial Use
Before first use, follow these steps:
- Unpacking: Carefully remove all components from the packaging. Retain packaging for future storage or transport.
- Initial Cleaning: Wash the blending jar, lid, blade assembly, spatula, and storage pot in warm soapy water. Rinse thoroughly and dry. Wipe the base unit with a damp cloth.
- First Steam Cycle (Cleaning):
- Fill the water tank with 200ml of fresh water.
- Place the empty blending jar with the lid on the base unit.
- Turn the control knob to the steam function and set the timer to 10 minutes.
- Allow the cycle to complete. Discard the water and let the unit cool down.
- Assembly: Ensure the blade assembly is securely attached to the bottom of the blending jar. Place the blending jar onto the base unit, ensuring it clicks into place.
Operating Instructions
1. Steaming Food
The unique steaming technology cooks food from the bottom up, ensuring even cooking and preserving nutrients.
- Prepare Ingredients: Wash, peel, and chop fruits, vegetables, meat, or fish into small pieces (approximately 1-2 cm cubes).
- Fill Water Tank: Open the water tank lid on the base unit and fill with fresh water. The amount of water determines the steaming time. Refer to the recipe book or general guidelines for recommended water levels based on food type and quantity.
- Load Jar: Place the chopped ingredients into the blending jar. Do not overfill; ensure the lid can close properly.
- Secure Lid: Place the lid onto the blending jar and ensure it is securely locked.
- Start Steaming: Place the blending jar onto the base unit. Turn the control knob to the steam icon (steam cloud symbol) and set the desired steaming time. The appliance will automatically switch off when the water tank is empty.

Figure 2: The appliance actively steaming chopped vegetables, demonstrating the steam technology in action.
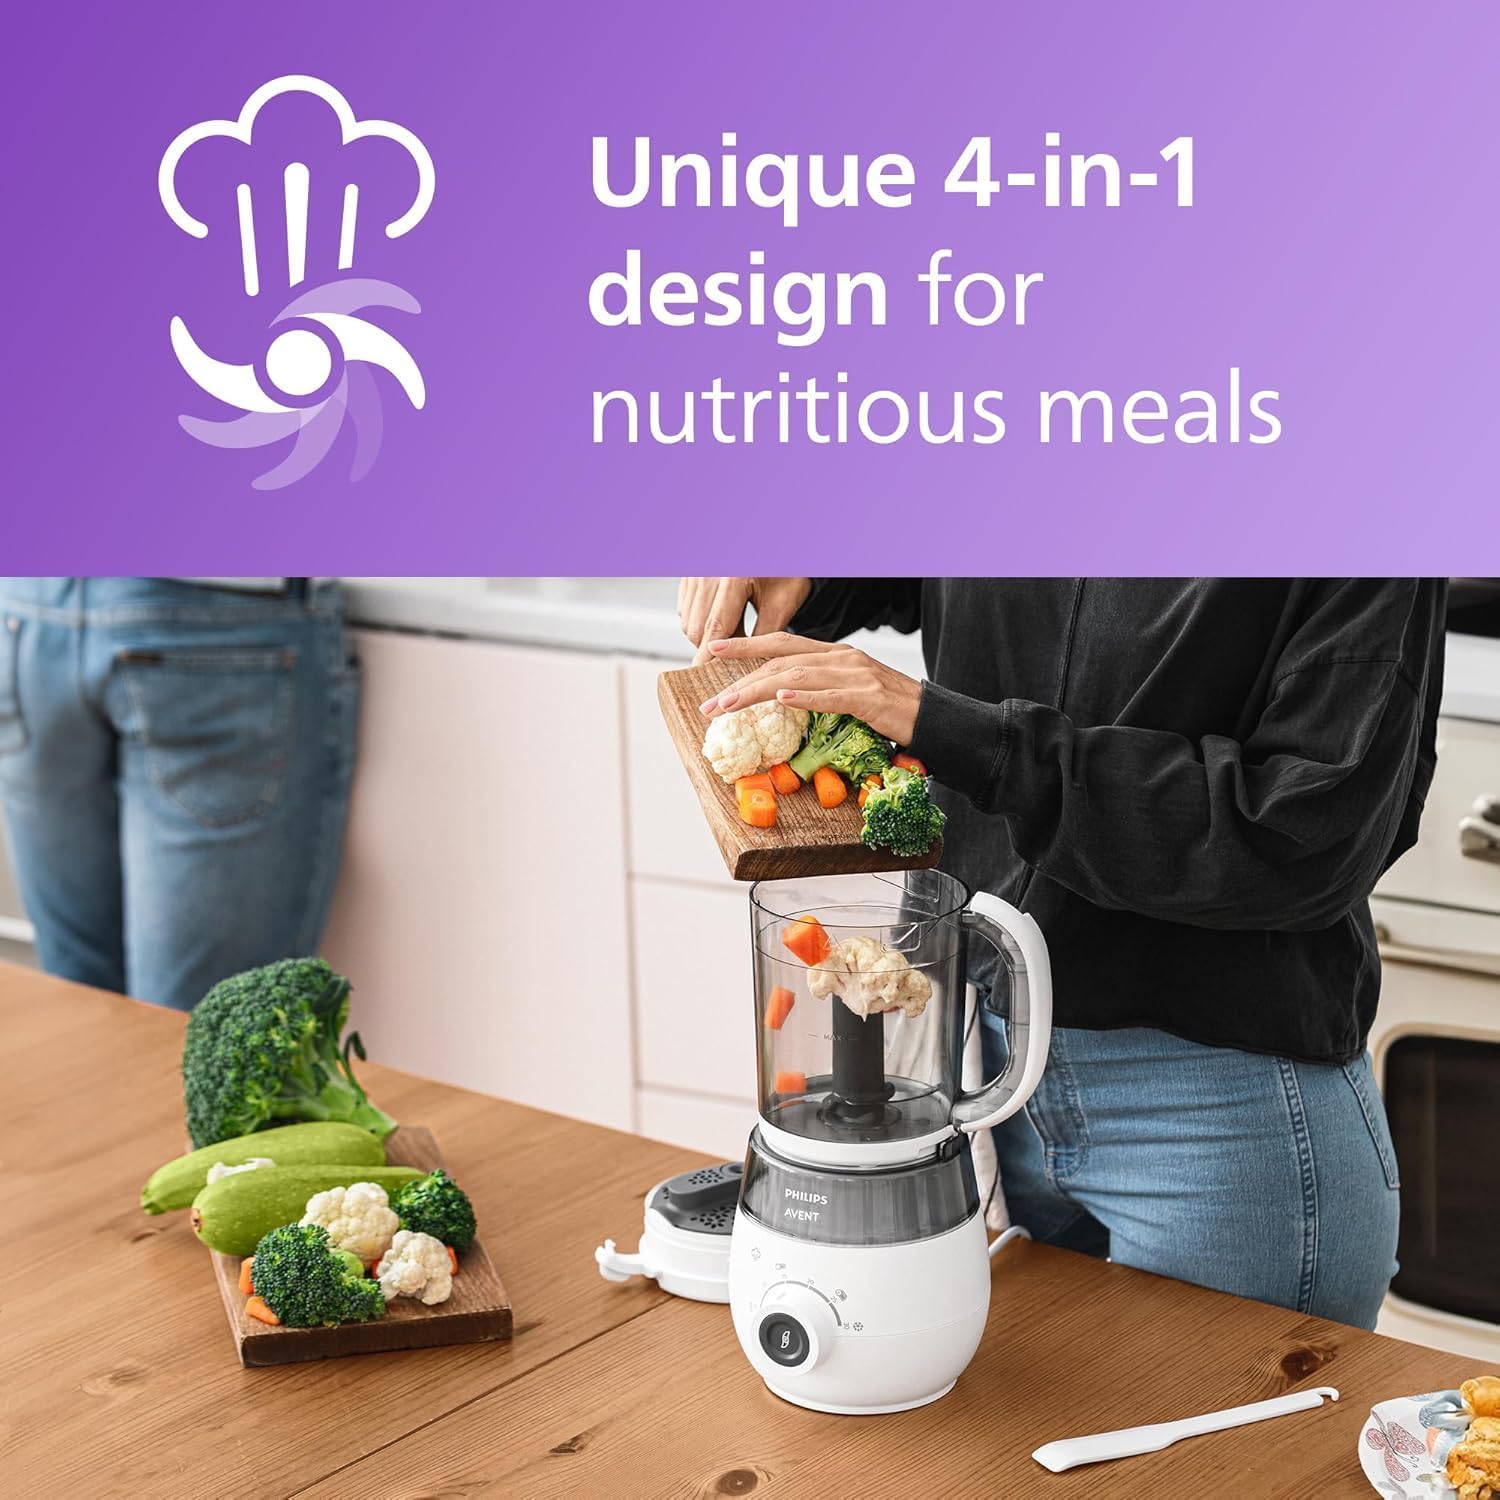
Figure 3: A user adding various chopped vegetables into the blending jar, preparing for the steaming process.
2. Blending Food
After steaming, you can easily blend the cooked ingredients to the desired consistency.
- Flip Jar: Once steaming is complete, carefully remove the blending jar from the base unit. Flip the jar upside down so the blade assembly is at the top, then place it back onto the base unit.
- Start Blending: Turn the control knob to the blend icon (blender blade symbol) and hold it in position for short bursts (pulses).
- Achieve Consistency: Pulse until the desired consistency is reached. For smoother purees, blend longer. For chunkier textures, blend for shorter periods. You can add a small amount of the cooking liquid or breast milk/formula to achieve a thinner consistency.
- Serve: Once blended, remove the jar, open the lid, and serve the baby food.

Figure 4: Visual representation of the steam, flip, and blend process, highlighting the seamless transition from cooking to pureeing.

Figure 5: Freshly prepared baby food being poured from the blending jar into a storage container, ready for consumption or storage.
3. Defrosting and Reheating
The appliance can also be used to defrost and reheat pre-cooked or frozen baby food.
- Prepare Food: Place the frozen or refrigerated baby food into the blending jar.
- Fill Water Tank: Fill the water tank with the appropriate amount of water for defrosting/reheating (refer to the manual or recipe guide for specific times).
- Start Cycle: Place the jar with food onto the base unit. Turn the control knob to the steam icon and set the desired time. The appliance will use steam to gently defrost or reheat the food.
- Check Temperature: Always stir the food and check its temperature before feeding your baby to ensure it is not too hot.
Maintenance and Cleaning
Regular cleaning and maintenance will ensure the longevity and optimal performance of your food maker.
Daily Cleaning
- Unplug: Always unplug the appliance before cleaning.
- Blending Jar, Lid, Blade Assembly, Spatula, Storage Pot: Wash these parts immediately after each use in warm soapy water. Rinse thoroughly under running water.
- Important Note on Dishwasher Use: While some components may appear dishwasher safe, it is strongly recommended to hand wash the blending jar and its gasket. Placing the blending jar in a dishwasher can cause the gasket to deteriorate over time, leading to leaks and reduced performance.
- Base Unit: Wipe the exterior of the base unit with a damp cloth. Never immerse the base unit in water.
Descaling the Water Tank
Limescale can build up in the water tank, affecting steaming efficiency. Descale the appliance regularly, especially if you live in an area with hard water.
- Prepare Solution: Mix 50ml of white vinegar with 100ml of water, or use a citric acid solution (e.g., 10g citric acid dissolved in 200ml water).
- Fill Tank: Pour the descaling solution into the water tank.
- Run Cycle: Place the empty blending jar (without food) with its lid on the base unit. Turn the control knob to the steam function and set the timer to 10-15 minutes.
- Rinse: After the cycle, discard the solution. Rinse the water tank thoroughly by filling it with fresh water and running another steam cycle for 5 minutes. Repeat this rinsing cycle 2-3 times to ensure all descaling solution is removed.
- Frequency: Descale every 2-4 weeks, depending on water hardness and frequency of use.
Troubleshooting
| Problem | Possible Cause | Solution |
|---|---|---|
| Appliance does not turn on. | Not plugged in; power outlet faulty; jar not correctly assembled. | Check power connection; try another outlet; ensure blending jar is securely locked onto the base unit. |
| No steam is produced. | Water tank empty; limescale buildup; lid not properly closed. | Fill water tank; descale the appliance (see Maintenance); ensure lid is securely closed. |
| Food is not blending properly. | Jar overloaded; ingredients too large; blade assembly not correctly installed. | Reduce food quantity; chop ingredients into smaller pieces; ensure blade assembly is securely attached and jar is flipped correctly for blending. |
| Water leaks from the jar. | Gasket on blade assembly is damaged or not seated correctly; jar not properly attached. | Check and re-seat the gasket; inspect gasket for damage and replace if necessary; ensure jar is securely locked onto the base unit. |
If the problem persists after trying these solutions, please contact Philips customer support.
Specifications
- Brand: Philips
- Model: SCF883/01
- Color: White
- Product Dimensions: 19.4 x 24.5 x 36.8 cm (7.6 x 9.6 x 14.5 inches)
- Item Weight: 1 kg (2.2 lbs)
- Capacity (Blending): 1 kg (solids) / 720 ml (liquids)
- Water Tank Capacity: 1000 ml (1 liter)
- Voltage: 220-240 V
- Frequency: 50-60 Hz
- Power Consumption: 400 W
- Number of Speeds: 1
- Automatic Shut-off: Yes
- Special Features: Integrated mincer (blender), Safety lock system for lid and jar detection.
- Cord Length: 70 cm (27.5 inches)
Warranty and Support
This Philips Avent product comes with a standard manufacturer's warranty. Please refer to the warranty card included in your product packaging for specific terms and conditions, including warranty period and coverage.
For technical assistance, troubleshooting beyond this manual, or to inquire about replacement parts, please visit the official Philips support website or contact their customer service line. Contact details can typically be found on the Philips website or in your product documentation.
For more information and product registration, visit: www.philips.com/avent
Ask a question about this manual
Ask about setup, troubleshooting, compatibility, parts, safety, or missing instructions. Manuals+ will review the question and use this page’s manual context to help answer it.