Introduction
This instruction manual provides detailed guidance for the installation and maintenance of the SRJTEK Digitizer Screen Replacement for the BLU M8L Plus 8-inch tablet. This product is compatible with models M0213UU, M0210WW, M0211WW, and M0212UU. Please ensure you have correctly identified your tablet model before proceeding with the replacement.
The replacement part includes the touch screen digitizer only; it does not include the LCD display. Professional installation is highly recommended to prevent damage to the product or your device.

Figure 1: Visual comparison of a damaged tablet screen before replacement and a tablet with the new SRJTEK digitizer screen installed.
Product Overview
The SRJTEK Digitizer Screen Replacement is designed to restore touch functionality and visual integrity to your BLU M8L Plus tablet. Each unit undergoes strict quality control to ensure optimal performance.
Package Contents:
- 1 x Touch Screen Digitizer Replacement
- 1 x Professional Tool Kit Set (typically includes screwdrivers, prying tools, suction cup)
- 1 x Pre-shaped Adhesive

Figure 2: Detailed view of the high-quality touch screen replacement, repair tools kit, and additional free repair kit included with the product.
Important Safety Information
- Risk of Electric Shock: Always power off your device and disconnect the battery before beginning any repair.
- Static Discharge: Wear an anti-static wrist strap or frequently touch a grounded metal object to prevent electrostatic discharge (ESD) which can damage electronic components.
- Fragile Components: The digitizer and flex cables are delicate. Handle them with extreme care to avoid bending, tearing, or breaking.
- Professional Installation Recommended: If you are not confident in your repair skills, seek assistance from a qualified technician. Damage incurred during installation is not covered under warranty.
- Eye Protection: Consider wearing safety glasses to protect your eyes from small debris.
Setup and Installation Guide
This section outlines the general steps for replacing the digitizer screen. Specific disassembly and reassembly procedures may vary slightly depending on your tablet's exact internal design. Refer to online repair guides or videos specific to your BLU M8L Plus model for detailed visual instructions.
Pre-Installation Checks:
- Verify Model: Confirm your tablet is a BLU M8L Plus (M0213UU, M0210WW, M0211WW, M0212UU).
- Inspect New Part: Before removing your old screen, carefully inspect the new digitizer for any visible damage (cracks, scratches) and ensure the flex cable is intact.
- Test Functionality (if possible): If your tablet's LCD is still functional, you may temporarily connect the new digitizer's flex cable to the motherboard (without fully installing) to test touch response before full assembly. Do not apply adhesive until testing is complete.
- Gather Tools: Ensure you have all necessary tools, including those provided in the kit, and any additional tools like a heat gun or hairdryer for softening adhesive.
Step-by-Step Installation:
- Power Off Device: Completely power down your BLU M8L Plus tablet.
- Remove Back Cover: Carefully pry open the tablet's back cover using a plastic opening tool.
- Disconnect Battery: Locate and disconnect the battery connector from the motherboard to prevent accidental power-on or short circuits.
- Heat the Edges: Use a heat gun or hairdryer on a low setting to gently heat the edges of the tablet's front panel. This softens the adhesive holding the old digitizer in place. Apply heat for 1-2 minutes at a time, avoiding excessive heat.
- Remove Damaged Digitizer: Using a suction cup and plastic prying tools, carefully lift and separate the damaged digitizer from the tablet frame. Work slowly around all edges, being mindful of the flex cable connection.
- Disconnect Old Digitizer: Locate and carefully disconnect the flex cable of the old digitizer from the motherboard.
- Clean Frame: Thoroughly clean any remaining adhesive residue from the tablet frame. Ensure the surface is smooth and free of debris for proper adhesion of the new digitizer.
- Connect New Digitizer: Carefully connect the flex cable of the new digitizer to the corresponding connector on the motherboard. Ensure it is seated correctly and securely.
- Test New Digitizer: Reconnect the battery and briefly power on the tablet to test the touch functionality of the new digitizer. Check for dead spots, unresponsive areas, or ghost touches. If issues arise, power off, disconnect the battery, and re-seat the flex cable.
- Apply Adhesive: Once tested and confirmed working, power off the tablet and disconnect the battery again. Remove the protective films from the pre-applied adhesive on the new digitizer.
- Secure New Digitizer: Carefully align the new digitizer with the tablet frame and gently press it into place, ensuring even pressure around all edges for a secure bond.
- Reconnect Battery and Reassemble: Reconnect the battery, reattach the back cover, and secure any screws that were removed.
- Final Test: Power on your tablet and perform a final comprehensive test of all touch functions.
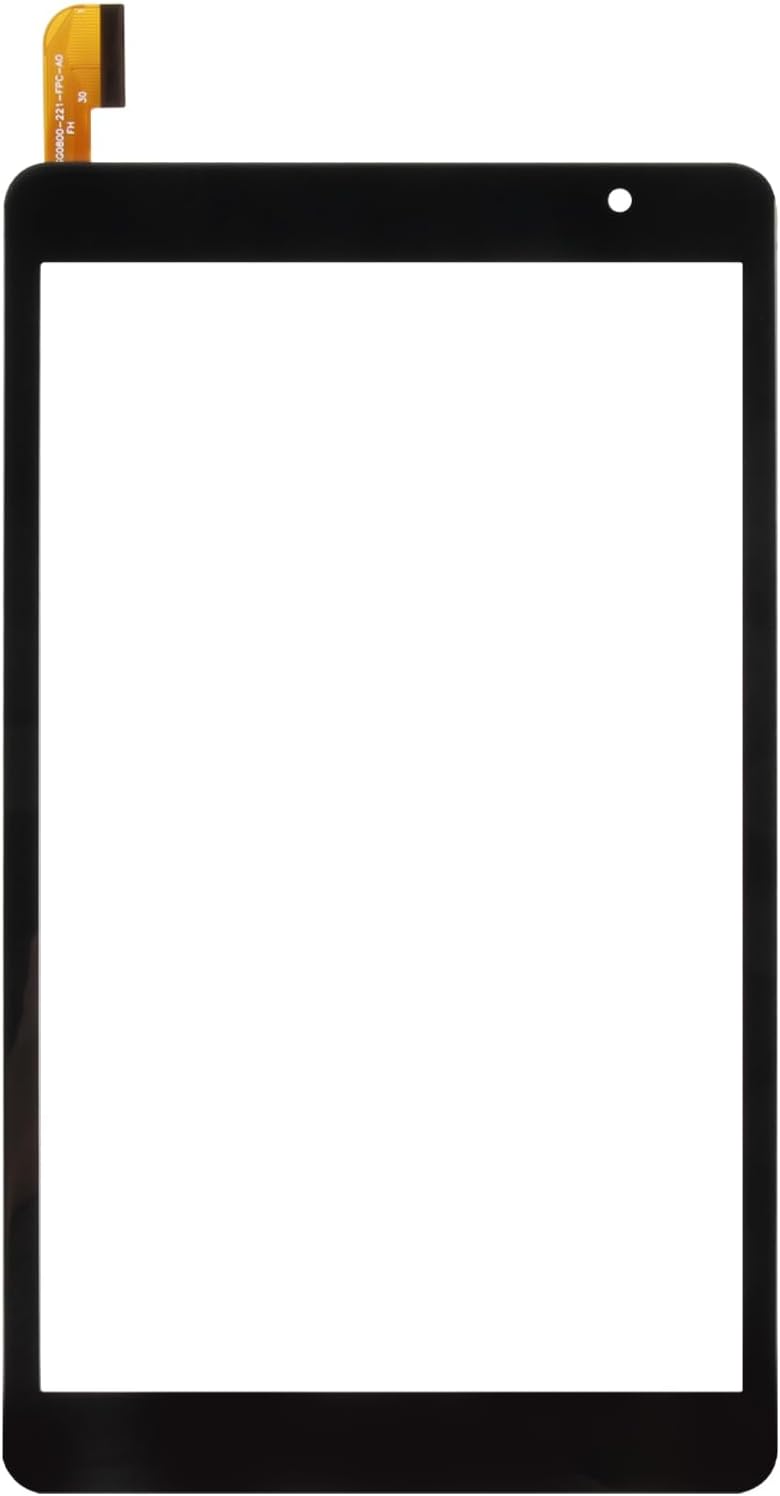
Figure 3: Front view of the SRJTEK BLU M8L Plus 8-inch digitizer screen replacement.

Figure 4: Rear view of the SRJTEK BLU M8L Plus 8-inch digitizer screen replacement, showing pre-applied adhesive.
Operating the New Digitizer
Once successfully installed, the new digitizer will restore the touch functionality of your BLU M8L Plus tablet. The screen is designed for high response sensitivity and a smooth touch experience.
- Touch Response: The digitizer should respond accurately to your finger gestures, including taps, swipes, and multi-touch inputs.
- Display Quality: While this product is a digitizer (touch layer) and not an LCD (display layer), it is designed to integrate seamlessly with your existing LCD, maintaining the original display quality.

Figure 5: Image demonstrating enhanced touch sensitivity with the SRJTEK digitizer screen during gameplay.
Maintenance
To ensure the longevity and optimal performance of your new digitizer screen, follow these maintenance guidelines:
- Cleaning: Use a soft, lint-free cloth slightly dampened with water or a screen cleaner specifically designed for electronics. Avoid harsh chemicals, abrasive materials, or excessive moisture.
- Protection: Consider using a screen protector and a protective case for your tablet to prevent future damage from drops or scratches.
- Avoid Pressure: Do not apply excessive pressure to the screen, especially with sharp objects, as this can damage the digitizer.
- Temperature: Avoid exposing your tablet to extreme temperatures, which can affect adhesive integrity and screen performance.
Troubleshooting
If you encounter issues after installing the new digitizer, refer to the following troubleshooting steps:
| Problem | Possible Cause | Solution |
|---|---|---|
| No touch response or partial touch response | Flex cable not properly seated; damaged flex cable; faulty digitizer. | Power off, disconnect battery, and carefully re-seat the digitizer's flex cable. Inspect the cable for tears. If the issue persists, the digitizer may be faulty. |
| Ghost touches or erratic touch behavior | Flex cable not properly seated; static electricity; debris under the screen; faulty digitizer. | Power off, disconnect battery, and re-seat the flex cable. Ensure the tablet frame and back of the digitizer are clean. Perform a hard reset of the tablet. |
| Screen not adhering properly | Insufficient cleaning of old adhesive; uneven pressure during installation; faulty adhesive. | Ensure all old adhesive is removed and the frame is clean. Apply even pressure during installation. If necessary, use additional strong adhesive strips. |
| New screen cracked during installation | Excessive force; improper prying tools; uneven pressure. | Damage during installation is not covered under warranty. A new replacement part will be required. |
If troubleshooting steps do not resolve the issue, please contact SRJTEK customer service for further assistance.
Specifications
| Feature | Detail |
|---|---|
| Product Type | Touch Screen Digitizer Replacement (No LCD Display) |
| Compatibility | BLU M8L Plus 8-inch Tablet (Models: M0213UU, M0210WW, M0211WW, M0212UU) |
| Brand | SRJTEK |
| Color | Black |
| Package Dimensions | 10.63 x 6.02 x 1.26 inches |
| Item Weight | 7.2 ounces |
Warranty and Support
SRJTEK provides a 6-month guarantee for this product. If the item received has any problems, you can contact SRJTEK customer service for assistance. We are committed to providing a new replacement or a satisfactory solution.
Important Note: Parts damaged during installation are not accepted for return or covered under warranty. We strongly recommend professional installation.
For customer service inquiries, please refer to the contact information provided with your purchase or visit the official SRJTEK store on Amazon: SRJTEK Store