1. Introduction
Thank you for choosing the RecorCam Mini301 Trail Camera. This manual provides detailed instructions for the proper setup, operation, and maintenance of your device. Designed for capturing high-quality images and videos of wildlife, for surveillance, or for general outdoor monitoring, this camera features 20MP photo resolution, 1080P HD video, and advanced night vision capabilities.
2. Safety Information
- Do not expose the camera to extreme temperatures or direct sunlight for extended periods.
- Use only specified batteries (4x AA 1.5V) and external power supply (6V). Using higher voltage than 6V will damage the camera's motherboard.
- Keep the camera away from strong magnetic fields.
- Do not attempt to disassemble or modify the camera. This will void the warranty.
- Ensure the battery compartment is securely closed to maintain water resistance.
3. Package Contents
Verify that all items are present in your package:
- RecorCam Mini301 Trail Camera
- 32GB Micro SD Card
- USB 2.0 Micro SD Card Reader
- Mounting Strap
- Mounting Bracket with Screws and Wall Anchors
- User Manual

Image 3.1: RecorCam Mini301 Trail Camera with included accessories: 32GB Micro SD card, USB reader, mounting hardware, and strap.
4. Product Overview
The RecorCam Mini301 is designed for ease of use and durability. Its compact size (70x108x45mm) makes it highly portable and discreet.
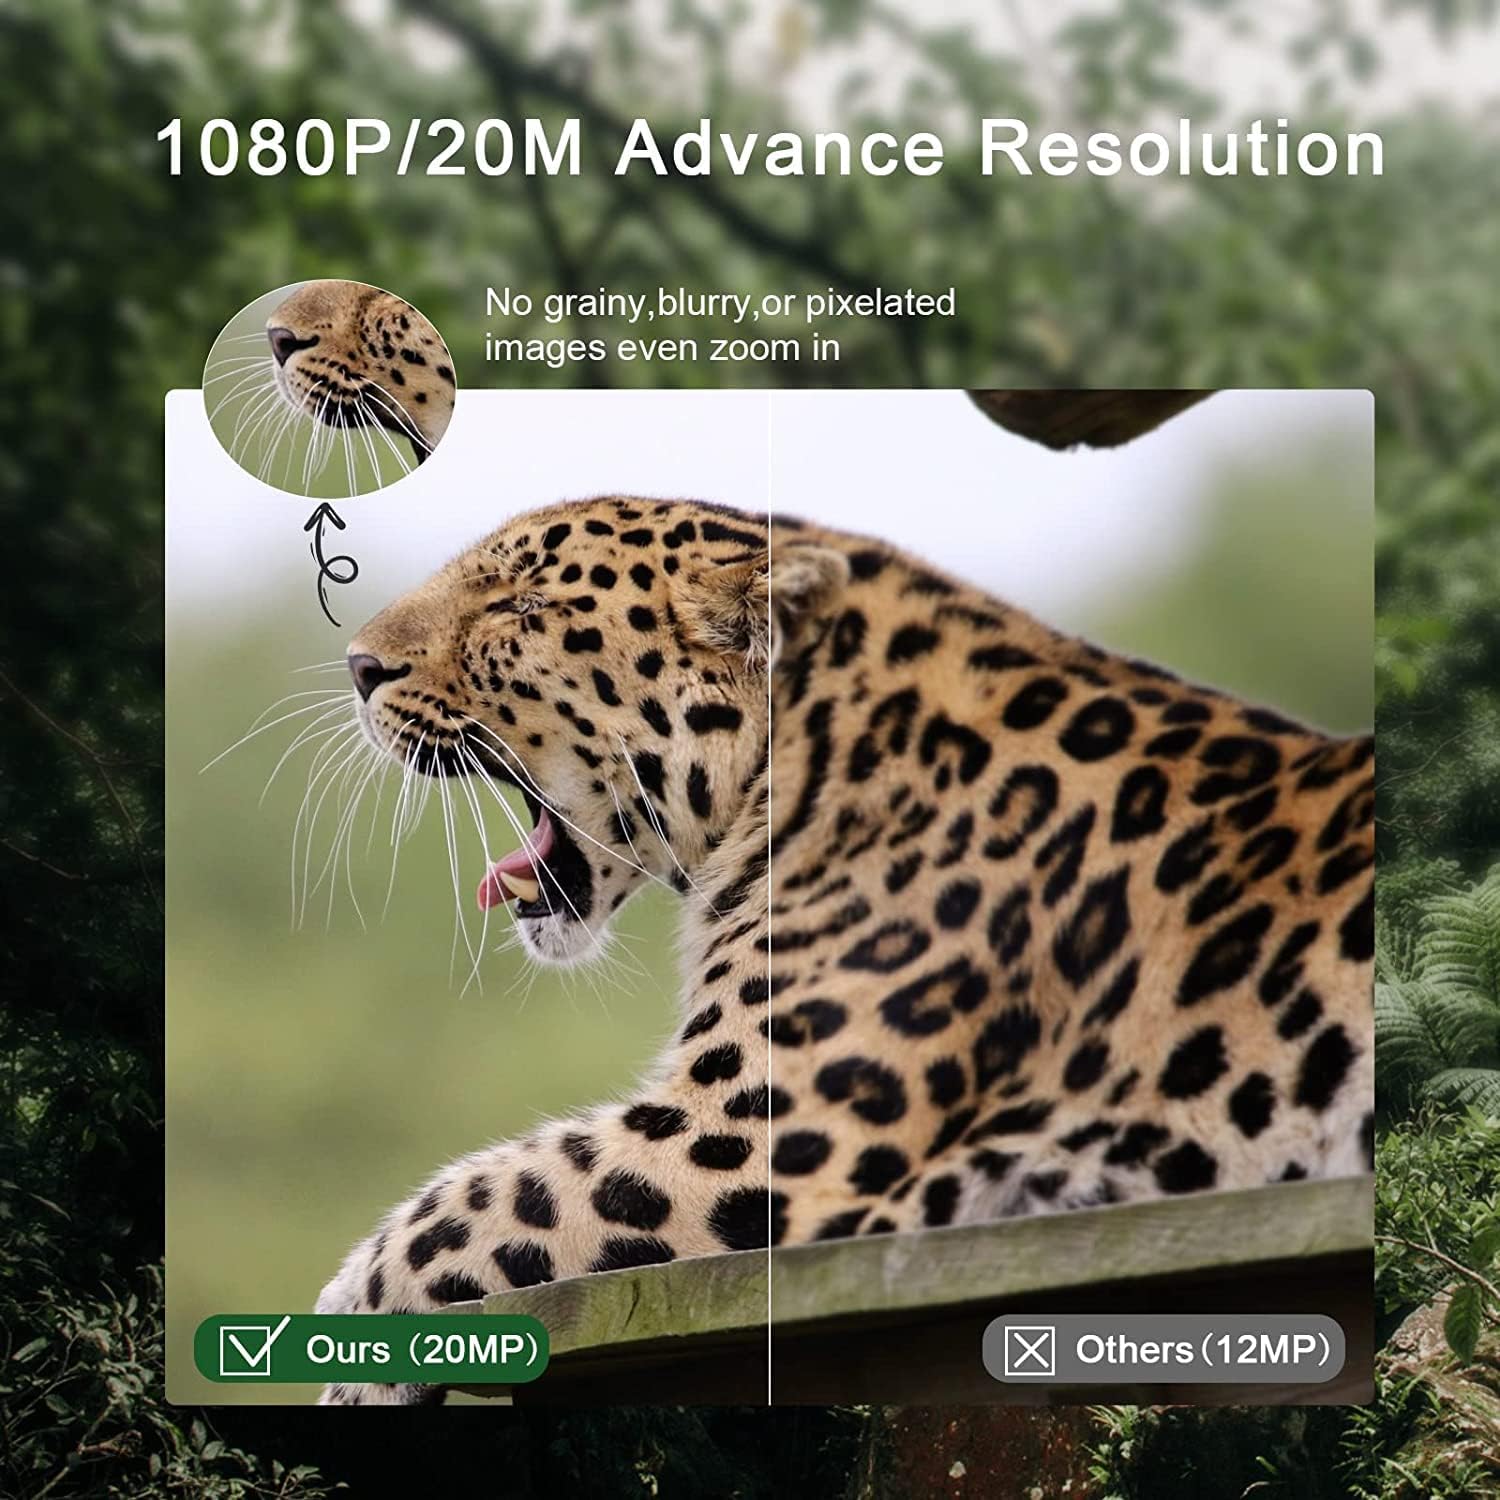
Image 4.1: Dimensions of the RecorCam Mini301 trail camera (70x108x45mm) compared to a smartphone, highlighting its compact size.
Key components include:
- Lens: Captures images and videos.
- PIR Sensors: Passive Infrared sensors detect motion.
- IR LEDs: Infrared LEDs for night vision.
- 2.0-inch LCD Screen: For menu navigation and viewing captured media.
- Control Buttons: MENU, PLAY, OK, and navigation buttons.
- Mode Switch: OFF, TEST, ON.
5. Setup
5.1 Battery Installation
- Open the camera's latch and battery compartment.
- Insert 4 AA 1.5V batteries (not included) according to the polarity markings (+/-).
- Close the battery compartment and secure the latch.
5.2 SD Card Installation and Formatting
- Ensure the camera is in the OFF position.
- Insert the provided 32GB Micro SD card (Class 6 or higher recommended, up to 32GB capacity) into the SD card slot until it clicks.
- It is crucial to format the SD card before first use and periodically thereafter to ensure optimal performance. To format, switch the camera to TEST mode, navigate to the 'Format' option in the menu, and confirm.
5.3 External Power Supply (Optional)
The camera supports an external 6V power supply. Connect the power adapter (not included) to the DC IN port. Do not use a power supply exceeding 6V, as this will damage the camera.
6. Operating Modes
The camera features a 3-position mode switch:
- OFF: The camera is completely powered off. Use this mode for installing batteries or the SD card.
- TEST: In this mode, you can access the menu to change settings, preview recorded videos and photos, and manually capture media. The camera will not automatically take photos or videos in TEST mode.
- ON: The camera enters working mode. The screen will turn off after 10 seconds, and button operations will be disabled. The camera will automatically capture photos or videos based on your settings when motion is detected.
7. Basic Operation
7.1 Capturing Photos and Videos
The camera captures 20MP still images and 1080P HD videos. The 0.3-second trigger speed ensures quick capture of detected motion within a 20-meter range.

Image 7.1: Comparison of 20MP image quality (left) versus 12MP (right), demonstrating enhanced detail.
7.2 Night Vision
Equipped with 2 ultra-high intensity 850NM infrared LEDs, the camera provides clear night vision up to 65 feet (20 meters) without producing a strong flash, ensuring discreet operation.

Image 7.2: The RecorCam Mini301 trail camera with an owl in the background, demonstrating its 850nm infrared LEDs for clear night vision up to 65 feet.
7.3 Menu Settings
In TEST mode, press the MENU button to access settings. Use the navigation buttons to scroll and OK to select. Adjustable settings include:
- Photo/Video Resolution
- Detection Sensitivity
- Date and Time
- Language
- Password Protection
- And more, as detailed in the camera's on-screen menu.
8. Advanced Features
The Mini301 offers a range of functions for versatile monitoring:
- Long Video Recording: Configure the duration of video clips.
- Continuous Shooting: Capture multiple photos in quick succession.
- Time-lapse: Record images at set intervals to observe slow changes.
- Target Recording Duration: Set specific times for the camera to be active.
- Interval Shooting: Define the delay between consecutive captures.
- Unlimited Capture: Allows continuous recording until the SD card is full.
- Password Protection: Secure your camera settings and data.
- Data Imprint: Stamp photos/videos with time, date, serial number, and temperature.
9. Mounting and Placement
The camera's IP65 waterproof and dustproof rating allows it to operate reliably in various weather conditions, including rain, ice, and snow, across a temperature range of -4°F to 150°F.

Image 9.1: The camera mounted on a tree in rainy conditions, illustrating its IP65 waterproof and dustproof design.
Consider the following for optimal placement:
- Detection Angle: The camera features a 90° detection angle. Position it to cover the desired area effectively.
- Height: Mount the camera at a height appropriate for the subjects you wish to capture (e.g., animal eye level for wildlife).
- Orientation: Avoid pointing the camera directly at the sun to prevent overexposure.
- Stability: Use the provided strap or mounting bracket to secure the camera firmly to a tree or other stable surface.

Image 9.2: The camera positioned to capture wildlife, illustrating its 90-degree detection angle and PIR sensors.
The camera is suitable for various applications:

Image 9.3: Collage showing various applications for the trail camera: hunting, farm security, wildlife monitoring, and home security.
10. Maintenance
- Cleaning: Use a soft, dry cloth to clean the camera lens and body. Avoid abrasive cleaners.
- Battery Replacement: Replace batteries when the low battery indicator appears or when performance degrades.
- SD Card Management: Regularly format the SD card to prevent data corruption and ensure sufficient storage space.
- Storage: When not in use for extended periods, remove batteries and store the camera in a cool, dry place.
11. Troubleshooting
If you encounter issues with your RecorCam Mini301, consider the following:
- Camera not powering on: Check battery installation and ensure batteries have sufficient charge. Verify the mode switch is not in the OFF position.
- No photos/videos captured: Ensure the camera is in ON mode. Check SD card installation and ensure it is formatted. Verify motion detection settings.
- Poor image/video quality: Clean the camera lens. Check resolution settings. Ensure adequate lighting for night vision (within 65ft range).
- Short battery life: Use high-quality AA batteries. Reduce detection sensitivity or frequency of captures if possible.
For further assistance, please contact RecorCam customer support.
12. Specifications
| Feature | Specification |
|---|---|
| Model | Mini301 |
| Photo Resolution | 20MP |
| Video Resolution | 1080P |
| Detection Angle | 90° |
| Trigger Speed | 0.3s |
| Detection Distance | Up to 20m (65ft) |
| Night Vision Range | Up to 20m (65ft) |
| IR LEDs | 2 x 850NM High Power Infrared LEDs |
| Display Screen | 2.0-inch LCD |
| Storage | Micro SD card, up to 32GB (Class 6 or higher) |
| Power Supply | 4x AA 1.5V batteries or external 6V DC |
| Waterproof Rating | IP65 |
| Operating Temperature | -4°F to 150°F (-20°C to 65°C) |
| Dimensions | 70 x 108 x 45 mm |
| Material | Plastic |
13. Warranty and Support
RecorCam products are designed for reliability and performance. For warranty information, please refer to the product packaging or contact RecorCam customer service directly. If you have any questions or require technical assistance, please visit the official RecorCam website or contact their support team.