1. Introduction
Thank you for choosing the le-idea IDEA10 Mini Drone. This user manual provides essential information for the safe operation, setup, and maintenance of your new drone. Designed for beginners, the IDEA10 offers an easy-to-fly experience with advanced features like optical flow positioning and a 720P HD FPV camera. Please read this manual thoroughly before operating the drone to ensure proper use and to maximize your flying experience.
2. Safety Guidelines
Always prioritize safety when operating the drone. Failure to follow these guidelines may result in injury, damage to the drone, or property damage.
- Age Recommendation: This drone is suitable for adults and users aged 14+.
- Flight Environment: Fly in open, clear areas away from people, animals, buildings, and obstacles. Avoid flying in strong winds or adverse weather conditions.
- Battery Safety: Use only the provided batteries and charging cable. Do not overcharge or short-circuit batteries. Discontinue use if batteries are damaged or swollen.
- Propeller Safety: Keep fingers, hair, and loose clothing away from rotating propellers. Always turn off the drone and remote control before handling propellers.
- Line of Sight: Always maintain visual line of sight with the drone during flight.
- Respect Privacy: Be mindful of privacy when using the camera. Do not record individuals without their consent.
- Pre-Flight Check: Before each flight, ensure the drone and remote control are fully charged, propellers are securely attached, and all functions are working correctly.
3. Package Contents
The le-idea IDEA10 Mini Drone package includes the following items:
- le-idea IDEA10 Mini Drone
- Remote Control
- Modular Lithium Batteries (x2)
- USB Charging Cable
- Spare Propellers (set)
- Screwdriver
- User Manual

Image: The le-idea IDEA10 Mini Drone, remote control, two modular batteries, spare propellers, and charging cable.

Image: A detailed view of all items included in the drone package, neatly arranged on a display stand.
4. Product Overview
The IDEA10 drone is a compact and foldable quadcopter, weighing approximately 67 grams. It features a dual-camera system for enhanced aerial photography and stable flight.

Image: The IDEA10 drone highlighting its dual camera system, including a 720P camera and an optical stream camera for precise positioning.

Image: Diagram illustrating the optical flow positioning system and dual cameras on the IDEA10 drone, showing how it maintains stable hovering.

Image: The compact, folded size of the IDEA10 drone, shown resting in the palm of a hand, emphasizing its portability.
5. Setup Guide
5.1 Charging the Batteries
The drone comes with two modular lithium polymer batteries, providing up to 18 minutes of flight time. Ensure both batteries are fully charged before use.
- Connect the USB charging cable to the battery.
- Plug the USB end into a compatible USB power source (e.g., computer, USB wall adapter).
- The charging indicator on the USB connector will show charging status (e.g., red light for charging, light off for full charge).
- Charging typically takes approximately 60-90 minutes per battery.

Image: A close-up of the IDEA10 drone with a modular battery being inserted, illustrating the battery compartment and design.
Image: Two modular lithium batteries for the IDEA10 drone, highlighting their design and the stated 18 minutes of flight time.
5.2 Installing Drone Battery
- Ensure the drone is powered off.
- Insert the fully charged modular battery into the battery compartment on the rear of the drone until it clicks into place.
5.3 Remote Control Setup
- Install 3 AAA batteries (not included) into the remote control.
- Unfold the drone arms and propellers.
- Place the drone on a flat, level surface.
- Power on the drone by pressing the power button on top of the drone. The drone's indicator lights will flash.
- Power on the remote control.
- To pair, push the left joystick (throttle) all the way up, then all the way down. The drone lights will stop flashing and become solid, indicating successful pairing.
Video: A demonstration of the le-idea IDEA10 drone setup, including battery insertion, remote control pairing, and initial motor start-up. This video also shows how to download the KY UFO app by scanning a QR code from the manual.
5.4 Mobile App Installation (KY UFO)
For FPV (First Person View) and advanced features, download the "KY UFO" app.
- Scan the QR code provided in the drone's physical manual or search "KY UFO" in your device's app store (App Store for iOS, Google Play for Android).
- Install the app.
- Connect your smartphone to the drone's Wi-Fi network (usually named "KY UFO-XXXXXX").
- Open the KY UFO app and tap "Start" to enter the control interface.
6. Operating Instructions
6.1 Basic Flight Controls
Familiarize yourself with the remote control functions:
- Left Joystick (Throttle): Up/Down for altitude, Left/Right for rotation (yaw).
- Right Joystick (Direction): Up/Down for forward/backward flight, Left/Right for left/right flight (roll).
- One-Key Take-off/Landing Button: Initiates automatic take-off or landing.
- Speed Switch Button: Toggles between 3 speed modes (beginner, intermediate, advanced).
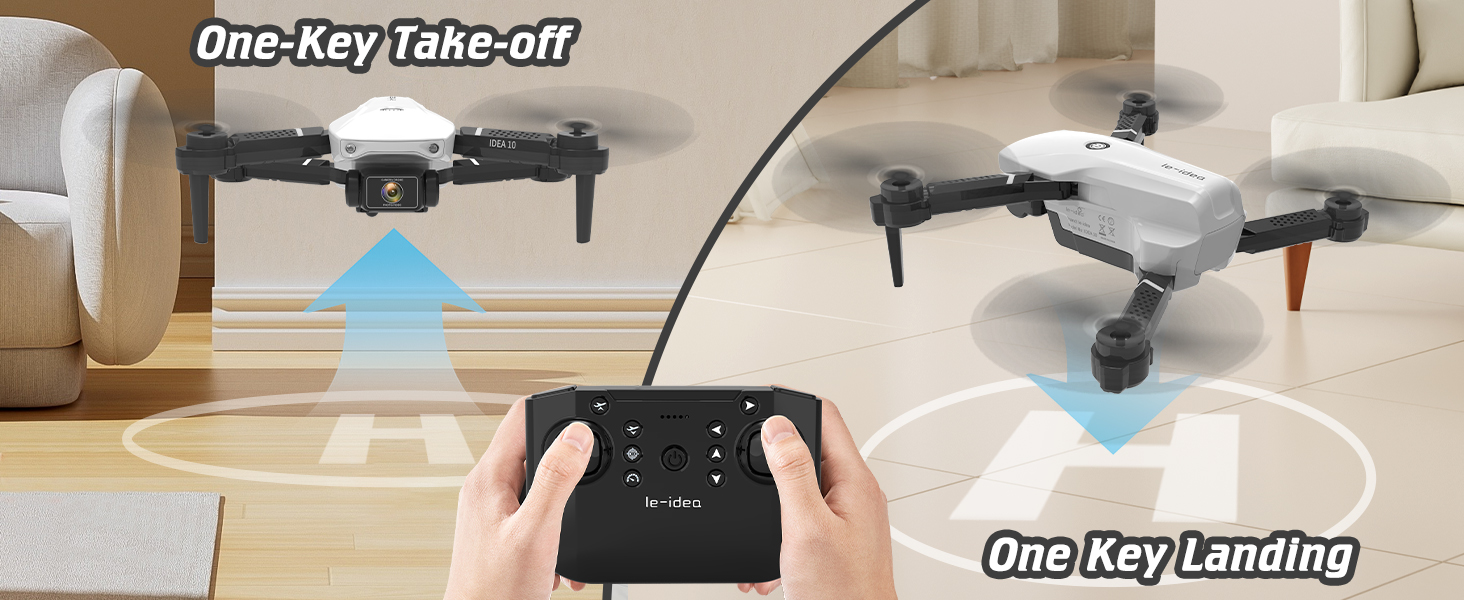
Image: Visual representation of the one-key take-off and landing function, showing the drone ascending and descending with a single button press.
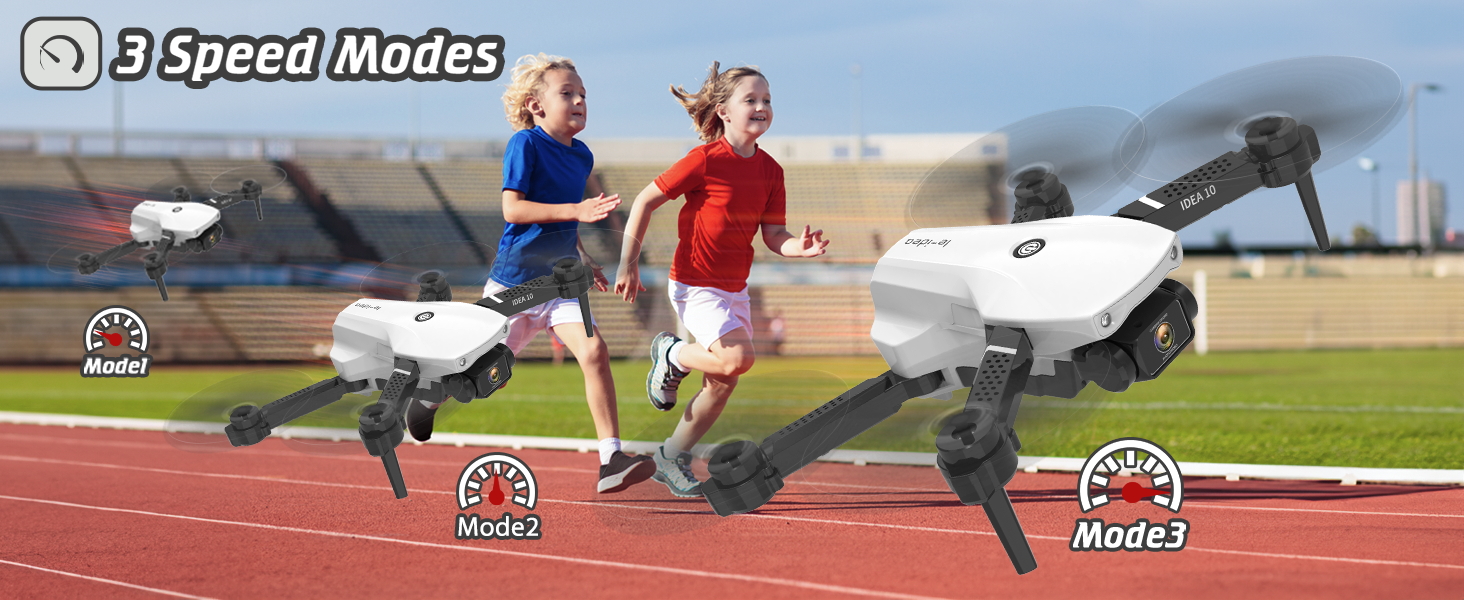
Image: Illustration of the three distinct speed modes (Mode 1, Mode 2, Mode 3) available for the IDEA10 drone, suitable for different skill levels.
6.2 Advanced Flight Features
- Altitude Hold: The drone maintains a stable altitude automatically, making it easier for beginners to control.
- Headless Mode: In headless mode, the drone's orientation is relative to the pilot, eliminating the need to adjust its position before flying. This simplifies control for new pilots.
- 3D Flips: Execute impressive 360-degree flips with a single button press.
- Gesture Photography: Use specific hand gestures to trigger photo or video recording via the drone's camera.
- Gravity Control: Control the drone's flight direction by tilting your smartphone (requires app connection).
- Drawing Line Flight (Trajectory Flight): Draw a flight path on your smartphone screen, and the drone will automatically follow the designated route.

Image: A child operating the IDEA10 drone, demonstrating its easy control features like one-key take-off/landing and altitude hold, making it suitable for beginners.
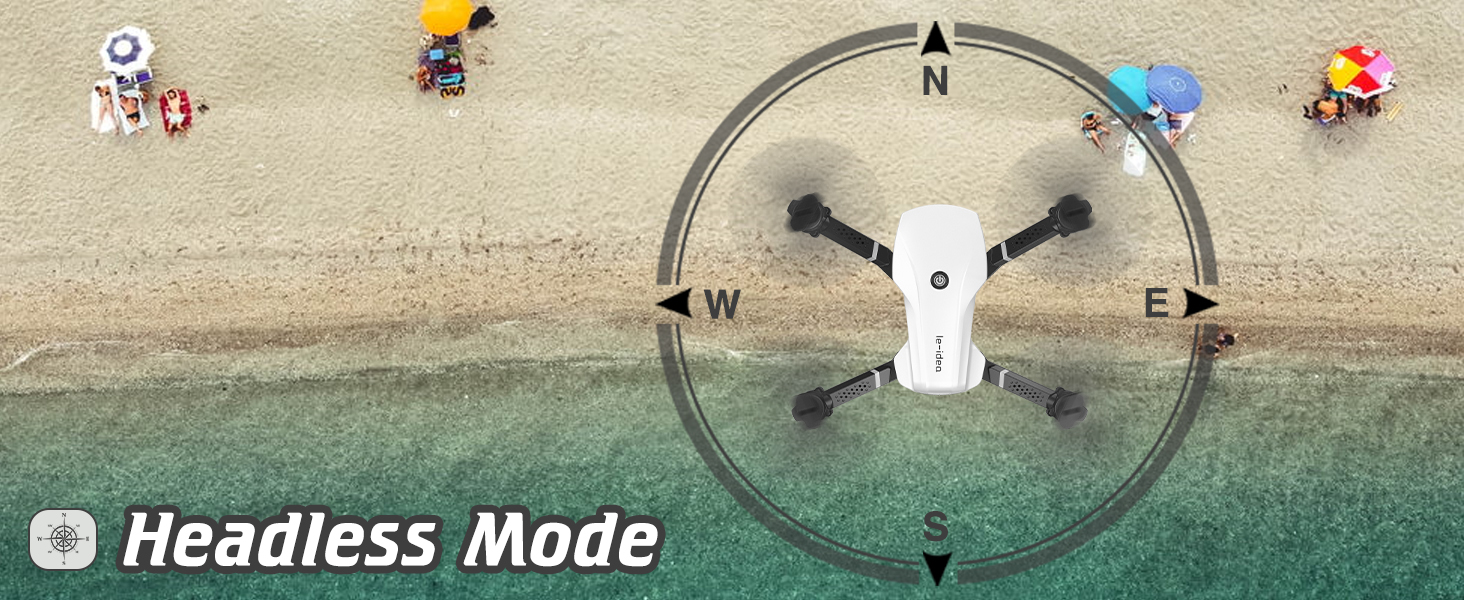
Image: Diagram explaining the Headless Mode, showing how the drone's orientation is simplified relative to the remote control, regardless of the drone's front direction.

Image: The IDEA10 drone performing a 3D flip in mid-air, demonstrating its acrobatic capabilities.

Image: A family on a beach using hand gestures to control the IDEA10 drone for taking photos and videos, illustrating the gesture control feature.
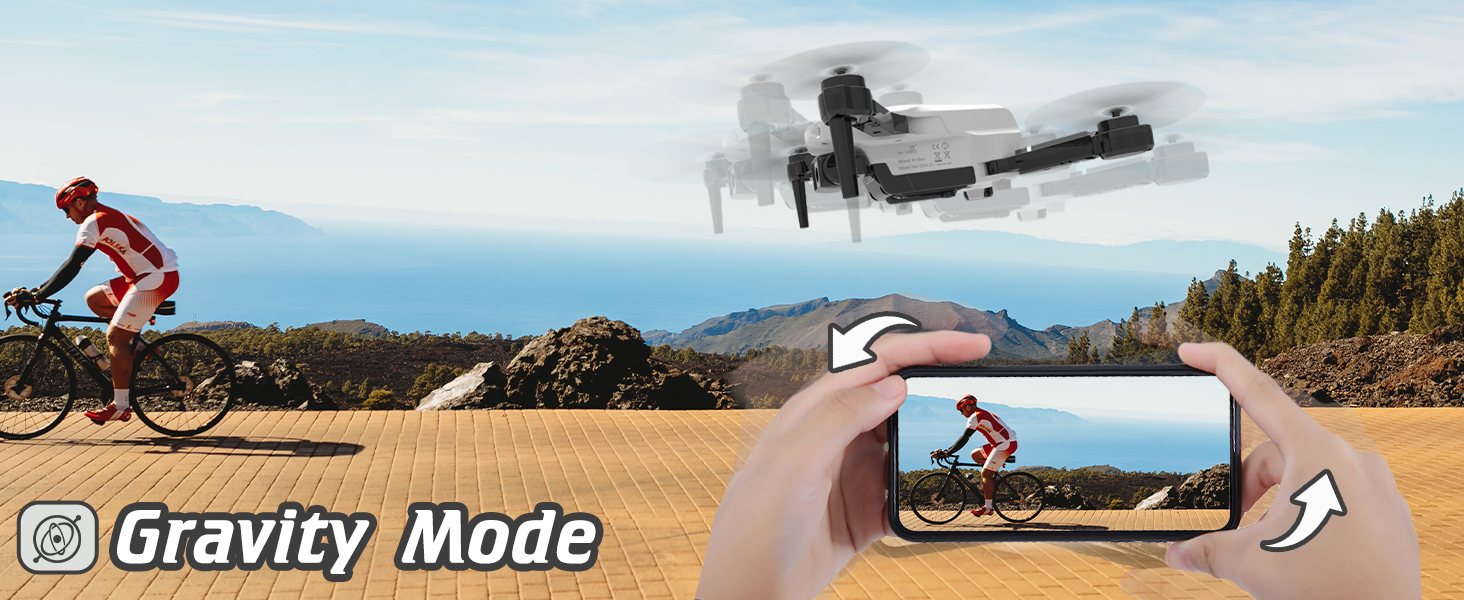
Image: A person controlling the drone's flight path by tilting a smartphone, demonstrating the Gravity Mode feature.

Image: A user drawing a flight path on a smartphone screen, which the drone then follows, illustrating the Trajectory Flight feature.
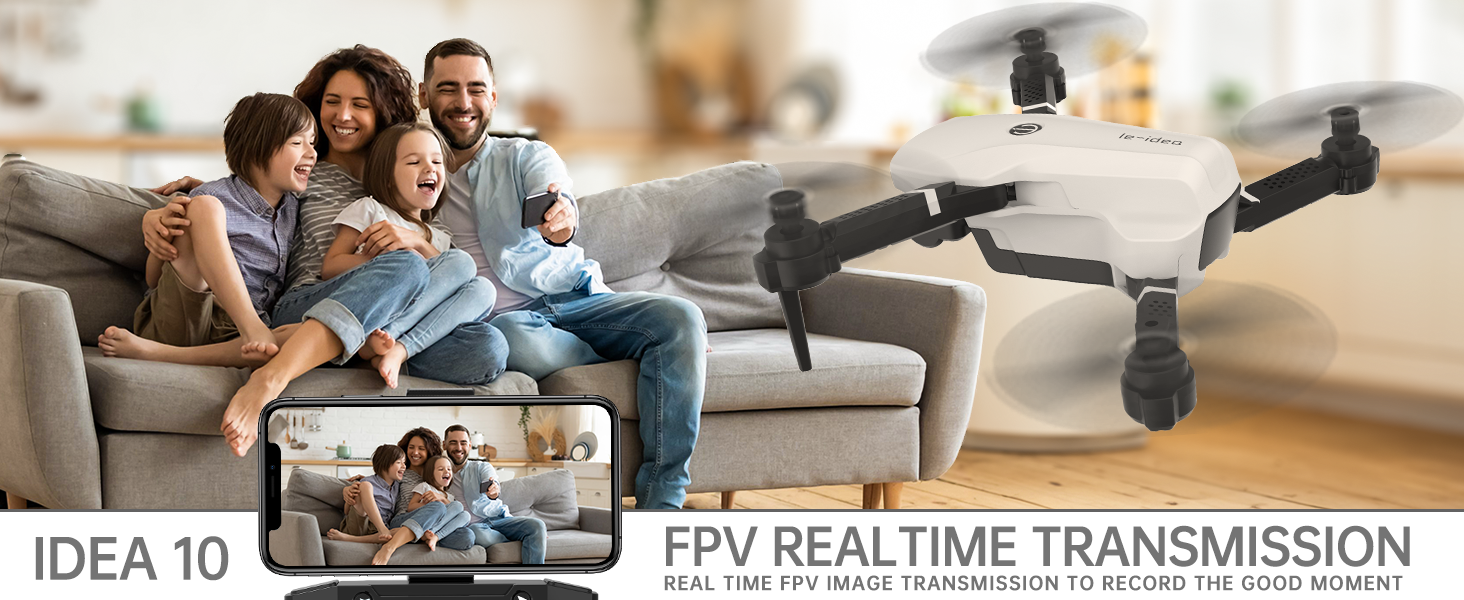
Image: A family viewing real-time FPV footage from the drone on a smartphone, showcasing the FPV Real Time Transmission feature.
7. Maintenance
- Cleaning: Use a soft, dry cloth to clean the drone and remote control. Do not use harsh chemicals or solvents.
- Propeller Replacement: If propellers are damaged, replace them using the provided spare propellers and screwdriver. Ensure correct propeller (A or B) is installed on the corresponding motor.
- Storage: Store the drone and accessories in a cool, dry place away from direct sunlight and extreme temperatures. Remove batteries from the remote control if storing for extended periods.
- Battery Care: Do not store fully charged or completely depleted batteries for long periods. Charge them to about 50% for optimal long-term storage.
8. Troubleshooting
| Problem | Possible Cause | Solution |
|---|---|---|
| Drone does not respond to remote control. | Not paired; low battery on drone or remote. | Re-pair drone and remote (power cycle both, then push left joystick up/down); charge batteries. |
| Drone drifts during flight. | Gyroscope needs calibration; trim settings incorrect. | Calibrate gyroscope (refer to manual for specific steps); use trimming buttons on remote to adjust flight. |
| FPV image is blurry or disconnected. | Weak Wi-Fi signal; app not connected to drone's Wi-Fi. | Ensure strong Wi-Fi connection; reconnect app to drone's Wi-Fi network. |
| Drone does not take off. | Low battery; propellers blocked; motors not started. | Charge battery; clear any obstructions from propellers; ensure motors are started (push both joysticks down and out). |
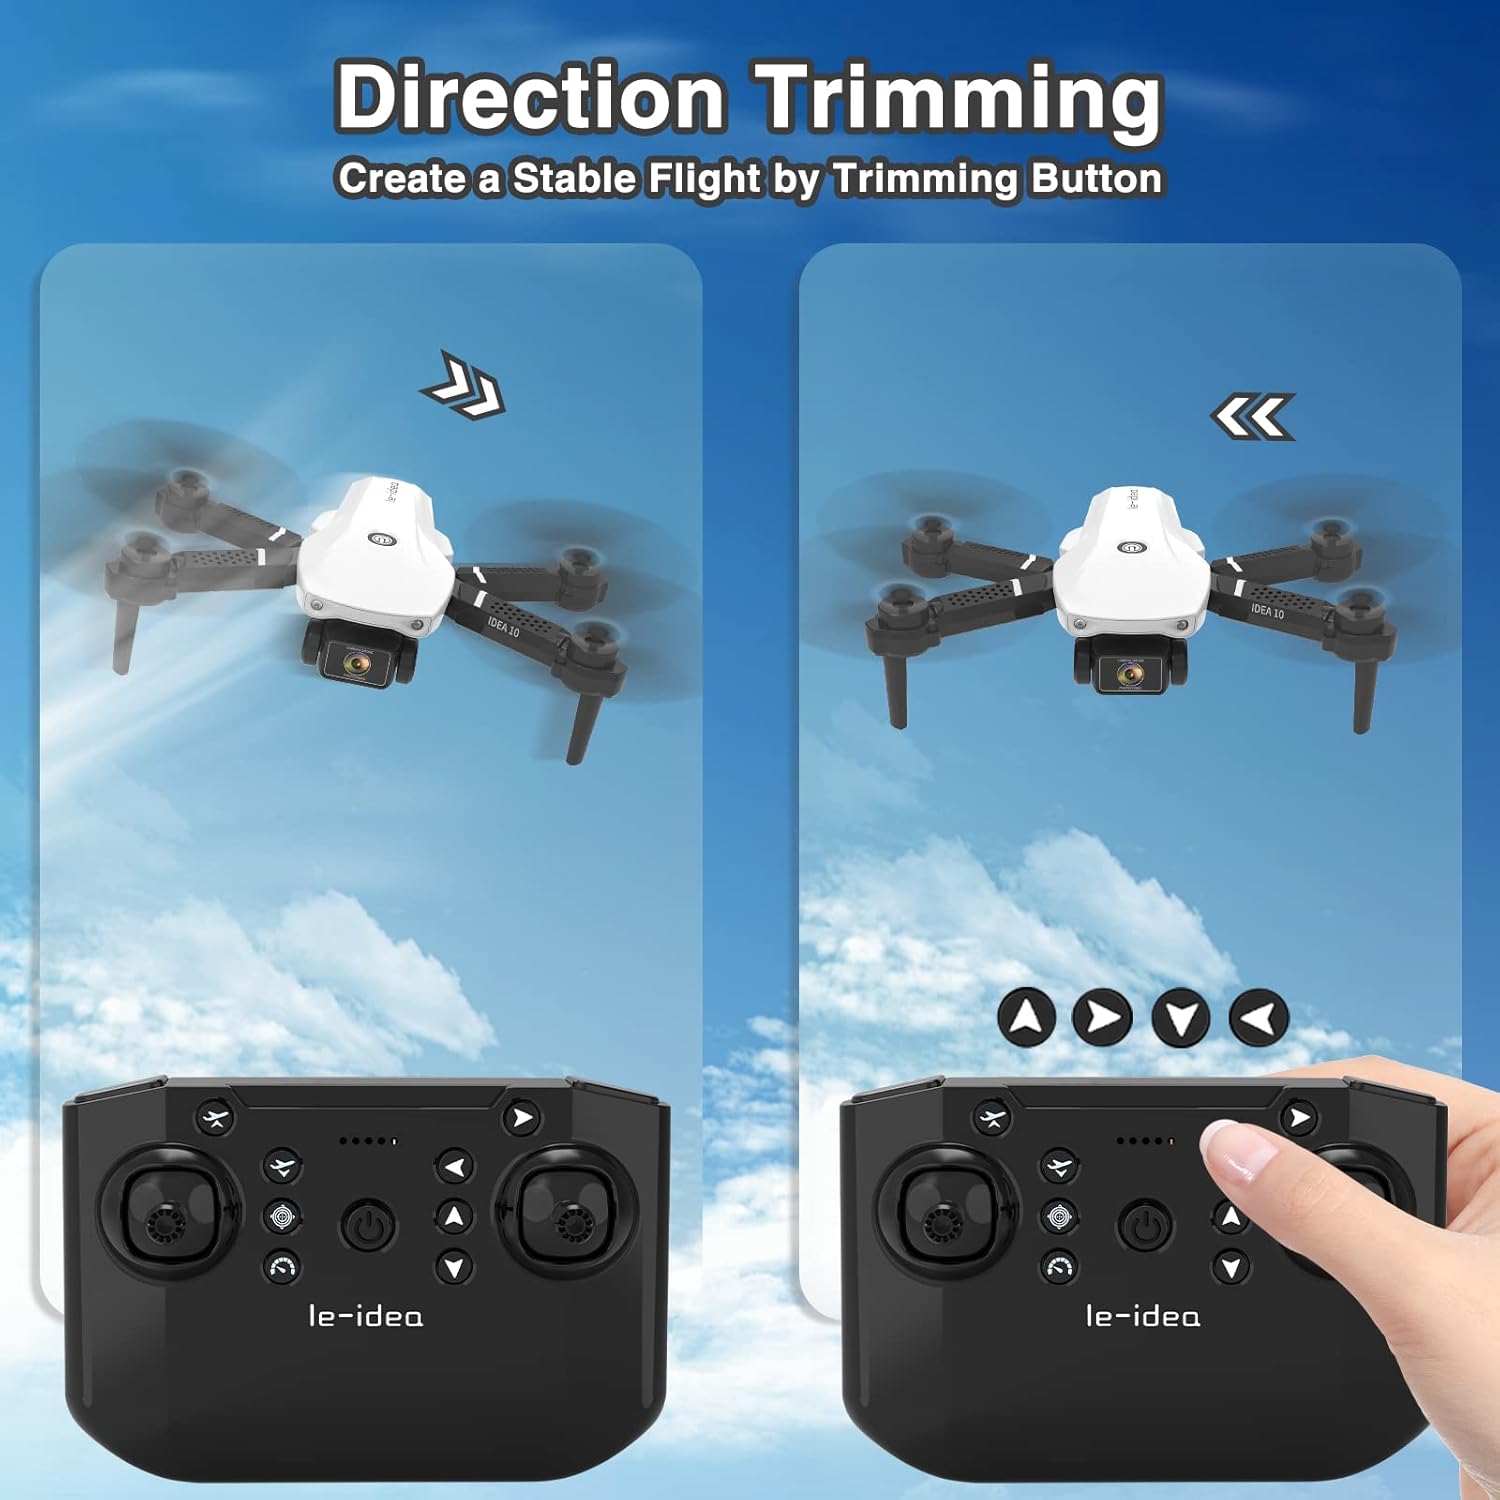
Image: Illustration showing how to use the trimming buttons on the remote control to correct unwanted drift and achieve stable flight.
9. Specifications
| Feature | Detail |
|---|---|
| Brand | le-idea |
| Model Name | IDEA10 |
| Dimensions (Folded) | Approx. 3.5"L x 2.4"W x 1.6"H (9x6x4cm) |
| Dimensions (Unfolded) | Approx. 5.1"L x 1.95"W x 4.3"H |
| Item Weight | 67 Grams (2.36 ounces) |
| Video Capture Resolution | 720p HD |
| Connectivity Technology | Wi-Fi |
| Battery Type | Lithium Polymer (Modular) |
| Flight Time | Up to 18 minutes (with 2 batteries) |
| Skill Level | Beginner |
| Special Features | Optical Flow Positioning, Dual Cameras, One-Key Take-off/Landing, Headless Mode, 3D Flips, Gesture Control, Gravity Control, Trajectory Flight, 3 Speed Modes |
10. Warranty and Support
le-idea is committed to providing high-quality products and excellent customer service. If you encounter any issues with your IDEA10 Mini Drone or have questions regarding its operation, please contact le-idea customer support. Refer to the product packaging or the official le-idea website for contact information.
Customer satisfaction is our motivation to move forward. We offer personalized customer service to take you from beginner to experienced pilot.