1. Introduction
This manual provides detailed instructions for the installation, operation, and maintenance of the Dynatron A45 1U VC Base with Stacked Fin Heat Sink. The A45 is an active air cooler designed for 1U server environments, specifically supporting AMD AM4 and AM5 socket processors with a thermal design power (TDP) up to 105 Watts. It features a copper heatsink with a vapor chamber base and an 80x80x13 mm PWM blower fan for efficient heat dissipation.
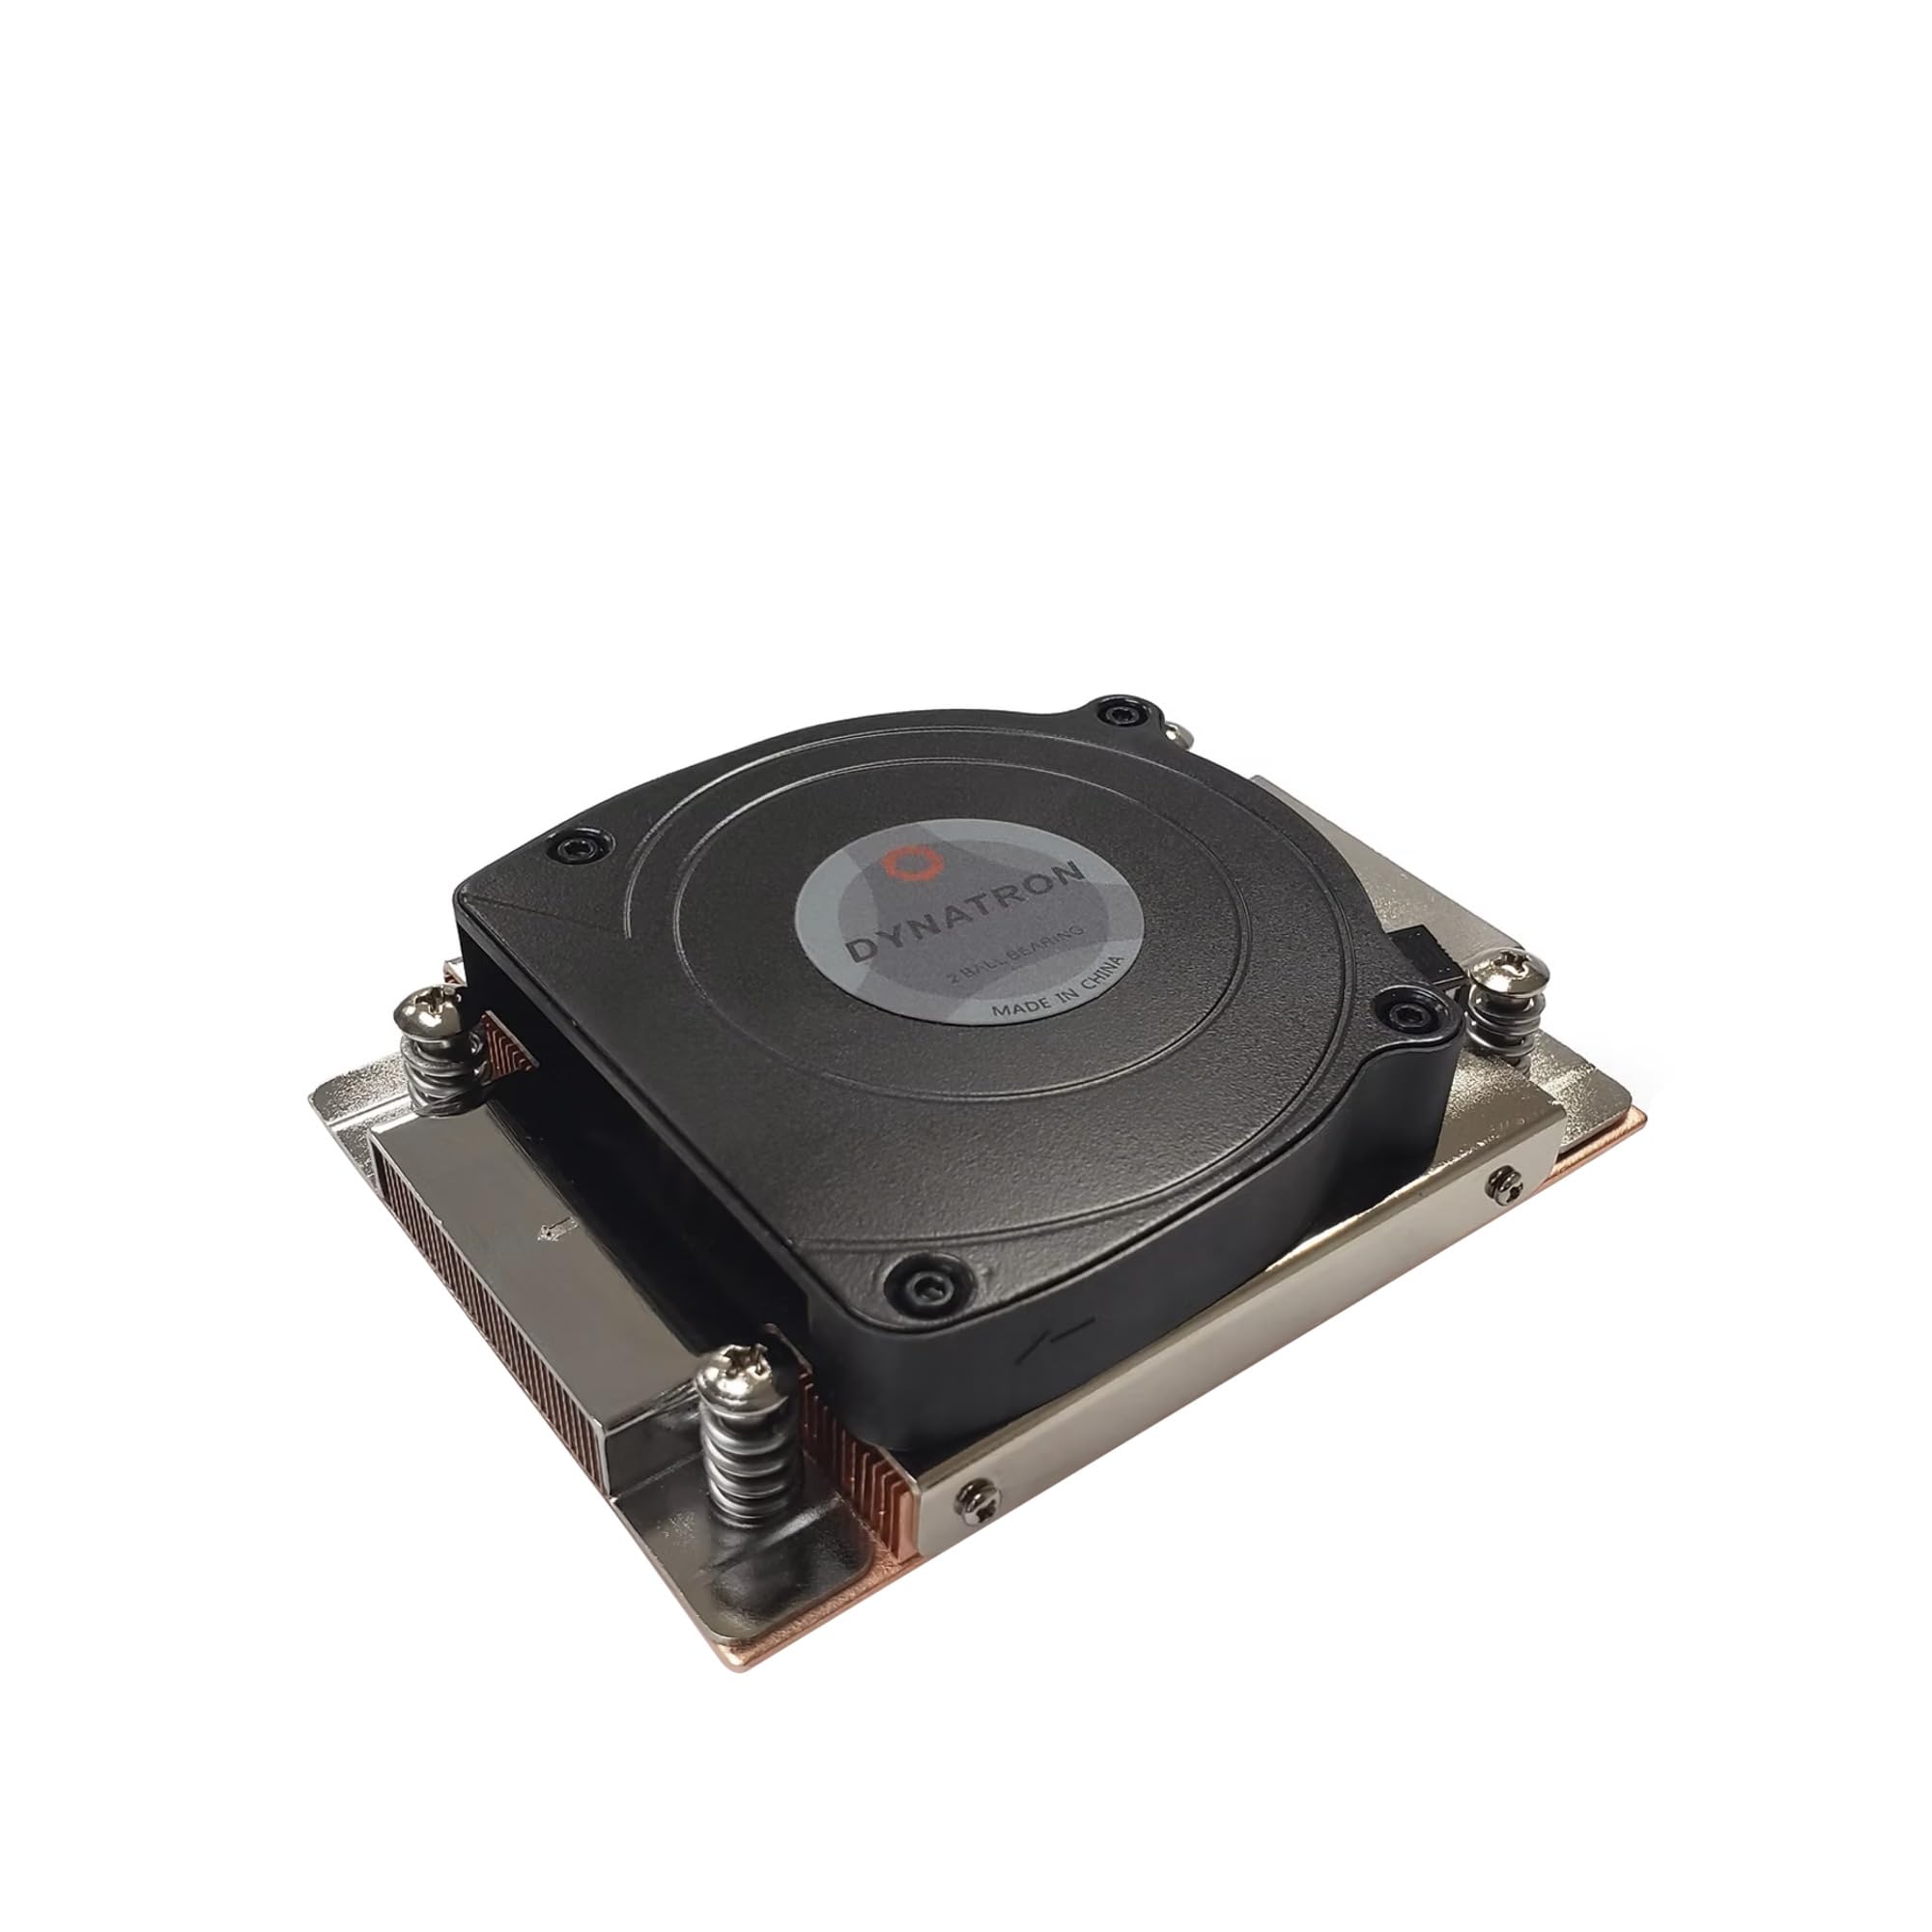
Figure 1: Dynatron A45 Heat Sink overview. This image shows the top-down view of the heat sink with its integrated blower fan and 4-pin power connector.
2. Safety Information
Please read and understand all safety instructions before installing or operating this product. Failure to do so may result in personal injury or damage to the product or other components.
- Always disconnect power from the system before installing or removing any components.
- Handle the heat sink by its edges to avoid touching the thermal paste or fins.
- Ensure proper grounding to prevent electrostatic discharge (ESD) damage to sensitive electronic components.
- Keep out of reach of children.
- Do not operate the fan if it is damaged or obstructed.
3. Package Contents
Verify that all items are present in the package before proceeding with installation:
- Dynatron A45 Heat Sink with integrated fan
- Pre-applied thermal interface material (TIM) on the base
- Mounting screws (pre-attached to the heat sink)
4. Setup and Installation
Follow these steps to properly install the Dynatron A45 heat sink onto your AMD AM4/AM5 motherboard.
- Prepare the Motherboard: Ensure the motherboard is securely mounted in the server chassis. If a stock cooler or another cooler was previously installed, carefully remove it and clean any old thermal paste from the CPU surface using isopropyl alcohol and a lint-free cloth.
- Position the Heat Sink: Carefully align the Dynatron A45 heat sink over the CPU socket. The pre-attached mounting screws should align with the holes on the motherboard's CPU retention bracket.
- Secure the Heat Sink: Gently press down on the heat sink to ensure good contact between the CPU and the pre-applied thermal paste. Tighten the four spring-loaded screws in a diagonal pattern (e.g., top-left, bottom-right, top-right, bottom-left) until they are finger-tight. Do not overtighten.
- Connect the Fan Power: Locate the 4-pin CPU fan header on your motherboard. Carefully connect the heat sink's 4-pin fan cable to this header. Ensure the connector is fully seated.
- Final Check: Double-check all connections and ensure the heat sink is firmly seated and not obstructing any other components.

Figure 2: Bottom view of the Dynatron A45, showing the copper vapor chamber base with pre-applied thermal paste and mounting screws.

Figure 3: Top view of the Dynatron A45, illustrating the fan and the position of the mounting screws.
5. Operating Instructions
The Dynatron A45 heat sink operates automatically once installed and connected to the motherboard's CPU fan header. The 4-pin PWM (Pulse Width Modulation) fan allows the motherboard to control the fan speed based on CPU temperature, optimizing cooling performance and noise levels.
- Ensure your motherboard's BIOS/UEFI settings are configured for proper PWM fan control.
- Monitor CPU temperatures using system monitoring software to confirm effective cooling.
6. Maintenance
Regular maintenance helps ensure optimal performance and longevity of your heat sink.
- Dust Removal: Periodically inspect the heat sink fins and fan blades for dust accumulation. Use compressed air to gently blow away dust. Ensure the fan is held stationary during cleaning to prevent damage to the bearings.
- Fan Inspection: Check the fan for any signs of damage, unusual noises, or obstructions. If the fan is not spinning or making excessive noise, it may require replacement.
- Thermal Paste: The pre-applied thermal paste is designed for long-term use. Reapplication is generally not necessary unless the heat sink is removed from the CPU. If reapplication is needed, clean both surfaces thoroughly and apply a thin, even layer of high-quality thermal paste.
7. Troubleshooting
If you encounter issues with your Dynatron A45 heat sink, refer to the following common problems and solutions:
- Fan Not Spinning:
- Check if the 4-pin fan connector is securely plugged into the motherboard's CPU fan header.
- Verify that the CPU fan header is enabled in the motherboard's BIOS/UEFI settings.
- Ensure no cables or debris are obstructing the fan blades.
- High CPU Temperatures:
- Confirm the heat sink is properly seated and the mounting screws are tightened evenly.
- Check for excessive dust buildup on the fins and fan, and clean if necessary.
- Ensure adequate airflow within the server chassis.
- Verify that the fan is spinning at an appropriate speed; adjust fan curves in BIOS/UEFI if needed.
- Excessive Fan Noise:
- Check for dust or obstructions in the fan.
- Ensure the fan is securely mounted and not vibrating against other components.
- Adjust fan speed settings in BIOS/UEFI to a lower RPM if temperatures allow.
8. Specifications
| Feature | Detail |
|---|---|
| Model | A45 |
| Compatible Sockets | AMD AM4/AM5 |
| Thermal Design Power (TDP) | Up to 105 Watts |
| Cooling Method | Active Air Cooling |
| Heatsink Material | Copper (Vapor Chamber Base) |
| Fan Type | Side-Blower 80x80x13 mm PWM Fan |
| Maximum Rotational Speed | 8700 RPM |
| Air Flow Capacity | 26.25 CFM |
| Noise Level | 26.25 Decibels |
| Power Connector | 4-Pin |
| Voltage | 12 Volts |
| Product Dimensions (L x W x H) | 3.15" x 0.51" x 3.15" (80mm x 13mm x 80mm) |
| Item Weight | 416 Grams |
| UPC | 784847024268 |
9. Warranty Information
The Dynatron A45 heat sink comes with a 1-year limited warranty from the date of purchase. This warranty covers defects in materials and workmanship under normal use. It does not cover damage resulting from improper installation, accident, abuse, misuse, natural disaster, or unauthorized modification.
For warranty claims or further information, please contact Dynatron customer support.
10. Customer Support
If you have any questions, require technical assistance, or need to report an issue that is not covered in this manual, please contact Dynatron customer support. Please have your product model (A45) and purchase information ready when contacting support.
Contact information for Dynatron can typically be found on their official website or product packaging.