1. Introduction
Thank you for purchasing the purevox Waterproof Bluetooth Motorcycle ATV Stereo Speakers Soundbar. This high-performance audio system is designed for outdoor enthusiasts, offering superb crystal sound quality and advanced waterproof capabilities. It features an aluminum housing and a built-in power amplifier, perfect for motorcycles, scooters, ATVs, and electric bikes.
Key features include Bluetooth wireless connectivity, AUX-in, USB and microSD card support for MP3 files, and an FM radio with a digital clock display.

Image 1.1: The purevox Waterproof Bluetooth Motorcycle ATV Stereo Speakers Soundbar, showcasing its compact design and integrated controls.
2. Package Contents
Please verify that all items are present and in good condition upon opening the package.
- purevox Stereo Speakers Soundbar (Main Unit)
- Mounting Brackets
- Screws
- User Manual (this document)

Image 2.1: Illustration of the product packaging and its contents, including the soundbar, mounting hardware, and user manual.
3. Product Overview
Familiarize yourself with the components and controls of your purevox soundbar.

Image 3.1: Detailed diagram illustrating the various parts and control buttons of the soundbar, including mounting brackets, speakers, display, and input ports.
- Mounting brackets
- Waterproof speakers
- AMS/SEL button
- Prev./VOL- button
- Power switch/Mute button
- Mode switch button
- Clock setup button
- Next/VOL+ button
- Display
- AUX-IN port
- USB interface
- TF slot (microSD card slot)
4. Setup and Installation
This section provides instructions for mounting and wiring your soundbar. Ensure your vehicle's handlebar distance is between 9.8-11 inches (250-280mm) and the diameter is 0.78-0.9 inches (20mm) for proper fitment.
4.1 Mounting the Soundbar
The soundbar is designed for handlebar mounting. The mounting brackets are adjustable to fit handlebars with a diameter of 0.78-0.9 inches.
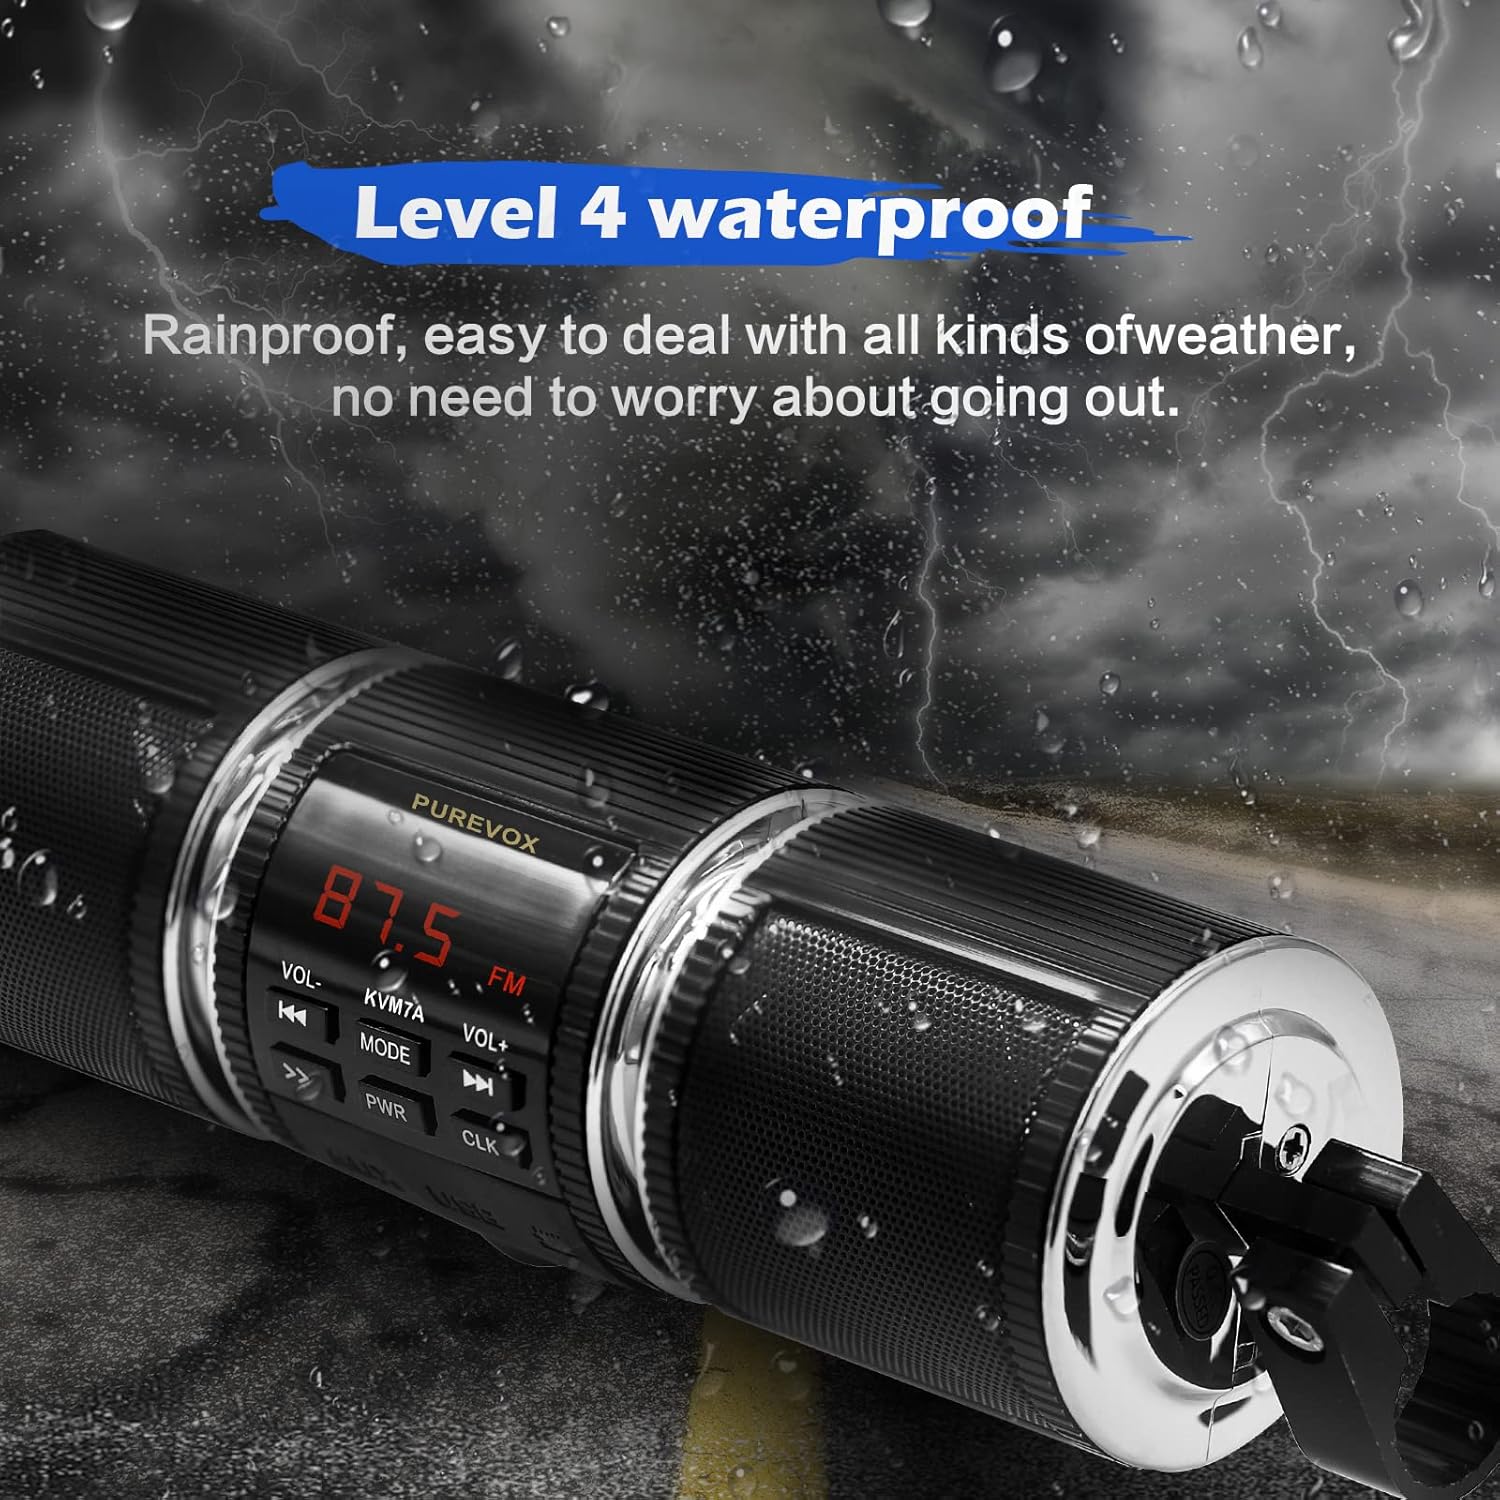
Image 4.1: Step-by-step guide for disassembling the mounting clip, showing how to remove the screw and pull out the aluminum clip.
- Remove the screw from the mounting bracket.
- Pull out the aluminum clip from the bracket.
- Position the soundbar on your handlebar, ensuring the handlebar spacing is between 9.8-11 inches (250-280mm).
- Secure the soundbar using the provided screws and clips.

Image 4.2: The soundbar mounted on a motorcycle handlebar, demonstrating the proper installation position.
4.2 Wiring Instructions
The soundbar requires a standard 12V power connection. There are two wiring options:

Image 4.3: A detailed diagram showing two wiring options for the soundbar, including connections to positive, negative, and ignition wires.
Option A: Direct Connection
- RED wire: Connect to Positive (+) electrode of the battery.
- BLACK wire: Connect to Negative (-) electrode of the battery.
- GREEN wire: Connect to Negative (-) electrode of the battery.
Pros: Easy installation, no cutting or hardwiring required.
Cons: May drain the battery if left connected when the vehicle is off. Radio presets may be lost if unplugged.
Option B: Ignition Controlled Connection
- RED wire: Connect to Positive (+) electrode of the battery.
- GREEN wire: Connect to Negative (-) electrode of the battery.
- BLACK wire: Connect to the Ignition control line.
Pros: Does not drain the battery when the vehicle is off. Radio presets are saved.
Cons: Requires cutting and hardwiring. Professional installation recommended if unsure.
Important: The location of the ignition switch varies by motorcycle/ATV model. Refer to your vehicle's owner's manual or consult a professional installer.
Video 4.1: A short demonstration of the soundbar mounted on a motorcycle, showing its integration with the vehicle's controls and display. This video provides a visual reference for the installed product.
5. Operating Instructions
5.1 Power On/Off and Volume Control
- Power: Press the PWR button to turn the unit on or off.
- Volume: Use the VOL+ and VOL- buttons to adjust the volume level.
- Mute: Briefly press the PWR button while the unit is on to mute/unmute the audio.
5.2 Mode Selection
Press the MODE button to cycle through available audio sources:
- Bluetooth Mode: Connect wirelessly to your smartphone or other Bluetooth-enabled devices.
- FM Radio Mode: Tune into FM radio stations.
- USB Mode: Play MP3 files from a USB drive inserted into the USB interface.
- MicroSD Mode: Play MP3 files from a microSD card inserted into the TF slot.
- AUX-in Mode: Connect external audio devices via the 3.5mm AUX-IN jack.
5.3 Bluetooth Pairing
To pair your device with the soundbar:
- Ensure the soundbar is powered on and in Bluetooth mode. The display will indicate Bluetooth pairing readiness.
- On your smartphone or Bluetooth device, search for available Bluetooth devices.
- Select "purevox MT487" (or similar name) from the list to connect.
- Once paired, you can stream audio wirelessly.

Image 5.1: Visual representation of a smartphone wirelessly connecting to the soundbar via Bluetooth, highlighting the convenience of wireless audio streaming.
5.4 FM Radio Operation
- In FM Radio mode, press the AMS/SEL button to auto-scan and save available stations.
- Use the Prev./VOL- and Next/VOL+ buttons to navigate between saved stations or manually tune.
5.5 Setting the Clock
Press the CLK button to enter clock setting mode. Use the volume buttons to adjust hours and minutes, and the CLK button again to confirm.
6. Maintenance
To ensure the longevity and optimal performance of your purevox soundbar, follow these maintenance guidelines:
- Cleaning: Use a soft, damp cloth to wipe down the exterior. Avoid harsh chemicals or abrasive cleaners.
- Waterproof Care: While the unit is waterproof (Level 4), avoid submerging it. Ensure all ports are dry before connecting external devices.
- Storage: If storing for an extended period, disconnect from power and store in a cool, dry place.
- Battery (Remote): The remote control requires 1 CR2032 battery. Replace when necessary, ensuring correct polarity.

Image 6.1: The soundbar shown with water droplets, emphasizing its Level 4 waterproof design, which makes it resistant to rain and splashes.
7. Troubleshooting
If you encounter issues with your soundbar, refer to the following common problems and solutions:
| Problem | Possible Cause | Solution |
|---|---|---|
| No power | Loose wiring connection; Blown fuse; Vehicle battery low. | Check all wiring connections. Inspect the fuse and replace if necessary. Check vehicle battery voltage. |
| No sound | Volume too low; Mute activated; Incorrect source selected; Device not paired (Bluetooth). | Increase volume. Press PWR button to unmute. Press MODE to select correct source. Re-pair Bluetooth device. |
| Bluetooth not connecting | Soundbar not in pairing mode; Device too far; Interference. | Ensure soundbar is in Bluetooth mode. Move device closer. Turn off other Bluetooth devices. |
| Poor FM reception | Weak signal; Antenna obstruction. | Relocate vehicle to an area with better signal. Ensure antenna is not obstructed. |
| USB/MicroSD not playing | Unsupported file format; Corrupted files; Drive/card not inserted correctly. | Ensure files are MP3 format. Reinsert USB drive/microSD card. Try a different drive/card. |
8. Specifications
| Feature | Detail |
|---|---|
| Brand | purevox |
| Model Name | MT487 |
| Speaker Type | Outdoor, Soundbar |
| Mounting Type | Bar Mount, Motorcycle Mount |
| Material | Metal |
| Color | Black |
| Product Dimensions | 9"D x 3.14"W x 3.14"H |
| Item Weight | 1.19 pounds |
| Power Source | Corded Electric (12V Input) |
| Speaker Maximum Output Power | 7 Watts |
| Impedance | 8 Ohm |
| Water Resistance Level | Waterproof (Level 4) |
| Wireless Communication Technology | Bluetooth |
| Bluetooth Range | 100 Meters (approx. 328 feet) |
| Connectivity Technology | Auxiliary, Bluetooth, USB |
| Compatible Devices | MP3 Player, Smartphone |
| Included Components | User Manual |
| Battery (for remote) | 1 CR2032 battery required |
9. Warranty and Support
9.1 Limited Warranty
This purevox product is covered by a limited warranty. Please refer to the warranty card included in your package for specific terms and conditions, including coverage duration and limitations. Keep your purchase receipt as proof of purchase for warranty claims.
9.2 Customer Support
For technical assistance, troubleshooting not covered in this manual, or warranty inquiries, please contact purevox customer support. Contact information can typically be found on the product packaging, the official purevox website, or through your retailer.
You can also visit the official purevox store on Amazon for more information and support: purevox Store