
AAOBOSI AMR520
AAOBOSI Slow Masticating Juicer Machine AMR520 User Manual
Model: AMR520
1. Introduction
Thank you for choosing the AAOBOSI Slow Masticating Juicer Machine. This manual provides essential information for the safe and efficient operation, maintenance, and care of your new juicer. Please read all instructions carefully before use and retain this manual for future reference.

Image: The AAOBOSI Slow Masticating Juicer Machine, fully assembled and ready for use, showing the main unit, feed chute, auger, strainer, and collection containers for juice and pulp.
2. Important Safety Instructions
To reduce the risk of fire, electric shock, or injury, always follow these basic safety precautions:
- Read all instructions before operating the appliance.
- Do not immerse the motor base in water or other liquids.
- Ensure the appliance is properly assembled before use.
- Keep hands and utensils away from moving parts during operation. Use the food pusher provided.
- Do not operate the juicer if any part is damaged.
- Unplug from the outlet when not in use, before assembling or disassembling parts, and before cleaning.
- This appliance is equipped with intelligent protection chips, automatically stopping operation after 20 minutes to prevent overheating.
- Small mouth design prevents hands from getting injured.
- Ensure fruits and vegetables are pitted and peeled as necessary for healthier juice and to prevent damage to the juicer.
3. Product Components
Familiarize yourself with the parts of your AAOBOSI Slow Masticating Juicer:
- Motor Base: Contains the 150W motor and control panel.
- Feed Chute: Where ingredients are inserted.
- Food Pusher: Used to guide ingredients into the feed chute.
- Auger (Spiral Upgrade System): Masticates fruits and vegetables.
- Strainer (Small Hole): Separates juice from pulp.
- Juice Outlet: Where extracted juice flows out.
- Pulp Outlet: Where dry pulp is expelled.
- Juice Jug: Collects the extracted juice.
- Pulp Container: Collects the expelled pulp.
- Cleaning Brush: For easy cleaning of the strainer and other parts.
- End Cap: Secures the juicing assembly.
- Juice Cup Baffle: An optional accessory to further separate pulp and foam from juice.
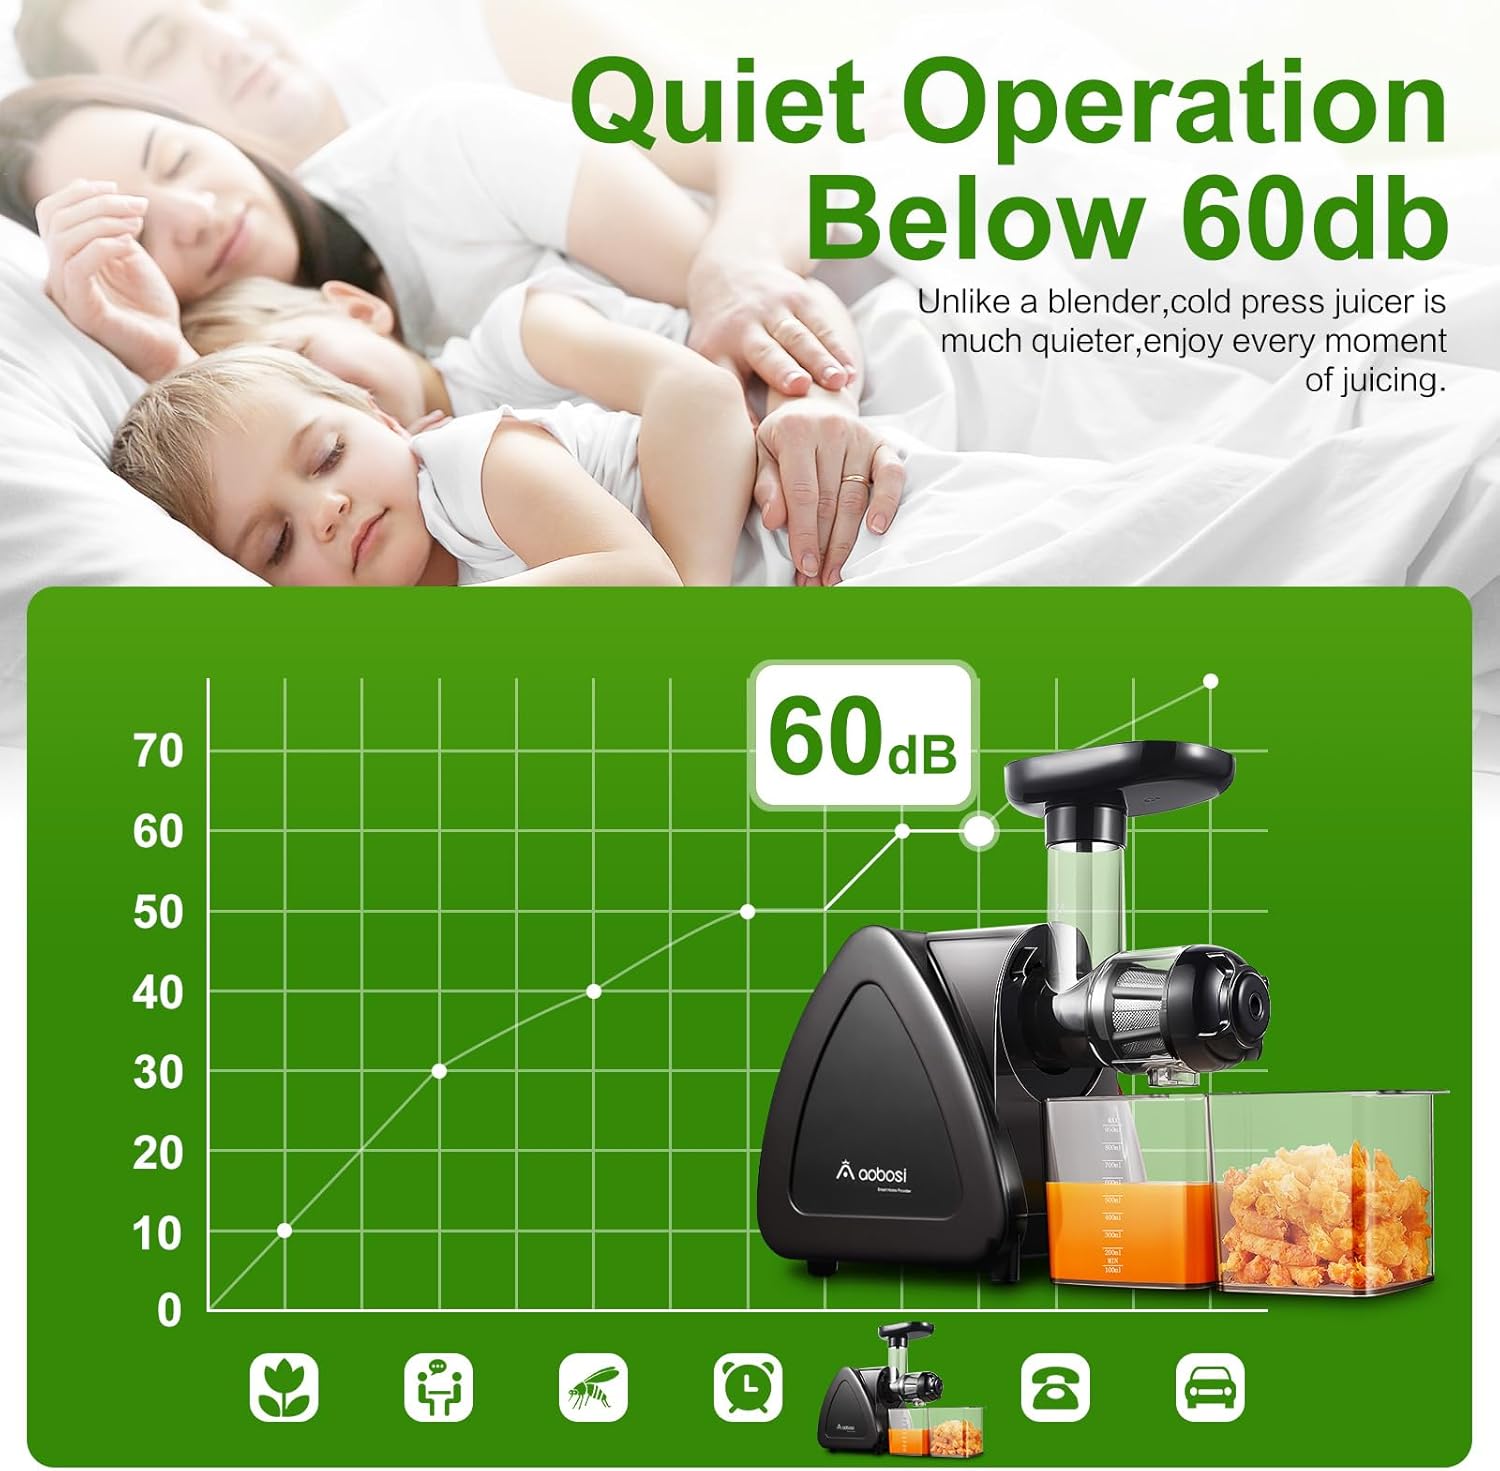
Image: An exploded diagram illustrating the various components of the juicer, including the motor base, feed chute, auger, strainer, and collection containers.
4. Setup and Assembly
Follow these steps to assemble your juicer before first use:
- Install Auger and Strainer: Insert the auger and strainer into the feed tube. Ensure they are aligned correctly.
- Install End Cap: Attach the end cap to the juicing assembly, twisting until it locks securely.
- Install Tray: Place the feed chute assembly onto the motor base, ensuring it clicks into place.
- Place Containers: Position the juice jug under the juice outlet and the pulp container under the pulp outlet.

Image: A visual guide showing the four main steps for assembling the juicer: inserting the auger and strainer, attaching the end cap, installing the feed chute assembly, and placing it on the motor housing.
5. Operating Instructions
5.1 Ingredient Preparation
- Wash all fruits and vegetables thoroughly.
- Remove large seeds, pits, and hard skins (e.g., pineapple, melon, citrus).
- Cut ingredients into small pieces (approximately 1-inch cubes) to fit the feed chute and prevent blockages.
- For fibrous vegetables like celery, cut them into short segments.

Image: A person demonstrating the proper preparation of ingredients by chopping a cucumber into small, manageable pieces before feeding it into the juicer.
5.2 Juicing Process
- Ensure the juicer is correctly assembled and the juice jug and pulp container are in place.
- Plug the power cord into a suitable electrical outlet.
- Turn on the juicer.
- Slowly feed the prepared ingredients into the feed chute. Use the food pusher to gently guide them down. Do not force ingredients.
- The juicer will automatically separate the juice and pulp into their respective containers.
- The juicer is designed for continuous operation for up to 20 minutes, after which it will automatically stop to prevent overheating. Allow it to cool down before resuming operation.
5.3 Reverse Function
If ingredients become jammed or the juicer stops during operation, use the reverse function:
- Turn off the juicer.
- Press and hold the "Reverse" button (if available, or switch to reverse mode). This will rotate the auger in the opposite direction to clear blockages.
- Release the button, then switch back to the "On" position to resume juicing.
- If the blockage persists, disassemble the juicer and clear the obstruction manually.
6. Maintenance and Cleaning
Regular cleaning ensures optimal performance and longevity of your juicer.
6.1 Disassembly for Cleaning
- Unplug the juicer from the power outlet.
- Remove the juice jug and pulp container.
- Unlock and remove the feed chute assembly from the motor base.
- Disassemble the end cap, strainer, and auger from the feed chute.
6.2 Cleaning Steps
- Rinse all detachable parts under running water immediately after use to prevent pulp from drying and sticking.
- Use the provided cleaning brush to thoroughly clean the strainer, removing any trapped pulp.
- All detachable parts are made of high-quality Food Grade anti-oxidation materials and are dishwasher safe.
- Wipe the motor base with a damp cloth. Never immerse the motor base in water.
- Ensure all parts are completely dry before reassembling or storing.

Image: A close-up view of a hand using the provided cleaning brush to rinse and clean the fine mesh strainer under running water, demonstrating the ease of cleaning.
7. Troubleshooting
| Problem | Possible Cause | Solution |
|---|---|---|
| Juicer does not turn on. | Not plugged in; improper assembly; power outage. | Check power connection; ensure all parts are securely locked; check household power. |
| Juicer stops during operation. | Overload protection activated (after 20 mins); blockage. | Allow motor to cool down; use reverse function to clear blockage, then restart. |
| Low juice yield or wet pulp. | Ingredients too soft or overfed; strainer clogged. | Feed ingredients slowly; clean strainer thoroughly; ensure ingredients are firm. |
| Loud noise or vibration. | Improper assembly; hard object in juicer. | Reassemble parts correctly; check for and remove any foreign objects. |
8. Specifications
- Brand: AAOBOSI
- Model Name: AMR520
- Power: 150 Watts
- Voltage: 120 Volts
- Motor Speed: 80 RPM (revolutions per minute)
- Noise Level: Less than 60 decibels
- Capacity: 0.6 Liters (juice jug)
- Product Dimensions: 7.87"D x 17.32"W x 12.2"H
- Item Weight: 9.64 pounds
- Material: Food Grade anti-oxidation materials, Stainless Steel blade
- Special Features: BPA-free, Quiet Motor, Reverse Function
- Dishwasher Safe: Yes (detachable parts)
9. Warranty and Support
This AAOBOSI product comes with a manufacturer's warranty. For specific warranty details, please refer to the documentation included with your purchase or contact customer support.
Customer Support:
- Lifelong Technical Support is provided.
- 24 Hours PREMIUM SERVICE is available for Amazon customers.
- If you encounter any issues or have questions regarding your slow juicer, please contact AAOBOSI customer service for assistance.
Ask a question about this manual
Ask about setup, troubleshooting, compatibility, parts, safety, or missing instructions. Manuals+ will review the question and use this page’s manual context to help answer it.