
Introduction
This manual provides detailed instructions for the safe and efficient operation of your BetterSub 15x15 Inch Digital Slide-Out Heat Press Machine. Please read this manual thoroughly before using the machine to ensure proper function and to prevent injury or damage.
Important Safety Information
- Always operate the heat press on a stable, heat-resistant surface.
- Ensure the machine is connected to a 110V power outlet. Do not use adapters or extension cords that are not rated for the machine's wattage (1000W-1300W).
- Keep hands and fingers clear of the heating platen during operation to prevent burns. The slide-out design helps reduce accidental contact.
- Do not leave the machine unattended while it is powered on or heating.
- Allow the machine to cool completely before cleaning or storing.
- In case of electrical issues, immediately unplug the machine. The solid-state relays are designed to protect circuits and prevent fire in over-voltage situations.
- Keep children and pets away from the heat press during operation.
- Do not immerse the machine in water or other liquids.
Product Overview and Components
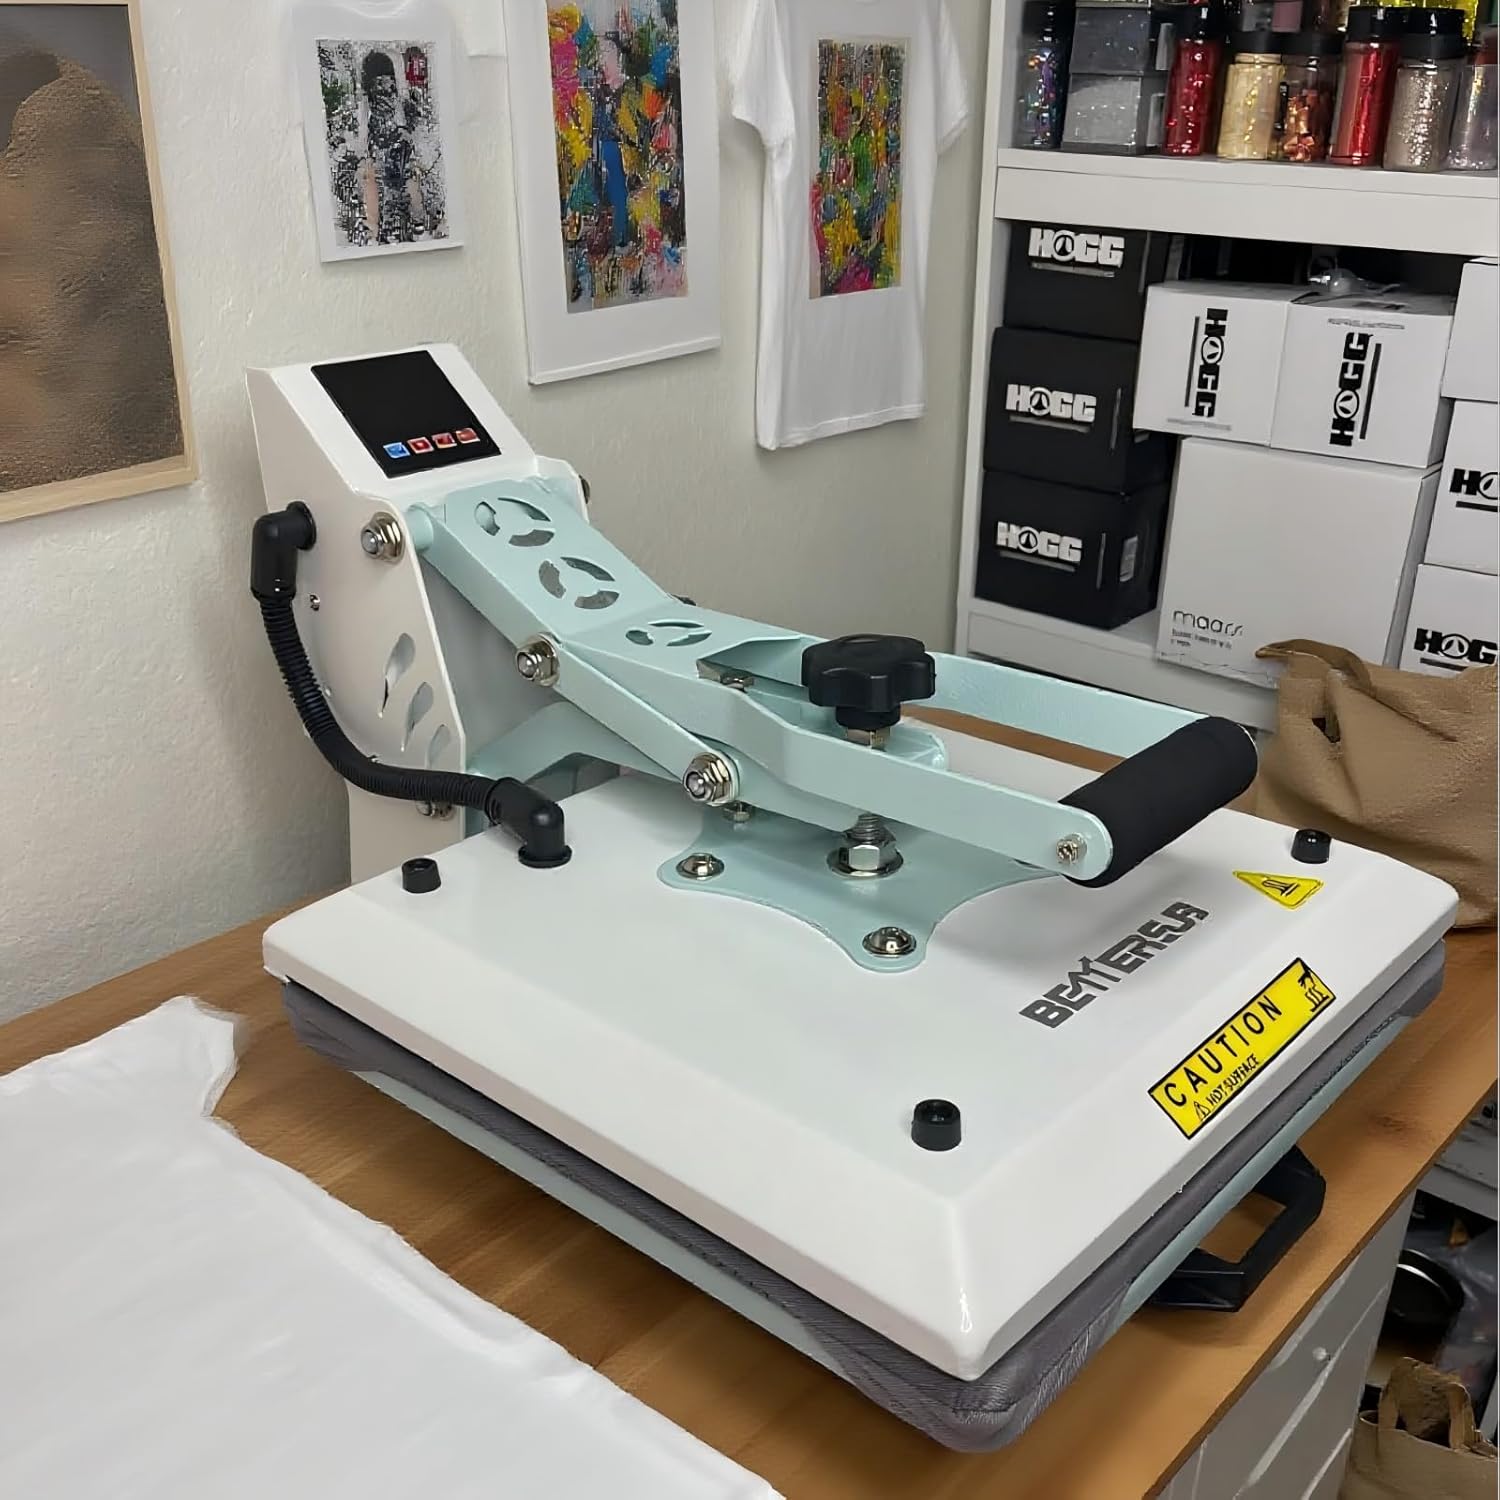
The BetterSub 15x15 Inch Digital Heat Press Machine is designed for efficient heat transfer applications. Key components include:
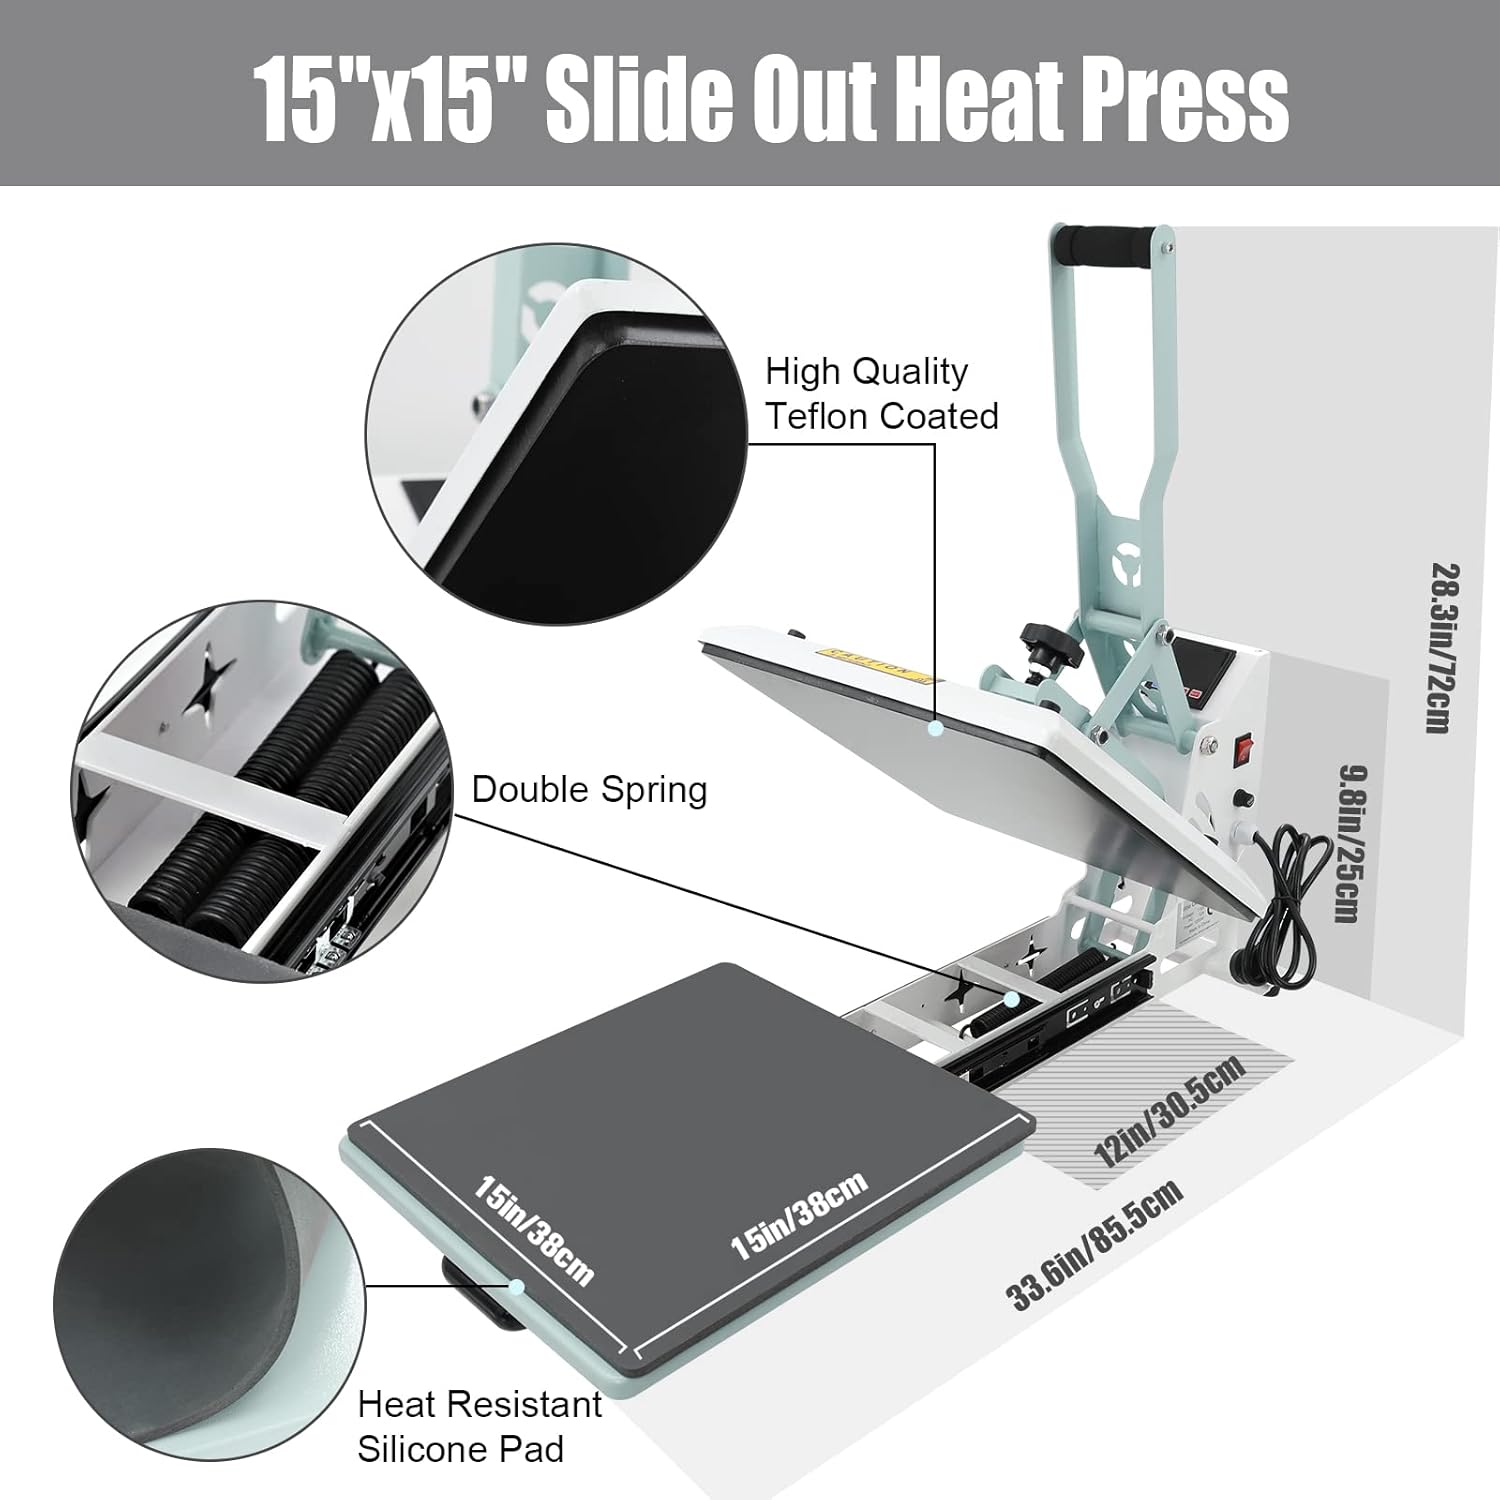
- Heating Platen: The upper heating element, 15x15 inches, with a Teflon coating for even heat distribution.
- Bottom Platen (Slide-Out): The lower work surface, 15x15 inches, which slides out for safe and easy placement of materials. Equipped with a durable heat-resistant silicone pad.
- Digital Control Panel: LCD display for setting and monitoring temperature and time.
- Pressure Adjustment Knob: Allows adjustment of pressure based on material thickness.
- Handle: Ergonomic design for comfortable operation.
- Double Springs: Provide strong and even pressure distribution.
- Power Switch & Fuse: For controlling power and electrical protection.

Setup Instructions
- Unpacking: Carefully remove the heat press from its packaging. Inspect for any shipping damage.
- Placement: Place the machine on a sturdy, level, and heat-resistant workbench or table. Ensure there is adequate space around the machine for ventilation and safe operation, especially for the slide-out platen.
- Power Connection: Connect the power cord to a grounded 110V AC power outlet. Ensure the outlet can support the machine's power requirements (1000W-1300W).
- Initial Power On: Flip the power switch to the "ON" position. The digital control panel should illuminate.
Operating Instructions
1. Setting Temperature and Time
The digital control panel allows precise adjustment of temperature and time. Refer to the specific transfer material manufacturer's recommendations for optimal settings.
- Temperature Range: 0-440°F (0-226°C)
- Time Range: 0-999 seconds
- Press the SET button once to enter temperature setting mode. The "PV" (Process Value) display will flash.
- Use the Up and Down arrow buttons to adjust the desired temperature.
- Press SET again to confirm the temperature and enter time setting mode. The "SV" (Set Value) display will flash.
- Use the Up and Down arrow buttons to adjust the desired time.
- Press SET a third time to save the settings and exit. The machine will begin heating to the set temperature.

2. Adjusting Pressure
The pressure adjustment knob is located on top of the heating platen assembly. Turn the knob clockwise to increase pressure and counter-clockwise to decrease pressure. Adjust the pressure according to the thickness of your material and the transfer requirements.

3. Transfer Process
- Prepare Material: Place your garment or item onto the bottom platen. Ensure it is flat and smooth.
- Position Design: Place your transfer paper or vinyl design onto the garment in the desired position.
- Slide Out Platen: Utilize the slide-out feature of the bottom platen to safely arrange your materials without risk of contact with the hot upper platen.
- Close Press: Once the upper platen reaches the set temperature, slide the bottom platen back into position. Lower the handle firmly to engage the press. The timer will automatically begin counting down.
- Open Press: When the timer alarms, lift the handle to release the pressure and open the press. Carefully slide out the bottom platen.
- Remove Item: Remove the transferred item. Allow it to cool if necessary before peeling the transfer paper (refer to your transfer material instructions).

This heat press is suitable for various applications including T-shirts, clothes, mouse pads, rock photos, tiles, backpack school bags, wallet bags, and other flat surface items using Flex, Flocking, Transfer printing paper, Sublimation, Vinyl, DTF Film, etc.
Maintenance
- Cleaning the Heating Platen: Ensure the machine is unplugged and completely cool. Use a soft, damp cloth to wipe down the Teflon-coated heating platen. Do not use abrasive cleaners or sharp objects that could damage the coating.
- Cleaning the Silicone Pad: The heat-resistant silicone pad on the bottom platen can be wiped clean with a damp cloth.
- General Cleaning: Wipe down the exterior of the machine with a soft, dry cloth.
- Storage: Store the heat press in a dry, dust-free environment when not in use.
Troubleshooting
| Problem | Possible Cause | Solution |
|---|---|---|
| Machine does not power on. | No power supply; power switch off; blown fuse. | Check power cord connection and outlet. Ensure power switch is ON. Check and replace fuse if necessary. |
| Uneven heating or poor transfer quality. | Incorrect temperature/time settings; uneven pressure; damaged heating element or silicone pad. | Verify temperature and time settings. Adjust pressure knob for even pressure. Inspect heating platen and silicone pad for damage. |
| Machine not reaching set temperature. | Faulty heating element; incorrect settings. | Ensure temperature is set correctly. If problem persists, contact customer support. |
| Timer not counting down. | Press not fully closed; timer setting error. | Ensure the handle is fully lowered and locked. Verify time setting on the control panel. |
Product Specifications
- Model: BYBS-15x15
- Platen Size: 15 x 15 inches (38 x 38 cm)
- Voltage: 110V
- Wattage: 1000W (as per safety feature bullet), 1300W (as per specifications)
- Temperature Range: 0-440°F (0-226°C)
- Time Range: 0-999 seconds
- Product Dimensions: Approximately 33.66"L x 18.11"W x 28.35"H (85.5cm L x 46cm W x 72cm H)
- Item Weight: 47.3 pounds (21.45 kg)
- Material: Alloy Steel, Aluminum
- Color: Teal White
Warranty and Support
For warranty information and customer support, please refer to the documentation included with your purchase or contact BetterSub directly through their official website or authorized retailers. Keep your purchase receipt as proof of purchase for any warranty claims.
