
1. Introduction
This manual provides essential information for the safe and effective operation of your Tilswall W401 160W Multi-Function Rotary Tool. This versatile tool is designed for a wide range of applications including cutting, grinding, drilling, cleaning, sanding, polishing, and etching on various materials such as wood and metal. Please read this manual thoroughly before first use and retain it for future reference.

Image 1.1: The Tilswall W401 Multi-Function Rotary Tool, its flexible shaft attachment, various accessories, and the included storage bag.
2. Safety Instructions
Always observe basic safety precautions to reduce the risk of fire, electric shock, and personal injury when operating power tools. Keep this manual for future reference.
- Work Area Safety: Keep the work area clean and well-lit. Cluttered or dark areas invite accidents. Do not operate power tools in explosive atmospheres, such as in the presence of flammable liquids, gases, or dust.
- Electrical Safety: Power tool plugs must match the outlet. Never modify the plug in any way. Avoid body contact with earthed or grounded surfaces such as pipes, radiators, ranges, and refrigerators.
- Personal Safety: Always wear eye protection. Use dust masks, non-skid safety shoes, hard hats, or hearing protection for appropriate conditions. Dress properly; avoid loose clothing or jewelry. Keep hair, clothing, and gloves away from moving parts.
- Tool Use and Care: Do not force the power tool. Use the correct power tool for your application. Disconnect the plug from the power source before making any adjustments, changing accessories, or storing power tools.
- Maintenance: Maintain power tools. Check for misalignment or binding of moving parts, breakage of parts, and any other condition that may affect the power tool’s operation.
3. Package Contents
Upon unpacking, ensure all items listed below are present and undamaged. If any parts are missing or damaged, contact customer service.
- 1 x Tilswall W401 Multi-Function Rotary Tool
- 1 x Flexible Shaft Attachment
- 1 x Protective Cover
- 1 x Precision Handle with Light
- 1 x Tool Box / Storage Bag
- 1 x User Manual (this document)
- 47 x Assorted Accessories (including various drill bits, sanding bands, polishing wheels, cutting discs, grinding stones, carving bits, cleaning brushes, etc.)

Image 3.1: Detailed breakdown of the Tilswall W401 Rotary Tool and its included attachments and 47 accessories.
4. Tool Features and Components
Familiarize yourself with the key features of your rotary tool for optimal use.

Image 4.1: Annotated diagram illustrating the main components and features of the Tilswall W401 Rotary Tool.
- Quick Twist Nose Cap: Allows for fast and easy accessory changes.
- 160W Motor: Provides high power for various tasks.
- Safety Collet Lock Button: Prevents accidental startup and secures accessories during operation.
- 6 Variable Speed Control: Adjusts speed from 8,000 to 33,000 RPM for precision and control.
- Ergonomic Design: Encapsulated with soft rubber to reduce vibration and enhance comfort during prolonged use.
- Improved Fan Design: Ensures better airflow for cooler running during heavy-duty applications.
5. Setup and Accessory Installation
5.1 Installing/Changing Accessories
- Ensure the tool is unplugged from the power source.
- Press and hold the Safety Collet Lock Button (refer to Image 4.1 for location).
- Unscrew the Quick Twist Nose Cap counter-clockwise to loosen the collet.
- Insert the desired accessory shank fully into the collet.
- While still holding the lock button, tighten the Quick Twist Nose Cap clockwise until the accessory is securely fastened. Do not overtighten.
- Release the Safety Collet Lock Button.
5.2 Attaching the Flexible Shaft
- Ensure the tool is unplugged.
- Remove the standard nose cap and collet nut from the rotary tool.
- Unscrew the coupling nut from the flexible shaft.
- Insert the drive end of the flexible shaft into the rotary tool's collet.
- Secure the flexible shaft by tightening the collet nut onto the rotary tool.
- Attach the desired accessory to the flexible shaft's handpiece using the same method as for the main tool (Section 5.1).
5.3 Attaching the Protective Cover
The protective cover provides an additional layer of safety during operations that may generate sparks or debris.
- Ensure the tool is unplugged and an accessory is installed.
- Align the protective cover with the tool's housing, ensuring it clicks into place securely around the nose of the tool.
- Adjust the cover's position to provide optimal protection without obstructing the workpiece or accessory.
6. Operating Instructions
6.1 Powering On/Off and Speed Adjustment
- Plug the tool into a suitable power outlet.
- To turn on the tool, slide the On/Off switch to the "On" position.
- Adjust the speed using the 6-speed variable dial, ranging from 8,000 RPM (lowest setting) to 33,000 RPM (highest setting). Select a speed appropriate for your material and accessory.
- To turn off the tool, slide the On/Off switch to the "Off" position.
6.2 General Operation Tips
- Always test on a scrap piece of material first to determine the optimal speed and accessory.
- Apply light pressure. Let the tool and accessory do the work. Excessive pressure can cause the tool to overheat, damage the accessory, or reduce control.
- Keep a firm grip on the tool. For detailed work, consider using the auxiliary handle with light for improved ergonomics and visibility.
- Ensure the workpiece is securely clamped or held to prevent movement during operation.
6.3 Application Examples
The Tilswall W401 is suitable for a variety of tasks:
- Cutting: Use appropriate cutting discs for materials like metal, plastic, or wood. Always wear eye protection and use the protective cover.
- Grinding/Sharpening: Utilize grinding stones for sharpening tools or smoothing rough edges on metal.
- Drilling: Small drill bits can be used for precision drilling in various materials.
- Sanding: Sanding bands and discs are ideal for shaping, smoothing, and preparing surfaces.
- Polishing: Felt wheels and polishing compounds can bring a high shine to metal and plastic surfaces.
- Engraving/Etching: Diamond-tipped or carbide bits allow for intricate designs on glass, metal, or wood.
- Cleaning: Wire brushes can remove rust or clean intricate parts.

Image 6.1: Examples of the rotary tool in use for cutting wood and intricate carving.

Image 6.2: Demonstrations of the rotary tool performing sanding on wood and grinding on metal.
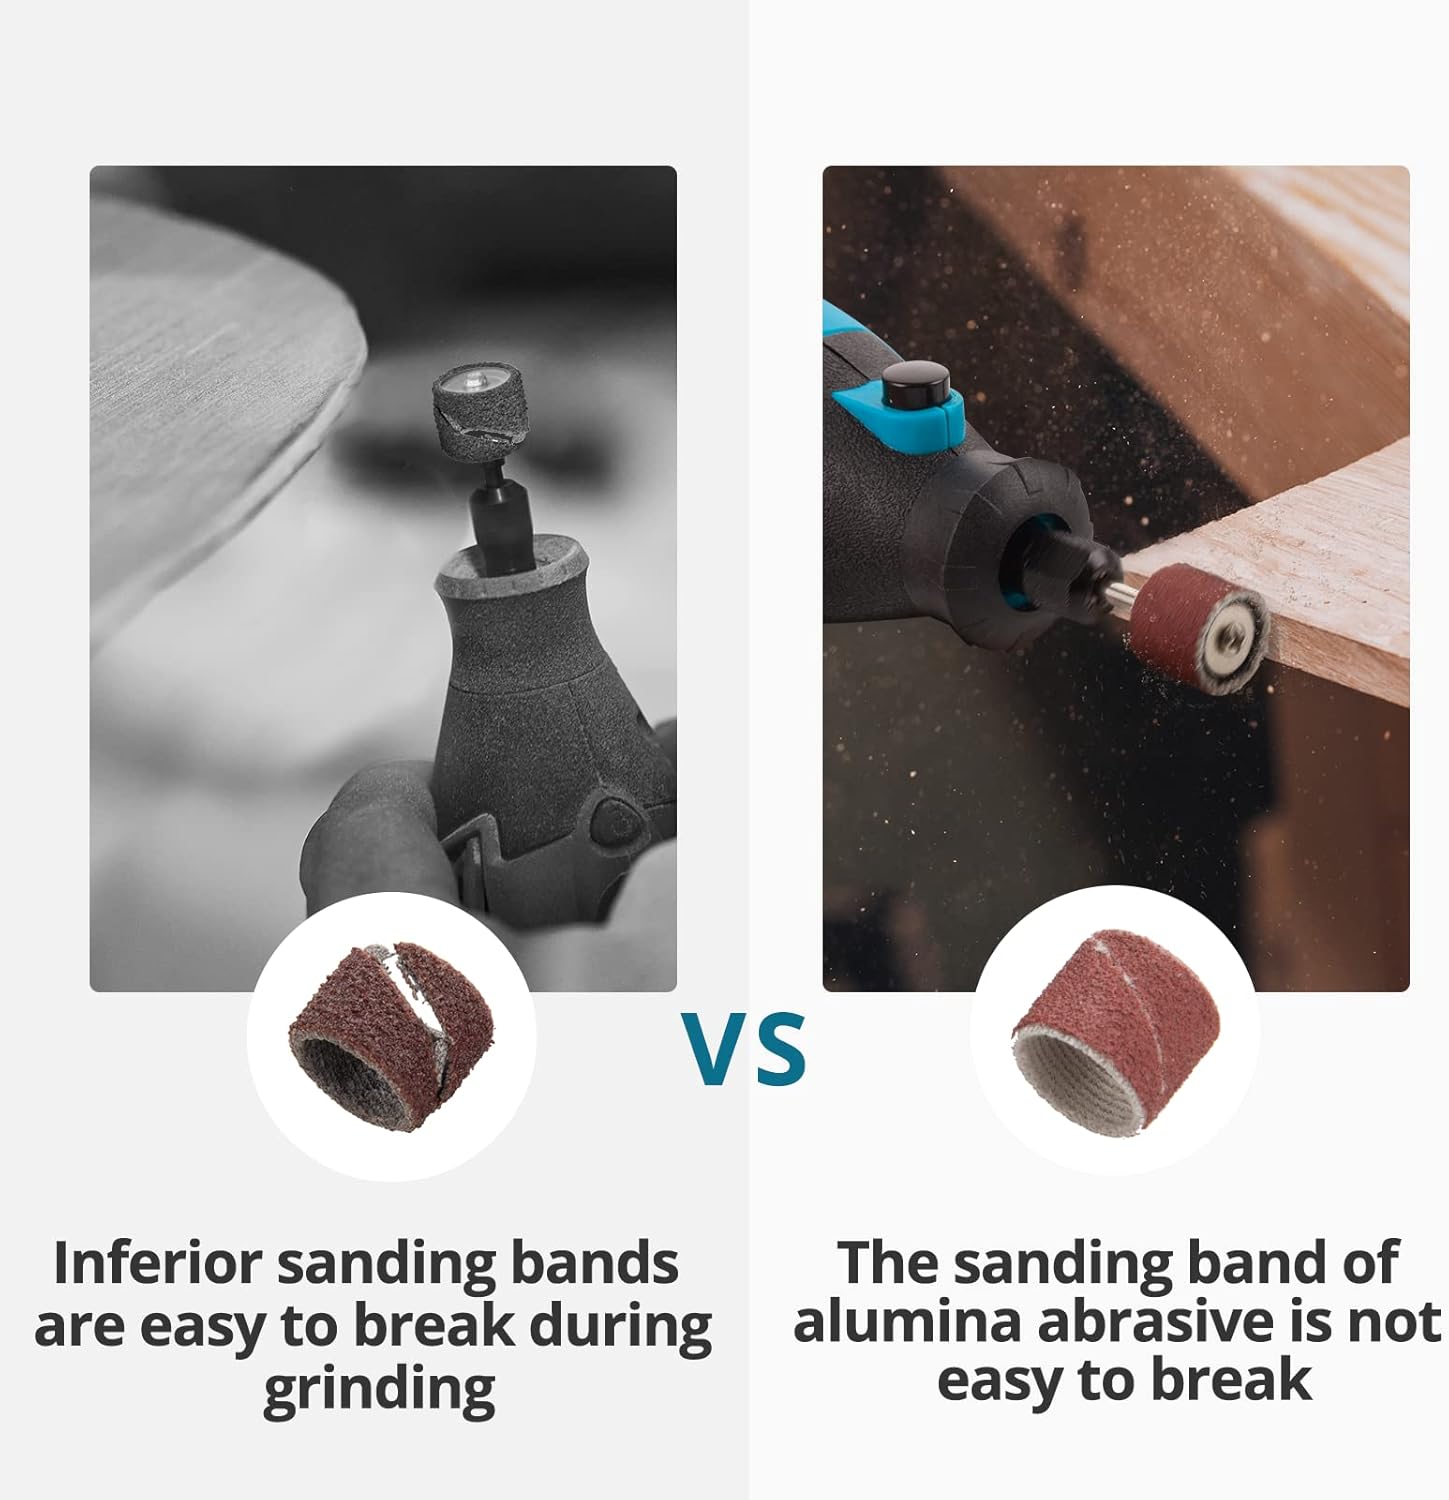
Image 6.3: The rotary tool being used for etching a design onto a glass surface.
7. Maintenance
Regular maintenance ensures the longevity and optimal performance of your Tilswall rotary tool.
- Cleaning: After each use, unplug the tool and use a soft brush or compressed air to clean dust and debris from the ventilation openings and around the collet area. Do not use harsh chemicals or abrasive cleaners.
- Accessory Storage: Store accessories in the provided tool box or a dedicated accessory case to protect them from damage and keep them organized.
- Cord Inspection: Periodically inspect the power cord for any signs of damage, cuts, or fraying. If damaged, have it repaired by a qualified technician.
- Brush Replacement: The motor brushes may require replacement after extended use. Refer to a qualified service center for brush replacement if the tool's performance significantly decreases.
8. Troubleshooting
If you encounter issues with your rotary tool, refer to the following common problems and solutions:
| Problem | Possible Cause | Solution |
|---|---|---|
| Tool does not start. | No power supply; faulty switch; motor brushes worn. | Check power connection. Ensure switch is "On". Contact service for brush inspection/replacement. |
| Tool loses power or runs intermittently. | Loose connection; worn brushes; excessive load. | Check power cord. Reduce pressure on workpiece. Contact service for brush inspection. |
| Excessive vibration or noise. | Unbalanced accessory; bent shaft; loose collet. | Ensure accessory is properly seated and tightened. Replace bent accessories. |
| Accessory slips in collet. | Collet not tightened sufficiently; incorrect collet size. | Tighten collet securely. Ensure correct collet size for accessory shank. |
If the problem persists after attempting these solutions, please contact Tilswall customer support.
9. Specifications
| Specification | Value |
|---|---|
| Model Number | W401 |
| Brand | TILSWALL |
| Power Source | Electrical Cable |
| Wattage | 160 Watts |
| Voltage | 230 Volts |
| Speed Range | 8,000 - 33,000 RPM (6 adjustable speeds) |
| Item Weight | 1.52 Kilograms |
| Package Dimensions | 28.3 x 17.6 x 10.7 cm |
| Special Features | Flexible Shaft, Work Light, Ergonomic Grip |
| Included Components | Rotary Tool, Tool Box, User Manual, 3 Tips, 47 Accessories |
10. Warranty and Support
Tilswall provides 24 months of professional after-sales service for this product. For warranty claims, technical support, or inquiries regarding parts and accessories, please contact Tilswall customer service through your purchase platform or the official Tilswall website.
Please retain your proof of purchase for warranty validation.