Introduction
This manual provides essential information for the safe and efficient operation of your HAVERLAND Portable Air Conditioner, model TAC-1223WC. Please read these instructions carefully before use and retain them for future reference.
Safety Instructions
- Ensure the appliance is placed on a flat, stable surface to prevent tipping.
- Do not block the air inlets or outlets. Maintain adequate clearance around the unit for proper airflow.
- Always unplug the unit before cleaning or performing any maintenance.
- Do not operate the unit with a damaged power cord or plug.
- Keep the unit away from heat sources, direct sunlight, and flammable materials.
- This appliance is not intended for use by persons (including children) with reduced physical, sensory or mental capabilities, or lack of experience and knowledge, unless they have been given supervision or instruction concerning use of the appliance by a person responsible for their safety.
- After transport, allow the unit to stand upright for at least 12-24 hours before plugging it in to allow the refrigerant to settle.
Package Contents
Verify that all items are present in the package:
- HAVERLAND Portable Air Conditioner Unit (TAC-1223WC)
- Exhaust Hose
- Window Sealing Kit (for sliding windows)
- Remote Control (with batteries)
- Drainage Tube
- User Manual
Setup
1. Placement
Position the air conditioner on a flat, stable surface. The unit is equipped with wheels for easy mobility. Ensure there is at least 30 cm of space around the unit for optimal air circulation.

Figure 1: Front view of the HAVERLAND Portable Air Conditioner TAC-1223WC. The unit is white with a dark grey top panel and a front air outlet.

Figure 2: Side view of the HAVERLAND Portable Air Conditioner TAC-1223WC, highlighting the integrated handle for easy movement.
2. Exhaust Hose Installation
Connect the exhaust hose to the air outlet on the back of the unit. Extend the hose and attach the window sealing kit to the other end. Place the window kit in a partially open window, ensuring a tight seal to prevent hot air from re-entering the room.
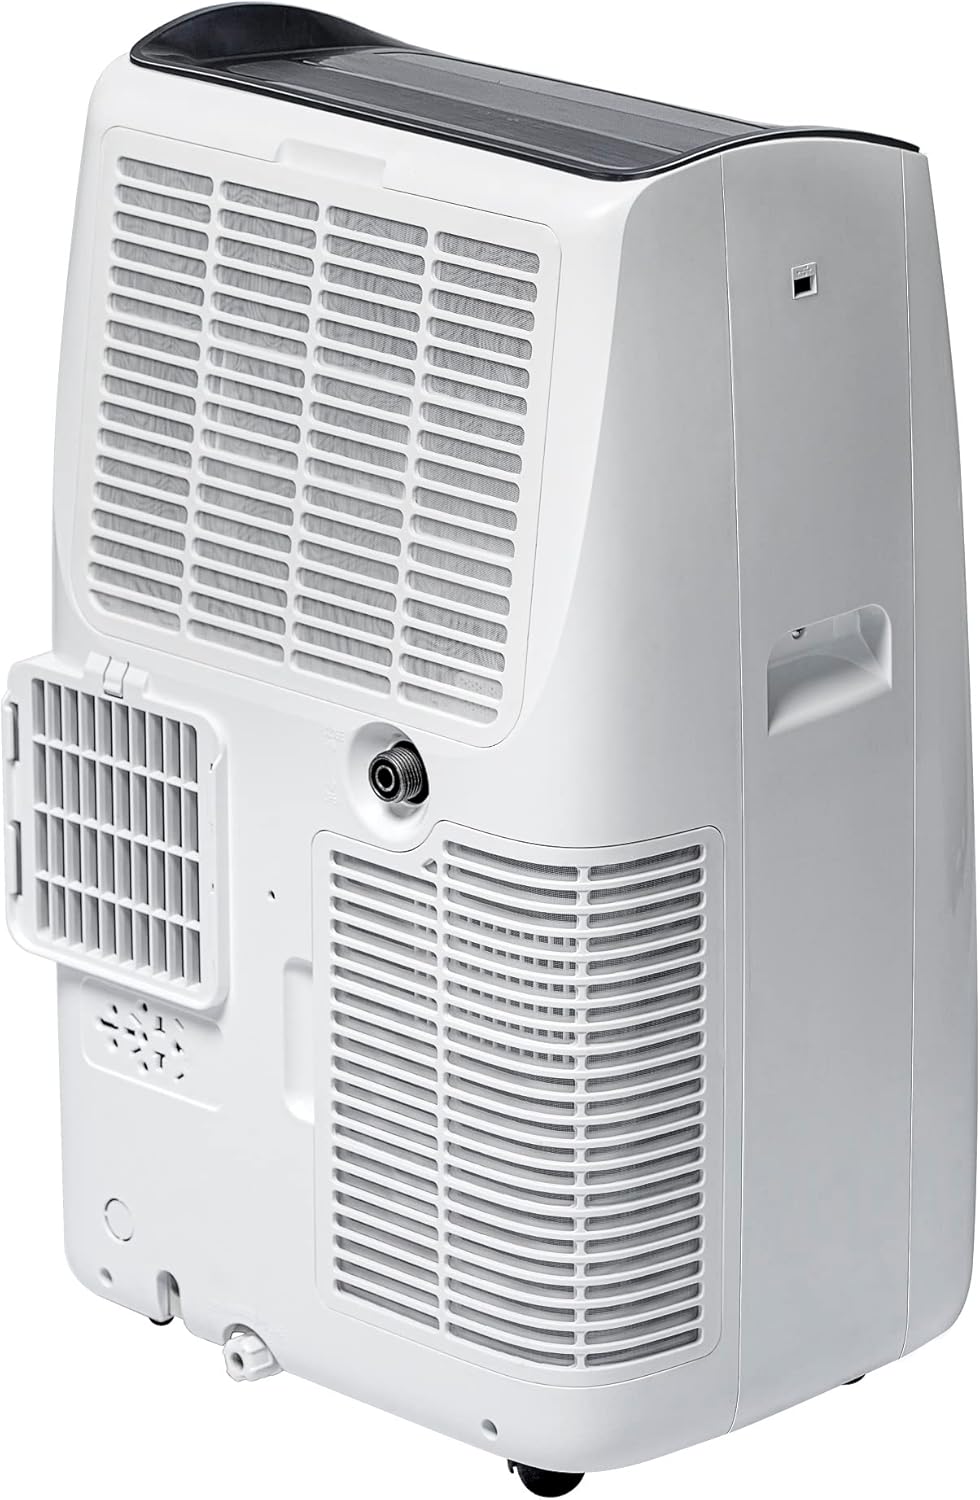
Figure 3: Rear view of the air conditioner, showing the connection point for the exhaust hose and the water drainage ports.
3. Water Drainage
The unit has an internal water tank for condensed water. When the tank is full, the unit will stop operating and indicate 'FULL' on the display. To drain, remove the rubber stopper from the lower drain port on the back of the unit and allow water to flow into a suitable container. For continuous drainage, connect the provided drainage tube to the upper drain port and direct it to a floor drain or a larger container.
Operating Instructions
1. Control Panel Overview
The control panel is located on the top of the unit and features intuitive touch buttons and an LED display.

Figure 4: Detailed view of the control panel, showing buttons for power, mode selection, fan speed, temperature adjustment, and timer.
2. Remote Control
The included remote control allows you to operate all functions of the air conditioner from a distance. Insert the provided AAA batteries into the remote control before first use.

Figure 5: The remote control for the air conditioner, featuring simple and easy-to-understand buttons for various functions.
3. Operating Modes
- Cool Mode: Provides cooling to the room. Adjust the desired temperature using the up/down arrows.
- Fan Mode: Circulates air without cooling. Select desired fan speed (Low, High, Auto).
- Dry Mode (Dehumidification): Reduces humidity in the room.
- Sleep Mode: Optimizes cooling and noise levels for comfortable sleep.
4. Timer Function
Set the unit to turn on or off automatically after a specified period (up to 24 hours). Press the 'Timer' button and use the up/down arrows to set the desired duration.
Maintenance
1. Cleaning Air Filters
Regularly clean the air filters (located on the back of the unit) to maintain optimal performance. Remove the filter covers, slide out the filters, and wash them with warm, soapy water. Rinse thoroughly and allow to air dry completely before reinserting.
2. Draining Water Tank
As described in the Setup section, drain the internal water tank when the 'FULL' indicator appears. If using continuous drainage, ensure the drainage tube is clear and properly positioned.
3. Storage
Before storing the unit for an extended period, ensure the water tank is completely drained and the filters are clean and dry. Store the unit upright in a cool, dry place.
Troubleshooting
- Unit not turning on: Check power connection, ensure the unit is plugged into a working outlet.
- Unit not cooling: Verify that the unit is in Cool Mode and the temperature setting is lower than the room temperature. Check if the exhaust hose is properly installed and sealed. Clean air filters if dirty.
- 'FULL' indicator is on: The internal water tank is full. Drain the water as per the Maintenance section.
- Unusual noise: Ensure the unit is on a flat surface. Check for any obstructions in the air inlets/outlets.
Specifications
| Feature | Specification |
|---|---|
| Model Number | TAC-1223WC |
| Cooling Capacity | 12000 BTU |
| Energy Efficiency Rating | A |
| Recommended Room Size | Up to 25m² |
| Noise Level | 65 Decibels |
| Refrigerant | R-290 |
| Voltage | 220 Volts |
| Dimensions (L x W x H) | 42 x 36 x 69 cm |
| Weight | 27 kg |
| Special Features | WiFi enabled, 24h timer |

Figure 6: Energy efficiency label for the TAC-1223WC model, indicating its Class A rating and other performance metrics.
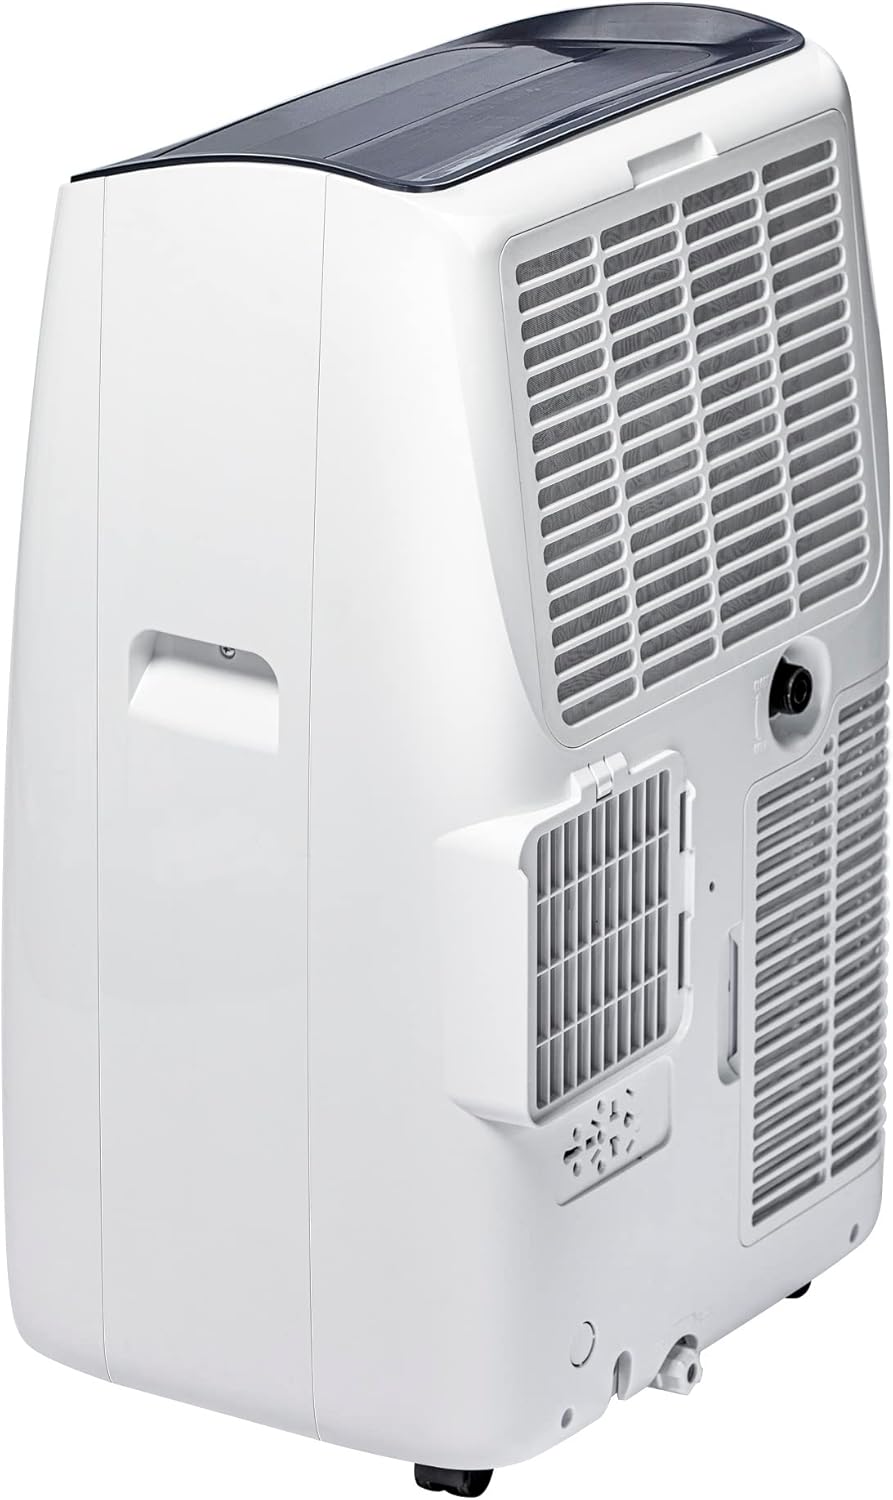
Figure 7: Diagram illustrating the dimensions of the portable air conditioner: 42cm (front), 36cm (side), and 69cm (height).
Warranty and Support
This product comes with a manufacturer's warranty. For detailed warranty information, please refer to the warranty card included in your package or contact HAVERLAND customer support. For technical assistance or service inquiries, please visit the official HAVERLAND website or contact their authorized service centers.


