1. Product Overview
The Veetop 1/4 Inch TRS to XLR Male Cable is designed for high-quality, balanced audio signal transmission. This cable converts a balanced 1/4" TRS output to a balanced 3-pin XLR input, making it ideal for connecting various professional audio equipment such as mixers, active speakers, microphones, and amplifiers.

This image displays a close-up view of the Veetop 1/4 inch TRS connector and the 3-pin XLR male connector, highlighting their robust construction and gold-plated tips.
2. Key Features
- Balanced Audio Transmission: Converts a balanced 1/4" TRS output to a balanced XLR input. XLR pin 1 connects to the 1/4" plug sleeve (Ground), XLR pin 2 to the 1/4" plug tip (Hot), and XLR pin 3 to the 1/4" plug ring (Cold). This configuration ensures optimal signal integrity and noise rejection.
- Excellent Sound Quality: Constructed with multi-layers of shielding to minimize signal interference and provide maximum cancellation of hum and noise, ensuring stable and pristine audio transmission.
- Durable Construction: Features a high-strength black aluminum alloy die-cast housing and gold-plated connections. The 20 AWG Oxygen-Free Copper (OFC) core delivers clear sound. The XLR connector includes a self-locking design, tested for over 60,000 plug and pull cycles, offering resistance to deformation and rust.
- Professional Grade Connectors: Heavy-duty 24K gold-plated XLR and 6.35mm connectors eliminate signal loss and static noise, enhance durability, and improve signal transmission. The copper shell further blocks interference, preserving sound quality.
- Wide Compatibility: Compatible with equipment featuring 3-pin XLR connectors and 6.35mm sockets, including mixers, cameras, amplifiers, soundboxes, microphones, and power amplifiers.

A cross-section diagram illustrating the multi-layer construction of the cable, featuring a pure copper core, PE insulation, strong tensile cotton, copper foil shielding, oxygen-free copper shielding, and a durable PVC jacket for optimal signal integrity and noise reduction.

Visual representation of key features: multiple shielding for interference reduction, oxygen-free copper wire for clear signal transmission, and gold-plated connectors for corrosion resistance and improved conductivity.
3. Setup and Connection
3.1 Understanding Balanced Connections
This cable is designed for balanced audio connections, which help to reduce noise over longer cable runs. The 1/4" TRS (Tip-Ring-Sleeve) connector and the 3-pin XLR connector are wired as follows:
- XLR Pin 1: Connected to the 1/4" plug sleeve (Ground)
- XLR Pin 2: Connected to the 1/4" plug tip (Hot/Positive)
- XLR Pin 3: Connected to the 1/4" plug ring (Cold/Negative)

This image shows the Veetop cable alongside a diagram detailing the balanced wiring: XLR pin 1 to 1/4 inch sleeve (Ground), XLR pin 2 to 1/4 inch tip (Hot), and XLR pin 3 to 1/4 inch ring (Cold).
3.2 Connecting to Audio Equipment
To connect your audio equipment using the Veetop 1/4 Inch TRS to XLR Male Cable:
- Identify the 1/4" TRS output on your source device (e.g., audio interface, electronic keyboard, guitar amplifier).
- Identify the 3-pin XLR input on your destination device (e.g., mixer, active speaker, microphone preamplifier).
- Insert the 1/4" TRS plug firmly into the corresponding output jack.
- Insert the XLR male plug firmly into the corresponding input jack. Ensure the XLR connector's self-locking mechanism engages for a secure connection.
- Verify all connections are secure before powering on or adjusting audio levels.

The cable is shown connected to an audio mixer, demonstrating a typical setup for transmitting audio signals from a 1/4 inch TRS output to an XLR input.
Watch this video for a visual guide on the Veetop Professional XLR Cable's features and compatibility with various audio equipment.
4. Operating Instructions
Once connected, ensure your audio devices are powered on and configured correctly for input/output. Adjust volume levels gradually to avoid sudden loud noises. The balanced design of this cable helps maintain signal integrity over distances, reducing the likelihood of interference during operation.
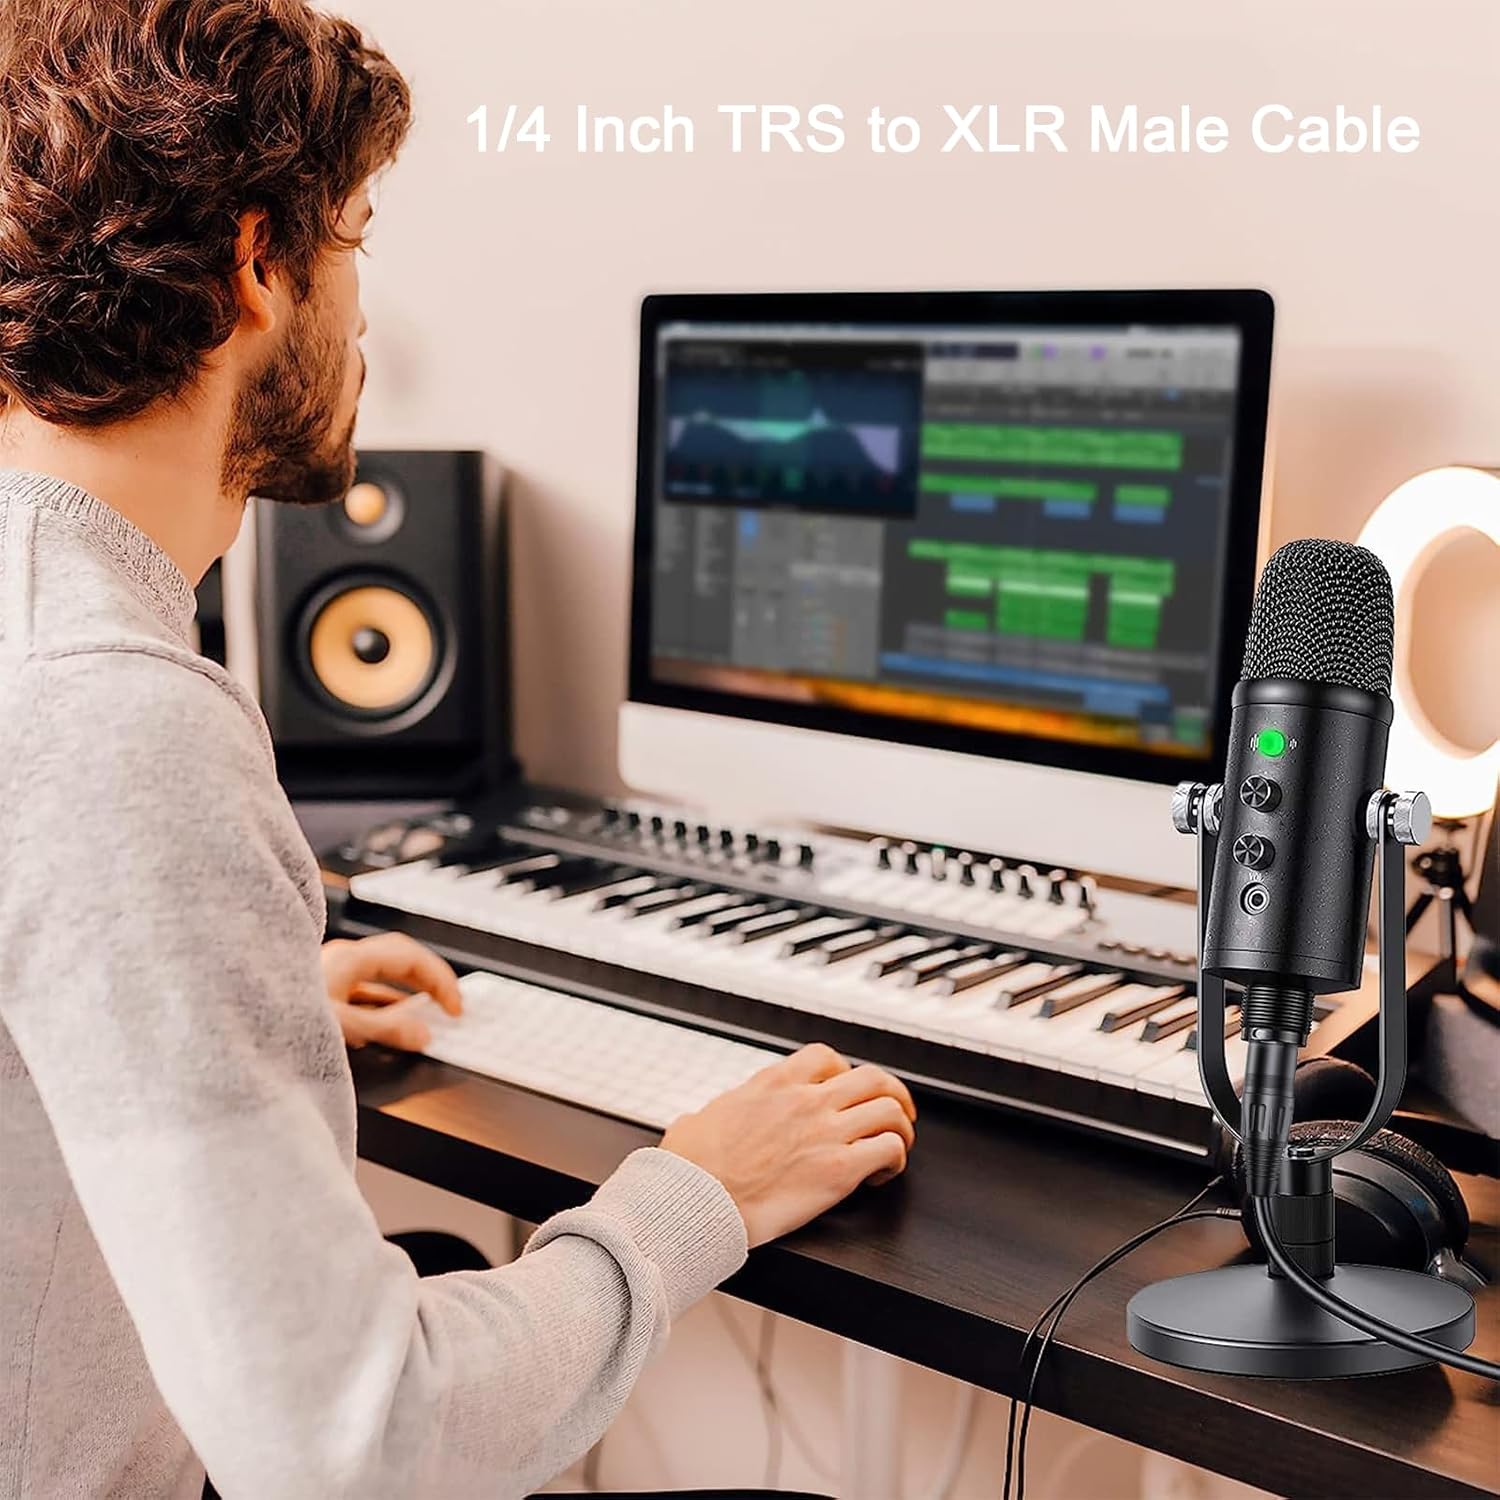
A user is shown in a home studio environment, utilizing the Veetop cable to connect a microphone to an audio interface or computer, illustrating a common operational scenario.
5. Maintenance and Care
Proper care extends the life and performance of your cable:
- Cleaning: Use a soft, dry cloth to wipe the cable and connectors. Avoid abrasive cleaners or solvents.
- Storage: Coil the cable loosely when not in use. Avoid tight coiling or sharp bends, which can damage the internal wiring. Store in a cool, dry place away from direct sunlight and extreme temperatures.
- Handling: Always grasp the connector housing when plugging or unplugging the cable, not the cable itself. This prevents strain on the connection points.
- Inspection: Periodically check the connectors and cable jacket for any signs of wear, damage, or corrosion.
6. Troubleshooting
6.1 No Sound
- Check Connections: Ensure both the 1/4" TRS and XLR connectors are fully and securely plugged into their respective ports.
- Verify Equipment Power: Confirm that all connected audio devices (mixer, speaker, microphone, etc.) are powered on and functioning correctly.
- Input/Output Settings: Check the input and output settings on your audio devices to ensure the correct channels are selected and levels are not muted or set too low.
- Test with Another Cable: If possible, test your setup with a known working cable to rule out issues with the cable itself or the connected equipment.
6.2 Hum or Noise
- Balanced Connection: Ensure both devices support balanced connections and are properly configured. This cable is designed for balanced signals; using it with unbalanced equipment may introduce noise.
- Ground Loop: A hum can indicate a ground loop. Try connecting all audio equipment to the same power outlet or using a ground loop isolator if the issue persists.
- Interference: Keep the cable away from power cables, fluorescent lights, and other sources of electromagnetic interference.
- Cable Integrity: Inspect the cable for any visible damage or kinks that might compromise its shielding.
7. Specifications
| Brand | Veetop |
| Connector Type | XLR, 1/4 Inch TRS (6.35mm) |
| Cable Type | XLR |
| Compatible Devices | Speaker, Mixer, Camera, Amplifier, Soundbox, Microphone, Power Amplifier, Electronic Keyboard, Electric Guitar |
| Special Feature | Data Transfer, Weatherproof (Note: 'Data Transfer' refers to audio signal transfer, 'Weatherproof' indicates durability) |
| Recommended Uses | Professional audio signal transmission, active speakers, mixers |
| Color | Black |
| Connector Gender | Male-to-Male (1/4" TRS Male to XLR Male) |
| Data Transfer Rate | 10 Gigabits Per Second (Note: This specification typically applies to digital data cables; for audio, it implies high bandwidth capability for signal integrity.) |
| Number of Pins | 3 (for XLR) |
| Outer Material | Aluminum Alloy, Copper, PVC |
| Item Weight | 11.7 ounces |
| Item Model Number | 5da52f35-275e-44b6-8885-2eab39719e84 |

An illustration showcasing the wide compatibility of the cable with various audio devices such as microphones, speakers, mixers, amplifiers, electronic keyboards, and electric guitars.
8. Warranty and Support
Veetop products are manufactured to high standards and undergo rigorous quality control. For information regarding warranty coverage, technical support, or any product-related inquiries, please refer to the contact information provided with your purchase or visit the official Veetop website. Please retain your proof of purchase for warranty claims.