1. Introduction
The Vomeko HC-801PRO Trail Game Camera is a high-definition device designed for hunting, wildlife observation, and security monitoring. It features 30MP photo resolution, 4K video recording, infrared night vision, and 4G network connectivity for remote access and real-time video browsing via an application. This manual provides essential information for setting up, operating, and maintaining your camera to ensure optimal performance.

Image: The Vomeko HC-801PRO Trail Camera is suitable for diverse applications such as outdoor hunting, home security, farm monitoring, and wildlife photography.
2. Package Contents
Please verify that all items listed below are included in your package:
- 1 x Vomeko HC-801PRO Trail Camera
- 1 x Bandage/Mounting Strap
- 1 x Antenna
- 1 x Tweezers
- 1 x USB Data Cable
- 1 x English Manual

Image: All components included with the Vomeko HC-801PRO Trail Camera.
3. Specifications
| Feature | Description |
|---|---|
| Item Type | Trail Camera |
| Material | Plastic |
| Product Size | Approx. 135x90x76mm (5.3x3.5x3.0in) |
| Weight | Approx. 540g (19.05oz) |
| Power Supply | 8 AA Alkaline Batteries (Not Included) |
| External Power Socket | DC 12V/1.5A (3.5x1.35mm) |
| Built-In Screen | TFT 2.0 inch |
| External Storage | Micro Memory Card Up To 256GB (Not Included) |
| Photo Resolution | 30MP/24MP/20MP/16MP/12MP |
| Photo File Format | JPG |
| Delay Mode (Photo) | 5, 10, 30, or 60 Minutes |
| Multi Shot Mode | Up To 9 Photos for One Detection |
| Imprints (Photos & Videos) | Date, Time, Temperature (C/F), Lunar Phase |
| Shooting Mode | Camera/Video/Camera + Video/Time Lapse |
| Video Resolution | 4K/2.7K/1080P/720P/VGA (480P) |
| Video File Format | .Mp4/H.265 |
| Video Length | 5s/10s/30s/60s/90s |
| Motion Sensor | 3xPIR |
| Detection Angle | 120° |
| Detection Range | 1 to 20 Meters Adjustable |
| Trigger Speed | 0.2 Seconds |
| Delay Between Each Test | 1/5/10/30 Seconds, 1/5/10/30 Minutes |
| Flash Range | ≤20 Meters |
| Exposure | Automatic/100/200/400 |
| Optical Field | 120° |
| Night Vision Range | 20 Meters |
| Operating Temperature | -20 ~70℃ (-4~158℉) |
| Waterproof Grade | IP65 |
| Standby Time | 6 Months |
| Connectivity Technology | Wireless, Cellular, Zigbee |
| Special Features | Motion Sensor, Night Vision, APP Remote Control, Online Real Time Video Browsing |
4. Key Features
- High Definition Capture: Records 30MP still images and 4K video with real-time video functionality and automatic monitoring.
- Thermal Detection Technology: Equipped with advanced thermal detection for automatic image and video transmission over 4G networks, optimizing energy consumption.
- Versatile Network Transmission: Supports 4G network transmission via MMS/mail, enabling remote access and data transfer.
- Infrared Night Vision: Features infrared shooting for clear night vision capabilities, ensuring 24-hour monitoring.
- Extended Memory & Resolution: Supports Micro Memory Cards up to 256GB and offers 4K HD video with 30MP photo resolution.
- APP Remote Control: Allows for remote control and online browsing of real-time video via a dedicated mobile application.
- Super Waterproof (IP65): Designed with an IP65 waterproof rating, making it suitable for various outdoor environments.
- Wide Application: Ideal for hunting, wild animal observation, research, and security monitoring in diverse settings like homes, farms, and commercial properties.
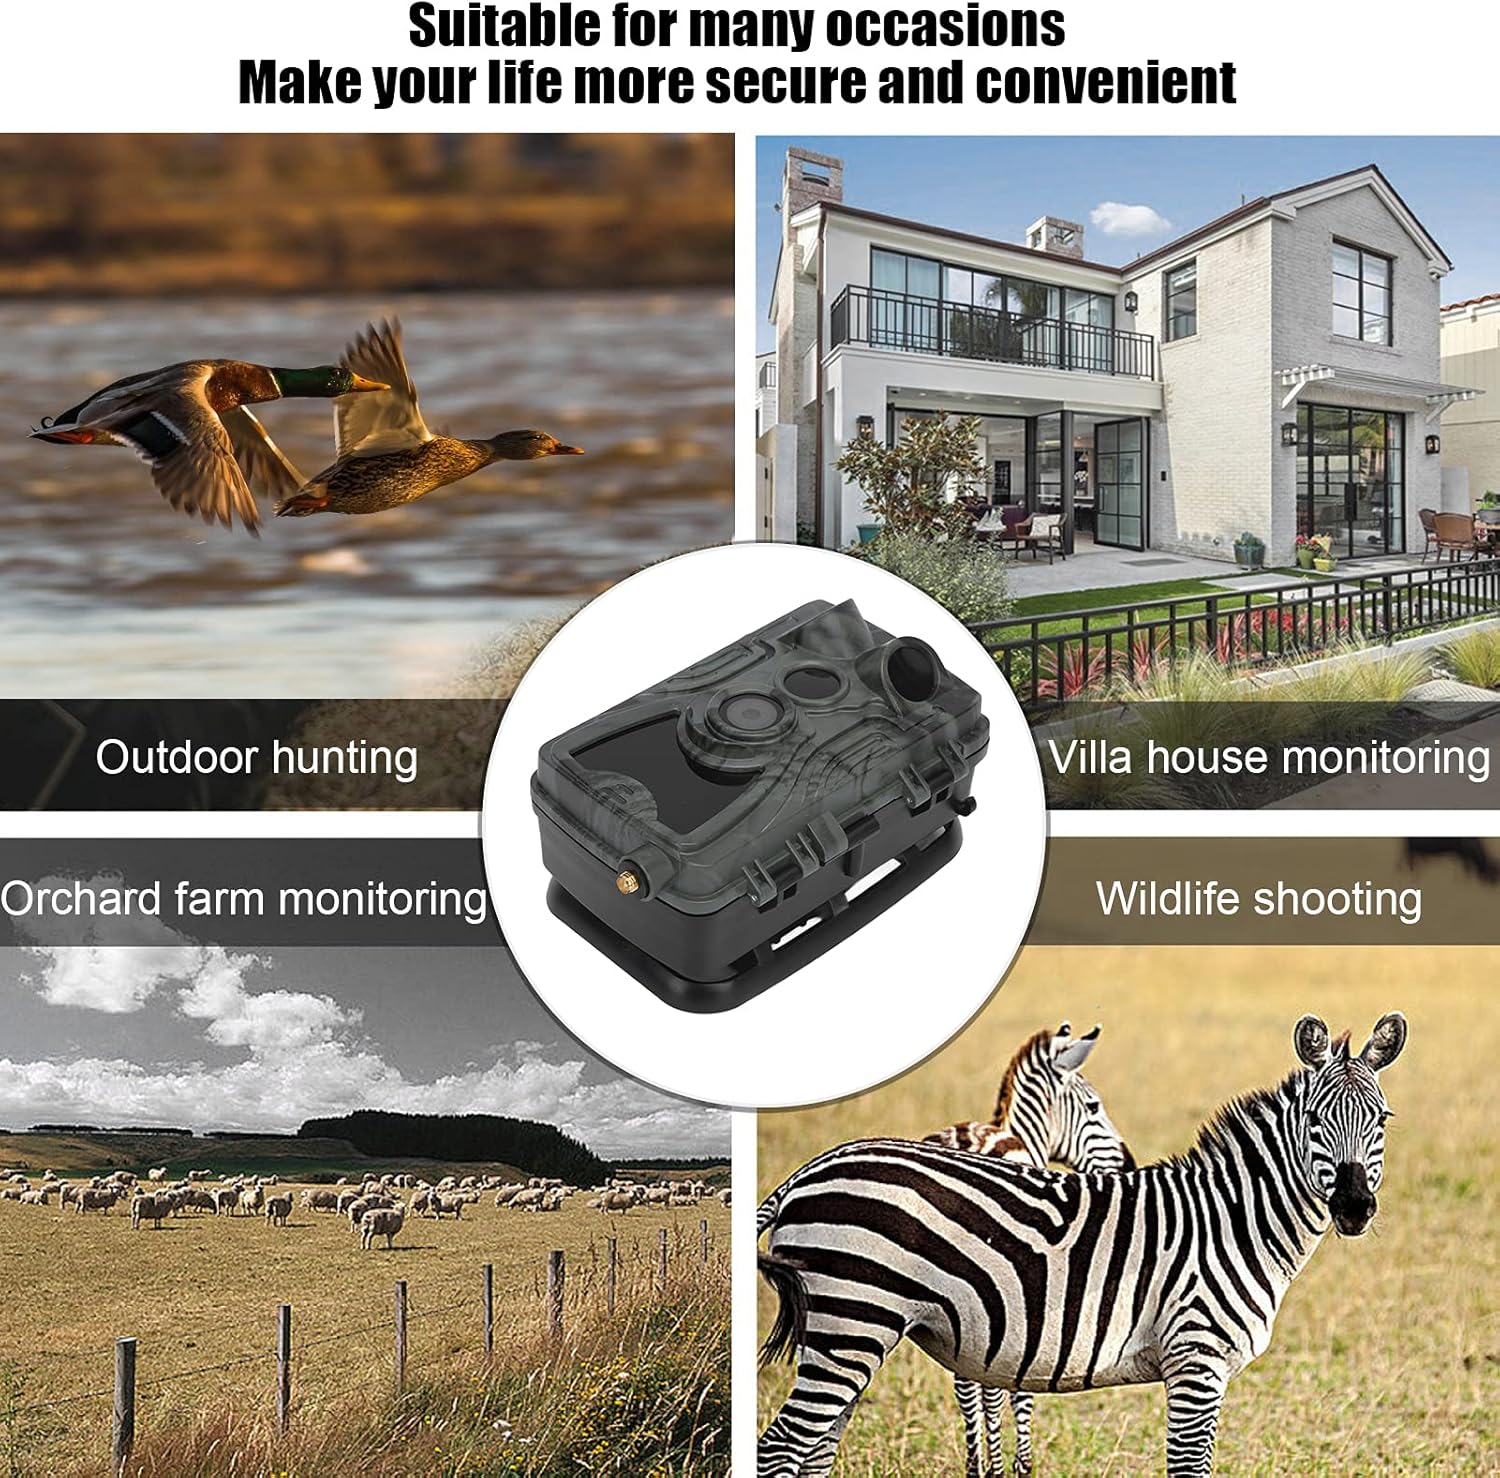
Image: The camera's ability to capture images 24 hours a day, including clear night vision.
5. Setup Guide
- Install Batteries: Open the camera's battery compartment. Insert 8 AA alkaline batteries, ensuring correct polarity (+/-). Close the compartment securely.
- Insert Micro Memory Card: Locate the Micro Memory Card slot. Insert a Micro Memory Card (up to 256GB, not included) with the contacts facing the correct direction until it clicks into place.
- Attach Antenna: Screw the provided antenna onto the designated port on the top or side of the camera until it is finger-tight.
- Power On: Open the camera's front cover to access the control panel. Locate the power switch and slide it to the 'ON' position. The screen should light up.
- Initial Configuration: Use the navigation buttons (MENU, OK, SHOT, directional arrows) to set the date, time, language, and desired shooting mode (Camera, Video, Camera + Video, Time Lapse). Refer to the 'Operating' section for detailed menu navigation.
- Mounting: Use the included bandage/strap to secure the camera to a tree, pole, or other stable surface. Ensure the camera is positioned to capture the desired area, avoiding direct sunlight or obstructions.

Image: Internal view of the camera showing the screen and control buttons for configuration.
6. Operating Instructions
Once the camera is set up, you can begin operation. The camera will automatically trigger based on motion detection and your selected settings.
6.1. Basic Operation Modes
- Camera Mode: Captures still images when motion is detected. You can set photo resolution and multi-shot options.
- Video Mode: Records video clips when motion is detected. Adjustable video resolution and length.
- Camera + Video Mode: Captures a still image followed by a video clip upon detection.
- Time Lapse Mode: Takes photos at set intervals regardless of motion, useful for monitoring long-term events like plant growth or construction.
6.2. Menu Navigation
Use the 'MENU' button to access settings. Navigate with the directional arrows and confirm selections with 'OK'. The 'SHOT' button can be used to manually trigger a photo/video for testing purposes.
6.3. Motion Detection
The camera utilizes 3 PIR sensors with a 120° detection angle and a range of up to 20 meters. The trigger speed is 0.2 seconds. Adjust the 'Delay Between Each Test' setting to control how often the camera triggers after an initial detection.
6.4. 4G Network & APP Remote Control
For 4G functionality, ensure a compatible SIM card (not included) is installed and configured according to the detailed instructions in the full English manual. Download the official Vomeko APP to your smartphone to remotely control settings, receive MMS/mail alerts, and browse real-time video feeds.
7. Maintenance
Regular maintenance ensures the longevity and optimal performance of your Vomeko Trail Game Camera.
- Cleaning: Gently wipe the camera lens and PIR sensors with a soft, lint-free cloth. For stubborn dirt, use a lens cleaning solution. Keep the camera body clean from dirt and debris.
- Battery Replacement: Replace all 8 AA batteries when the low battery indicator appears on the screen or in the APP. Always use fresh, high-quality alkaline batteries.
- Memory Card Management: Regularly check the memory card capacity. Format the Micro Memory Card periodically (this will erase all data) to maintain optimal performance and prevent data corruption. Back up important files before formatting.
- Waterproof Seals: Periodically inspect the rubber seals around the battery compartment and camera housing to ensure they are free of dirt and damage. This maintains the IP65 waterproof rating.
- Storage: When not in use for extended periods, remove batteries and the memory card. Store the camera in a cool, dry place away from direct sunlight and extreme temperatures.
8. Troubleshooting
If you encounter issues with your camera, refer to the following common problems and solutions:
- Camera Not Powering On:
- Ensure batteries are inserted correctly with proper polarity. Check if batteries are fully charged. Try new batteries. Verify the power switch is in the 'ON' position. If using external power, ensure the adapter is correctly connected and providing 12V/1.5A.
- No Images/Videos Captured:
- Check if the Micro Memory Card is inserted correctly and has sufficient free space. Ensure the camera is in the correct shooting mode (Camera, Video, or Camera + Video). Verify PIR sensitivity settings and detection range. Ensure there are no obstructions in front of the PIR sensors. Test motion detection by walking in front of the camera.
- Poor Image/Video Quality:
- Clean the camera lens and PIR sensors. Check for condensation inside the lens. Ensure the camera is stable and not vibrating. For night images, ensure the flash range is adequate and there are no reflective surfaces too close to the camera.
- 4G Network/APP Connectivity Issues:
- Verify that a compatible SIM card is installed and has an active data plan. Check network signal strength in the camera's location. Ensure APP settings are correctly configured for your network provider. Restart the camera and the APP. Consult your SIM card provider for network-related issues.
- Short Battery Life:
- Use high-quality alkaline batteries. Reduce the number of photos/videos captured by adjusting trigger delay and multi-shot settings. Avoid placing the camera in high-traffic areas that cause excessive triggers. Extreme cold temperatures can also reduce battery performance.
9. Warranty and Support
Vomeko products are designed for reliability and performance. For specific warranty terms and conditions, please refer to the warranty card included with your purchase or contact Vomeko customer support directly. Keep your purchase receipt as proof of purchase for warranty claims.
For further assistance, technical support, or detailed inquiries not covered in this manual, please refer to the comprehensive English Manual included in your package or visit the official Vomeko website for contact information.