Introduction
This manual provides detailed instructions for the installation, operation, and maintenance of your VICLLAX Outdoor Roller Shade. Designed for outdoor spaces such as porches, gazebos, and patios, this shade offers UV protection and privacy. Please read these instructions carefully before beginning installation or use.
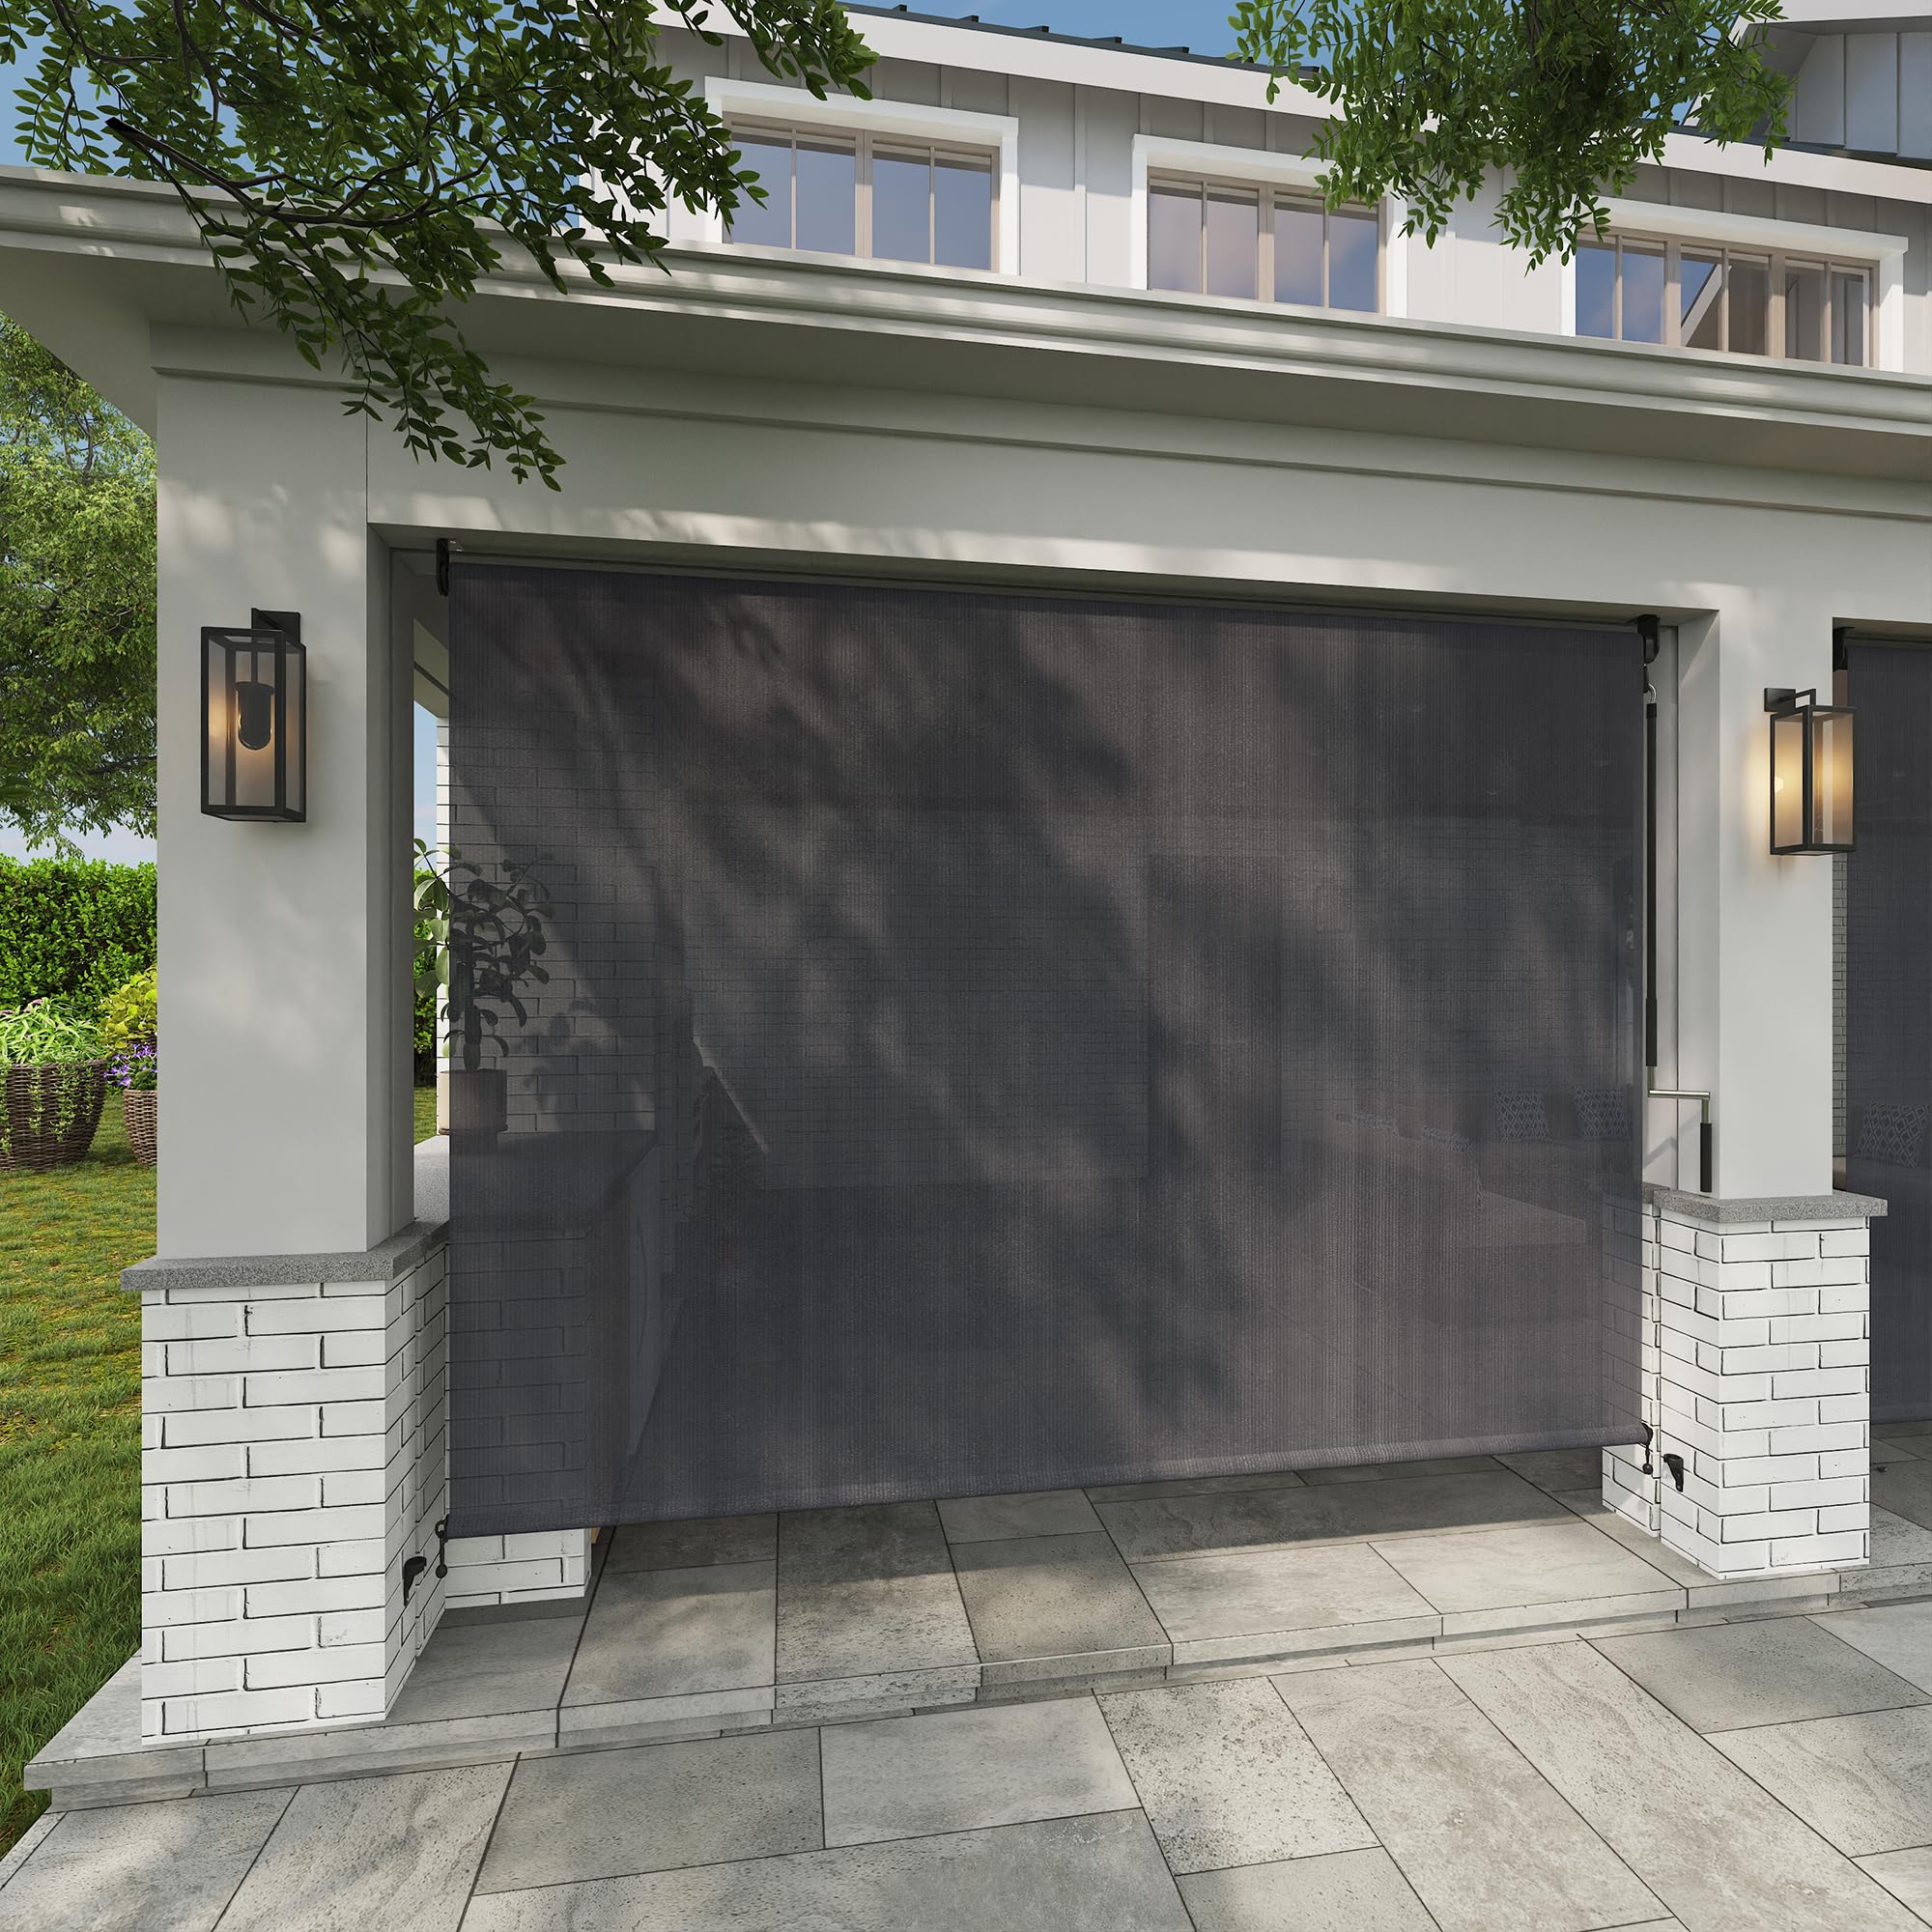
Image: Full view of the Anthracite Grey VICLLAX Outdoor Roller Shade.
Safety Information
- Ensure all mounting hardware is securely fastened to a stable surface to prevent the shade from falling.
- Keep the crank wand out of reach of small children and pets when not in use to prevent entanglement.
- The bottom bungee cords are designed to secure the shade; ensure they are properly attached to prevent the shade from flapping in the wind, which could cause damage or injury.
- Do not attempt to operate the shade if any part is damaged or obstructed.
Package Contents
Verify that all components listed below are present in your package:

Image: Diagram illustrating the components included in the package.
- Shade Fabric (x1)
- Top Pole (x1)
- Bottom Pole (x1)
- Roller Brackets (x2)
- Crank Wand (x1)
- Bungee Cords (x2)
- Plugs (for bottom pole, x2)
- Screws and Plastic Anchors (for mounting)
- Installation Template (x1)
Setup and Installation
The VICLLAX Outdoor Roller Shade offers flexible installation options for both wall and ceiling mounting. The clutch mechanism can be positioned on either the left or right side.
1. Component Overview

Image: Detailed view of brackets, crank, and bungee system.
2. Choose Installation Method
Decide between wall mount or ceiling mount based on your preference and the structure of your installation area.
- Wall Mount: Allows some side light penetration.
- Ceiling Mount: Reduces side light penetration for enhanced shading and privacy.

Image: Illustration of wall mount and ceiling mount installation options.
3. Altering Crank Operation Direction (Optional)
The crank mechanism can be configured for left or right-hand operation, and for wall or ceiling installation. Follow these steps to adjust if needed:
- If currently set for wall install, crank right, proceed to step 2.
- Remove the bracket covers.
- Remove the screws holding the clutch mechanism.
- Reassemble the clutch and bracket components according to your desired configuration (Wall Install, Crank Left; Ceiling Install, Crank Left; or Ceiling Install, Crank Right).

Image: Step-by-step guide for changing crank and installation direction.
4. General Installation Steps
- Measure and Mark: Use the provided installation template to mark the drilling points for the brackets. Ensure the marks are level and spaced correctly for your shade's width.
- Drill Holes: Drill pilot holes at the marked locations. Insert plastic anchors if installing into drywall or masonry.
- Install Brackets: Securely attach the roller brackets using the provided screws.
- Mount Shade: Carefully insert the roller shade assembly into the installed brackets. Ensure it clicks securely into place.
- Attach Crank Wand: Connect the crank wand to the designated clutch mechanism on the shade.
- Secure Bottom: Attach the bungee cords to the bottom bar of the shade and secure them to anchor points on your porch or patio to prevent movement in windy conditions.
Video: Official VICLLAX Outdoor Blinds installation and operation demonstration.
Operating Instructions
To operate your VICLLAX Outdoor Roller Shade:
- To Lower the Shade: Turn the crank wand counter-clockwise. The shade will smoothly unroll to your desired length.
- To Raise the Shade: Turn the crank wand clockwise. The shade will retract into its housing.
- Securing the Shade: Once the shade is at the desired height, ensure the bottom bungee cords are attached to prevent the shade from moving excessively in the wind.
Maintenance
- Cleaning: The HDPE fabric is resistant to fading and tearing. Clean the shade periodically with mild soap and water. Rinse thoroughly and allow to air dry completely before rolling up.
- Weather Protection: While designed for outdoor use, it is recommended to roll up the shade during severe weather conditions, such as strong winds or heavy storms, to prolong its lifespan and prevent damage.
- Mechanism Check: Periodically inspect the crank mechanism and brackets for any signs of wear or loosening. Tighten screws as necessary.
Troubleshooting
- Shade Not Rolling Smoothly: Check for any obstructions in the path of the shade. Ensure the fabric is properly aligned on the roller tube and not snagged. Verify that the crank mechanism is clean and free of debris.
- Shade Sagging (for wider models): For wider shades, a slight sag in the middle of the bottom bar may occur over time. Consider adding a central support or reinforcing the bottom bar if this becomes an issue.
- Shade Flapping in Wind: Ensure the bottom bungee cords are securely attached to anchor points. Adjust the tension of the bungee cords if necessary to keep the shade taut.
- Crank Mechanism Issues: If the crank feels stiff or unresponsive, check for any bent parts or debris. Do not force the crank; contact customer support if the issue persists.
Specifications
Key specifications for the VICLLAX Outdoor Roller Shade:

Image: Detailed size chart for various models.
| Feature | Detail |
|---|---|
| Brand | VICLLAX |
| Model | Outdoor Roller Shade |
| Size | 72"W x 72"H (Blind Width x Blind Maximum Height) |
| Color | Anthracite Grey |
| Material | High Density Polyethylene (HDPE) |
| Style | Cordless No Valance |
| Crank Wand Length | 47.2 inches |
Warranty
The VICLLAX Outdoor Roller Shade comes with a 2-year warranty. This warranty covers manufacturing defects and material failures under normal use. Please retain your proof of purchase for warranty claims.

Image: Product features highlighting HDPE material and 2-year warranty.
Support
For further assistance, technical support, or warranty inquiries, please contact VICLLAX customer service. Refer to your product packaging or the retailer's website for specific contact information.