1. Introduction
This manual provides essential instructions for the safe and effective use of your Daxiongmao 1080P HD Endoscope Camera. This device features a 4.3-inch color LCD display, an 8mm camera probe with 8 adjustable LED lights, and a 16.4ft semi-rigid cable, designed for detailed visual inspection in hard-to-reach areas. Please read this manual thoroughly before operating the device and retain it for future reference.

Figure 1: Daxiongmao 1080P HD Endoscope Camera with its main components and included accessories.
2. What's in the Box
Verify that all items listed below are present in your package:
- 1 x Daxiongmao Inspection Camera with Light
- 1 x User Manual
- 1 x Type-C Charging Cable
- 1 x Hook Attachment
- 1 x Magnet Attachment
- 1 x Side Mirror Attachment

Figure 2: The endoscope camera with its 16.4ft semi-rigid snake cable and the three practical accessories: hook, magnet, and side mirror.
3. Setup
3.1 Charging the Device
Before first use, fully charge the endoscope camera. Connect the provided Type-C charging cable to the device's charging port and a suitable USB power adapter (not included). The charging indicator will show the charging status. A full charge provides approximately 3.5 hours of operation.

Figure 3: The endoscope camera features a 2000mAh capacity battery, providing up to 3.5 hours of use, and charges via a USB Type-C port.
3.2 Attaching Accessories
The hook, magnet, and side mirror attachments can be screwed onto the tip of the camera probe for specific tasks. Ensure they are securely fastened before use.
- Hook: Useful for retrieving small objects.
- Magnet: Designed for picking up metallic items.
- Side Mirror: Provides a wider viewing angle for inspecting walls or pipes.
4. Operating Instructions
4.1 Powering On/Off
Press and hold the power button (usually marked with a power symbol) to turn the device on. The 4.3-inch LCD display will activate. To power off, press and hold the power button again.
4.2 Display and Controls
The device features a 4.3-inch color LCD screen for real-time viewing. No smartphone connection or app download is required. The display provides a clear view of the inspection area.
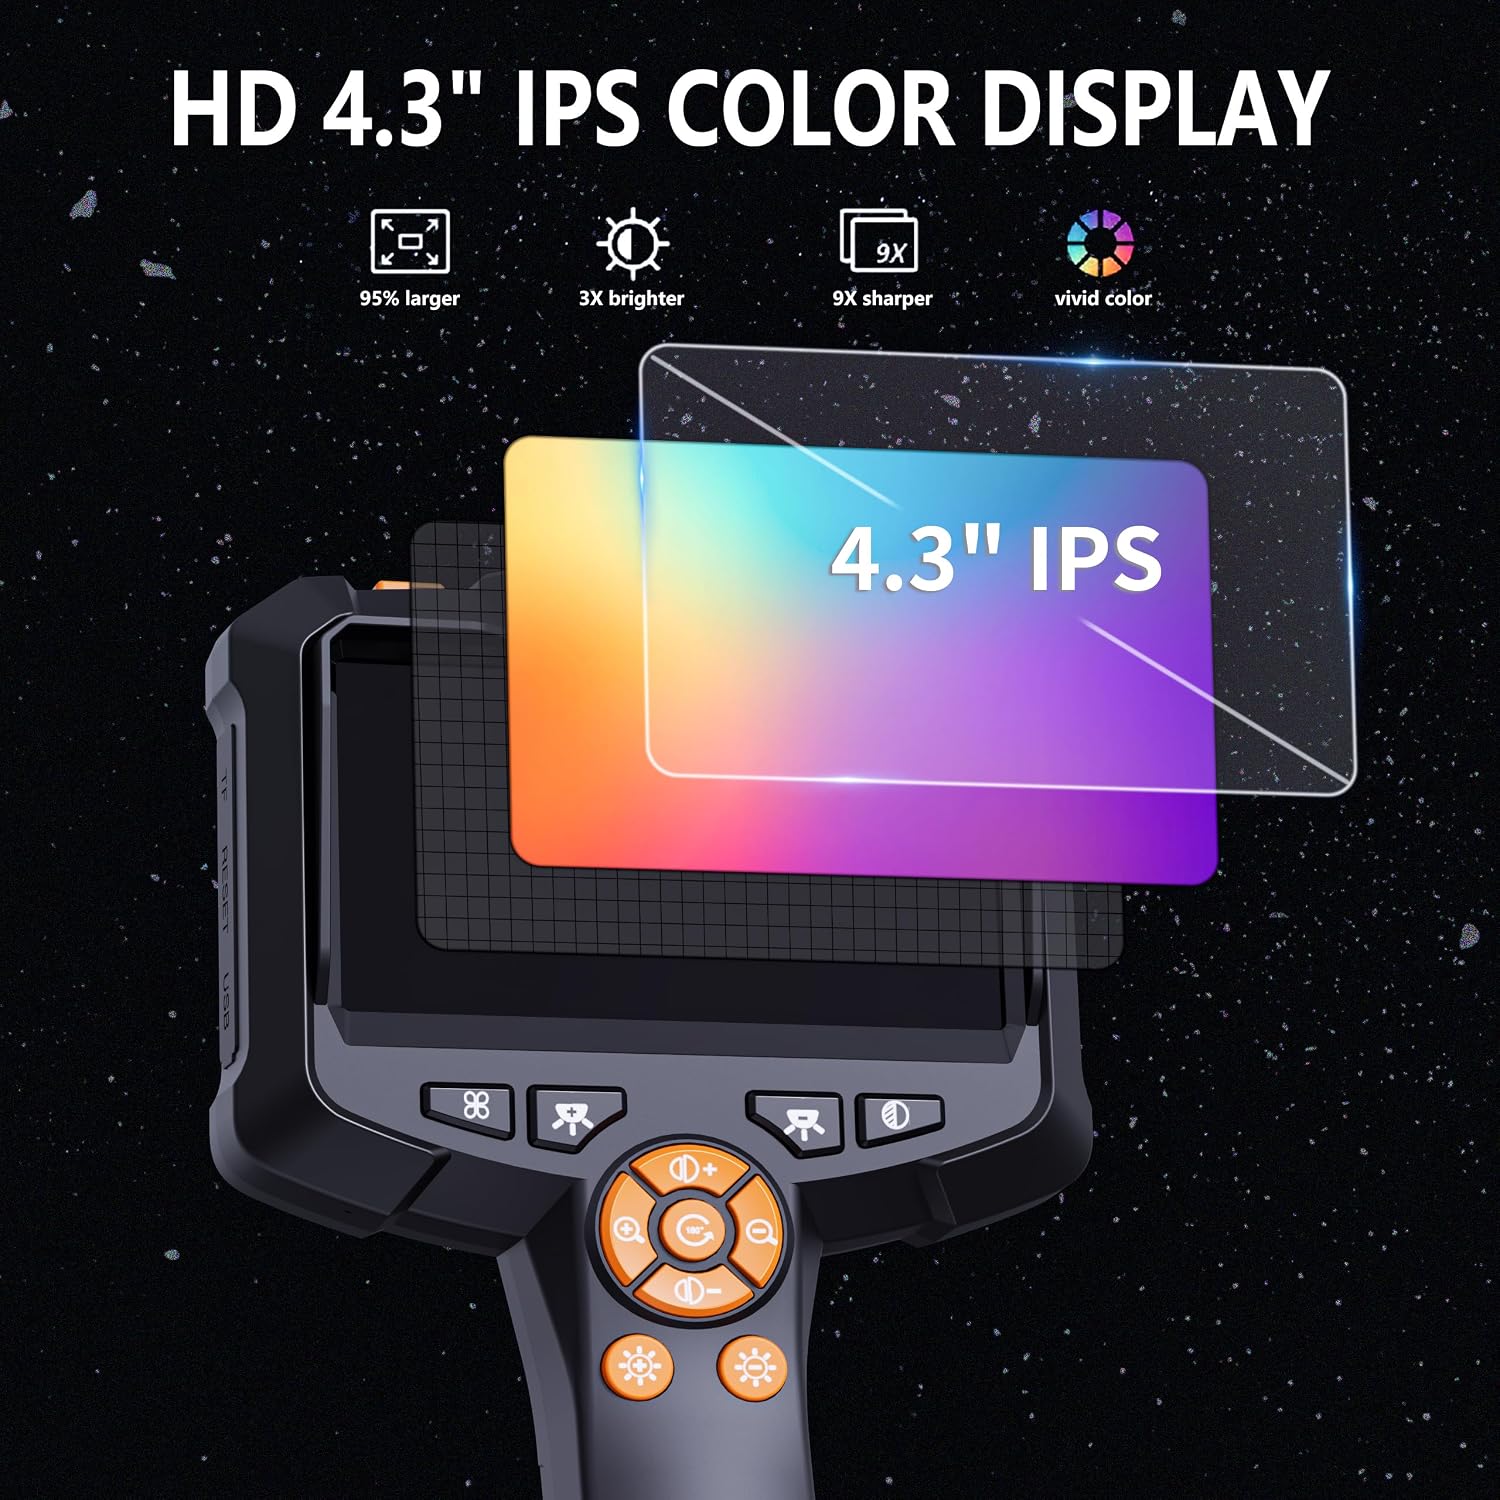
Figure 4: The 4.3-inch IPS color display offers a clear and vivid view for inspections.
4.3 Adjusting LED Lights
The camera probe is equipped with 8 adjustable LED lights. Use the dedicated light adjustment buttons on the handle to increase or decrease the brightness. This ensures optimal illumination in dark environments. The best observation distance for clear images is between 1.5 inches and 5 inches from the camera lens.

Figure 5: The 8 adjustable LED lights on the camera probe provide illumination for various inspection conditions.
4.4 Maneuvering the Camera
The 16.4ft semi-rigid cable is designed to be both stiff enough to push through confined spaces and flexible enough to navigate around corners. Carefully guide the camera probe into the desired inspection area. The 8mm camera diameter allows access to narrow openings.

Figure 6: The 1080P HD camera lens captures detailed images, making every detail clearer.
4.5 Common Applications
This endoscope is suitable for various inspection tasks, including:
- Automotive maintenance (e.g., engine inspection through spark plug holes).
- Home inspections (e.g., checking behind walls, in drains).
- HVAC repairs.
- Plumbing inspections (e.g., sewer lines).

Figure 7: Examples of the endoscope camera in use for various applications, including home, automotive, and plumbing inspections.
Note: This endoscope does not support autofocus and cannot take photos or videos.
5. Maintenance
5.1 Cleaning
The camera probe and cable are IP67 waterproof, allowing for use in wet environments. After use, especially in dirty or wet conditions, clean the probe and cable with a damp cloth. For stubborn dirt, a mild detergent can be used. Ensure the main display unit is kept dry and clean with a soft, dry cloth.
5.2 Storage
Store the device in a cool, dry place away from direct sunlight and extreme temperatures. Coil the semi-rigid cable neatly to prevent kinks or damage.
5.3 Battery Care
To prolong battery life, avoid fully discharging the device frequently. If storing for an extended period, charge the battery to approximately 50% every few months.
6. Troubleshooting
- Device does not power on:
- Ensure the battery is charged. Connect the device to the Type-C charging cable and a power source.
- Press and hold the power button for a few seconds.
- No image on display:
- Check if the camera cable is securely connected to the main unit.
- Ensure the device is powered on.
- Adjust the LED lights to ensure sufficient illumination.
- Image is blurry or unclear:
- Adjust the distance between the camera lens and the object. The optimal observation distance is 1.5 to 5 inches.
- Clean the camera lens if it is dirty.
- Ensure the LED lights are adjusted to an appropriate brightness level.
- LED lights are not working:
- Ensure the device is powered on.
- Use the light adjustment buttons to increase brightness.
7. Specifications
| Display Screen | 4.3-inch Color LCD |
| Camera Resolution | 1080P HD |
| Camera Diameter | 8mm |
| Cable Length | 16.4ft (5 meters) |
| Cable Type | Semi-Rigid Snake Cable |
| LED Lights | 8 Adjustable LEDs |
| Waterproof Rating | IP67 (for camera probe and cable) |
| Battery Capacity | 2000mAh |
| Battery Life | Approx. 3.5 hours |
| Charging Port | Type-C |
| Optimal Observation Distance | 1.5 in - 5 in |
8. Warranty & Support
Your Daxiongmao Endoscope Camera comes with a worry-free 120-day warranty. For any product-related inquiries, technical support, or warranty claims, please contact our customer service. Refer to the contact information provided with your purchase or visit the official Daxiongmao website for assistance.
We are committed to providing friendly customer service and support.