1. Introduction
Thank you for choosing the GREENKINDER Instant Camera for Kids. This camera is designed to provide a fun and creative photography experience for children aged 3-12, featuring instant printing capabilities, high-resolution photo and video recording, and a variety of interactive functions. This manual will guide you through the setup, operation, and maintenance of your new camera.
2. Package Contents
Please check the package to ensure all items are present:
- GREENKINDER Instant Camera (Model C8)
- 32GB Micro SD Card
- USB Type-C Charging Cable
- Neck Lanyard
- 3 Rolls of Printing Paper
- 5 Colored Pens
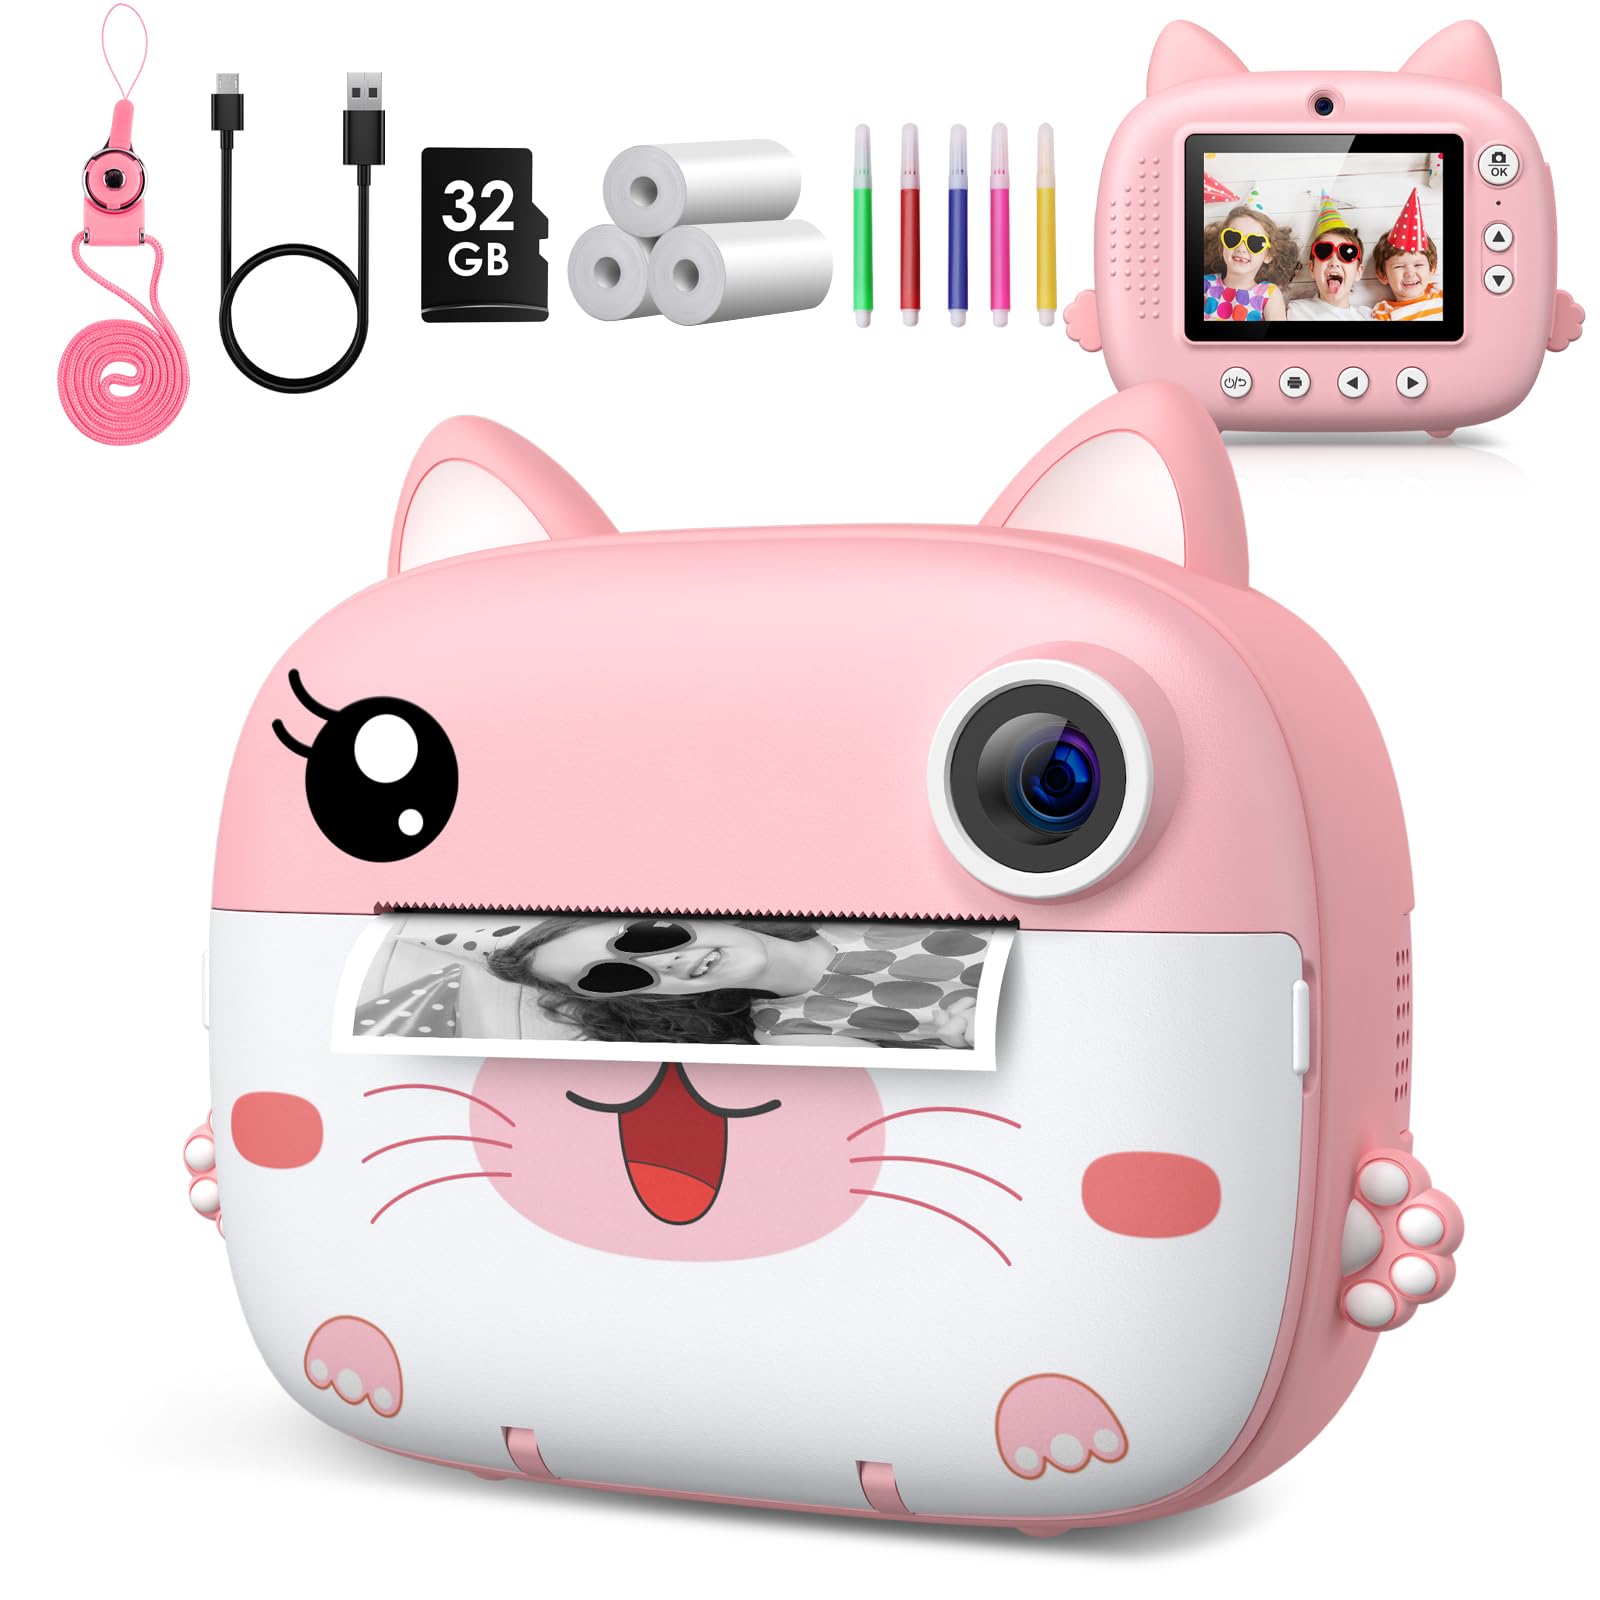
Image: The GREENKINDER Instant Camera in pink, along with its accessories including a USB-C cable, 32GB SD card, three rolls of thermal paper, and five colored pens.
3. Product Overview
Familiarize yourself with the camera's components:
- Front: Camera Lens, Instant Print Output Slot.
- Back: 2.4-inch IPS Display Screen, Navigation Buttons (Up, Down, Left, Right, OK), Power Button, Photo/Video Mode Button, Menu Button.
- Sides: USB Type-C Charging Port, Micro SD Card Slot, Lanyard Hole.
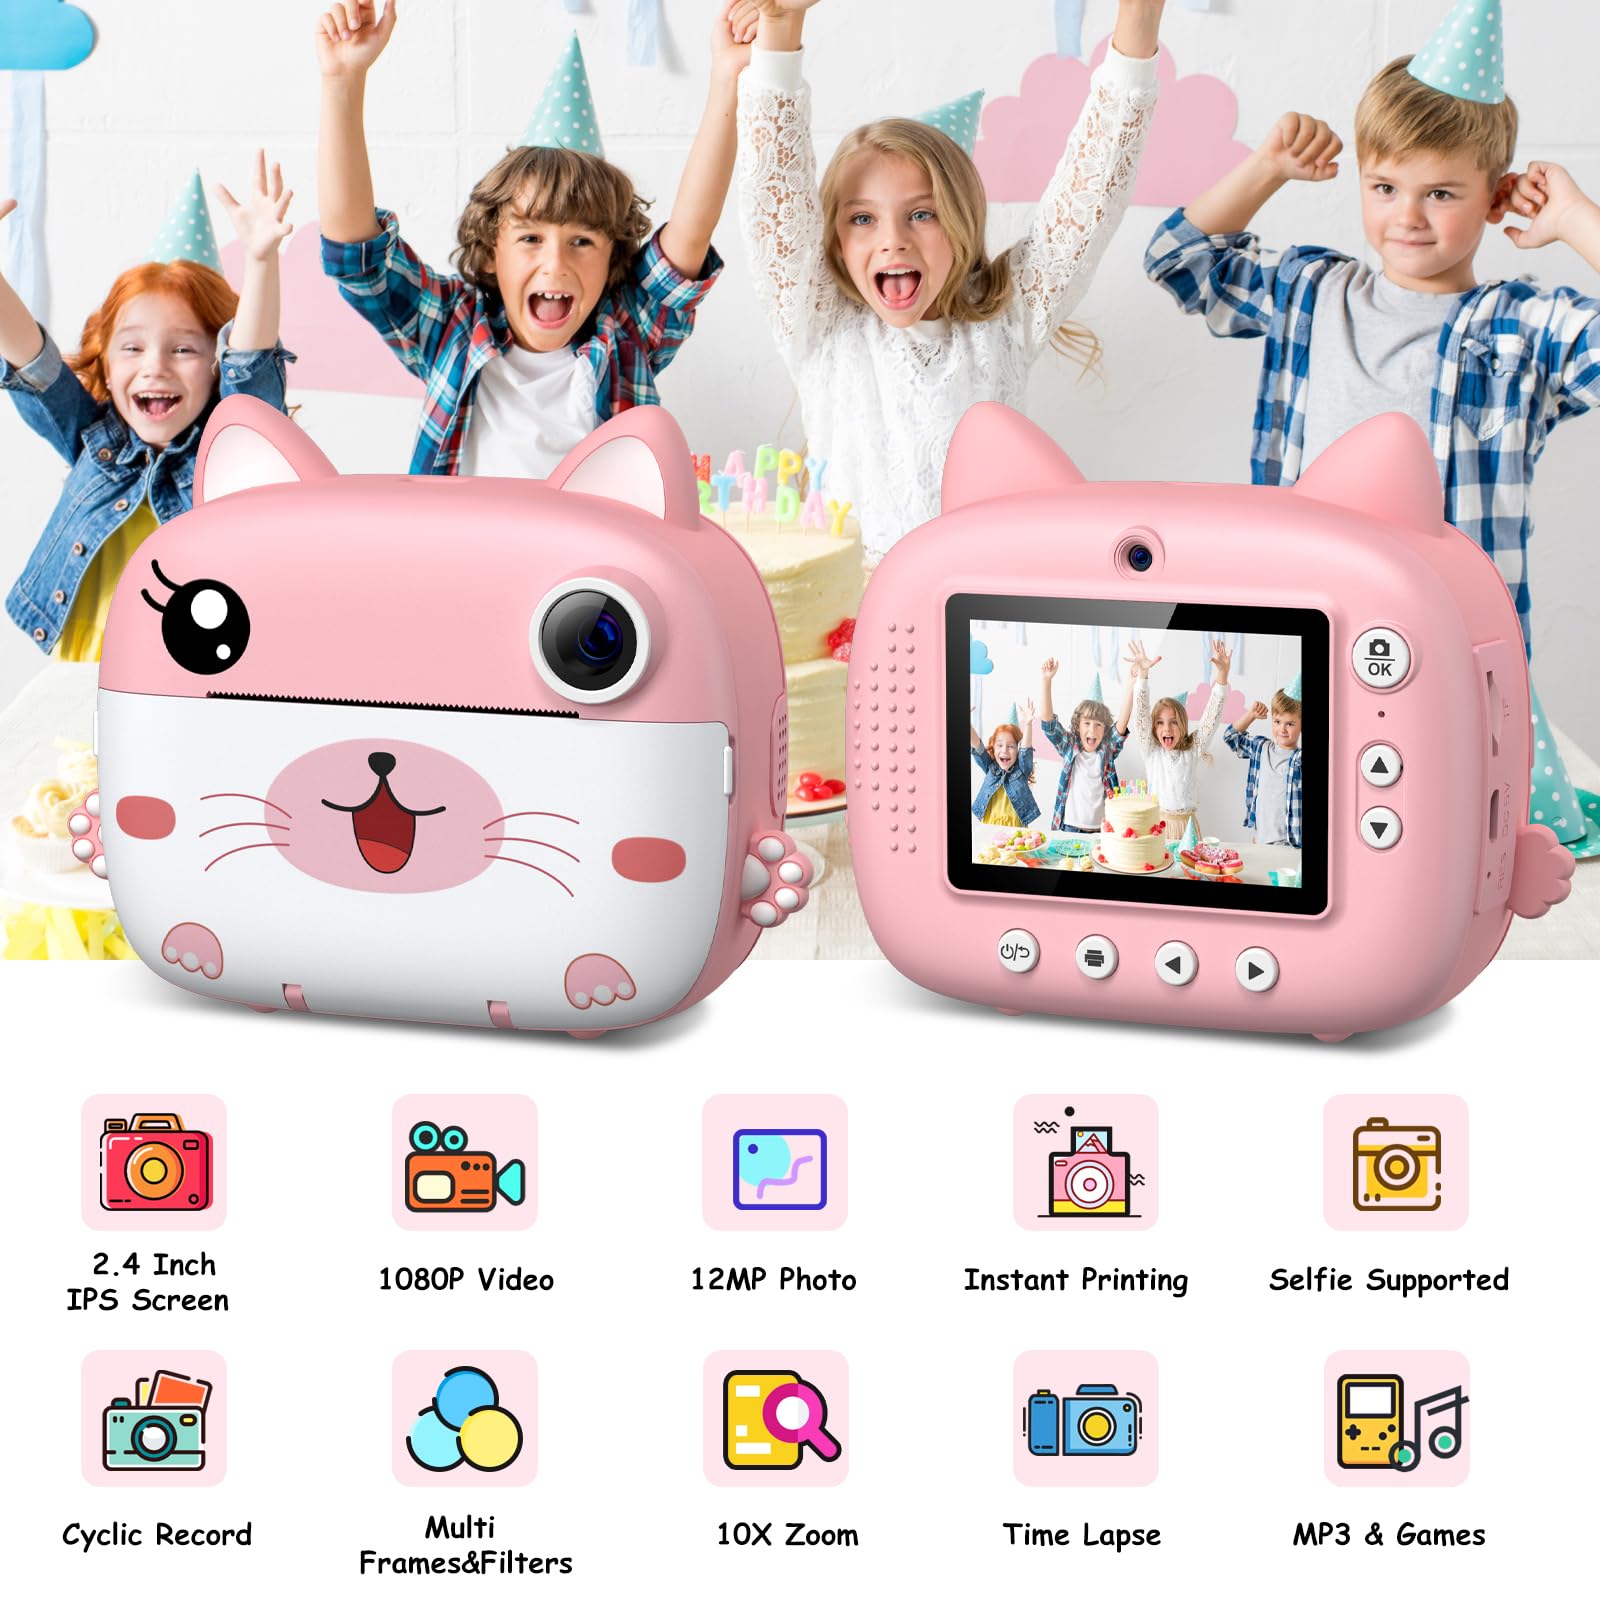
Image: Two views of the camera, illustrating its 2.4-inch IPS screen, 1080P video, 12MP photo, instant printing, selfie support, cyclic record, multi-frames & filters, 10X zoom, time-lapse, and MP3 & games features.
4. Setup
4.1 Charging the Camera
Before first use, fully charge the camera. Connect the included USB Type-C cable to the camera's charging port and the other end to a USB power adapter (not included) or a computer's USB port. The charging indicator light will show the charging status.
4.2 Inserting the Micro SD Card
Locate the Micro SD card slot on the side of the camera. Insert the included 32GB Micro SD card with the gold contacts facing down until it clicks into place. To remove, gently push the card in until it springs out.
4.3 Loading Printing Paper
The camera uses thermal printing paper. Follow these steps to load a new roll:
- Gently open the paper compartment cover on the front of the camera.
- Insert a new roll of thermal paper, ensuring the paper feeds from the bottom and the leading edge is straight.
- Pull a small amount of paper out of the slot.
- Close the paper compartment cover firmly until it clicks.

Image: A three-step visual guide demonstrating how to open the paper compartment, insert the thermal paper roll, and close the compartment.
5. Operating Instructions
5.1 Power On/Off
Press and hold the Power button for a few seconds to turn the camera on or off.
5.2 Taking Photos
In photo mode, frame your shot using the display screen. Press the Capture button to take a photo. The camera will instantly print the photo if the instant print function is enabled.

Image: Children celebrating a birthday, with the camera displaying a sequence of continuous shots, highlighting the camera's ability for burst photography.
5.3 Recording Videos
Switch to video mode using the mode button. Press the Capture button to start recording. Press it again to stop recording. Videos are saved to the Micro SD card.
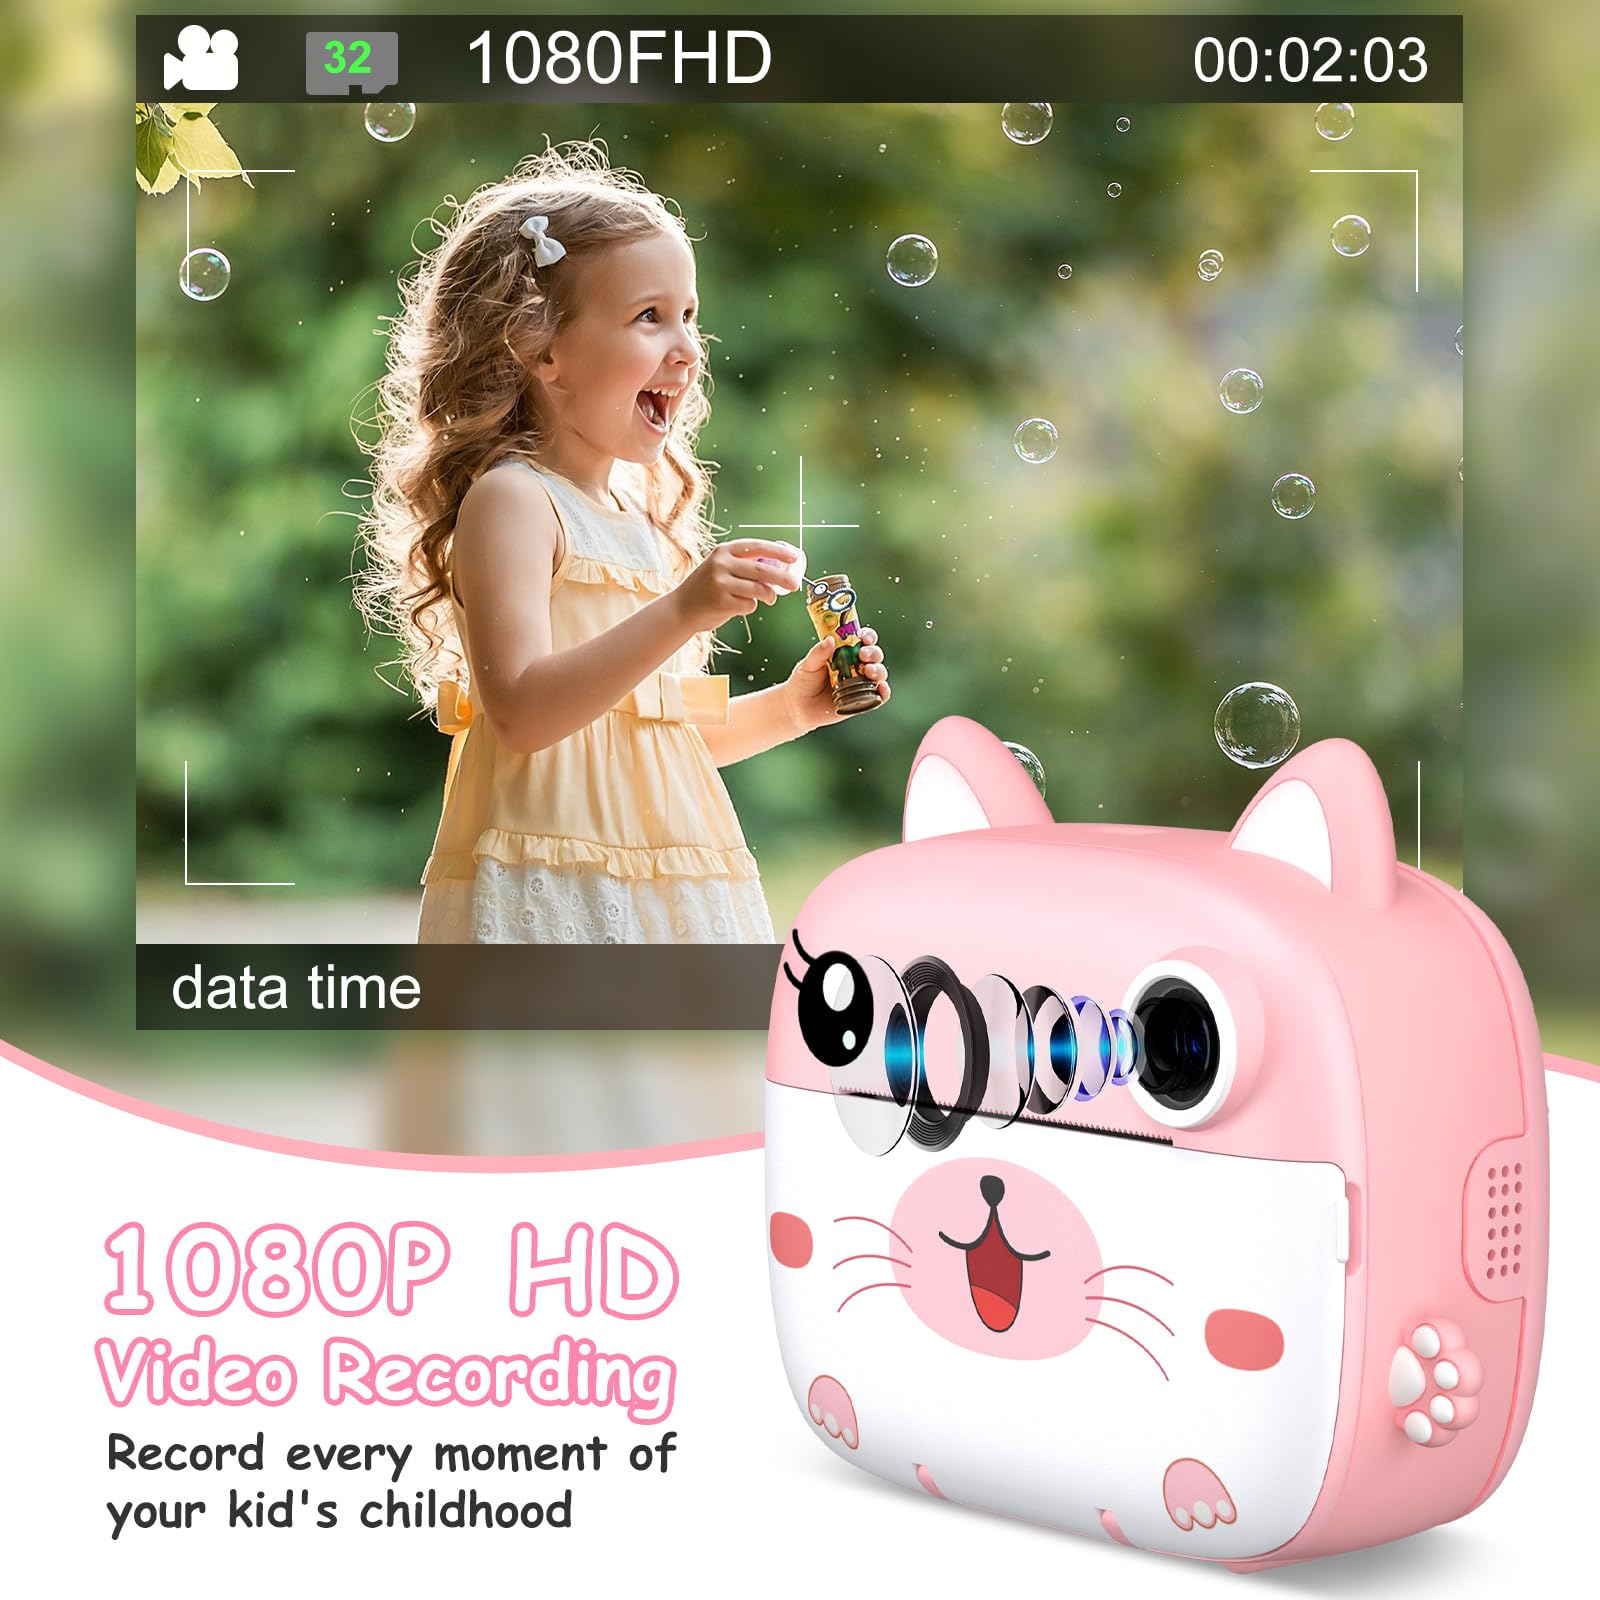
Image: A young girl happily blowing bubbles outdoors, with the camera screen showing a 1080FHD video recording interface, emphasizing its video capabilities.
5.4 Using Filters and Frames
The camera offers 11 scene filters and 20 fun frames to enhance your photos. Navigate through the menu options to select your desired filter or frame before taking a picture.

Image: The instant camera showcasing a grid of six color filter effects and twenty funny frames that can be applied to photos.
5.5 Digital Zoom
Utilize the 10x digital zoom feature to get closer to your subjects. Use the navigation buttons to adjust the zoom level.

Image: The camera's display showing a baby in a grassy field at various zoom levels, from 2X to 10X, demonstrating the digital zoom capability.
5.6 Built-in Games
The camera includes 3 built-in puzzle games for entertainment. Access them through the main menu.

Image: A child lying on a pillow, holding the camera, which displays a password lock screen. Below are icons for three built-in puzzle games: a block puzzle, Snake, and a treasure hunt game.
5.7 DIY Coloring
After printing black and white photos, use the included colored pens to add your own creative touch and color them in.

Image: A child's hands coloring a black and white instant photo with a pink pen, with other colored pens and printed photos on a wooden table, illustrating the DIY coloring feature.
6. Maintenance
6.1 Cleaning
Use a soft, dry cloth to clean the camera body. For the lens and screen, use a microfiber cloth specifically designed for optics. Do not use liquid cleaners or abrasive materials.
6.2 Storage
Store the camera in a cool, dry place away from direct sunlight and extreme temperatures. When not in use for extended periods, ensure the battery is partially charged (around 50%) to prolong its lifespan.
7. Troubleshooting
- Camera not turning on: Ensure the battery is charged. Connect the camera to a power source and try again.
- Poor print quality: Check if the printing paper is loaded correctly. Ensure the paper is not old or damaged.
- No photos saved: Verify that the Micro SD card is properly inserted and has sufficient free space.
- Paper jam: Turn off the camera, carefully open the paper compartment, and gently remove any jammed paper. Reload the paper correctly.
- Camera frozen: If the camera becomes unresponsive, press and hold the Power button for about 10 seconds to force a restart.
8. Specifications
| Brand | GREENKINDER |
| Model | C8 |
| Color | Pink + White |
| Screen Size | 2.4 inches IPS |
| Photo Resolution | 12 Megapixels (Effective) |
| Video Resolution | HD UHD 2.5K (1080P FHD) |
| Digital Zoom | 10x |
| Battery | 1000 mAh Lithium-polymer (Rechargeable) |
| Connectivity | USB Type-C |
| Memory | Supports Micro SD Card (32GB included) |
| Product Dimensions | 20.9 x 14.3 x 5.6 cm |
| Weight | 410 grams |
9. Warranty and Support
For warranty information and technical support, please refer to the contact details provided with your purchase or visit the official GREENKINDER website. Keep your proof of purchase for any warranty claims.


