1. Introduction
This manual provides essential information for the installation, operation, and maintenance of your GIGABYTE GV-N4090AERO OC-24GD GeForce RTX 4090 AERO OC 24G Graphics Card. This high-performance graphics card is powered by NVIDIA's Ada Lovelace architecture, featuring 24GB of GDDR6X memory and the WINDFORCE cooling system for optimal thermal management.

Figure 1.1: The GIGABYTE GeForce RTX 4090 AERO OC 24G graphics card, shown alongside its retail packaging.
2. Safety Information
Please read the following safety guidelines carefully before installing or operating your graphics card:
- Electrostatic Discharge (ESD) Protection: Always wear an anti-static wrist strap or frequently touch a grounded metal object before handling the graphics card to prevent ESD damage.
- Power Supply: Ensure your power supply unit (PSU) meets the minimum wattage requirements for the RTX 4090 and has the necessary 12VHPWR connector.
- Ventilation: Ensure adequate airflow within your PC case to prevent overheating.
- Physical Handling: Handle the card by its edges and avoid touching the gold-plated connectors or sensitive components.
- Power Disconnection: Always disconnect the power cord from the wall outlet before installing or removing any components from your computer.
3. Package Contents
Verify that all items are present in the package:
- GIGABYTE GV-N4090AERO OC-24GD Graphics Card
- User Manual
- Anti-sag bracket
- 12VHPWR power adapter
4. Installation Guide
4.1. Physical Installation
- Turn off your computer and disconnect the power cord.
- Open your computer case.
- Locate an available PCI Express x16 slot on your motherboard.
- Remove the necessary expansion slot covers from your PC case.
- Carefully align the graphics card with the PCIe slot and press it down firmly until it is securely seated.
- Secure the graphics card to the case with screws.
- Install the included anti-sag bracket to provide additional support for the card.
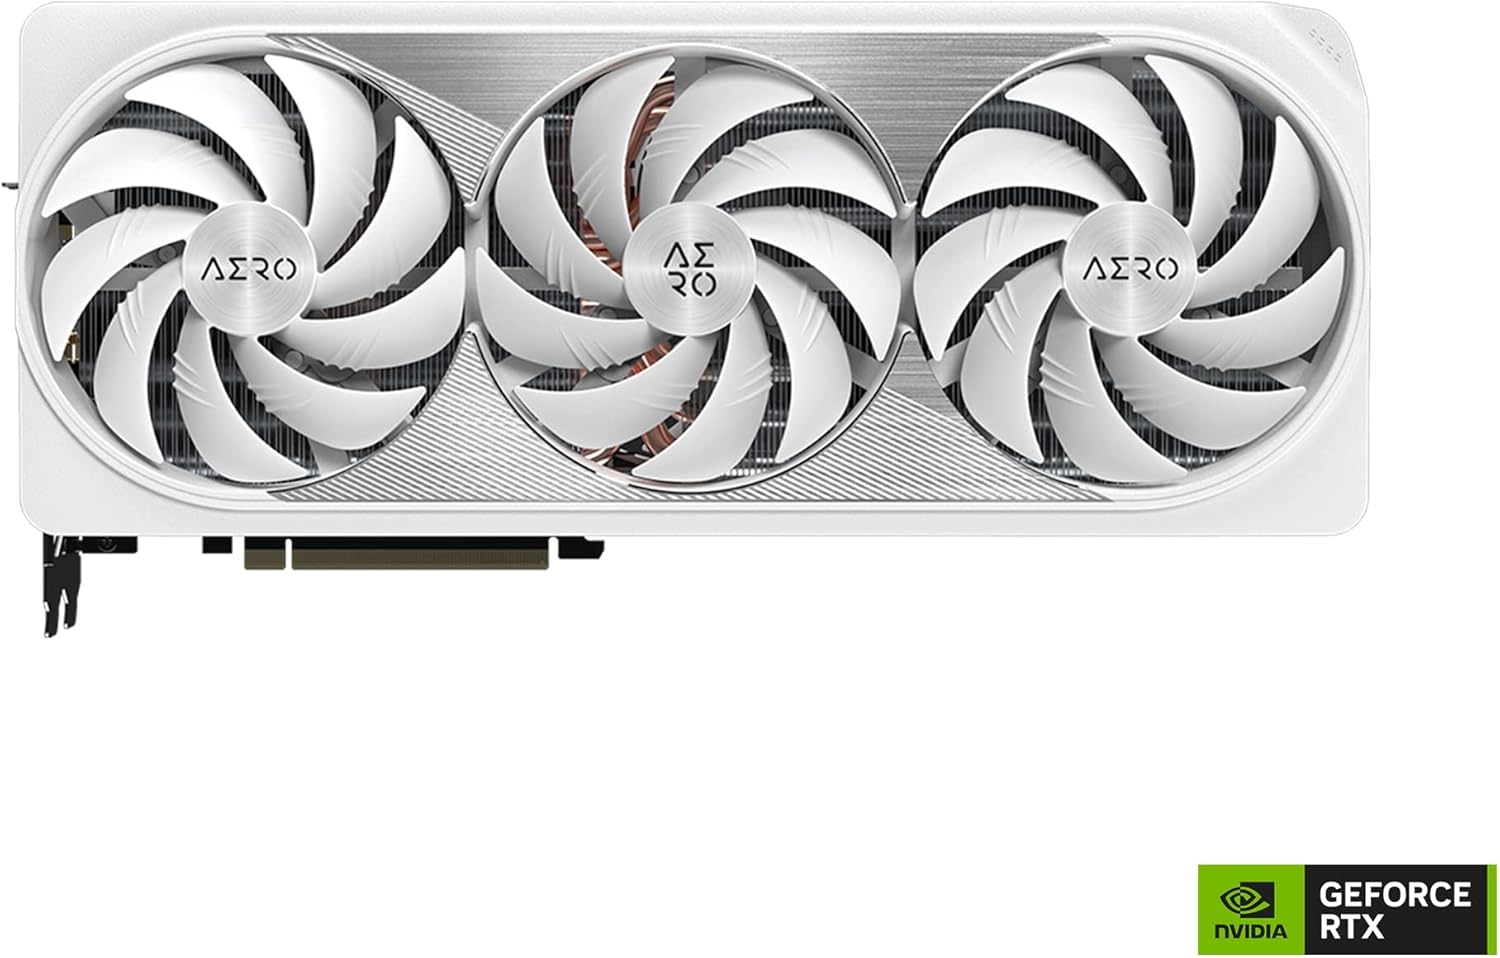
Figure 4.1: A top-down view of the graphics card, showcasing the triple WINDFORCE fan cooling system.
4.2. Power Connection
Connect the 12VHPWR power adapter to the graphics card and to your power supply unit. Ensure all connections are firm and fully seated to prevent potential issues.
4.3. Driver Installation
- After physical installation, close your computer case and reconnect the power cord.
- Boot your computer.
- Download the latest graphics drivers from the official GIGABYTE website (www.gigabyte.com) or NVIDIA's official website (www.nvidia.com/drivers).
- Follow the on-screen instructions to complete the driver installation.
5. Operating Your Graphics Card
5.1. Initial Boot-up
Upon successful driver installation, your system should recognize the GIGABYTE RTX 4090 AERO OC. You can verify this in your operating system's Device Manager.
5.2. Software Utilities
GIGABYTE provides software utilities such as GIGABYTE Control Center (GCC) which allows you to monitor card performance, adjust fan speeds, and customize RGB lighting effects (RGB Fusion). Download the latest version from the GIGABYTE website.

Figure 5.1: The rear I/O panel of the graphics card, featuring multiple DisplayPort and HDMI outputs.
6. Maintenance
- Cleaning: Periodically clean dust from the fans and heatsink using compressed air. Ensure the system is powered off and unplugged before cleaning.
- Fan Care: Avoid obstructing the fans to maintain optimal cooling performance.
- Software Updates: Keep your graphics drivers and GIGABYTE utilities updated for best performance and stability.
7. Troubleshooting
- No Display Output: Ensure the graphics card is fully seated in the PCIe slot and the power cables are securely connected. Check that your monitor cable is connected to the graphics card, not the motherboard's integrated graphics ports.
- Performance Issues: Verify that the latest drivers are installed. Check system temperatures to ensure the card is not overheating. Ensure your power supply is sufficient.
- Overheating: Ensure proper case ventilation. Clean dust from the heatsink and fans. Monitor temperatures using GIGABYTE Control Center or other software.
- System Instability/Crashes: This can often be resolved by updating drivers or ensuring stable power delivery. If overclocking, revert to default settings to test stability.
8. Technical Specifications
| Feature | Specification |
|---|---|
| Graphics Processing Unit | NVIDIA GeForce RTX 4090 |
| Memory Size | 24 GB GDDR6X |
| Memory Interface | 384-bit |
| Memory Speed | 21000 MHz |
| Max Digital Resolution | 7680x4320 |
| Output Interface | DisplayPort, HDMI |
| Cooling System | WINDFORCE 3X Fans |
| Dimensions (LxWxH) | 13.46 x 5.91 x 2.95 inches |
| Item Weight | 6.29 pounds |
| Model Number | GV-N4090AERO OC-24GD |

Figure 8.1: An illustration detailing the length and width measurements of the graphics card.
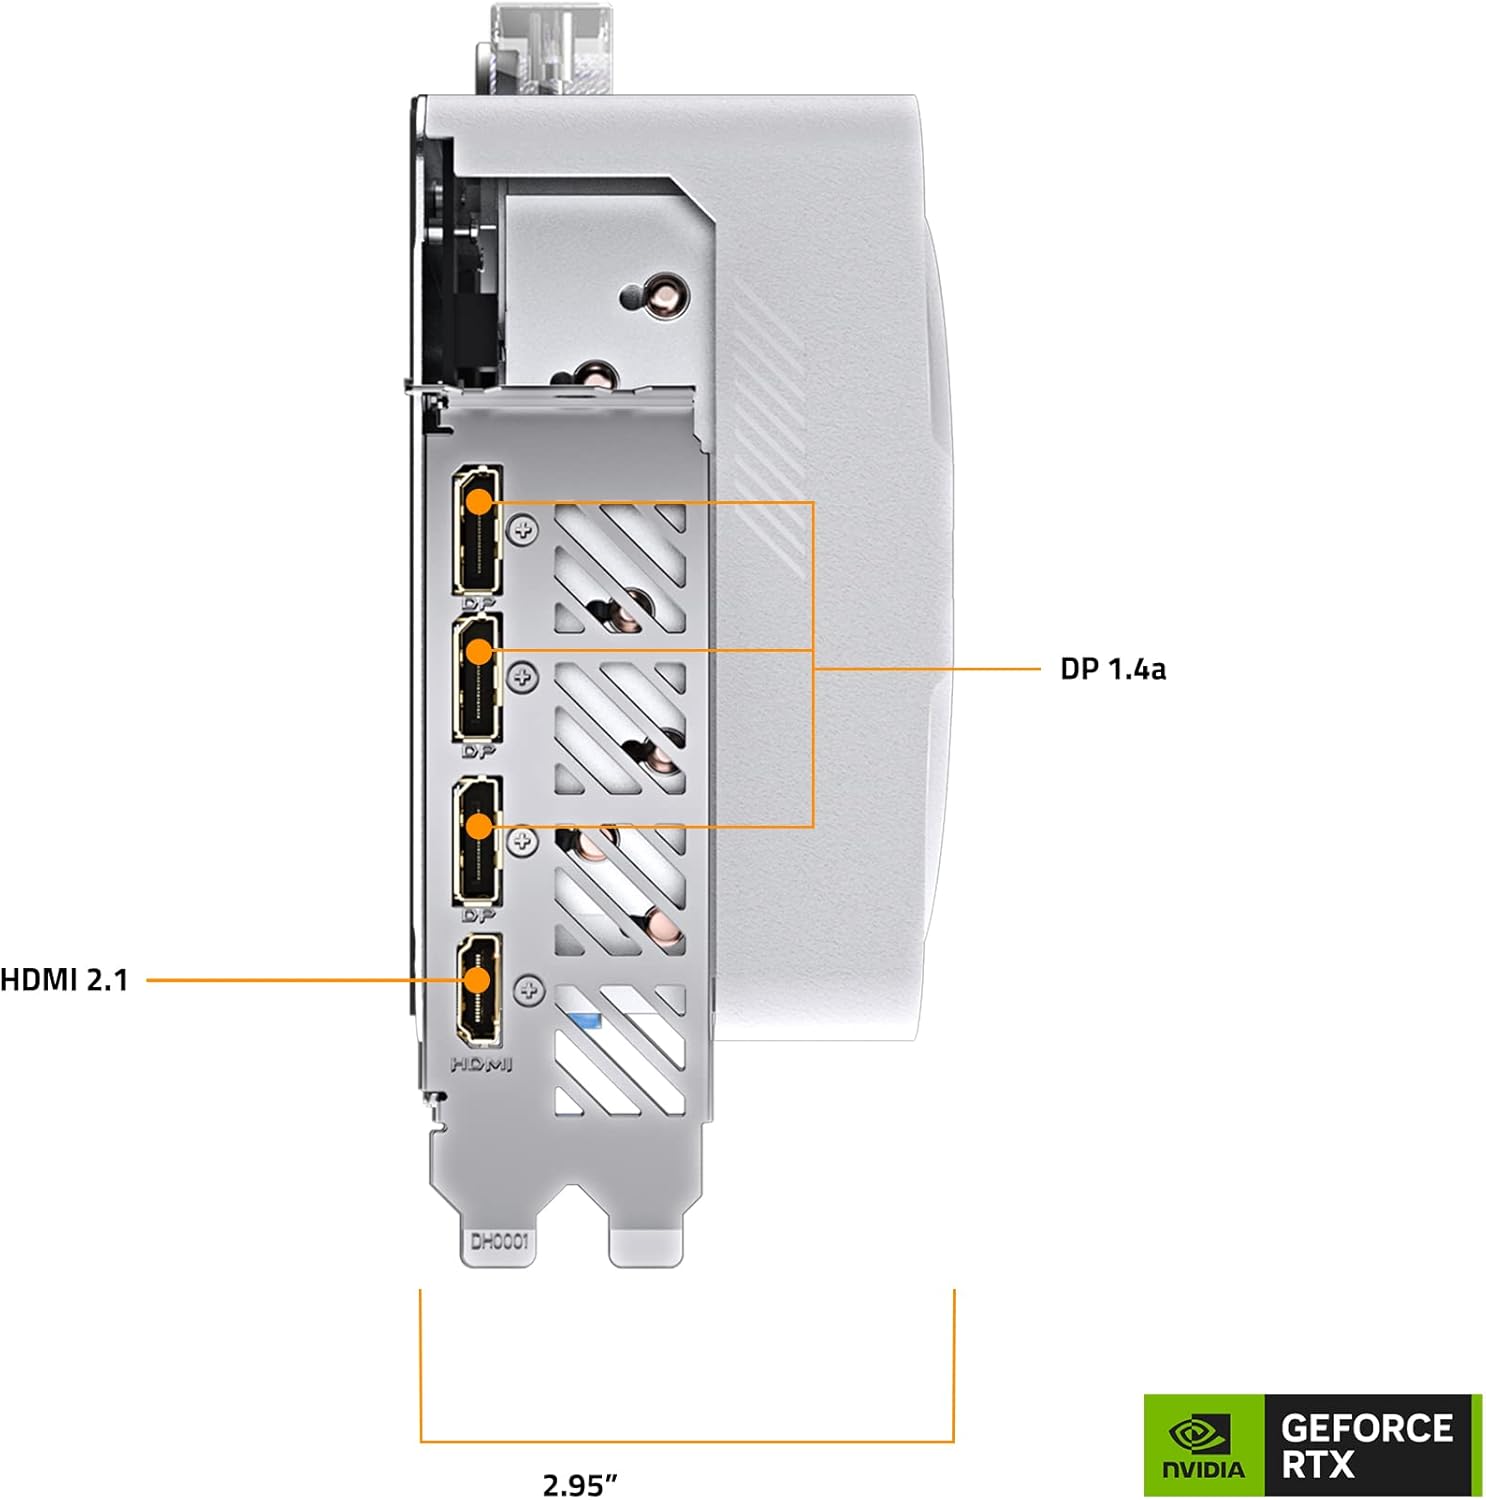
Figure 8.2: An illustration detailing the height and thickness measurements of the graphics card, including the PCIe bracket.
9. Warranty and Support
The GIGABYTE GV-N4090AERO OC-24GD Graphics Card comes with a 4-year warranty. Online registration may be required to activate the full warranty period. For detailed warranty terms and conditions, please refer to the official GIGABYTE website.
For technical support, driver downloads, and further product information, please visit the official GIGABYTE support page: www.gigabyte.com/Support


