Introduction
This manual provides essential information for the safe and efficient operation, installation, and maintenance of your Spire Premium 5 Burner Built-In Gas Grill Island Head. Please read all instructions carefully before assembly and use to ensure optimal performance and safety.
Safety Information
WARNING: For outdoor use only. Do not store or use gasoline or other flammable vapors and liquids in the vicinity of this or any other appliance.
- Always ensure proper ventilation when operating the grill.
- Maintain minimum clearances from combustible materials as specified in the installation section.
- Never leave the grill unattended while in use.
- Keep children and pets away from the grill at all times.
- Ensure all gas connections are tight and leak-free before operation.
- Use only the type of gas specified for your grill (Propane or Natural Gas, depending on conversion kit).
- Always open the grill lid before lighting the burners.
Package Contents
Your Spire Premium 5 Burner Built-In Gas Grill includes the following main components:
- Grill Head Assembly
- Stainless Steel Cooking Grids
- Warming Rack
- Heat Diffusers/Flame Tamers
- Removable Grease Tray
- User Manual

Figure 1: Internal components of the Spire Premium Built-In Gas Grill, showing the lid handle, firebox, halogen lights, ceramic rear burner, adjustable dials with electronic ignition, and removable grease pan.
Setup and Installation
The Spire Premium Built-In Gas Grill is designed for integration into an outdoor kitchen island. Proper installation is crucial for safety and performance.
Dimensions and Cutout Requirements
Ensure your outdoor kitchen island has the correct dimensions for a seamless fit. Refer to the diagrams below for precise measurements.

Figure 2: Overall product dimensions: Height 23.07 inches, Depth 25.55 inches, Width 34.05 inches.

Figure 3: Recommended cutout dimensions for built-in installation. Consult the full manual for detailed specifications.
Gas Connection
This grill is compatible with propane gas. If converting to natural gas, ensure you use the appropriate conversion kit and follow all local codes and regulations. Always have a qualified technician perform gas connections.
Installation Steps
- Carefully lift the grill head and place it into the prepared cutout in your outdoor kitchen island.
- Secure the grill head using the provided fasteners, ensuring it is level and stable.
- Connect the gas supply line to the grill's inlet, ensuring all connections are tight and tested for leaks using a soap and water solution.
- Install the cooking grates, heat diffusers, and warming rack.
Video 1: This video demonstrates the general process of installing a built-in grill head into an outdoor kitchen island, including placing the unit and securing it.
Operating Instructions
Lighting the Main Burners
- Ensure the grill lid is open.
- Turn on the gas supply at the source (e.g., propane tank valve).
- Push and turn any main burner control knob counter-clockwise to the HIGH position. You should hear a clicking sound from the electronic ignition.
- If the burner does not light within 5 seconds, turn the knob to OFF, wait 5 minutes, and repeat the procedure.
- Once lit, adjust the flame to your desired cooking temperature.
Using the Rear Burner (Rotisserie)
The 13,000 BTU ceramic rear burner is ideal for rotisserie cooking, providing even heat for roasting. To use:
- Attach the rotisserie rod and forks with your food securely in place.
- Position the rotisserie rod over the rear burner.
- Push and turn the rear burner control knob to the HIGH position to ignite.
- Ensure the rotisserie motor is engaged and rotating.

Figure 4: The 13,000 BTU ceramic rear burner, designed for rotisserie cooking.
Video 2: A short preview demonstrating the use of a rotisserie chicken fork kit, highlighting its application for roasting poultry.
Temperature Control
The built-in thermometer on the lid provides accurate temperature readings for precise cooking. Adjust burner knobs to achieve desired temperatures for searing, smoking, or slow cooking.

Figure 5: The spacious cooking surface, offering 758 square inches of total cooking area for various dishes.
Video 3: A brief preview showing food being cooked on the grill, illustrating its cooking capabilities.
Maintenance and Cleaning
Regular cleaning and maintenance will extend the life of your grill and ensure safe operation.
After Each Use
- Turn off all burner control knobs and the gas supply.
- Allow the grill to cool completely.
- Brush cooking grates with a grill brush to remove food residue.
- Empty and clean the removable grease tray located at the front.

Figure 6: Stainless steel cooking grids and warming rack, designed for durability and easy cleaning.
Periodic Cleaning
- Clean the exterior stainless steel surfaces with a mild detergent and a soft cloth. Avoid abrasive cleaners.
- Inspect burner ports for blockages and clean as necessary.
- Check gas hoses and connections for any signs of wear or leaks.
Troubleshooting
If you encounter issues with your grill, refer to the following common troubleshooting tips:
- Burner not lighting: Check gas supply, ensure lid is open, verify electronic ignition is sparking. Clean burner ports if clogged.
- Uneven heating: Ensure heat diffusers are correctly positioned. Clean burner ports.
- Low flame: Check gas supply pressure. Ensure gas lines are not kinked.
For persistent issues, contact customer support.
Specifications
| Feature | Specification |
|---|---|
| Brand | SPIRE |
| Model Number | 740-0788P |
| Product Dimensions (D x W x H) | 25.55" x 34.05" x 23.07" |
| Material | Stainless Steel |
| Fuel Type | Gas (Propane, convertible to Natural Gas) |
| Main Burner Count | 5 |
| Main Burner BTU | 5 x 10,000 BTU |
| Rear Burner BTU | 1 x 13,000 BTU |
| Total BTUs | 63,000 BTUs |
| Total Cooking Surface Area | 750 Square Inches |
| Special Features | Built-In Thermometer, Durable, Removable Grease Tray |
| Item Weight | 118.7 pounds |
Warranty and Support
The Spire Premium 5 Burner Built-In Gas Grill comes with a 10-year limited warranty. For warranty claims, technical support, or replacement parts, please contact SPIRE customer service through their official website or the contact information provided in your product packaging.
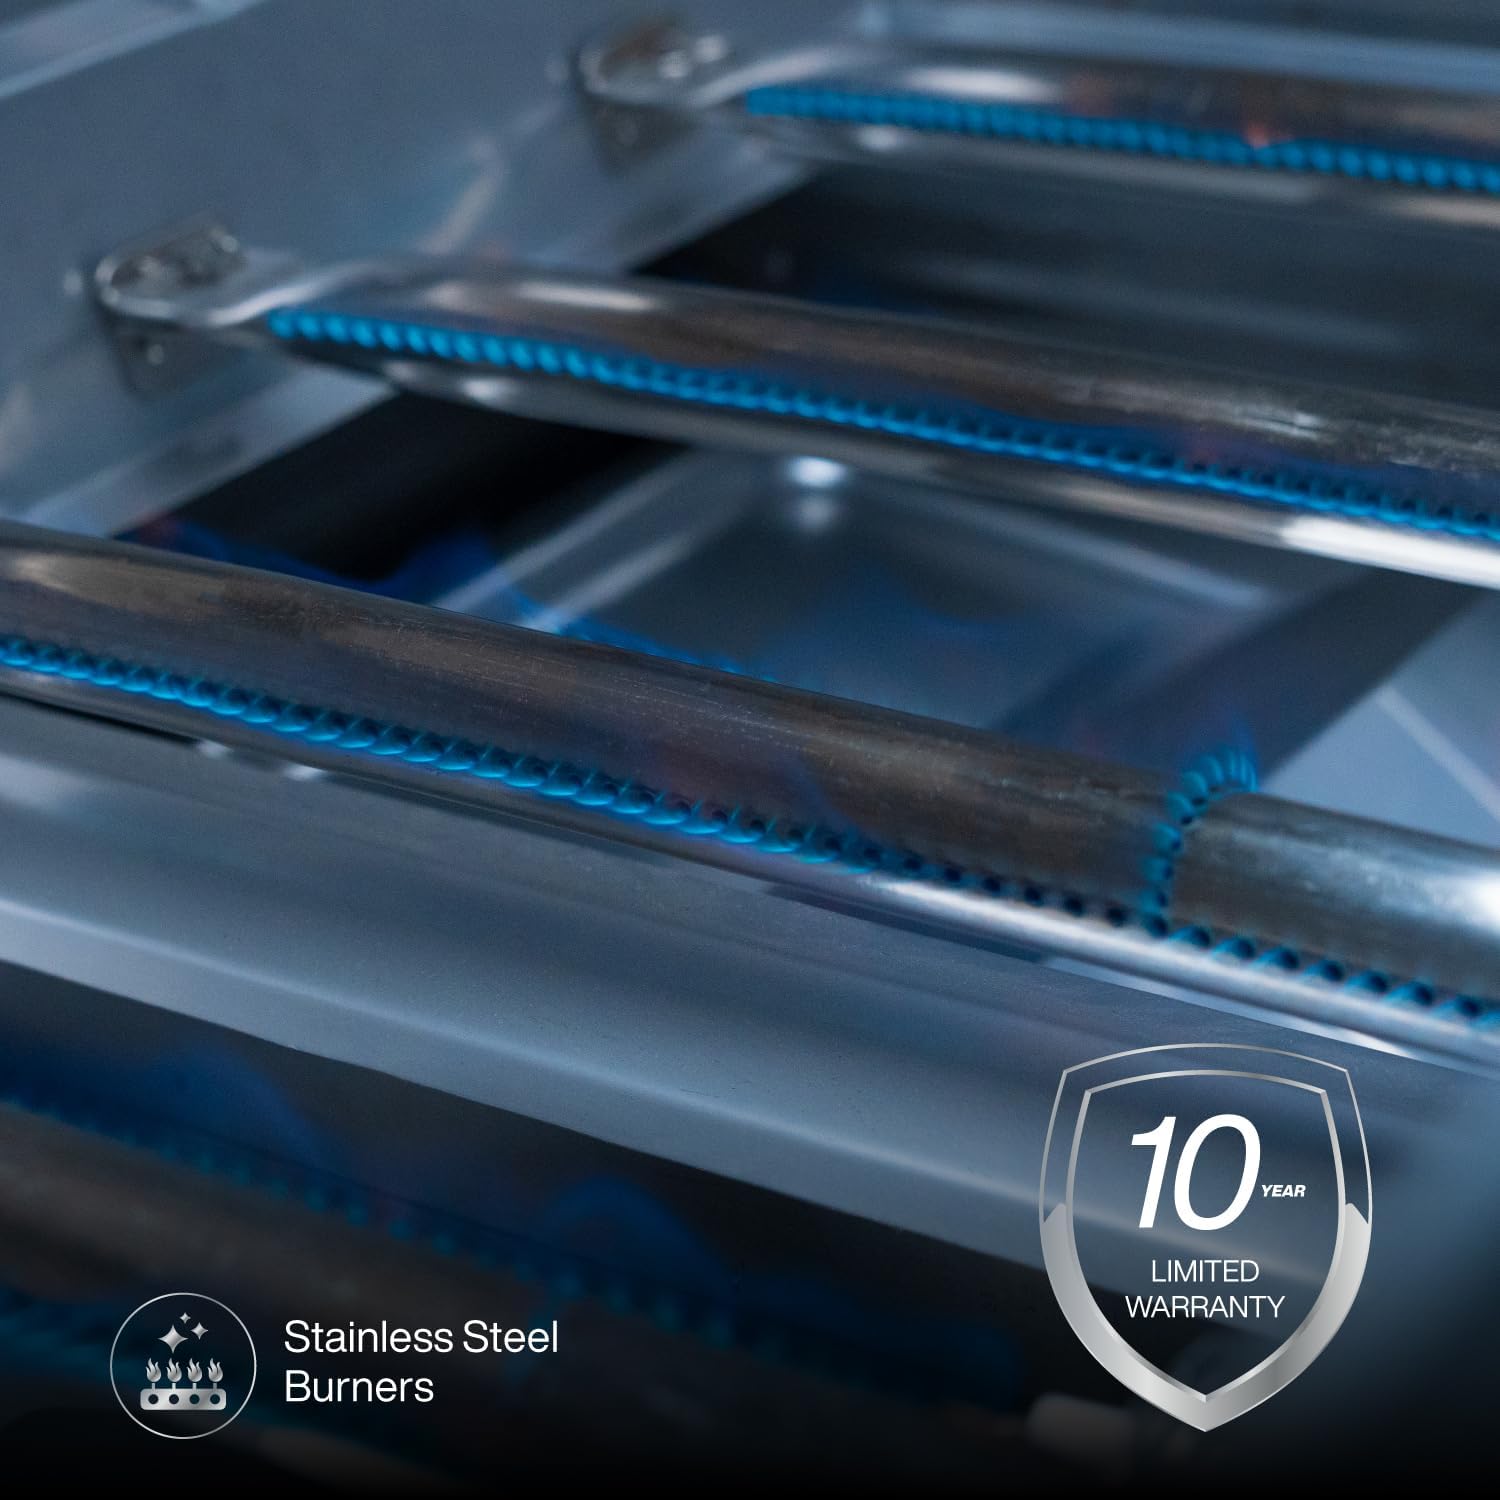
Figure 7: The grill features durable stainless steel burners and is backed by a 10-year limited warranty.


