
1. Introduction
This manual provides essential information for the safe and efficient operation, installation, and maintenance of your Vestar 1 Ton 3 Star Split Air Conditioner, Model VASKV123PG3H. This unit features a 100% Copper Coil, Auto Diagnosis, High Density Filter, Auto Restart, Hidden Display, Eco/Power Saving Mode, Self-clean & Coated Fins, Two-way Drain, and Summer Chill/Rapid Cooling functions.
Please read this manual thoroughly before using your air conditioner and retain it for future reference.
2. Included Components
Upon unpacking, verify that all the following components are present:
- 1 Indoor Unit
- 1 Outdoor Unit
- 1 Remote Control
- User Manual (this document)
- Warranty Card
- 3m Interconnecting Pipe
3. Safety Information
Important Safety Instructions: Always follow basic safety precautions to reduce the risk of fire, electric shock, or injury.
- Ensure the air conditioner is installed by a qualified technician.
- Do not operate the unit with wet hands.
- Do not insert objects into the air outlet.
- Keep children away from the unit.
- Turn off the power supply before cleaning or maintenance.
- Do not attempt to repair the unit yourself. Contact authorized service personnel.
4. Setup & Installation
Installation of this split air conditioner requires specialized tools and knowledge. It is strongly recommended that installation be performed by a certified and experienced technician to ensure proper function, safety, and warranty validity.
4.1. Indoor Unit Placement
The indoor unit should be mounted on a wall, ensuring sufficient space around it for proper airflow. Avoid direct sunlight and heat sources. Ensure the wall is strong enough to support the unit's weight.
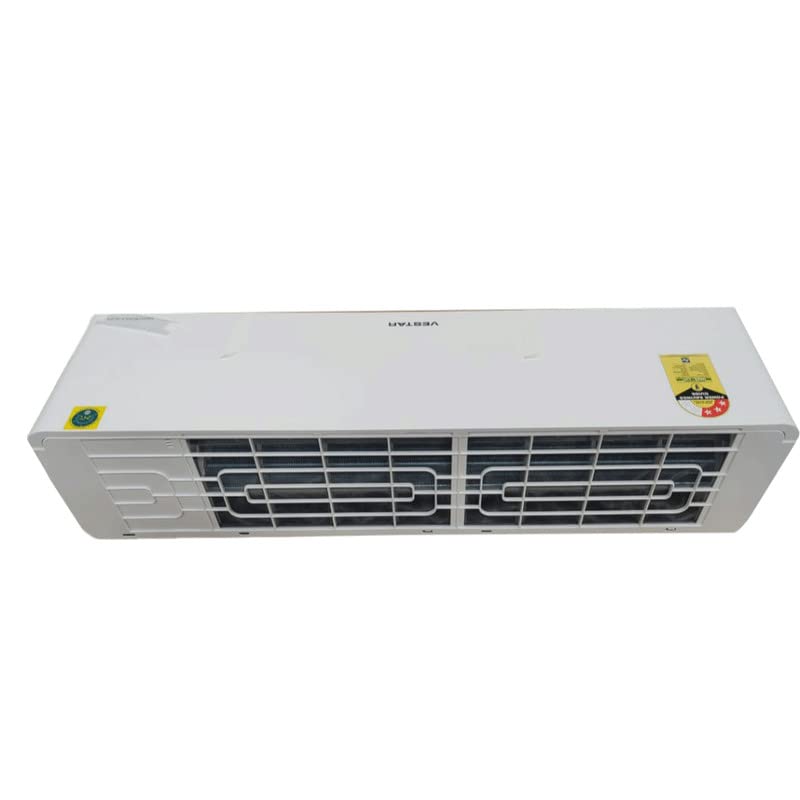
Figure 1: Front view of the Vestar Split AC indoor unit, showing the air intake and outlet grilles.
4.2. Outdoor Unit Placement
The outdoor unit should be placed in a well-ventilated area, away from obstructions that could impede airflow. Ensure it is on a stable, level surface and protected from direct exposure to harsh weather conditions where possible. Maintain adequate distance from walls and other structures for heat dissipation.
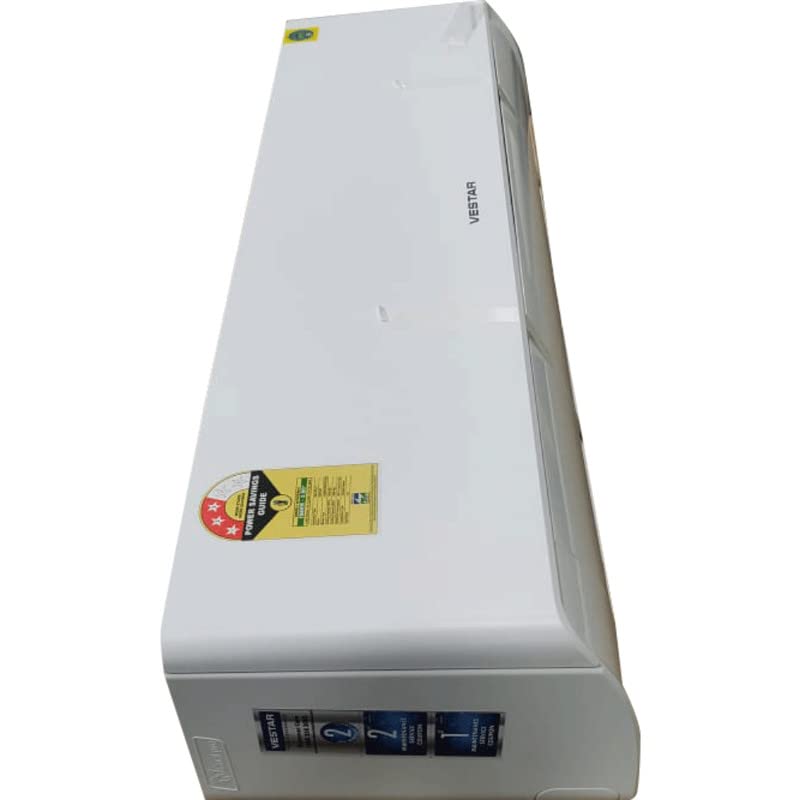
Figure 2: Side view of the Vestar Split AC indoor unit, highlighting its compact design.
4.3. Electrical Connection
Ensure the power supply matches the specifications of the unit. A dedicated circuit breaker is recommended. All electrical work must comply with local codes and regulations.
5. Operating Instructions
Your Vestar AC is controlled via the included remote control. Ensure the remote has fresh batteries installed.
5.1. Basic Operation
- Power On/Off: Press the ON/OFF button on the remote control to start or stop the unit.
- Mode Selection: Press the MODE button to cycle through available modes: Cooling, Fan, Dry, Auto.
- Temperature Adjustment: Use the TEMP UP (▲) and TEMP DOWN (▼) buttons to set your desired temperature.
- Fan Speed: Press the FAN button to adjust the fan speed (Low, Medium, High, Auto).
5.2. Special Features
- Hidden Display: The unit features a hidden display that becomes visible only when the AC is operating.
- Eco/Power Saving Mode: Activate this mode to optimize energy consumption while maintaining comfortable cooling. Refer to your remote control for the specific button (often labeled 'ECO' or a leaf icon).
- Summer Chill/Rapid Cooling: This function provides maximum cooling power for quick temperature reduction. Look for a 'TURBO' or 'RAPID COOL' button on your remote.
- Auto Restart: In case of a power outage, the unit will automatically restart with the previous settings once power is restored.
6. Maintenance
Regular maintenance ensures optimal performance and extends the lifespan of your air conditioner. Always disconnect power before performing any maintenance.
6.1. Air Filter Cleaning
The High Density Filter should be cleaned every two weeks, or more frequently depending on usage and air quality.
- Open the front panel of the indoor unit.
- Remove the air filters.
- Clean the filters with a vacuum cleaner or wash them with lukewarm water and mild detergent.
- Rinse thoroughly and allow them to dry completely in a shaded area before reinserting.
6.2. Self-Clean Function
Your unit is equipped with a Self-clean function to prevent mold and bacteria growth on the evaporator coil. Refer to your remote control for instructions on activating this feature.
6.3. General Cleaning
Wipe the indoor unit's exterior with a soft, damp cloth. Do not use harsh chemicals or abrasive cleaners. Ensure the outdoor unit's coils are free from debris and obstructions.
7. Troubleshooting
Before contacting service, check the following common issues:
| Problem | Possible Cause | Solution |
|---|---|---|
| Unit does not start | No power; Remote control batteries dead; Circuit breaker tripped. | Check power supply; Replace batteries; Reset circuit breaker. |
| Insufficient cooling | Dirty air filter; Blocked outdoor unit; Doors/windows open; Temperature setting too high. | Clean air filter; Clear obstructions; Close openings; Lower temperature setting. |
| Unusual noise | Loose parts; Unit not level; Debris in fan. | Check for loose parts; Ensure unit is level; Contact service if persistent. |
| Water leakage | Blocked drain pipe; Improper installation. | Clear drain pipe; Contact installer for inspection. |
If the problem persists after attempting these solutions, please contact Vestar customer support.
8. Specifications
| Brand | Vestar |
| Model Name | VASKV123PG3H |
| Capacity | 1 Ton |
| BEE Star Rating | 3 Star |
| Cooling Power | 3517 Kilowatts |
| Annual Energy Consumption | 675.02 Kilowatt Hours |
| Noise Level | 32 Decibels |
| Filter Type | High Density Filter, Air Purification Filter, Dust Filter |
| Core Material | Copper |
| Installation Type | Split System |
| Compressor Type | Rotary Scroll |
| Product Dimensions (D x W x H) | 27D x 81W x 21.2H Centimeters |
| Voltage | 264 Volts |
| Wattage | 872 Watts |
| Control Method | Remote Control |
| Operating Mode | Cooling |
| Color | White |
9. Warranty Information
Your Vestar 1 Ton 3 Star Split AC comes with a 1 Year Warranty from the date of purchase. This warranty covers manufacturing defects and faulty workmanship under normal use and service conditions.
Please retain your purchase receipt and warranty card for any warranty claims. The warranty does not cover damages caused by improper installation, misuse, neglect, unauthorized repairs, or acts of nature.
For detailed terms and conditions, refer to the warranty card included with your product.
10. Customer Support
If you require assistance with installation, operation, maintenance, or troubleshooting beyond the scope of this manual, please contact Vestar customer support. Have your model number (VASKV123PG3H) and purchase details ready when you call.
For service requests or technical inquiries, please refer to the contact information provided on your warranty card or the official Vestar website.