1. Setup
1.1 Unpacking
Carefully remove all components from the packaging. Ensure all parts listed in the packing list are present and undamaged before proceeding with assembly. Keep packaging materials for future storage or transport if needed.
1.2 Assembly Instructions
The PARTPHONER Modern Standing Lamp is designed for easy, tool-free assembly. Follow these steps:
- Screw all the tubes together from top to bottom: Connect the metal pole sections by screwing them clockwise until secure.
- Insert the assembled tubes into the base: Secure the assembled pole into the sturdy lamp base.
- Unscrew the socket ring from the lamp holder: Locate the lamp holder and remove the retaining ring.
- Fix the lampshade on the lamp holder: Position the fabric lampshade over the lamp holder.
- Screw the socket ring to fix the lampshade: Re-attach and tighten the retaining ring to secure the lampshade in place.
- Install a light bulb with E26 base (Bulb not included): Screw in a compatible E26 bulb.
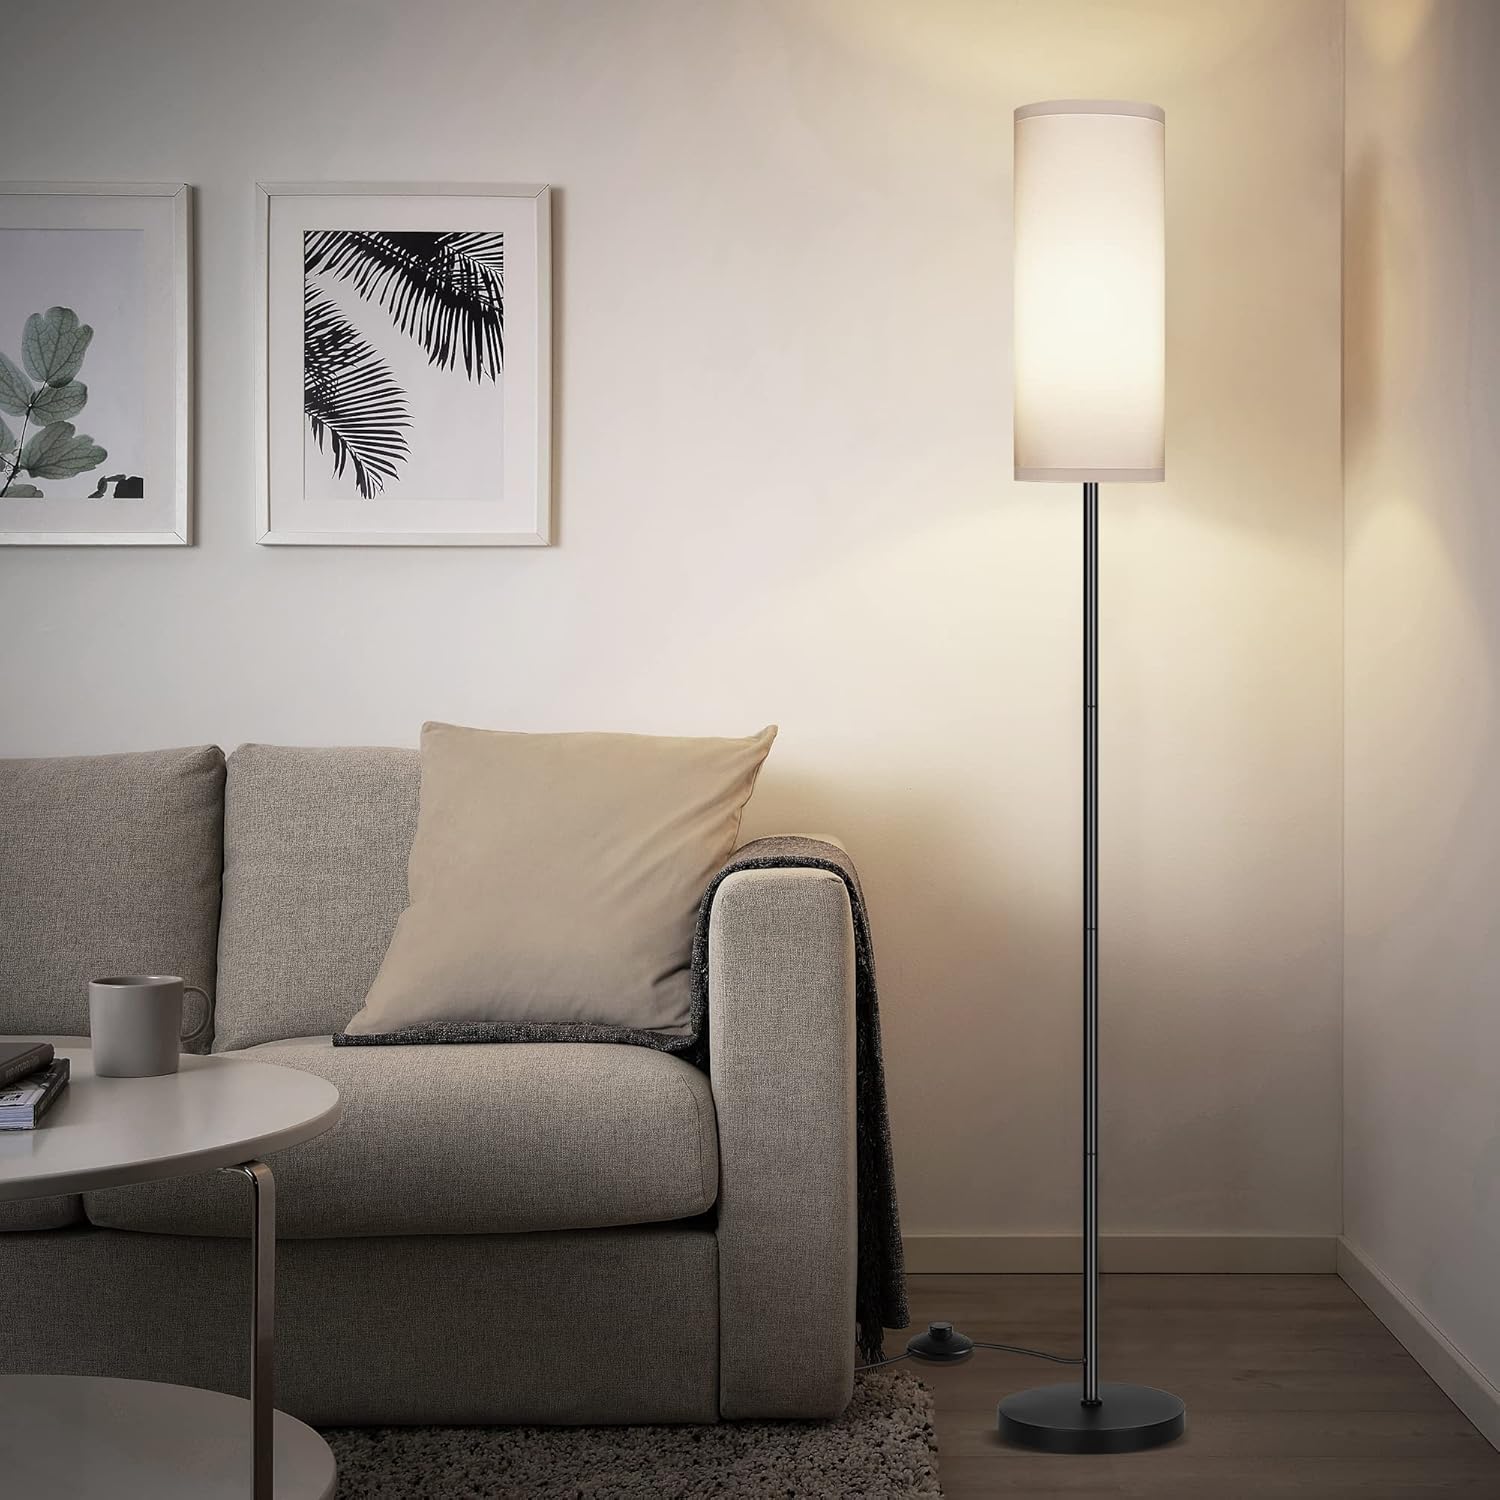
Figure 1: Step-by-step assembly guide for the PARTPHONER Modern Standing Lamp.

Figure 2: Detailed view of key lamp components, highlighting the fabric shade, metal construction, foot switch, and stable base.
1.3 Assembly Video Guide
For a visual guide on assembly and initial setup, please refer to the official product video:
Video 1: Official guide demonstrating the assembly and features of the Minimalist Tall Lamp.
2. Operating Instructions
2.1 Powering On/Off
The PARTPHONER Modern Standing Lamp features a convenient foot switch for easy operation. Simply step on the switch to turn the lamp on or off. The lamp is also compatible with wall switches; ensure the foot pedal switch is toggled to the 'ON' position if using a wall switch.
Figure 3: The integrated foot switch provides convenient control for the lamp.
2.2 Bulb Compatibility and Light Temperature
This standing lamp is designed for E26 base bulbs. While the bulb is not included, using a three-color temperature light bulb (such as ASIN: B0BZD75BM4) allows you to easily adjust the lighting style to suit your desired ambiance and different space illumination requirements.

Figure 4: The lamp supports bulbs that offer various color temperatures, from warm to cool white.

Figure 5: Visual representation of how different bulb temperatures affect the lamp's light output.
3. Maintenance
3.1 Cleaning
To maintain the appearance and functionality of your lamp, follow these cleaning guidelines:
- Lampshade: Gently dust the fabric lampshade with a soft, dry cloth or a lint roller. For stubborn spots, lightly dab with a damp cloth and mild soap, then wipe dry immediately. Avoid excessive moisture.
- Base and Pole: Wipe the metal base and pole with a soft, dry cloth. For smudges, use a slightly damp cloth and dry thoroughly. Avoid abrasive cleaners or solvents, as they may damage the finish.
- General: Always unplug the lamp from the power outlet before cleaning.
3.2 Bulb Replacement
When replacing the light bulb:
- Ensure the lamp is unplugged and the bulb has cooled down completely.
- Unscrew the old E26 bulb counter-clockwise.
- Screw in the new E26 bulb clockwise until it is snug. Do not overtighten.
- Only use E26 base bulbs with a maximum wattage of 60 watts (or equivalent LED).
4. Troubleshooting
If you encounter any issues with your PARTPHONER Modern Standing Lamp, please refer to the following common troubleshooting steps:
| Problem | Possible Cause | Solution |
|---|---|---|
| Lamp does not turn on | No power to outlet; Bulb loose or faulty; Foot switch off; Wall switch off (if applicable) | Check outlet with another device; Tighten or replace bulb; Ensure foot switch is pressed to ON; Ensure wall switch is ON. |
| Light flickers | Loose bulb; Incompatible bulb; Faulty wiring | Tighten bulb; Ensure bulb is compatible (E26, max 60W); Contact customer support if flickering persists. |
| Lampshade is wobbly | Socket ring not tightened; Lampshade not properly seated | Ensure the socket ring is securely tightened; Re-seat the lampshade firmly on the lamp holder. |
If the problem persists after attempting these solutions, please contact PARTPHONER customer support for further assistance.
5. Product Specifications
Key specifications for the PARTPHONER Modern Standing Lamp:
- Brand: PARTPHONER
- Model Number: PAFP060BB1
- Lamp Type: Floor Lamp
- Product Dimensions: 8.66"D x 8.66"W x 61.5"H
- Item Weight: 5.43 pounds
- Material: Iron (Base), Fabric (Shade)
- Finish Type: Painted
- Shade Color: White
- Bulb Base: E26
- Max Wattage: 60 watts
- Switch Type: Foot Switch
- Power Source: Corded Electric
- Voltage: 120 Volts (AC)
- Assembly Required: Yes
- Indoor/Outdoor Usage: Indoor
- Country of Origin: China

Figure 6: Dimensional overview of the PARTPHONER Modern Standing Lamp.
6. Warranty and Support
PARTPHONER is committed to providing high-quality products. This product comes with a standard manufacturer's warranty against defects in materials and workmanship. Please refer to your purchase documentation for specific warranty terms and duration.
For any questions, technical support, or warranty claims, please contact PARTPHONER customer service through the retailer's platform or visit the official PARTPHONER brand store. Please have your model number (PAFP060BB1) and purchase date available when contacting support.
Online Support: Visit the PARTPHONER Store on Amazon