1. Introduction
This manual provides detailed instructions for the installation, operation, and maintenance of your Hapadif 15-Channel Remote Control for Motorized Blinds. This remote is designed to offer convenient and flexible control over multiple motorized window coverings, allowing for individual or group adjustments.
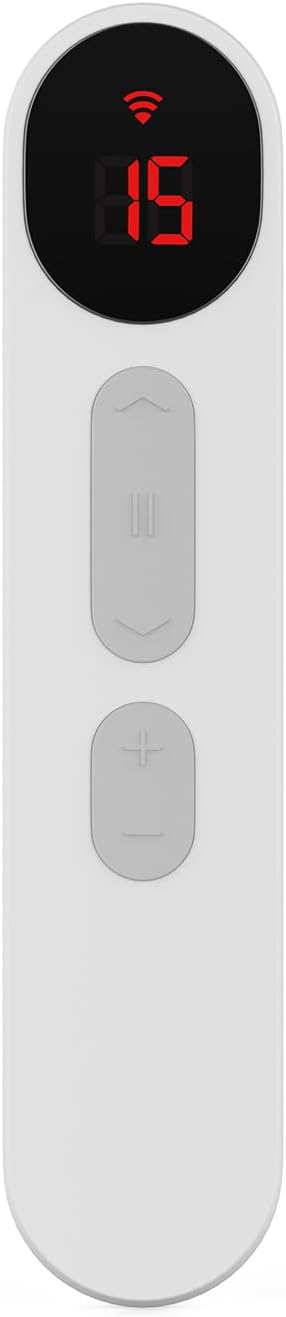
Image 1.1: The Hapadif 15-Channel Remote Control, featuring a digital display and control buttons.
2. Product Components
Please verify that all components are present in your package:
- 1 x Hapadif 15-Channel Remote Control (Model AM200)
- 1 x Wall Mount Bracket
- 2 x Screws and Wall Anchors
- 1 x User Manual (this document)

Image 2.1: A detailed view of the Hapadif 15-Channel Remote Control, highlighting its ergonomic design and button layout.
3. Specifications
| Feature | Detail |
|---|---|
| Model Number | AM200 |
| Brand | Hapadif |
| Max Number of Supported Devices | 15 Channels |
| Color | White |
| Special Feature | Ergonomic Design |
| Power Source | 6 x AA Dry Batteries (not included) |
| Estimated Battery Life | Up to 6 months (typical use) |
| Package Dimensions | 27.9 x 3.35 x 1.96 inches |
| Item Weight | 3.44 pounds |

Image 3.1: Illustration of the built-in battery compartment, indicating the use of 6 dry batteries for an estimated 6 months of operation.
4. Setup and Installation
4.1 Battery Installation
- Locate the battery compartment cover on the back of the remote control.
- Slide the cover open.
- Insert 6 AA dry batteries, ensuring correct polarity (+/-).
- Replace the battery compartment cover securely.
4.2 Pairing with Motorized Blinds
Follow these steps to pair your remote with individual motorized blinds:
- Ensure the motorized blind is powered on and in pairing mode (refer to your blind's specific manual for pairing mode activation).
- On the Hapadif remote, select an available channel (1-15) using the channel selection buttons. The selected channel number will be displayed.
- Press and hold the pairing button on the remote (often a small recessed button, refer to remote diagram if available) until the blind responds (e.g., jogs slightly).
- Test the connection by pressing the UP, DOWN, and STOP buttons.
- Repeat for all blinds, assigning each to a unique channel or grouping them as desired.

Image 4.1: A visual representation of the remote control operating a single motorized blind, indicating successful pairing.
4.3 Setting Up Group Control
To control multiple blinds simultaneously, assign them to the same channel:
- Select the desired channel on the remote that you wish to use for a group.
- Follow the pairing steps (4.2) for each blind you want to include in this group, ensuring they are all paired to the same channel number.
- Once all blinds are paired to the group channel, selecting that channel and pressing UP/DOWN/STOP will control all blinds assigned to it.

Image 4.2: The Hapadif remote control simultaneously adjusting two motorized blinds, demonstrating its group control capability.
4.4 Smart Home Integration (Optional)
The Hapadif remote can be integrated with certain smart home systems for enhanced control, including voice commands and scheduling. This typically requires a compatible smart hub or USB dongle (sold separately).
- Acquire a compatible smart hub or USB dongle (e.g., for Alexa, Google Home).
- Connect the smart hub/dongle to your home network and power source as per its instructions.
- Follow the smart hub's specific instructions to discover and add your motorized blinds. The remote acts as a bridge or direct control for the blinds, while the hub provides smart features.
- Once integrated, you can use voice commands or app controls to operate your blinds.

Image 4.3: A user interacting with an Alexa device to control motorized blinds, illustrating smart home integration.

Image 4.4: A USB dongle, often used as an interface for connecting motorized blinds to smart home systems.
5. Operating Instructions
5.1 Basic Blind Operation
The remote features intuitive buttons for controlling your blinds:
- UP Button (▲): Raises the selected blind(s).
- DOWN Button (▼): Lowers the selected blind(s).
- STOP Button (■): Halts the movement of the selected blind(s) at any position.
5.2 Channel Selection
Use the channel selection buttons to switch between individual blinds or groups:
- Channel UP Button (+): Increases the channel number displayed.
- Channel DOWN Button (-): Decreases the channel number displayed.
The digital display will show the currently active channel (1-15). To control all paired blinds simultaneously, select the 'All' channel (if available, or ensure all blinds are paired to a single group channel).
5.3 Setting Upper and Lower Limits
To program the desired upper and lower travel limits for your blinds:
- Select the channel corresponding to the blind you wish to adjust.
- Use the UP/DOWN buttons to move the blind to its desired upper limit.
- Press and hold the LIMIT SET button (refer to your blind's manual for exact button location, often on the motor head or a specific remote button combination) until the blind jogs. This sets the upper limit.
- Move the blind to its desired lower limit using the UP/DOWN buttons.
- Press and hold the LIMIT SET button again until the blind jogs. This sets the lower limit.
- Test the new limits by fully raising and lowering the blind.
Note: The exact procedure for setting limits may vary slightly depending on the specific model of your motorized blinds. Always consult the blind's instruction manual for precise steps.
6. Maintenance
6.1 Cleaning
To clean the remote control, use a soft, dry cloth. Do not use abrasive cleaners, solvents, or wet cloths, as these can damage the surface or internal components.
6.2 Battery Replacement
When the remote's display dims or its response becomes sluggish, it is time to replace the batteries. Follow the battery installation steps in Section 4.1. Always replace all 6 AA batteries at the same time with new ones. Dispose of used batteries according to local regulations.
7. Troubleshooting
If you encounter issues with your Hapadif 15-Channel Remote, refer to the table below for common problems and solutions:
| Problem | Possible Cause | Solution |
|---|---|---|
| Remote not responding | Dead batteries | Replace all 6 AA batteries. |
| Remote not responding | Out of range | Move closer to the motorized blind. Ensure no obstructions. |
| Blind not responding to remote | Blind not paired or incorrectly paired | Re-pair the blind to the desired channel following Section 4.2. |
| Blind moves in wrong direction | Motor direction reversed | Refer to your motorized blind's manual for instructions on reversing motor direction. |
| Blind stops at incorrect positions | Upper/lower limits not set correctly | Reset and reprogram the upper and lower limits as described in Section 5.3. |
| Multiple blinds respond to a single channel unexpectedly | Blinds accidentally paired to the same channel | Clear pairing for affected blinds (refer to blind's manual) and re-pair them to distinct channels or desired group channels. |
8. Safety Information
- Keep the remote control out of reach of children to prevent accidental operation or damage.
- Do not expose the remote to water, excessive moisture, or extreme temperatures.
- Avoid dropping the remote or subjecting it to strong impacts.
- Only use the specified battery type (AA dry batteries). Do not mix old and new batteries or different types of batteries.
- If the remote will not be used for an extended period, remove the batteries to prevent leakage.

Image 8.1: An illustration emphasizing the child-safe, cordless design of motorized roller shades, which the remote controls.
9. Warranty and Support
Hapadif products are manufactured with quality and reliability in mind. This product comes with a standard manufacturer's warranty against defects in materials and workmanship. Please retain your proof of purchase for warranty claims.
For technical support, troubleshooting assistance, or warranty inquiries, please contact Hapadif customer service through the retailer's platform or visit the official Hapadif website for contact information.