1. Important Safety Information
Please read all instructions carefully before assembly and use. Retain this manual for future reference.
- Maximum Weight Capacity: Do not exceed the maximum weight recommendation of 250 pounds (113 kg) to prevent potential safety hazards and damage to the chair.
- Assembly: Ensure all components are correctly assembled and tightened according to the instructions. Periodically check all screws and bolts for tightness.
- Stability: Always sit properly in the chair. Avoid standing on the chair or using it as a step stool.
- Children: Keep children away from the assembly area. Small parts may pose a choking hazard.
- Movement: Exercise caution when moving the chair, especially on uneven surfaces.
2. Package Contents
Verify that all parts are present before beginning assembly. If any parts are missing or damaged, please contact customer support.
- Chair Components (Backrest, Seat, Base, Gas Lift, Armrests, Casters, Foot-Ring)
- Installation Tool (Allen Wrench)
- Screws and Washers
- Specification Sheet

Figure 2.1: Chair Dimensions and Components Overview
3. Assembly Instructions
Follow these steps to assemble your edx Tall Drafting Office Chair. It is recommended to assemble the chair on a soft, clean surface to prevent scratches.
- Attach Casters to Base: Insert the five casters into the holes at the end of each leg of the chair base. Push firmly until they click into place.
- Insert Gas Lift: Place the gas lift cylinder into the center hole of the chair base.
- Assemble Foot-Ring: Slide the foot-ring over the gas lift cylinder. Secure it at your desired height using the adjustment knob or lever on the foot-ring.
- Attach Seat Plate to Seat Cushion: Align the seat plate with the pre-drilled holes on the underside of the seat cushion. Secure it with the provided screws using the Allen wrench. Ensure the front of the seat plate faces the front of the seat cushion.
- Attach Armrests (if applicable): Secure the armrests to the seat cushion using the provided screws.
- Attach Backrest to Seat Cushion: Align the backrest with the mounting points on the seat plate or seat cushion. Secure it with the provided screws.
- Connect Seat Assembly to Gas Lift: Carefully place the assembled seat and backrest onto the gas lift cylinder, ensuring the center hole of the seat plate aligns with the top of the gas lift. Press down firmly to secure.

Figure 3.1: Assembled Chairs in an Office Environment
4. Operating Instructions
Your edx drafting chair offers several adjustable features for personalized comfort.
4.1. Seat Height Adjustment
To adjust the seat height, locate the lift lever on the right side beneath the seat cushion.
- To Raise: While standing, pull the lift lever upwards. The seat will rise automatically. Release the lever at the desired height.
- To Lower: While seated, pull the lift lever upwards. The seat will lower. Release the lever at the desired height.
4.2. Foot-Ring Adjustment
The foot-ring can be adjusted vertically to provide optimal leg support.
- To Adjust: Loosen the knob or lever on the foot-ring support column. Slide the foot-ring up or down to your preferred position. Tighten the knob or lever firmly to secure the foot-ring.
4.3. Tilt/Rocking Function
The chair features a tilt mechanism for comfortable rocking.
- To Enable Rocking: Pull the lift lever outwards from its locked position. The chair back and seat will now tilt together.
- To Lock Upright: Push the lift lever inwards to lock the chair in an upright position.

Figure 4.1: Adjustment Levers and Foot-Ring Mechanism

Figure 4.2: Ergonomic Design and Lumbar Support
5. Maintenance
Regular maintenance helps prolong the life and performance of your chair.
- Cleaning: For general cleaning, wipe surfaces with a soft, damp cloth. For spills on fabric or mesh, spot clean immediately with a mild detergent and water. Avoid harsh chemicals or abrasive cleaners.
- Casters: Periodically check casters for hair or debris that may hinder smooth rolling. Clean as needed. The casters are designed for hard floors and will protect surfaces from scratches.
- Hardware: Every 3-6 months, inspect all screws and bolts to ensure they are tight. Re-tighten if necessary to maintain stability and safety.
- Gas Lift: Do not attempt to disassemble or repair the gas lift cylinder. If it malfunctions, contact customer support.
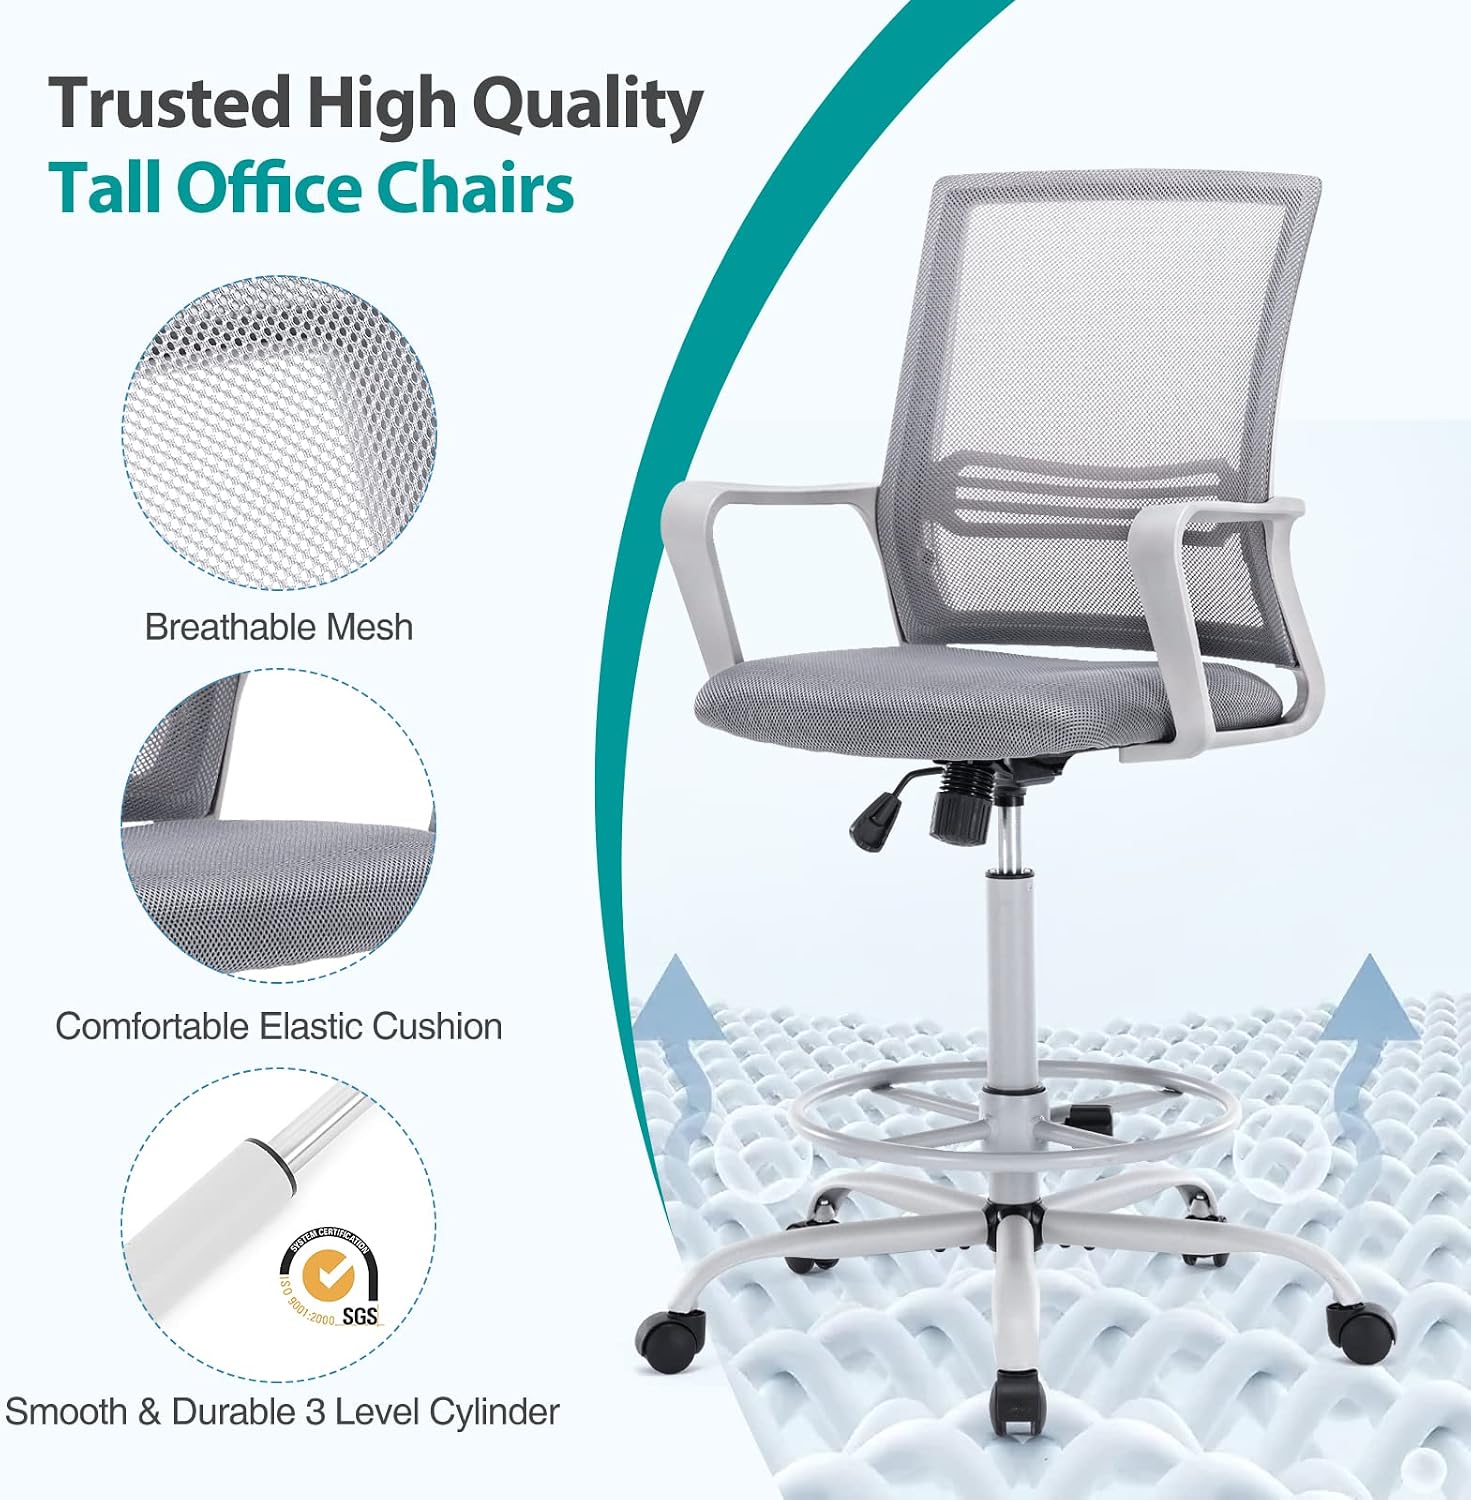
Figure 5.1: Chair Features for Comfort and Durability
6. Troubleshooting
If you encounter any issues with your chair, refer to the following common problems and solutions.
- Chair Does Not Adjust Height:
- Ensure the lift lever is fully engaged when attempting to adjust.
- Check if the gas lift cylinder is properly seated in the base and seat plate.
- If the issue persists, the gas lift may be faulty and require replacement. Contact customer support.
- Casters Not Rolling Smoothly:
- Inspect casters for accumulated hair, dust, or debris. Clean them thoroughly.
- Ensure casters are fully inserted into the chair base.
- Chair Feels Unstable/Wobbly:
- Check all assembly screws and bolts, especially those connecting the seat, backrest, and armrests. Tighten any loose hardware.
- Ensure the gas lift is securely seated in both the base and the seat mechanism.
- Foot-Ring Slips Down:
- Ensure the foot-ring adjustment knob or lever is tightened securely after setting the height.
7. Specifications
| Feature | Specification |
|---|---|
| Brand | edx |
| Model Name | 23-YIS-89F |
| Color | Light Grey |
| Material | Metal (Base), Wood (Frame), Mesh (Back), Fabric (Seat) |
| Product Dimensions (D x W x H) | 22"D x 20"W x 54"H (55.9cm D x 50.8cm W x 137.2cm H) |
| Item Weight | 21 Pounds (9.5 kg) |
| Maximum Weight Recommendation | 250 Pounds (113 kg) |
| Seat Depth | 18.5 inches (47 cm) |
| Back Style | Mesh Back |
| Arm Style | Armless |
| Casters | Silent, suitable for hard floors |
| Assembly Required | Yes |
8. Warranty and Support
This product comes with a standard manufacturer's warranty. For specific warranty details, please refer to the documentation included with your purchase or contact the retailer.
If you have any questions, require assistance with assembly, or need to report missing/damaged parts, please contact edx customer support through the retailer's platform or the official edx website.
Please have your model number (23-YIS-89F) and purchase information ready when contacting support.