
1. Introduction
Thank you for choosing the FIERRG MLW-10 Wave Pump. This device is designed to create natural water movement within your aquarium, promoting a healthier environment for your aquatic life. Featuring a compact design, low noise operation, and a WiFi-enabled LCD display controller, the MLW-10 offers efficient and customizable water flow.
This manual provides essential information for the safe and effective installation, operation, and maintenance of your wave pump. Please read it thoroughly before use and retain it for future reference.
2. Safety Instructions
- Always disconnect the power supply before performing any maintenance, installation, or cleaning.
- This product is designed for indoor use only. Do not expose it to rain or moisture.
- Ensure your hands are dry before handling the power plug or controller.
- Do not operate the pump if the power cord or any part of the unit is damaged. Contact customer support for replacement parts.
- Keep the power adapter and controller away from water to prevent electrical hazards.
- Do not modify or disassemble the pump or controller. Unauthorized modifications may void the warranty and pose safety risks.
- Ensure the pump is fully submerged in water during operation to prevent overheating.
- This appliance is not intended for use by persons (including children) with reduced physical, sensory or mental capabilities, or lack of experience and knowledge, unless they have been given supervision or instruction concerning use of the appliance by a person responsible for their safety.
3. Product Overview
The FIERRG MLW-10 Wave Pump system includes the wave pump unit, an LCD display controller, and a power adapter.
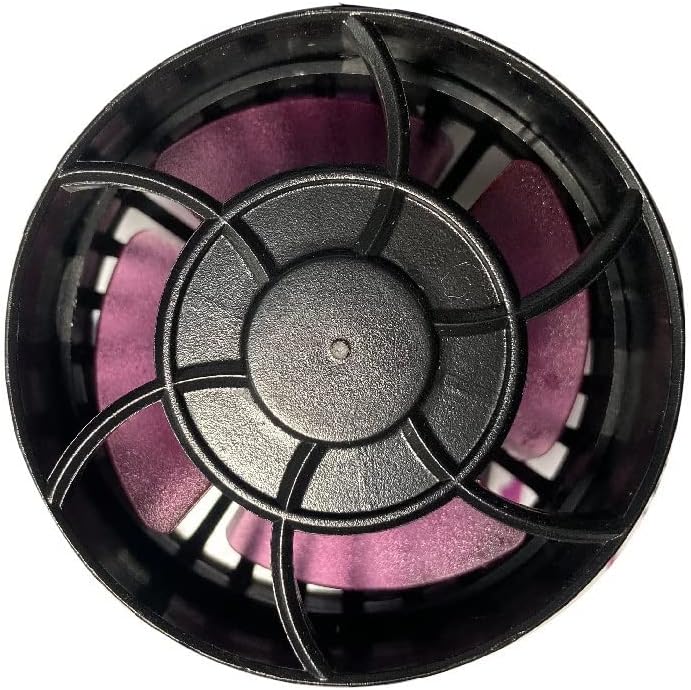
Image 3.1: MLW-10 Wave Pump components including the pump, controller, and power supply.

Image 3.2: MLW-10 Wave Pump dimensions and specifications.

Image 3.3: MLW Series models and operational features.
4. Specifications
| Feature | Specification (MLW-10) |
|---|---|
| Model | MLW-10 |
| Voltage | DC 24V |
| Power | 10W |
| Max Flow Rate | 4000 L/H |
| Dimensions (Pump) | 61mm (Diameter) x 51mm (Length) |
| Recommended Tank Size | Up to 60 cm (length) |
| Max Tank Glass Thickness | Up to 8 mm |
| Item Weight | 1.76 pounds (approx. 0.8 kg) |
| Manufacturer | FIERRG |
5. Setup and Installation
5.1 Unpacking
Carefully remove all components from the packaging. Inspect for any signs of damage. If any parts are damaged, do not proceed with installation and contact customer support.
5.2 Pump Placement
- Identify a suitable location within your aquarium for the wave pump. Wave pumps are typically placed on the side or back glass, ensuring adequate water flow throughout the tank.
- The MLW-10 uses a magnetic mounting system. Place the pump unit inside the tank, ensuring it is fully submerged.
- Align the external magnet on the outside of the tank glass with the internal magnet of the pump unit. The strong magnetic force will hold the pump securely in place.
- Ensure the pump is positioned to avoid directing strong flow directly at corals, decorations, or substrate, which could cause damage or disturbance.

Image 5.1: Example of pump placement and design.
5.3 Connecting the Controller and Power
- Connect the cable from the wave pump unit to the designated port on the LCD display controller. Ensure the connection is secure.
- Connect the power adapter to the controller.
- Plug the power adapter into a suitable electrical outlet. The LCD display should illuminate, indicating power is supplied.
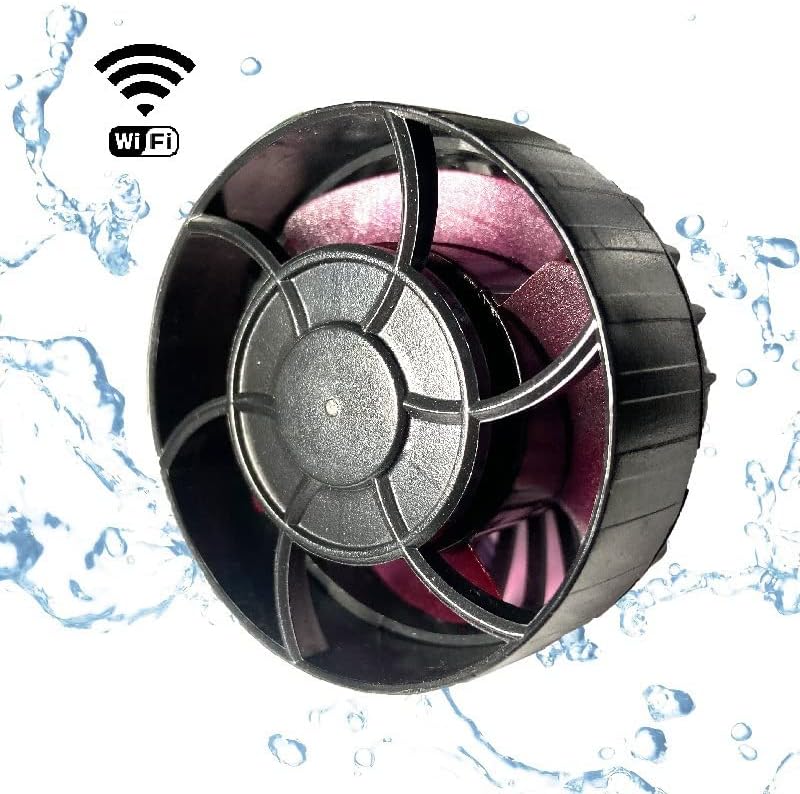
Image 5.2: MLW-10 pump with WiFi capability.
6. Operating Instructions
The MLW-10 wave pump is controlled via an LCD display controller, offering various modes and settings to customize water flow.
6.1 Controller Interface
The LCD display shows current operating mode, power level, and other settings. Buttons typically include:
- MODE: Cycles through different operating modes.
- UP/DOWN Arrows: Adjusts power intensity or other parameters within a selected mode.
- PLAY/PAUSE: Starts or stops the pump operation.
6.2 Operating Modes
The MLW-10 offers several modes to simulate natural aquatic environments:
- Constant Current: Provides a steady, continuous flow of water. Adjust intensity using UP/DOWN arrows.
- Wave Maker: Creates oscillating wave patterns by varying flow intensity at regular intervals.
- SINE Wave Technology: Generates smooth, sinusoidal wave patterns for a more natural and gentle flow.
- Random: Produces unpredictable flow patterns, mimicking natural ocean currents.
6.3 Special Functions
- WiFi Operation: The controller supports WiFi connectivity, allowing for remote control and advanced programming via a compatible mobile application. Refer to the app's instructions for pairing and usage.
- Feed Mode: Temporarily pauses the pump for a set duration (e.g., 10 minutes) to allow fish to feed without food being swept away. Activate by pressing a dedicated button or through the app.
- Night Mode: Reduces pump intensity or changes flow patterns during nighttime hours to simulate calmer conditions, often activated by a light sensor or scheduled via the app.

Image 6.1: WiFi control interface and key features.
7. Maintenance
Regular maintenance ensures optimal performance and extends the lifespan of your wave pump.
7.1 Cleaning the Pump
- Disconnect Power: Always unplug the power adapter from the electrical outlet before attempting any cleaning.
- Remove from Tank: Carefully remove the pump unit from the aquarium.
- Disassemble: Gently twist or unclip the front cover to access the impeller chamber. Remove the impeller.
- Clean Components: Use a soft brush (e.g., a toothbrush) and clean water to remove any algae, detritus, or calcium buildup from the impeller, impeller shaft, and pump housing. For stubborn calcium deposits, a mild vinegar solution can be used, followed by thorough rinsing.
- Reassemble: Once all parts are clean and rinsed, carefully reassemble the pump, ensuring the impeller is correctly seated and the cover is securely attached.
- Reinstall: Place the pump back into the aquarium and reconnect the power.
Frequency: It is recommended to clean the pump every 2-4 weeks, depending on the cleanliness of your aquarium and the rate of buildup.
8. Troubleshooting
| Problem | Possible Cause | Solution |
|---|---|---|
| Pump not starting or no flow | No power supply Impeller jammed Controller malfunction | Check power connection and outlet Clean impeller and pump housing Ensure controller is connected correctly; try resetting controller |
| Weak or inconsistent flow | Impeller dirty or damaged Air trapped in pump Incorrect mode/setting | Clean or replace impeller Gently shake pump to release air Adjust power settings or change operating mode |
| Excessive noise or vibration | Impeller dirty or damaged Pump not securely mounted Air in pump | Clean or replace impeller Re-position and secure pump firmly Gently shake pump to release air |
| Controller display off or unresponsive | No power to controller Loose connection Controller malfunction | Check power adapter and connections Ensure pump cable is securely plugged into controller Contact customer support if issue persists |
| WiFi connection issues | Incorrect WiFi password Router too far App issues | Verify WiFi password Move controller closer to router Restart app or controller; consult app's troubleshooting guide |
9. Warranty and Support
9.1 Warranty Information
For specific warranty details, please refer to the warranty card included with your product or contact your retailer. Keep your proof of purchase for any warranty claims.
9.2 Customer Support
If you encounter any issues not covered in this manual or require further assistance, please contact FIERRG customer service. We are committed to providing a satisfactory solution to your concerns.
Contact information can typically be found on the product packaging or the retailer's website.