
Introduction
This manual provides detailed instructions for the installation, operation, and maintenance of your Vanity Art VAB6522-L 69" Freestanding Acrylic Bathtub with Air Bubble System. Please read all instructions carefully before installation and use to ensure safe and proper operation. Keep this manual for future reference.
Safety Information
General Safety Precautions
- Always ensure the bathtub is installed by a qualified professional in accordance with local plumbing and electrical codes.
- Do not use abrasive cleaners or harsh chemicals on the acrylic surface, as this can cause damage.
- Avoid dropping heavy or sharp objects into the tub, which can chip or crack the surface.
- Ensure proper ventilation in the bathroom to prevent mold and mildew growth.
- Do not operate the air bubble system if the tub is not filled with water to the recommended level.
- Keep electrical components dry and away from water splashes.
Electrical Safety (for Air Bubble System)
- The air bubble system requires an electrical connection. Ensure it is connected to a Ground Fault Circuit Interrupter (GFCI) protected outlet.
- Do not attempt to service electrical components yourself. Contact a qualified electrician for any repairs.
- Ensure all wiring is properly insulated and protected from water.
Package Contents
Verify that all components are present and undamaged before beginning installation.
- Freestanding Bathtub (Model VAB6522-L)
- Pop-up Drain Assembly
- Overflow Assembly
- Adjustable Leveling Feet (pre-installed or separate)
- Air Blower and Control Box (integrated)
- User Manual
Tools Required for Installation
The following tools are recommended for proper installation:
- Adjustable Wrench
- Caulk Gun
- Silicone Sealant (bathroom grade)
- Spirit Level
- Utility Knife
- Gloves
- Soft Cloth
Installation Instructions
Follow these steps for a successful installation. It is highly recommended to watch the installation video provided by Vanity Art for visual guidance.
Step 1: Unpacking and Inspection
- Carefully open the packaging and remove the bathtub.
- Inspect the bathtub for any signs of damage. Report any damage to the retailer immediately.
- Remove all protective plastic wrapping from the tub.
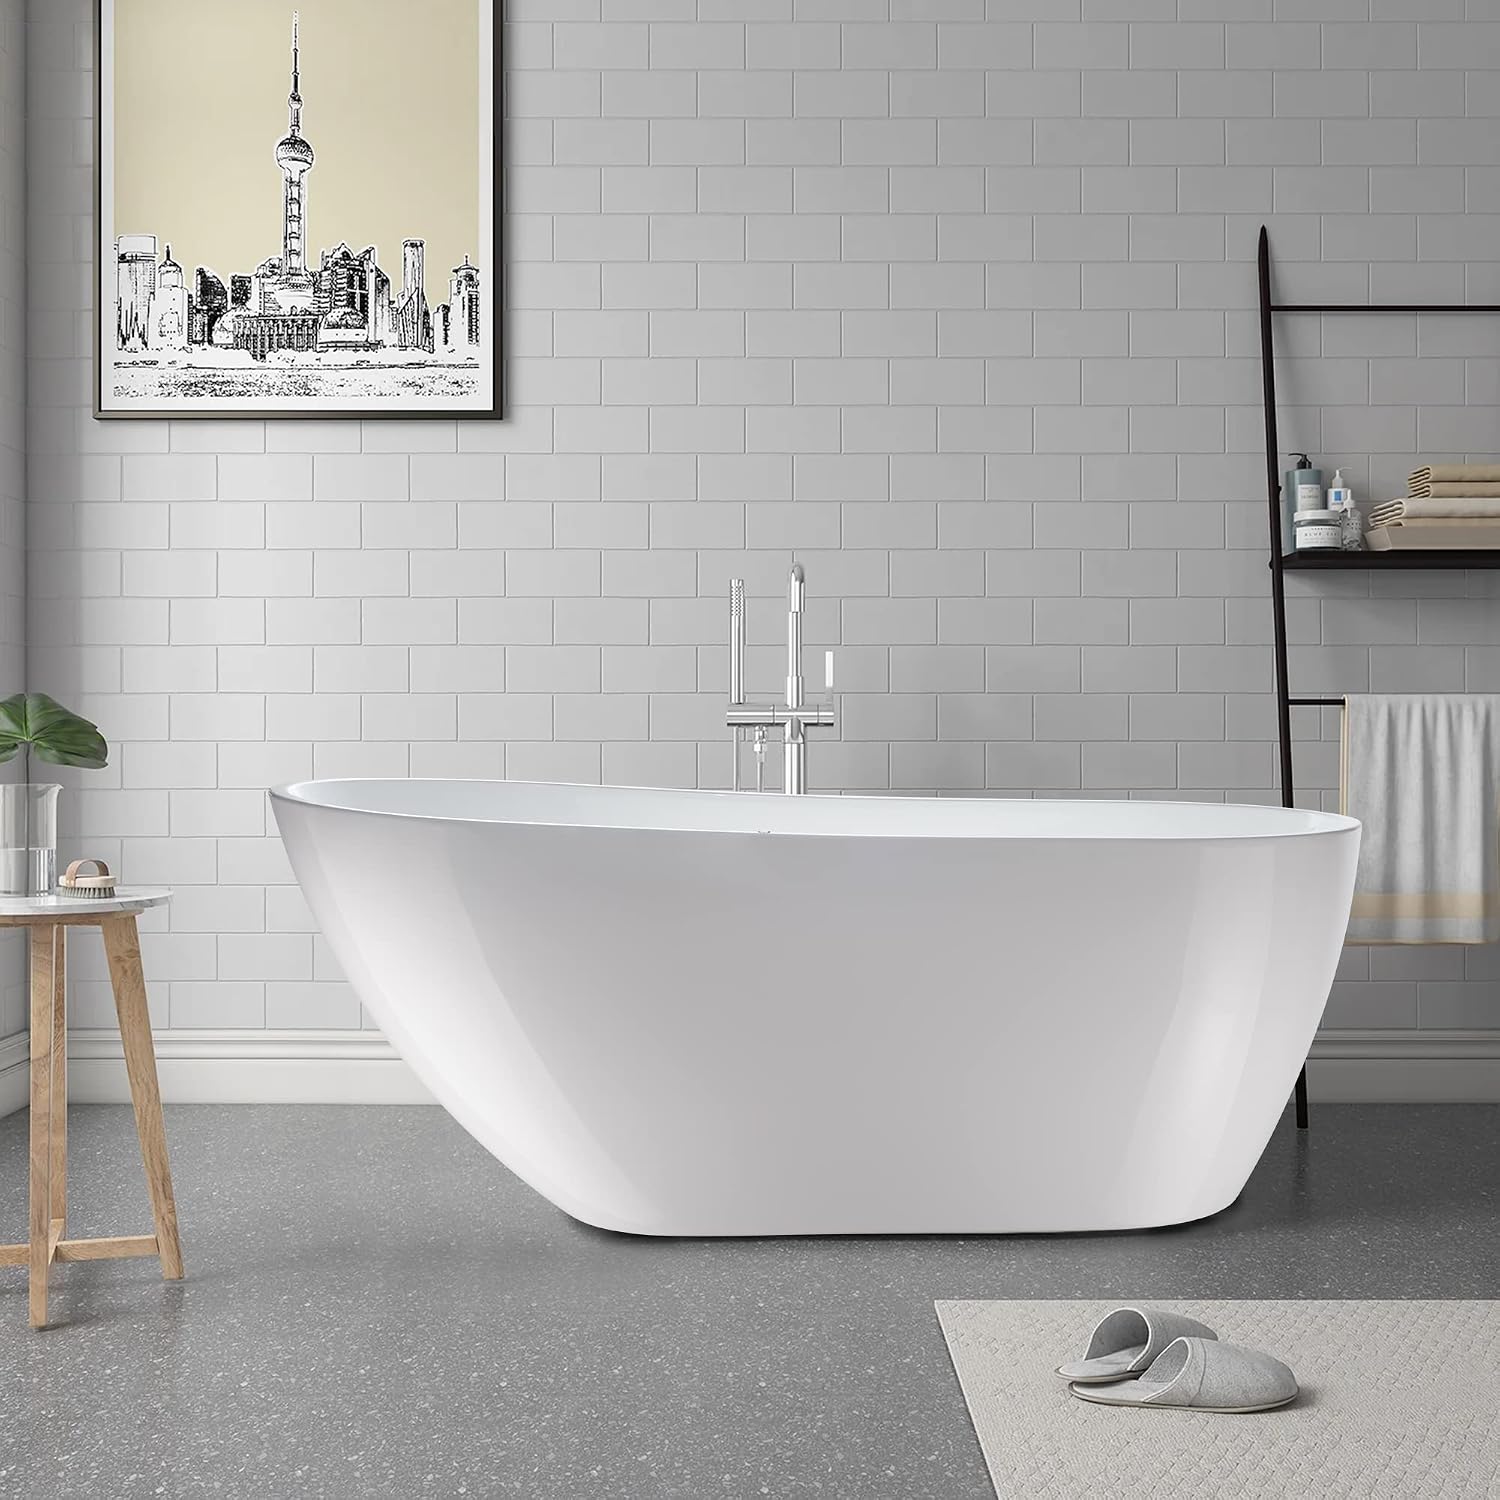
Image: The Vanity Art VAB6522-L freestanding bathtub.

Image: Overhead view of the bathtub, highlighting the internal layout.
Step 2: Drain and Overflow Assembly
- Assemble the pop-up drain components, ensuring all gaskets and seals are correctly positioned. Apply silicone sealant as needed to ensure a watertight seal.
- Insert the drain assembly into the tub's drain opening from the inside.
- From underneath the tub, secure the drain assembly with the provided nut and washer, tightening with an adjustable wrench.
- Attach the overflow pipe to the overflow opening and connect it to the main drain assembly. Ensure all connections are tight and sealed.

Image: Internal components and features of the bathtub.
Step 3: Leveling the Bathtub
- Position the bathtub in its desired location.
- Use a spirit level to check if the tub is perfectly level.
- Adjust the leveling feet located on the bottom of the tub until it is stable and level on all sides.
Step 4: Final Sealing
- Once the tub is level and all plumbing connections are secure, apply a bead of silicone sealant around the base of the tub where it meets the floor. This prevents water from seeping underneath.
- Allow the sealant to cure completely before filling the tub.
Installation Video
For a visual guide on the installation process, please refer to the official Vanity Art Bathtub Installation Video below:
Video: Official Vanity Art Bathtub Installation Guide. This video demonstrates the unpacking, drain assembly, leveling, and sealing steps for the bathtub.
Operating Instructions
Using the Air Bubble System and Chroma-Therapeutic Lights
- Ensure the bathtub is filled with water to a level above the air jets.
- Locate the control pad (touch pad) on the tub.
- Press the power button on the control pad to activate the air bubble system.
- Press the light button (if separate) to turn on the chroma-therapeutic bathing lights.
- Adjust settings as desired (if multiple modes are available).
- To turn off, press the respective buttons again.

Image: The bathtub with the air bubble system active.

Image: The bathtub filled with water, ready for use.
Product Overview Video
For a brief overview of the VAB6522-L model's features and design, watch the video below:
Video: Vanity Art VAB6522-L product outlook and highlighted features. This video provides a quick look at the bathtub's design and key functionalities.
Maintenance
Cleaning the Bathtub
- Clean the acrylic surface regularly with a soft cloth and a non-abrasive, mild bathroom cleaner.
- Avoid cleaners containing ammonia, acetone, or harsh chemicals, as these can damage the acrylic finish.
- Rinse thoroughly with water after cleaning to remove any residue.
- For stubborn stains, a paste of baking soda and water can be used, gently applied and rinsed.
Drain and Jet Maintenance
- Periodically remove and clean the pop-up drain to prevent clogs from hair and soap scum.
- Run the air bubble system with clean water occasionally to flush out any residue from the jets.
Troubleshooting
If you encounter any issues with your bathtub, refer to the following common problems and solutions:
- Leaks around the drain or overflow: Check all plumbing connections for tightness. Ensure silicone sealant was properly applied during installation. Re-apply sealant if necessary.
- Air bubble system not working:
- Ensure the tub is filled with water above the jets.
- Check the electrical connection and ensure the GFCI outlet has not tripped.
- Verify the control pad is functioning correctly.
- Water drains slowly: The drain may be clogged. Remove the pop-up drain and clean any debris.
- Scratches on acrylic surface: Minor scratches can sometimes be buffed out with a specialized acrylic repair kit. For deep scratches, professional repair may be required.
If problems persist, contact Vanity Art customer support for assistance.
Specifications
Detailed specifications for the Vanity Art VAB6522-L Freestanding Bathtub:
| Feature | Detail |
|---|---|
| Model Number | VAB6522-L |
| Brand | Vanity Art |
| Material | Acrylic |
| Color | White/Polished Chrome |
| Product Dimensions (L x W x H) | 66.9"L x 31.5"W x 28.7"H |
| Installation Type | Freestanding |
| Capacity | 53 Gallons |
| Item Weight | 72.8 Pounds |
| Special Features | Air Bubble System, Chroma-Therapeutic Lights, Pop-up Drain, Overflow |
| UPC | 810025966089 |

Image: Technical dimensions of the bathtub.

Image: Multi-layer construction of the bathtub.
Warranty and Support
For warranty information and customer support, please refer to the official Vanity Art website or contact their customer service directly. Keep your purchase receipt as proof of purchase.
Vanity Art Customer Service: Visit the Vanity Art Store on Amazon