1. Introduction
Thank you for choosing the HUMSURE AP16-2018EE Dehumidifier. This manual provides important information for the safe operation, installation, maintenance, and troubleshooting of your appliance. Please read it thoroughly before use and keep it for future reference.
Safety Information
- Always ensure the dehumidifier is placed on a stable, level surface.
- Do not block the air inlet or outlet. Maintain at least 20 cm (8 inches) clearance around the unit.
- Use only the specified power supply.
- Do not operate the unit if the power cord or plug is damaged.
- Keep the appliance out of reach of children.
- Operating temperature range: 5°C - 35°C (41°F - 95°F).
2. Product Overview
Familiarize yourself with the components and control panel of your HUMSURE Dehumidifier.
Unit Components

Image: Front view of the dehumidifier highlighting its dimensions (20.74in height, 14.56in width, 11in depth), invisible handle, washable filter location, and 360-degree universal wheels for easy mobility.
- Control Panel: Located on the top of the unit for settings and display.
- Air Outlet: Top of the unit.
- Air Inlet: Rear or side of the unit, typically with a filter.
- Water Tank: Removable tank for collected water, located at the bottom front/side.
- Continuous Drain Outlet: Port for connecting a drain hose.
- Universal Wheels: Four wheels for easy movement.
- Invisible Handle: Integrated handle for portability.
Control Panel Functions

Image: Detailed view of the control panel, showing the touch-sensitive buttons and LED display.
- ON/OFF Button: Powers the unit on or off.
- SPEED Button: Adjusts fan speed (High, Medium, Low). Note: Fan speed cannot be adjusted in Drying mode.
- HUMIDITY Button: Sets the desired relative humidity level (40% - 80%).
- TIMER Button: Sets the auto-on or auto-off timer (1-24 hours).
- IONIZER Button: Activates or deactivates the ionizer function (if available).
- DRYING Button: Activates the continuous drying mode for clothes.
- LED Display: Shows current humidity, timer settings, and error codes.
3. Setup
Follow these steps for initial setup of your dehumidifier.
- Unpacking: Carefully remove the dehumidifier from its packaging. Retain packaging materials for future storage or transport.
- Placement:
- Place the unit upright on a firm, level surface.
- Ensure there is at least 20 cm (8 inches) of clear space around the air inlet and outlet to allow for proper airflow.
- Avoid placing the unit near heat sources, in direct sunlight, or in areas with excessive dust.
- Power Connection: Plug the power cord into a grounded electrical outlet with the correct voltage.

Image: The dehumidifier positioned in a room, demonstrating its effective coverage for areas up to 50 m² and its ability to extract up to 20 liters of moisture per day.
4. Operating Instructions
Learn how to operate your dehumidifier effectively.
Power On/Off
Press the ON/OFF button to turn the unit on or off.
Setting Desired Humidity
- With the unit on, press the HUMIDITY button.
- The display will show the current humidity. Use the HUMIDITY button to cycle through desired humidity levels from 40% to 80% Relative Humidity (RH).
- The unit will automatically operate to maintain the set humidity level, turning off when the target is reached and restarting if humidity rises.
Using the Timer
The timer function allows you to set the unit to automatically turn on or off after a specified period (1-24 hours).
- Press the TIMER button.
- Use the TIMER button to select the desired number of hours.
- The timer will activate after a few seconds.
Operating Modes
- Humidity Mode: This is the standard operating mode where you set a target humidity. The unit will cycle on and off to maintain this level. In this mode, fan speed can be adjusted.
- Drying Mode (Dry Clothes): Press the DRYING button to activate this mode. This mode provides continuous dehumidification at the highest fan speed to quickly dry clothes and remove persistent moisture. In Drying Mode, humidity and fan speed cannot be adjusted.

Image: Visual representation of the Drying Mode for laundry, the 24-hour timer setting, and the automatic defrost function for low-temperature operation.
Automatic Defrost
The unit features an automatic defrost function. If frost builds up on the evaporator coils during operation in low temperatures (5°C - 35°C), the unit will automatically enter defrost mode to melt the frost, ensuring normal and efficient operation. This process is automatic and does not require user intervention.
5. Drainage Options
Your dehumidifier offers two methods for water drainage: manual emptying of the water tank or continuous drainage via a hose.
Water Tank Drainage (Manual)
- The dehumidifier has a 2.8-liter (2800ml) water tank.
- When the water tank is full, the unit will automatically shut off, emit a beep, and an indicator light will illuminate to prevent overflow.
- To empty, carefully pull out the water tank, discard the collected water, and reinsert the tank firmly until it clicks into place. The unit will then resume operation.
Continuous Drainage
For extended operation without needing to empty the water tank, you can set up continuous drainage.
- Locate the continuous drain outlet on the back or side of the unit.
- Connect the included 3.94 ft (approximately 1.2 meter) drain hose to this outlet.
- Ensure the hose is sloped downwards to allow water to drain by gravity into a suitable floor drain or container. Avoid kinks or blockages in the hose.

Image: Illustration of the two drainage options: manually removing and emptying the 2.8L water tank, and connecting the 3.94ft hose for continuous, automatic drainage.
6. Maintenance
Regular maintenance ensures optimal performance and longevity of your dehumidifier.
Cleaning the Air Filter
- The dehumidifier is equipped with a washable mesh filter to capture large particles.
- It is recommended to clean the filter every two weeks or more frequently depending on usage and air quality.
- To clean:
- Turn off the unit and unplug it from the power outlet.
- Locate and remove the air filter (typically behind the air inlet grille).
- Wash the filter with clean water and a mild detergent.
- Rinse thoroughly and allow it to air dry completely before reinserting.
Cleaning the Water Tank
- Clean the water tank regularly to prevent mold and mildew growth.
- Wash the tank with clean water and a mild detergent. Rinse thoroughly.
- Ensure the tank is dry before reinserting it into the unit.
External Cleaning
- Wipe the exterior of the unit with a soft, damp cloth.
- Do not use harsh chemicals, abrasive cleaners, or solvents.
7. Troubleshooting
Refer to this section for common issues and their solutions.
| Problem | Possible Cause | Solution |
|---|---|---|
| Unit does not turn on. | No power supply. Power cord not properly connected. Water tank full or not correctly inserted. | Check power outlet. Ensure power cord is securely plugged in. Empty water tank and reinsert it correctly. |
| Unit is running but not collecting water. | Room temperature too low (below 5°C). Humidity level already low. Air filter clogged. Unit in defrost mode. | Operate within recommended temperature range (5°C - 35°C). Increase target humidity setting. Clean the air filter. Wait for defrost cycle to complete. |
| Unit is noisy. | Unit not on a level surface. Air filter clogged. Internal components vibrating. | Place on a flat, stable surface. Clean the air filter. Contact customer support if noise persists and is unusual. |
| Water leaks from the unit. | Water tank not properly inserted. Continuous drain hose improperly connected or blocked. | Ensure water tank is fully and correctly inserted. Check continuous drain hose for secure connection, kinks, or blockages. |

Image: Visual examples of issues caused by excessive humidity, including damaged furniture, wet walls, unpleasant odors, mold on floors, foggy mirrors, and damp clothing.
8. Specifications
Technical specifications for the HUMSURE AP16-2018EE Dehumidifier.
| Feature | Detail |
|---|---|
| Brand | HUMSURE |
| Model Number | AP16-2018EE |
| Dehumidification Capacity | 20 Liters/Day (at 30°C, 80% RH) |
| Coverage Area | Up to 200 m³ (~50 m²) |
| Water Tank Capacity | 2.8 Liters |
| Power Consumption | 230 Watts |
| Dimensions (L x W x H) | 28 x 37 x 52.7 cm (approx. 11 x 14.56 x 20.74 inches) |
| Weight | 11.8 Kilograms |
| Material | Plastic |
| Special Features | Digital Display, Timer, Automatic Defrosting, Dry Clothes Mode, Continuous Drain, Portable (with wheels), Washable Filter, Quiet Operation (<40 dB) |

Image: Summary of the dehumidifier's main features, including 40-80% RH humidity control, continuous drainage, water tank full alarm, quiet operation, automatic defrost, 3.9ft drain hose, and 2.8L water tank.
9. Warranty and Support
For warranty information, technical support, or any questions regarding your HUMSURE dehumidifier, please contact our customer service team.
You can typically find contact details, including email addresses, on the product packaging or the official HUMSURE website. Please have your model number (AP16-2018EE) and purchase date ready when contacting support.
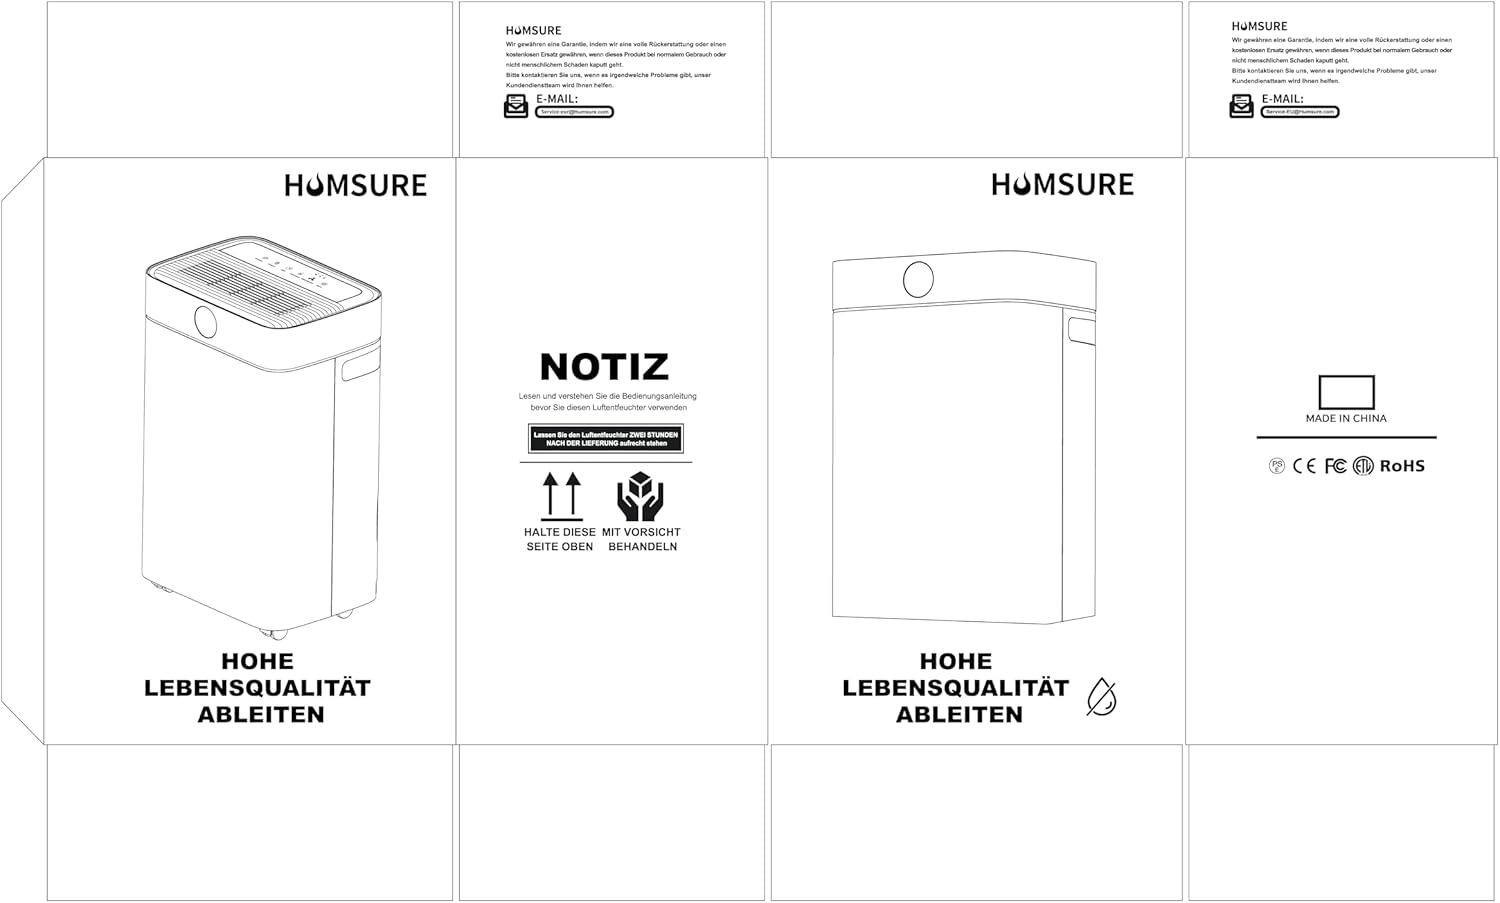
Image: Example of product packaging, which typically includes brand information and contact details for customer support.