1. Product Overview
This manual provides essential information for the installation, operation, maintenance, and troubleshooting of your new Technical Precision Replacement Alternator. This unit is designed as a direct replacement for the alternator found in Caterpillar V60B (Year 1984) lift trucks equipped with a Continental F-227 engine. It is crucial to follow all instructions carefully to ensure proper function and safety.
Note: This product is a replacement part manufactured by Technical Precision and is not an original Caterpillar component.
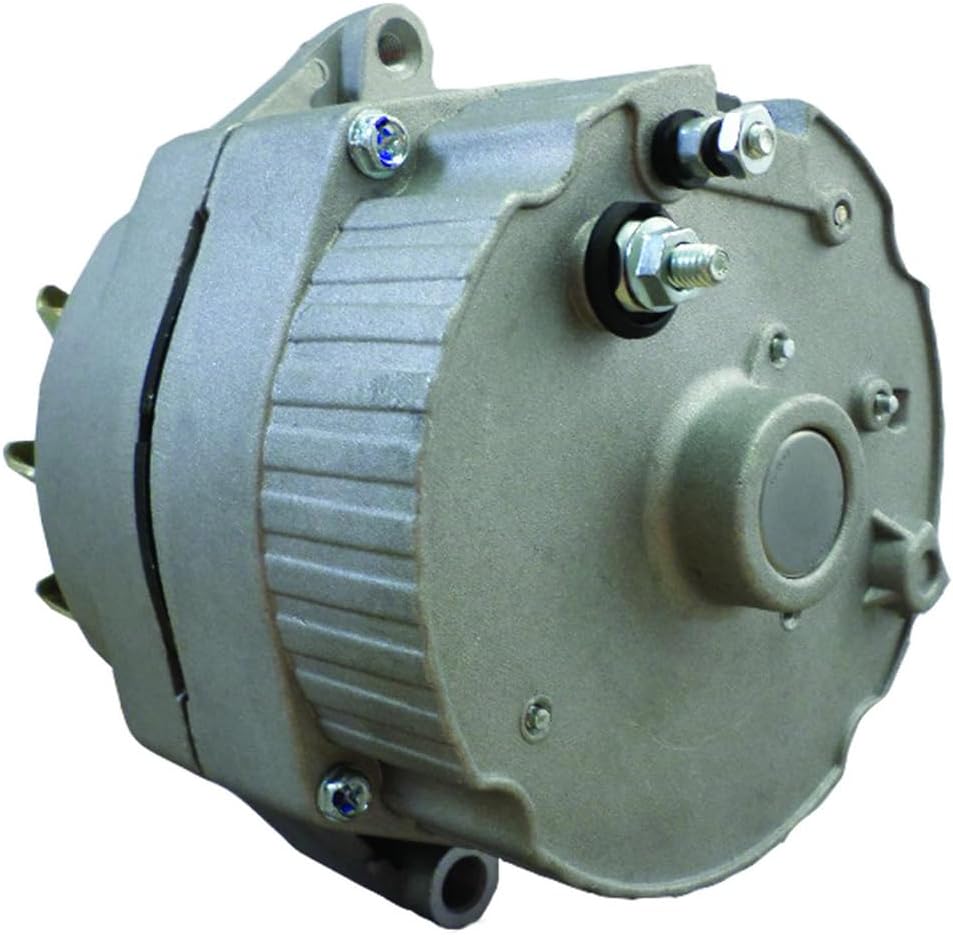
Figure 1: Technical Precision Replacement Alternator. This image displays the complete alternator unit, showcasing its housing, mounting points, and electrical terminals. The unit is silver-grey with visible cooling fins and connection points for battery and electrical system integration.
2. Safety Information
- Always disconnect the vehicle's battery before performing any work on the electrical system.
- Wear appropriate personal protective equipment (PPE), including safety glasses and gloves.
- Ensure the vehicle is turned off and the parking brake is engaged before beginning work.
- Consult a qualified technician if you are unsure about any installation or repair procedures.
- Avoid touching hot engine components during or immediately after operation.
3. Installation (Setup)
Proper installation is critical for the longevity and performance of your new alternator. Refer to your vehicle's specific service manual for detailed instructions regarding the removal of the old alternator and installation of the new one, as procedures may vary.
3.1. Tools and Materials Required
- Socket/Wrench Set
- Battery Terminal Cleaner
- Torque Wrench (recommended)
- Safety Glasses and Gloves
3.2. Installation Steps
- Prepare the Vehicle: Ensure the vehicle is off and the parking brake is engaged. Disconnect the negative (-) battery terminal first, followed by the positive (+) terminal.
- Access the Alternator: Locate the alternator on the engine. You may need to remove other components (e.g., air intake, belts) to gain access.
- Remove Drive Belt: Loosen the tensioner pulley and remove the serpentine or V-belt from the alternator pulley.
- Disconnect Wiring: Carefully disconnect all electrical connections from the old alternator. Note their positions for reinstallation.
- Remove Mounting Bolts: Unbolt the old alternator from its mounting brackets. Support the alternator as you remove the last bolt to prevent it from falling.
- Install New Alternator: Position the new Technical Precision alternator into the mounting brackets. Secure it with the mounting bolts, tightening them to the manufacturer's specified torque.
- Reconnect Wiring: Reconnect all electrical connections to the new alternator, ensuring they are secure and properly seated.
- Reinstall Drive Belt: Route the drive belt correctly around the alternator pulley and other pulleys. Adjust the tensioner to achieve the correct belt tension.
- Reconnect Battery: Reconnect the positive (+) battery terminal first, then the negative (-) terminal. Ensure connections are clean and tight.
- Test System: Start the vehicle and check the battery warning light on the dashboard. It should turn off after the engine starts. Use a voltmeter to confirm proper charging voltage (typically 13.5-14.5 volts).
4. Operation
The alternator is a vital component of your vehicle's electrical system. Once installed, it operates automatically when the engine is running. Its primary functions are:
- Battery Charging: The alternator recharges the vehicle's battery after starting and during operation.
- Powering Electrical Systems: It provides electrical power to all vehicle systems (lights, radio, ignition, etc.) while the engine is running, reducing the load on the battery.
A properly functioning alternator ensures consistent power supply and prevents battery discharge during normal vehicle use.
5. Maintenance
While alternators are generally low-maintenance components, periodic checks can help ensure their longevity and prevent unexpected failures.
- Belt Inspection: Regularly inspect the serpentine or V-belt that drives the alternator for cracks, fraying, or excessive wear. Replace the belt if any damage is observed.
- Belt Tension: Ensure the drive belt has proper tension. A loose belt can slip, leading to insufficient charging, while an overly tight belt can put undue stress on the alternator bearings.
- Wiring Connections: Periodically check all electrical connections to the alternator for corrosion or looseness. Clean and tighten as necessary.
- Battery Health: A weak or failing battery can put extra strain on the alternator. Ensure your vehicle's battery is in good condition.
6. Troubleshooting
If you experience issues with your vehicle's electrical system, the alternator may be a contributing factor. Here are some common symptoms and basic troubleshooting steps:
| Symptom | Possible Cause | Action |
|---|---|---|
| Battery Warning Light On | Alternator not charging, loose belt, faulty wiring. | Check belt tension and condition. Inspect wiring connections. Test charging voltage with a voltmeter. |
| Dim Headlights / Electrical Issues | Insufficient power from alternator, weak battery. | Check charging voltage. Test battery health. |
| Grinding or Whining Noise | Worn bearings, loose pulley, faulty internal components. | Inspect pulley for looseness. If noise persists, professional inspection is recommended. |
| Dead Battery (repeatedly) | Alternator not charging, parasitic drain, faulty battery. | Test charging system. Check for parasitic drains. Test battery. |
If troubleshooting steps do not resolve the issue, it is recommended to consult a professional automotive technician.
7. Specifications
| Attribute | Value |
|---|---|
| Manufacturer | Technical Precision |
| Brand | Technical Precision |
| Model | AX-SZGW-9 |
| Item Model Number | AX-SZGW-9 |
| Manufacturer Part Number | AX-SZGW-9 |
| ASIN | B0BWX13BJL |
| Date First Available | November 10, 2022 |
| Unit per sale | 1 |
| Included Components | Replacement Part |
8. Warranty and Support
For specific warranty information regarding this Technical Precision Replacement Alternator, please refer to the documentation provided at the time of purchase or contact the seller directly. Warranty terms and conditions are typically provided by the retailer or manufacturer.
For technical support, installation assistance, or any other inquiries, please contact Technical Precision customer service or the authorized dealer from whom you purchased this product. You can often find contact information on the product packaging or the seller's website.
Return Policy: As per the purchase terms, a 30-day return policy is typically offered for this product. Please check your purchase details for specifics.